USB Camera
Duration: 1
This page describes how to assemble the camera module. It has two different variations:
- IMX214 (Arducam, LINK)
- IMX179 (Waveshare, LINK)
Bill of material
Below you will find all components necessary to build this device
3D printing files
All these files need to be printed.
Printing parameters:
| Infill | Layerheight | Special Profile | Material |
|---|---|---|---|
| ~20% | 0.25/0.3mm | mini/i3 | PLA (black) |
| Type | Details | Link |
|---|---|---|
| Camera holder | holds IMX179/214 | Part.stl |
Additional parts
This is used in the current version of the setup
| Type | Details | Price | Link |
|---|---|---|---|
| USB Camera | Arducam USB IMX214 | 40 € | Amazon |
| or | --- | --- | --- |
| USB Camera | Arducam USB IMX214 | 40 € | Amazon |
| Mounting screws | DIN912 M3x12mm Screws | 0.40 € | Würth |
Assembly
Duration: 1
Below we describe how the device can be build and assembled in order to replicate the whole system.
IMX219 (Arducam)
STEP 1
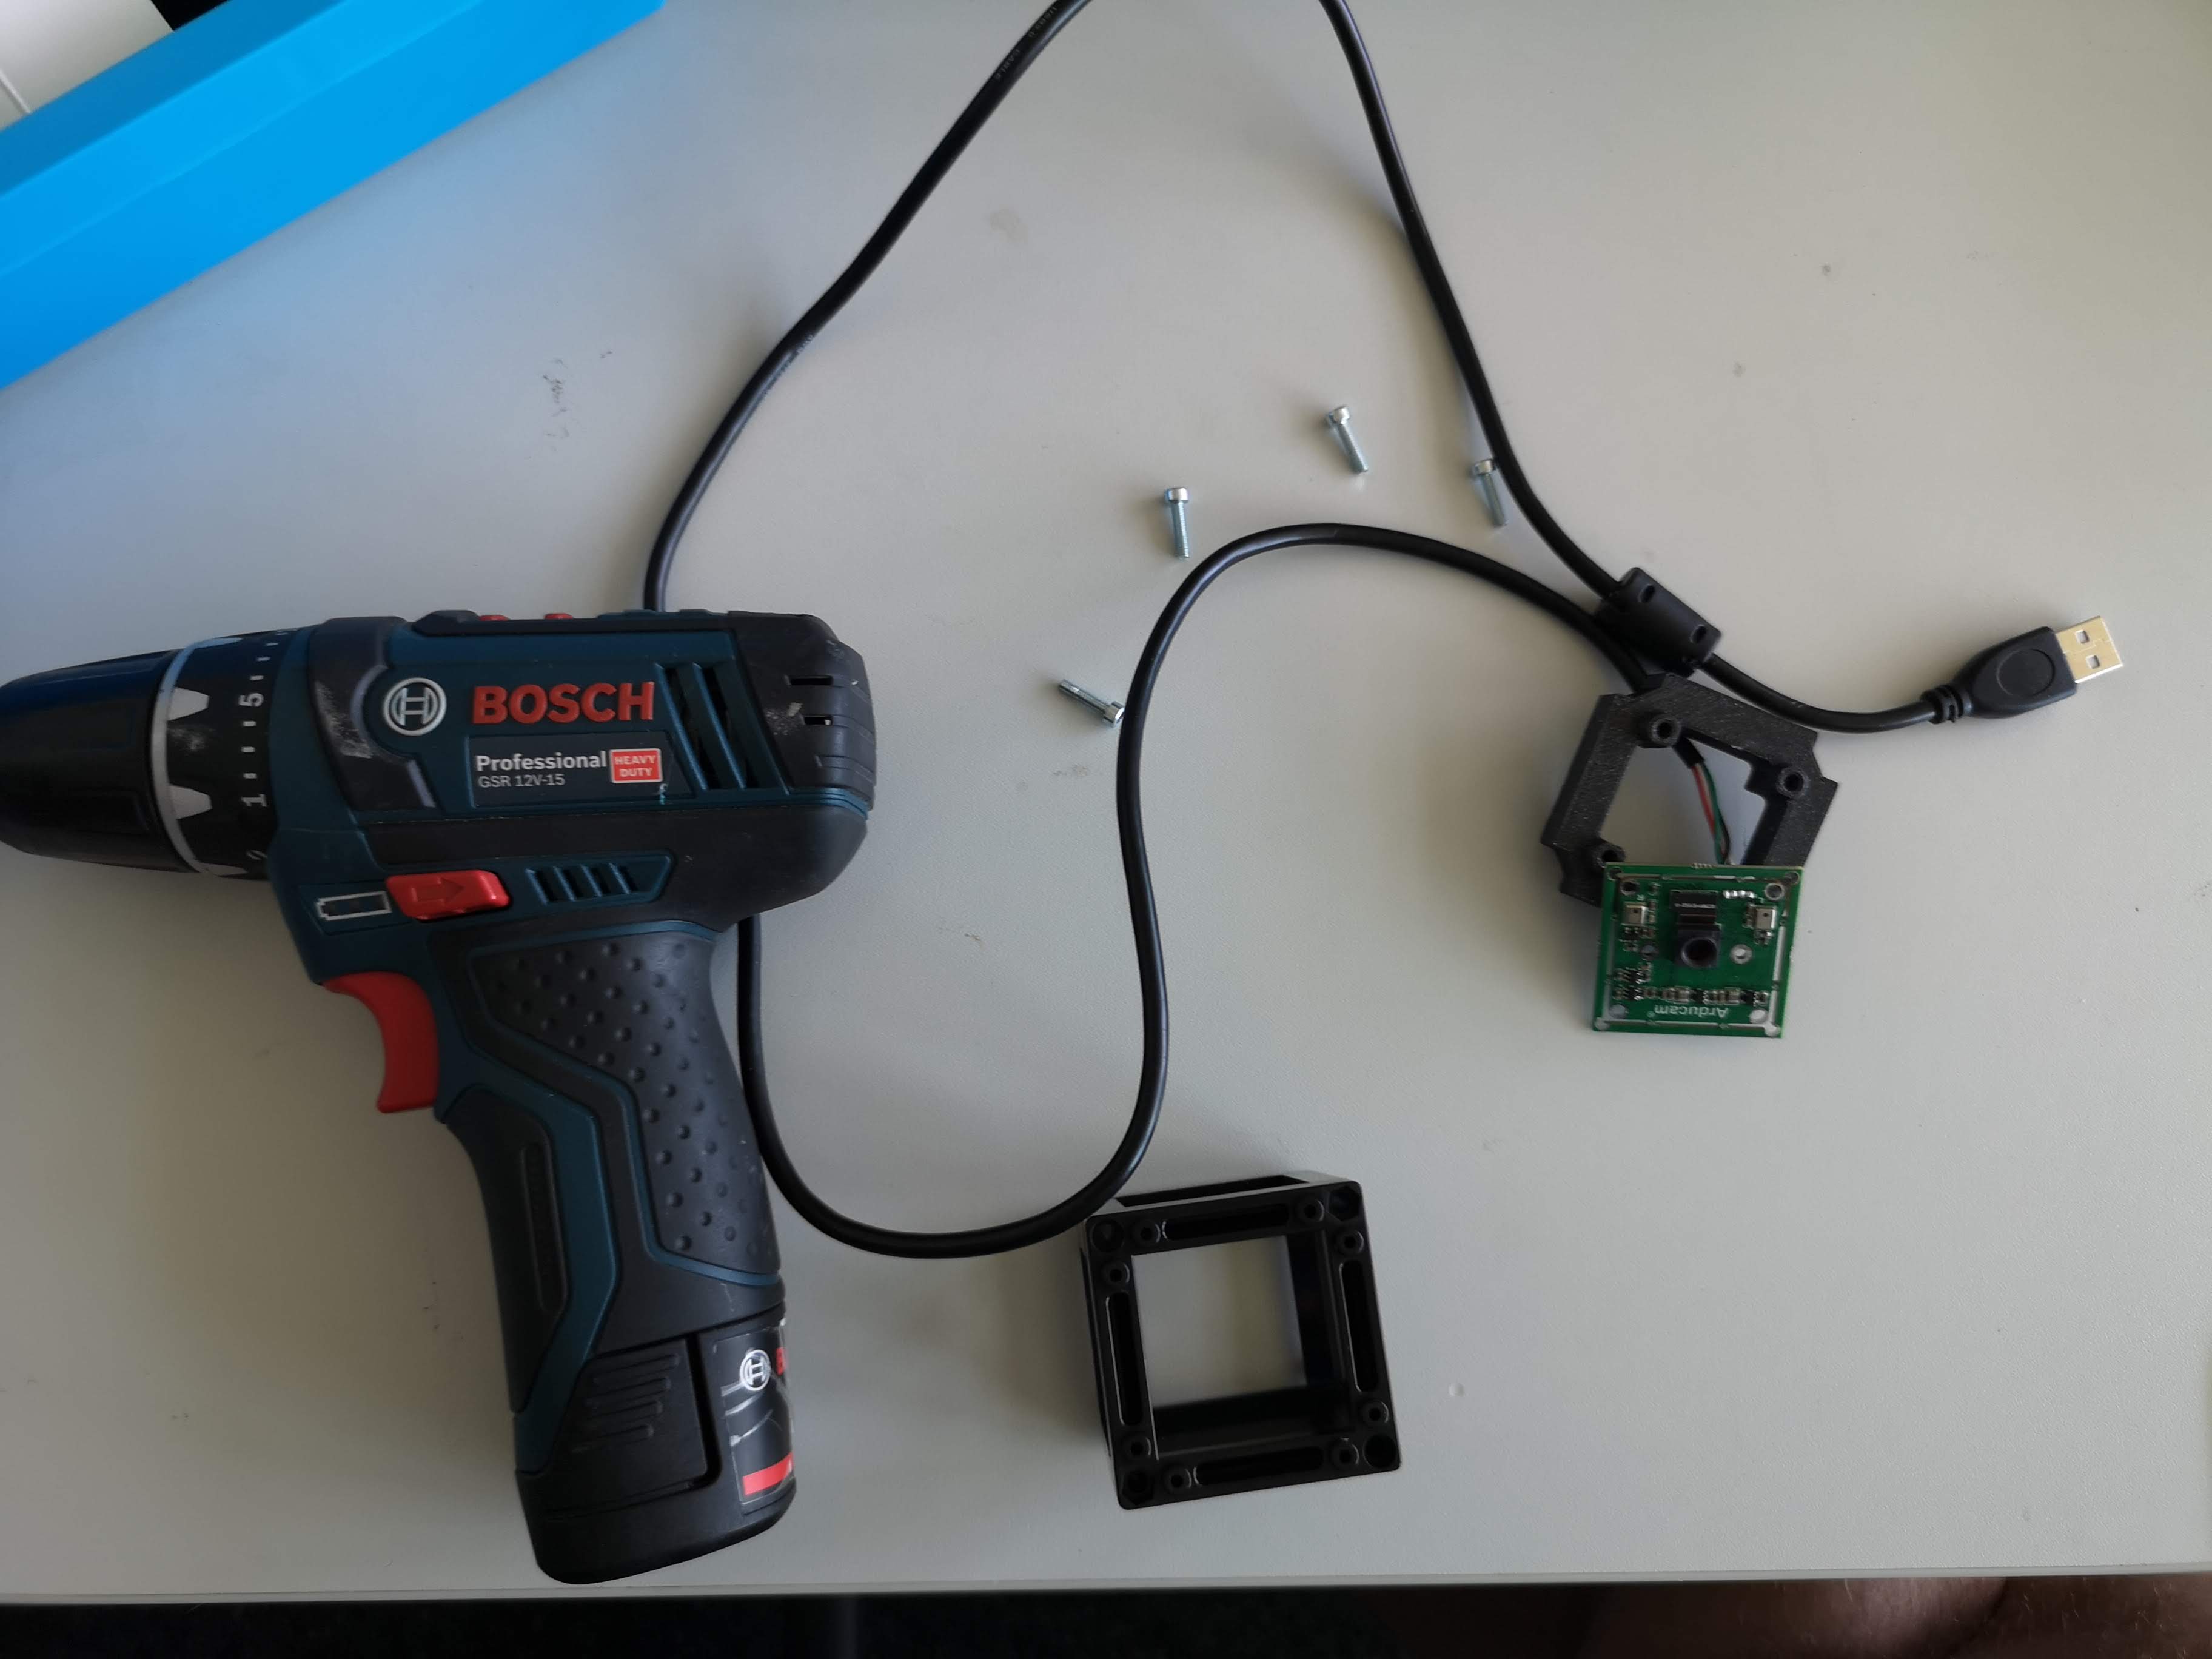
All parts you need to assemble the module:
Remove the lens (M12/cellphone) from the camera board.
STEP 2
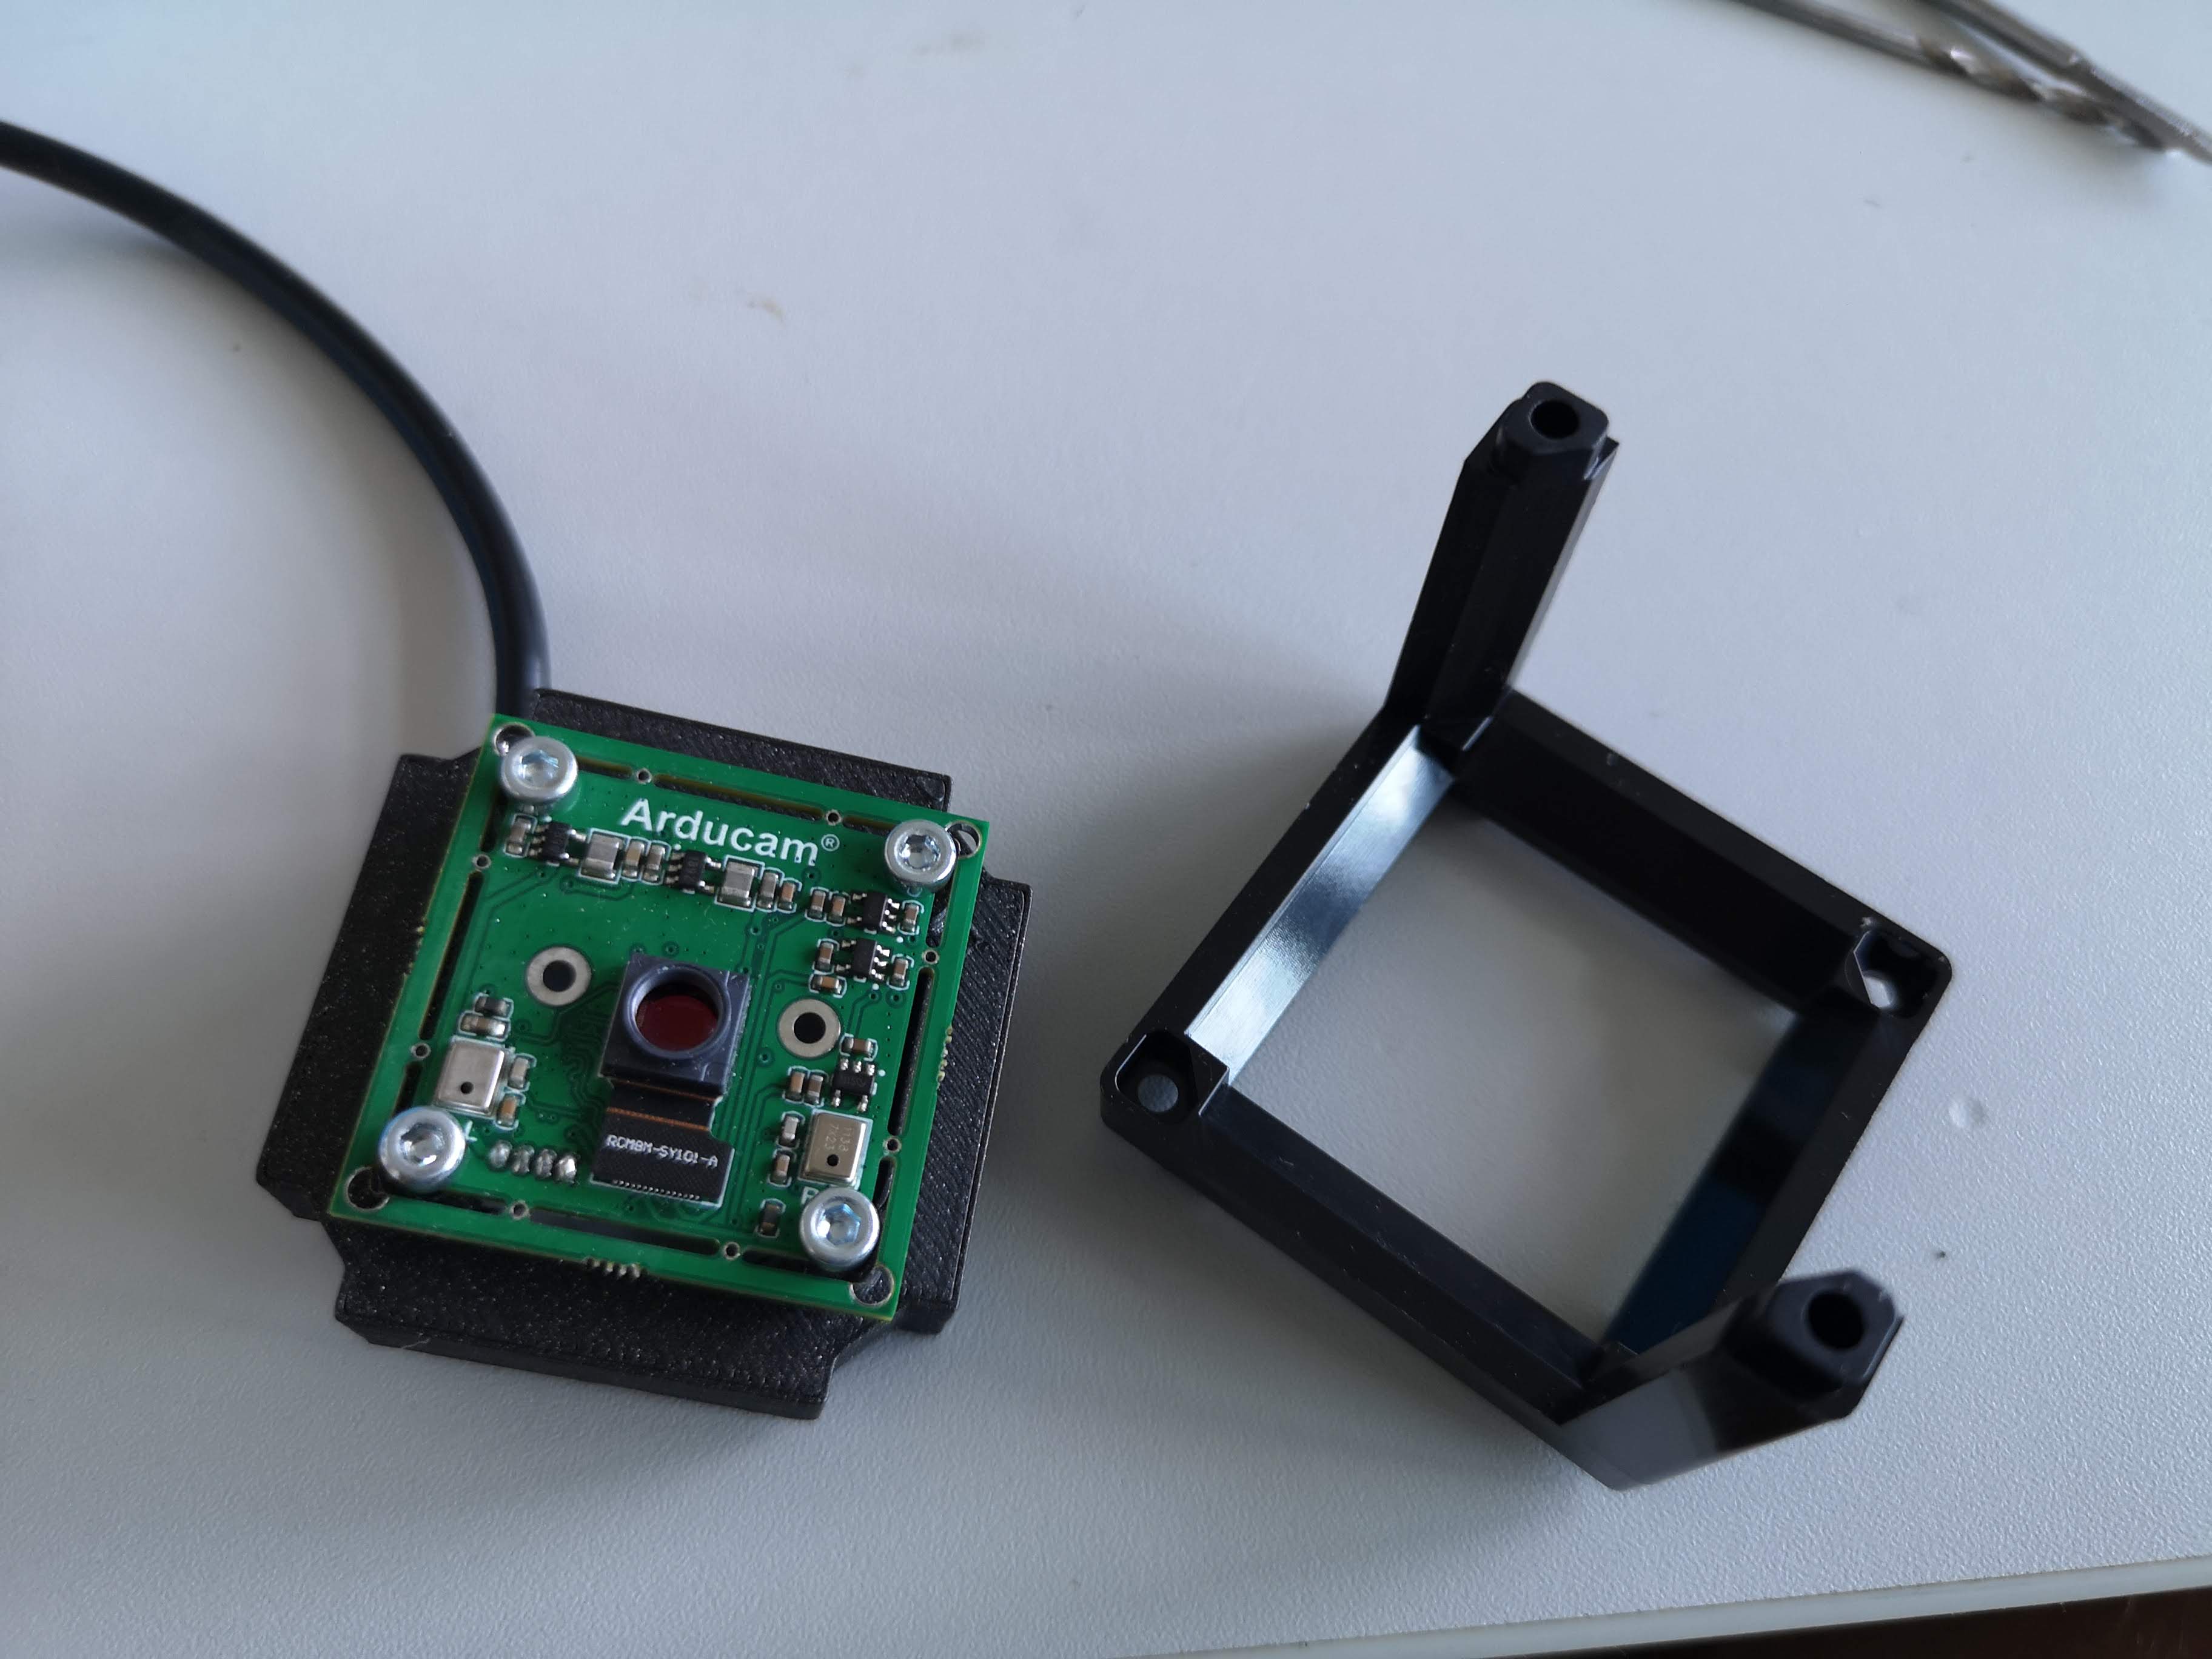
Use the DIN912 M3x12mm screws to mount the camera securely. ATTENTION: Use the decentered holes such that the Camera is placed in the inserts's center!
STEP 3
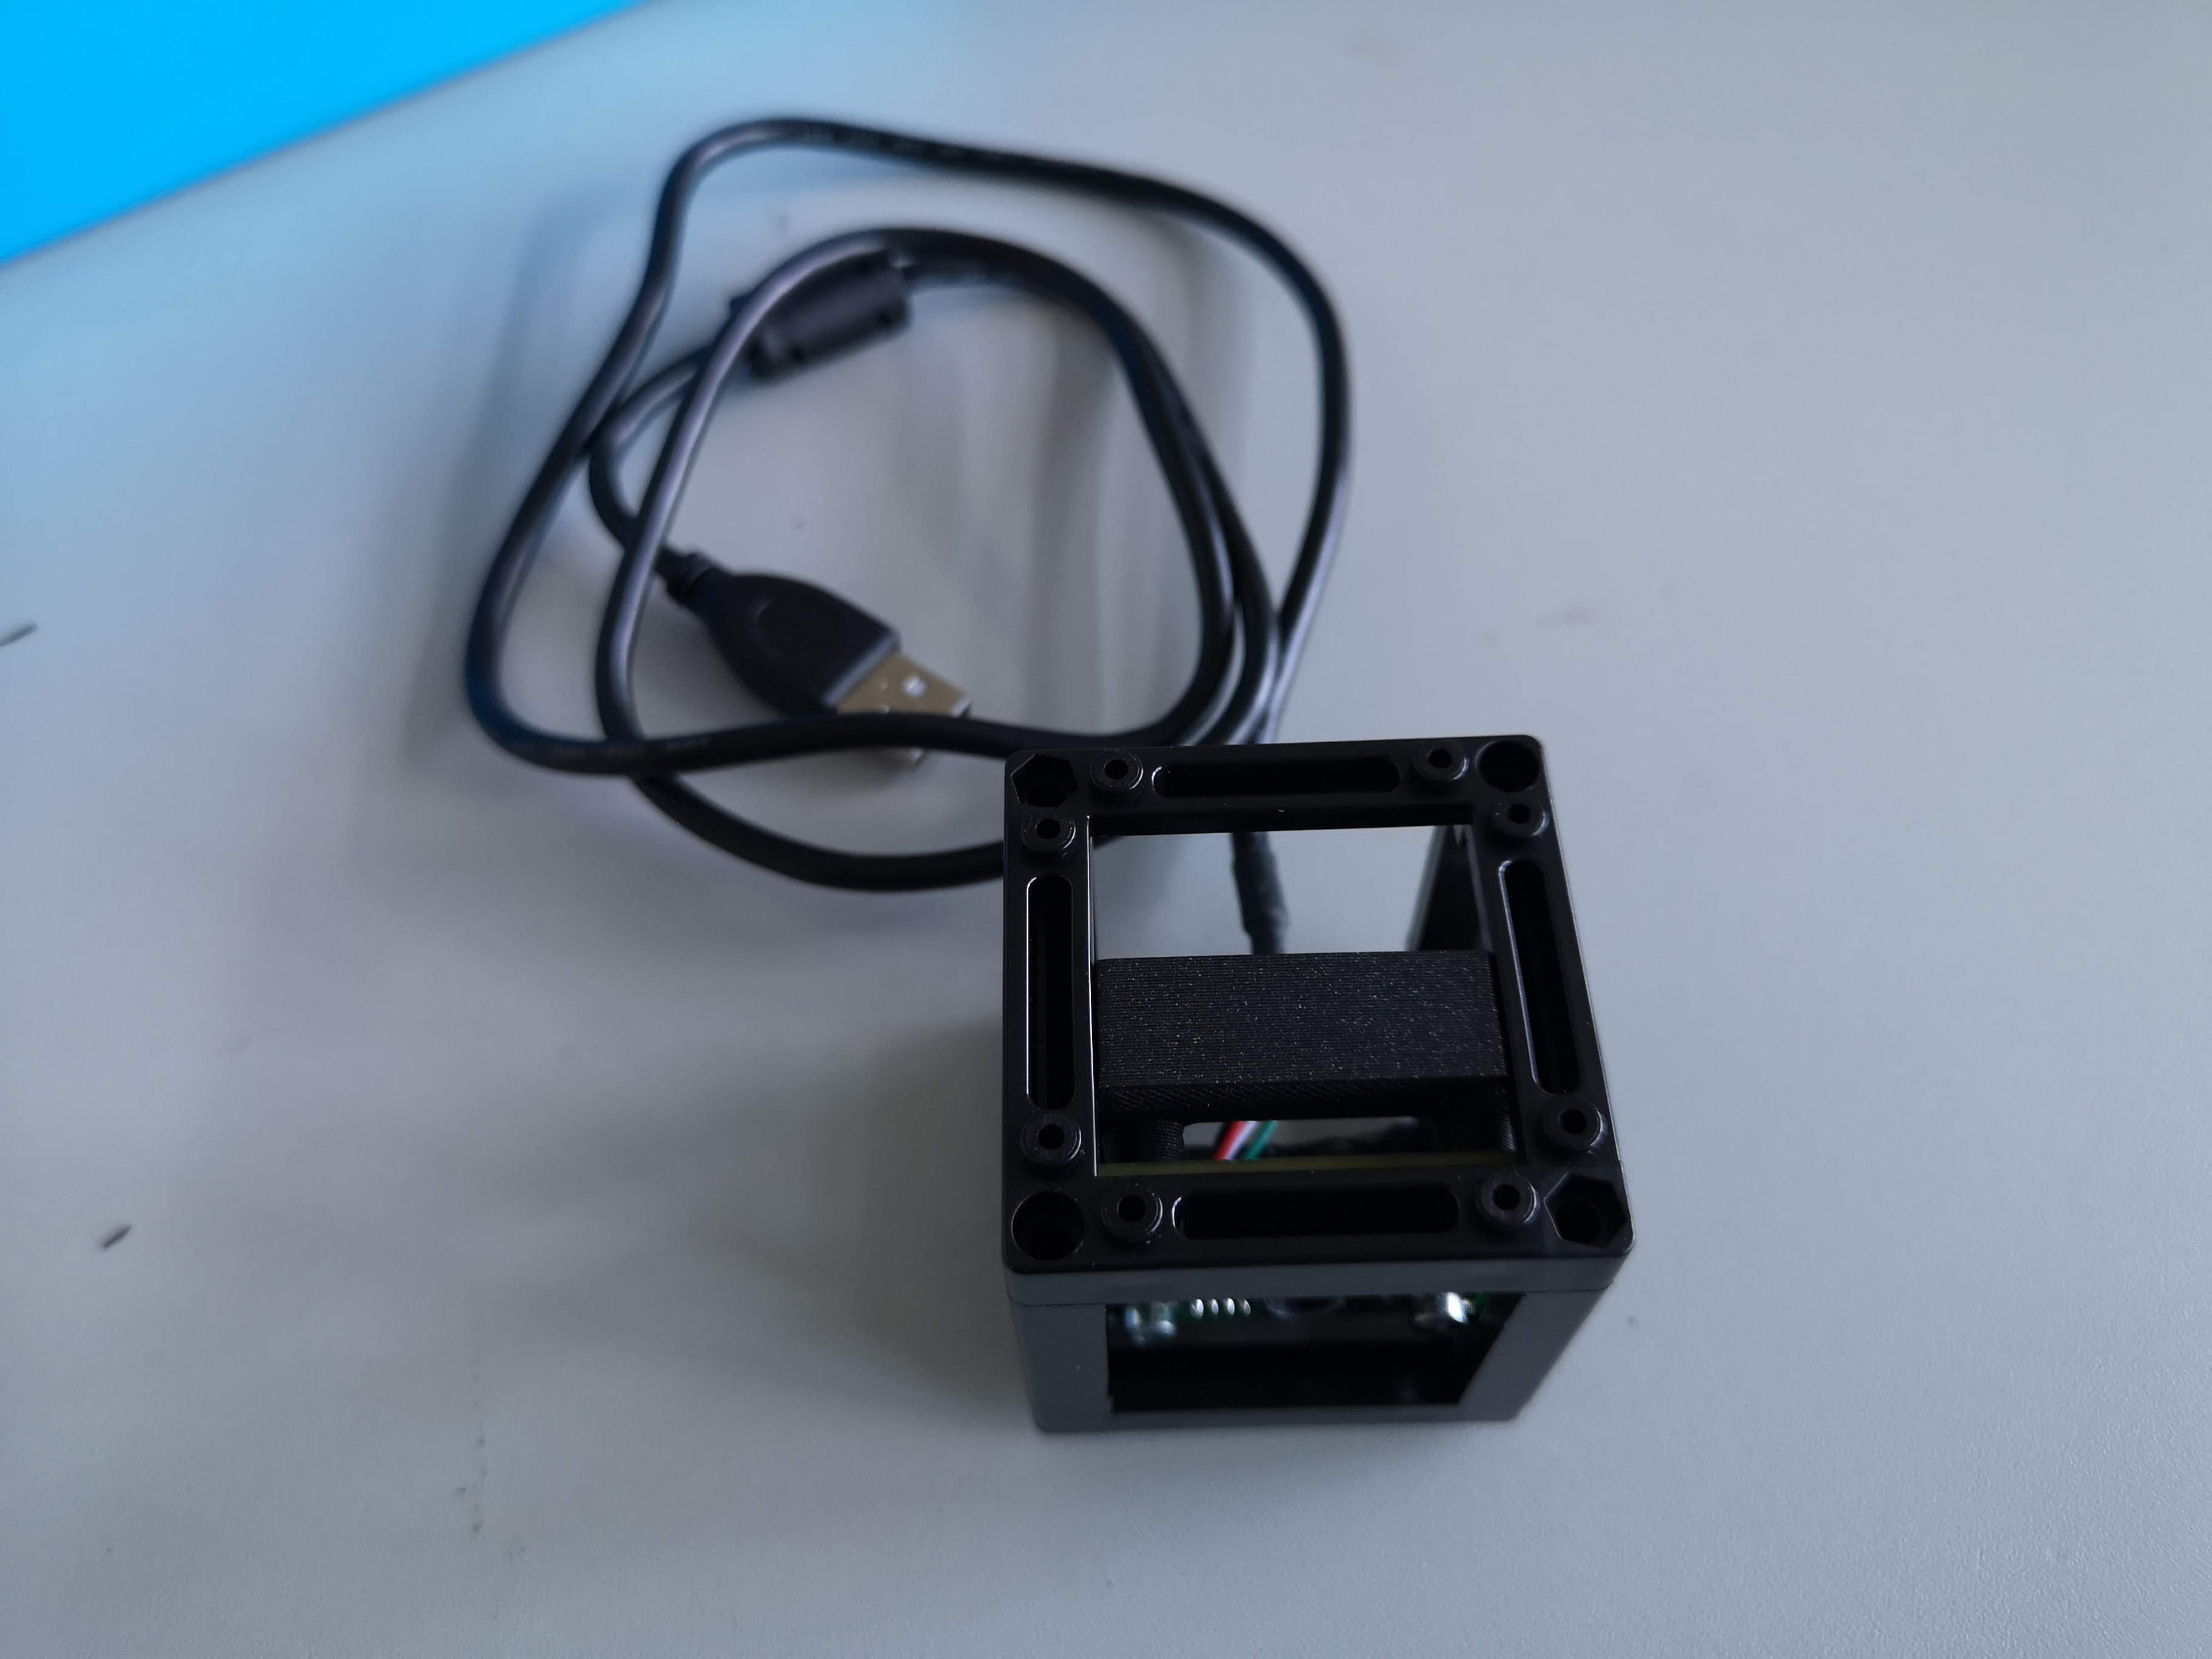
Add the insert to the cube, close it and store the cable safely.
IMX179 (Waveshare)
STEP 1
All parts you need to assemble the module:


STEP 2
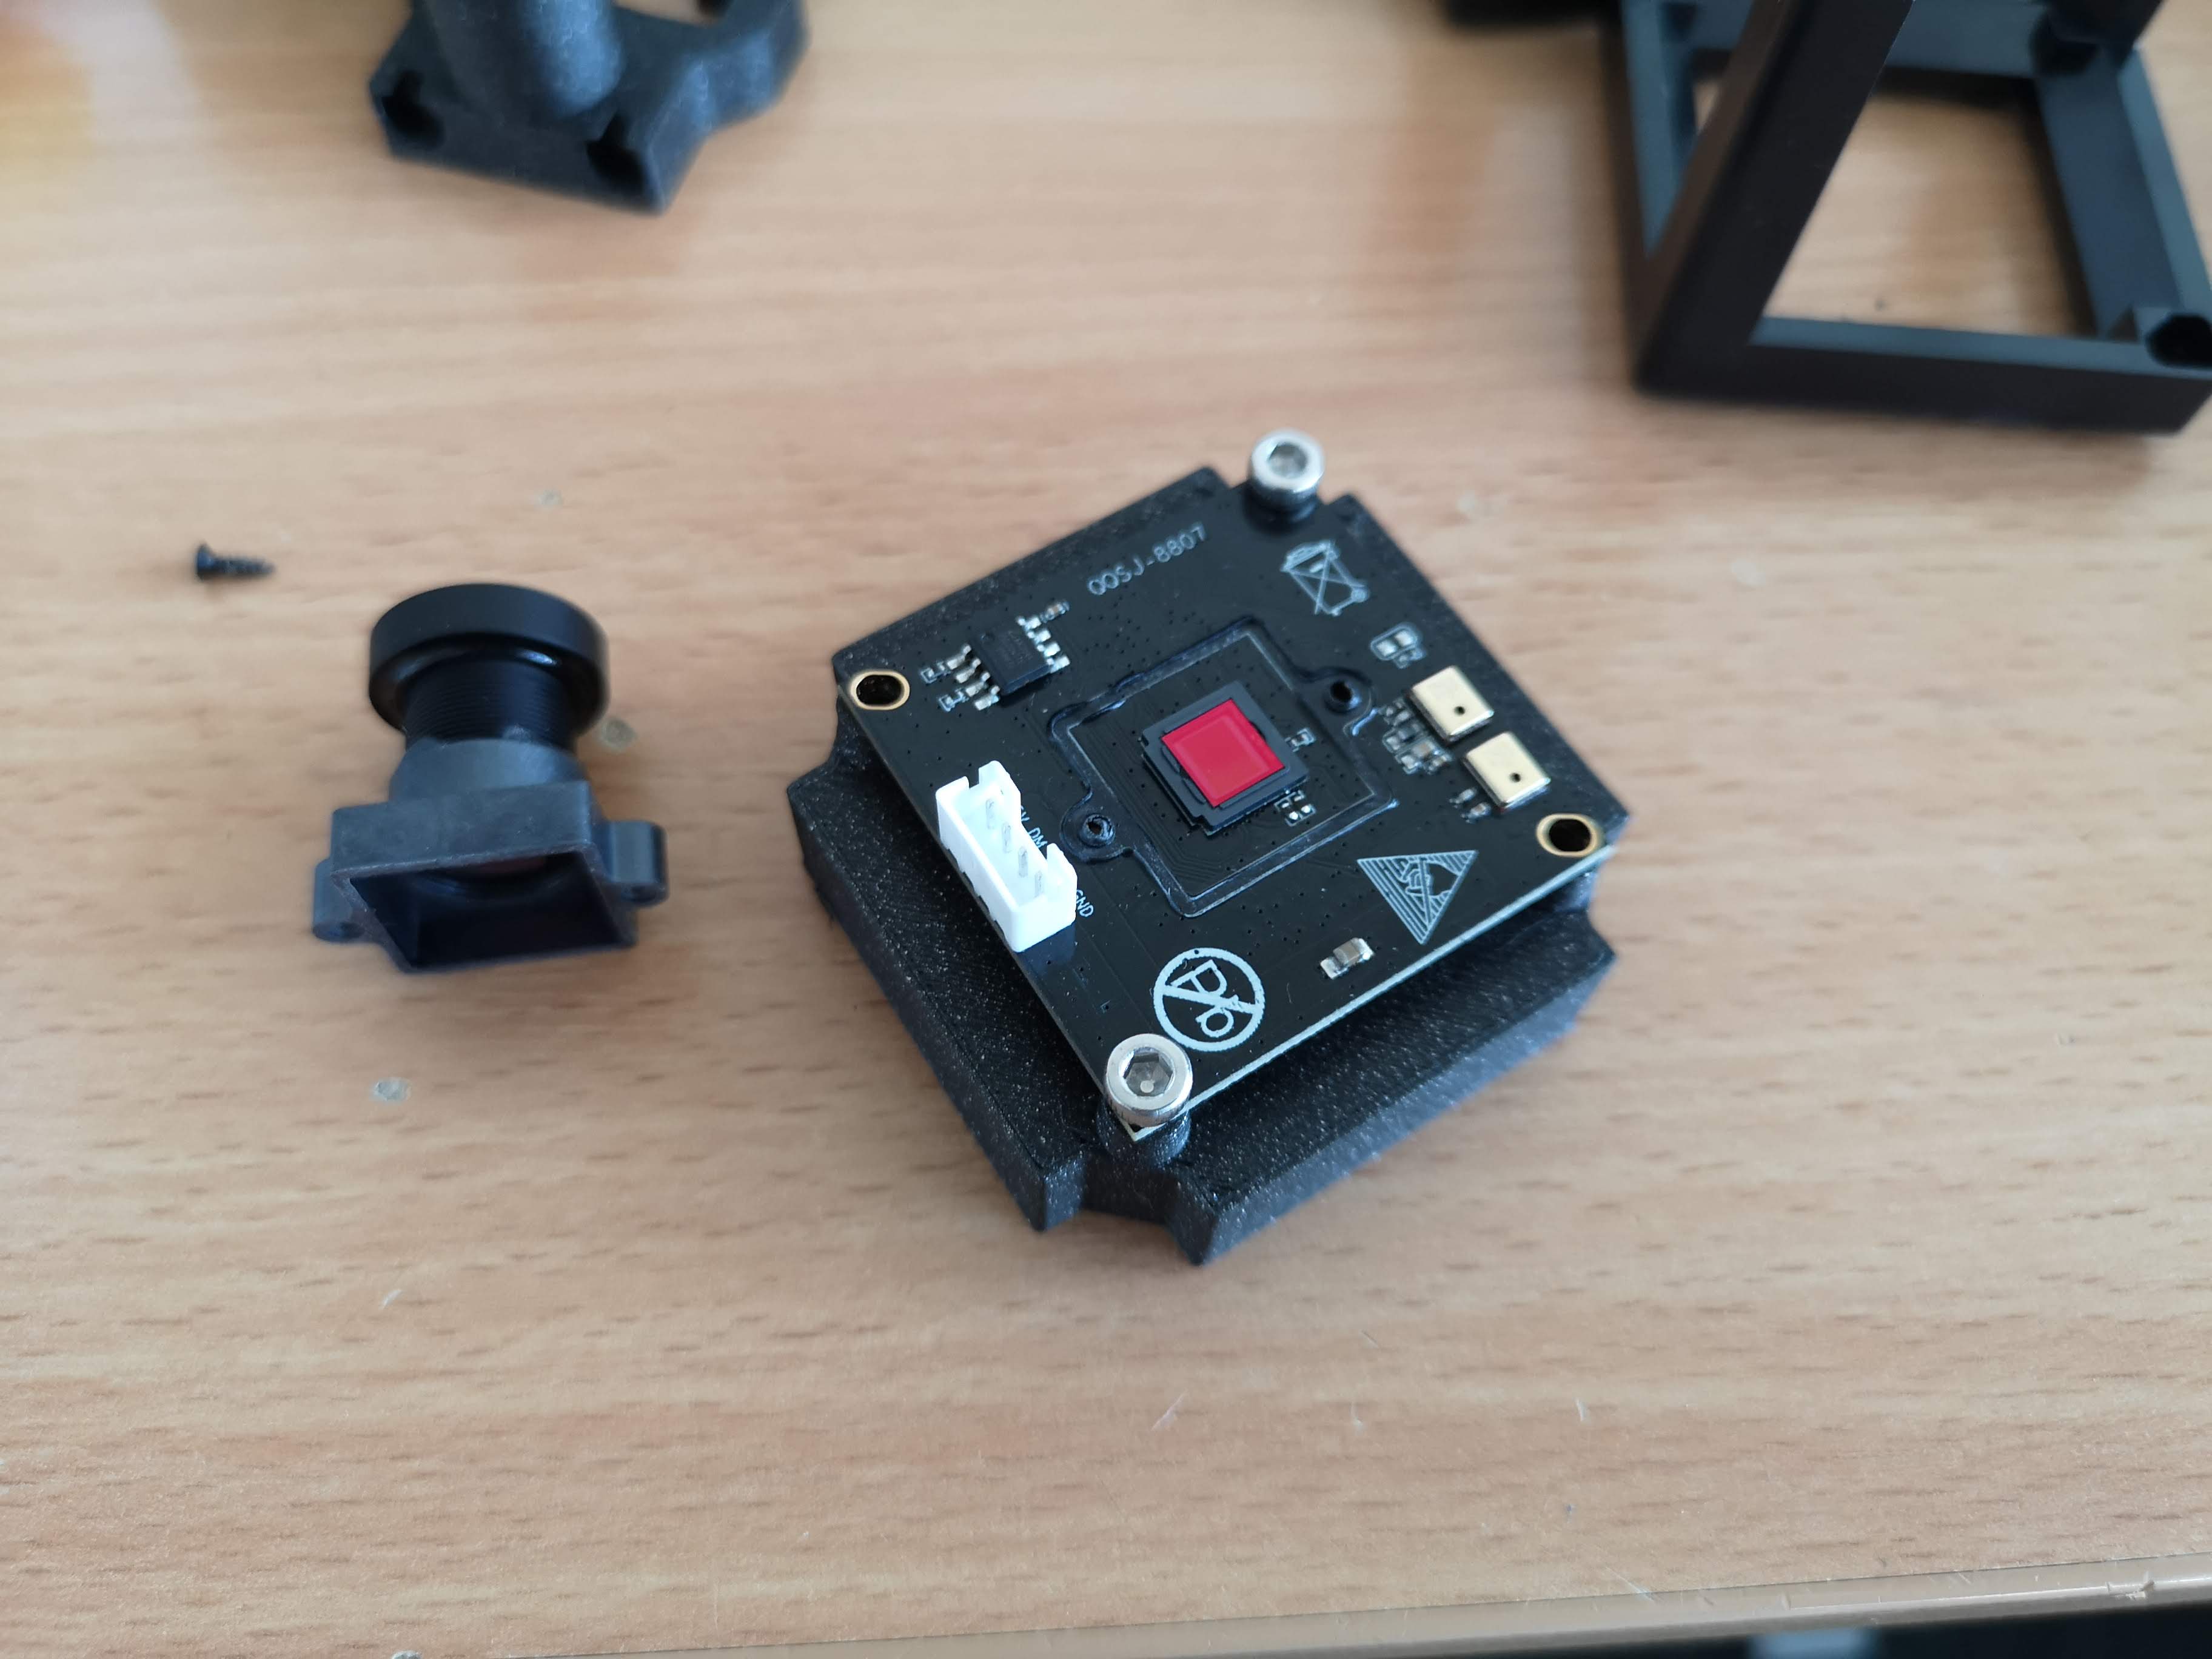
Remove the lens (M12) from the camera board using a cross key.
STEP 3
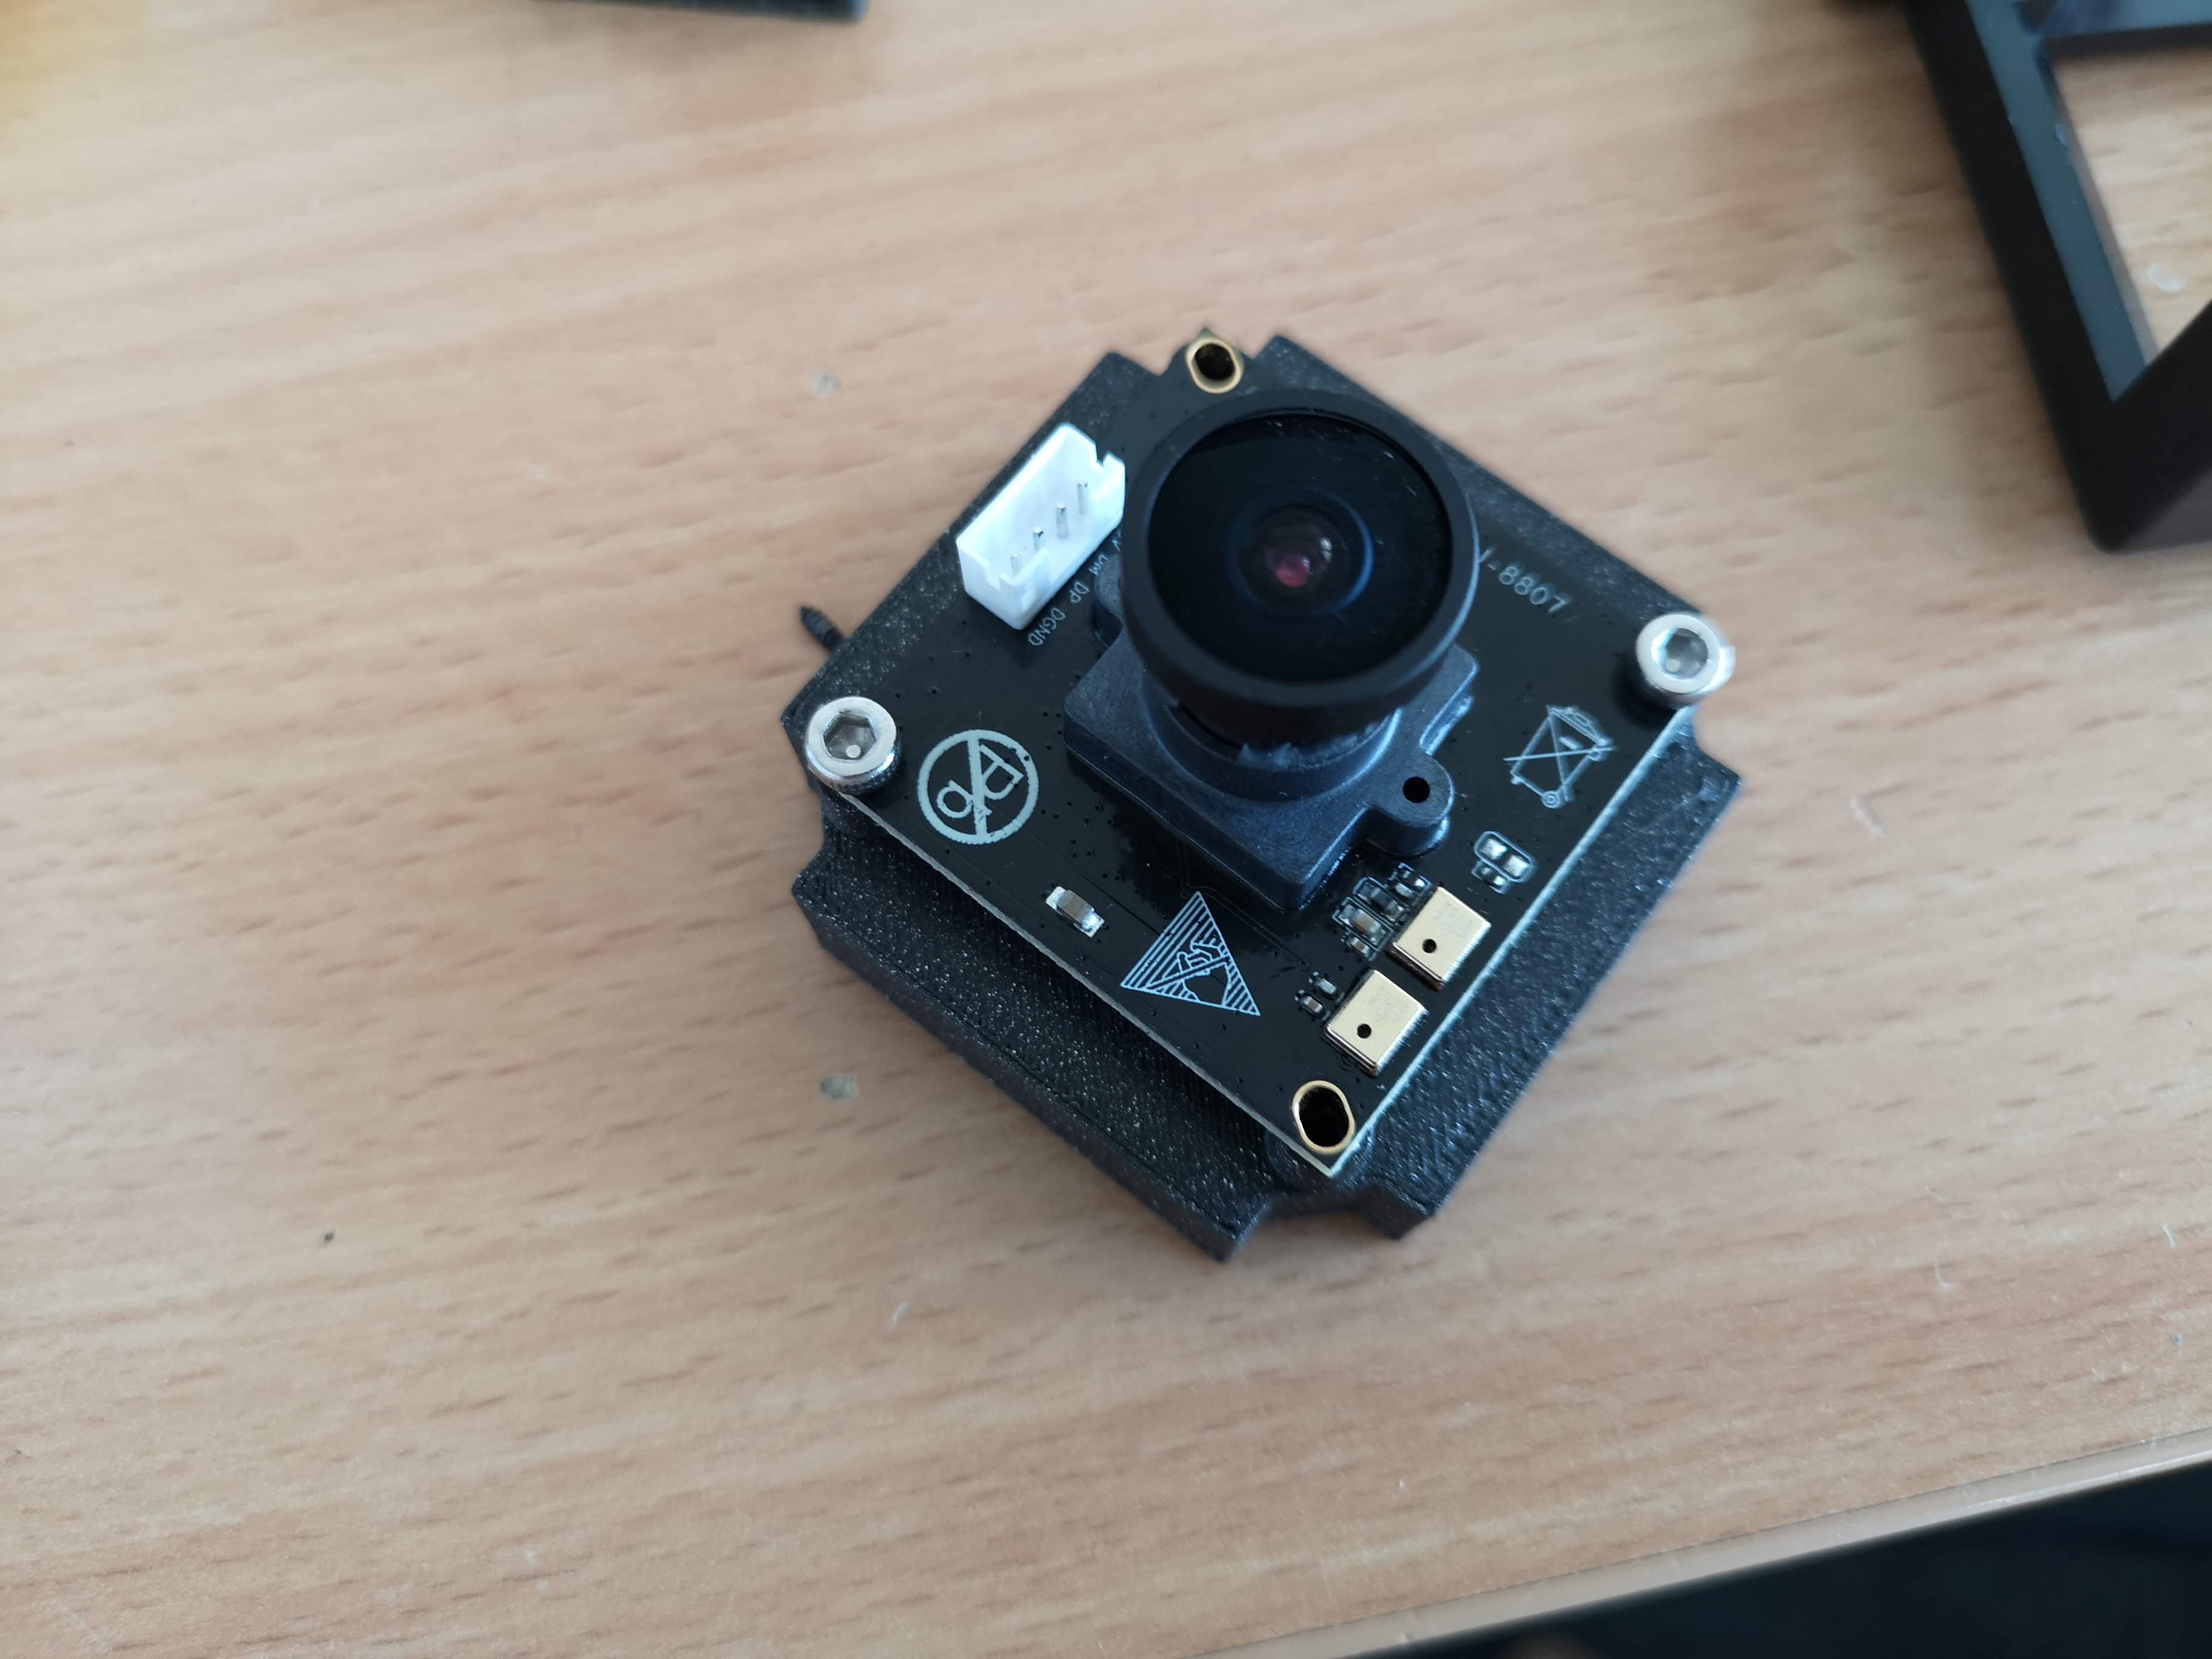
Use the DIN912 M3x12mm screws to mount the camera securely. ATTENTION: Use the centered screws to have the camera's lens in the center of the module!
STEP 4
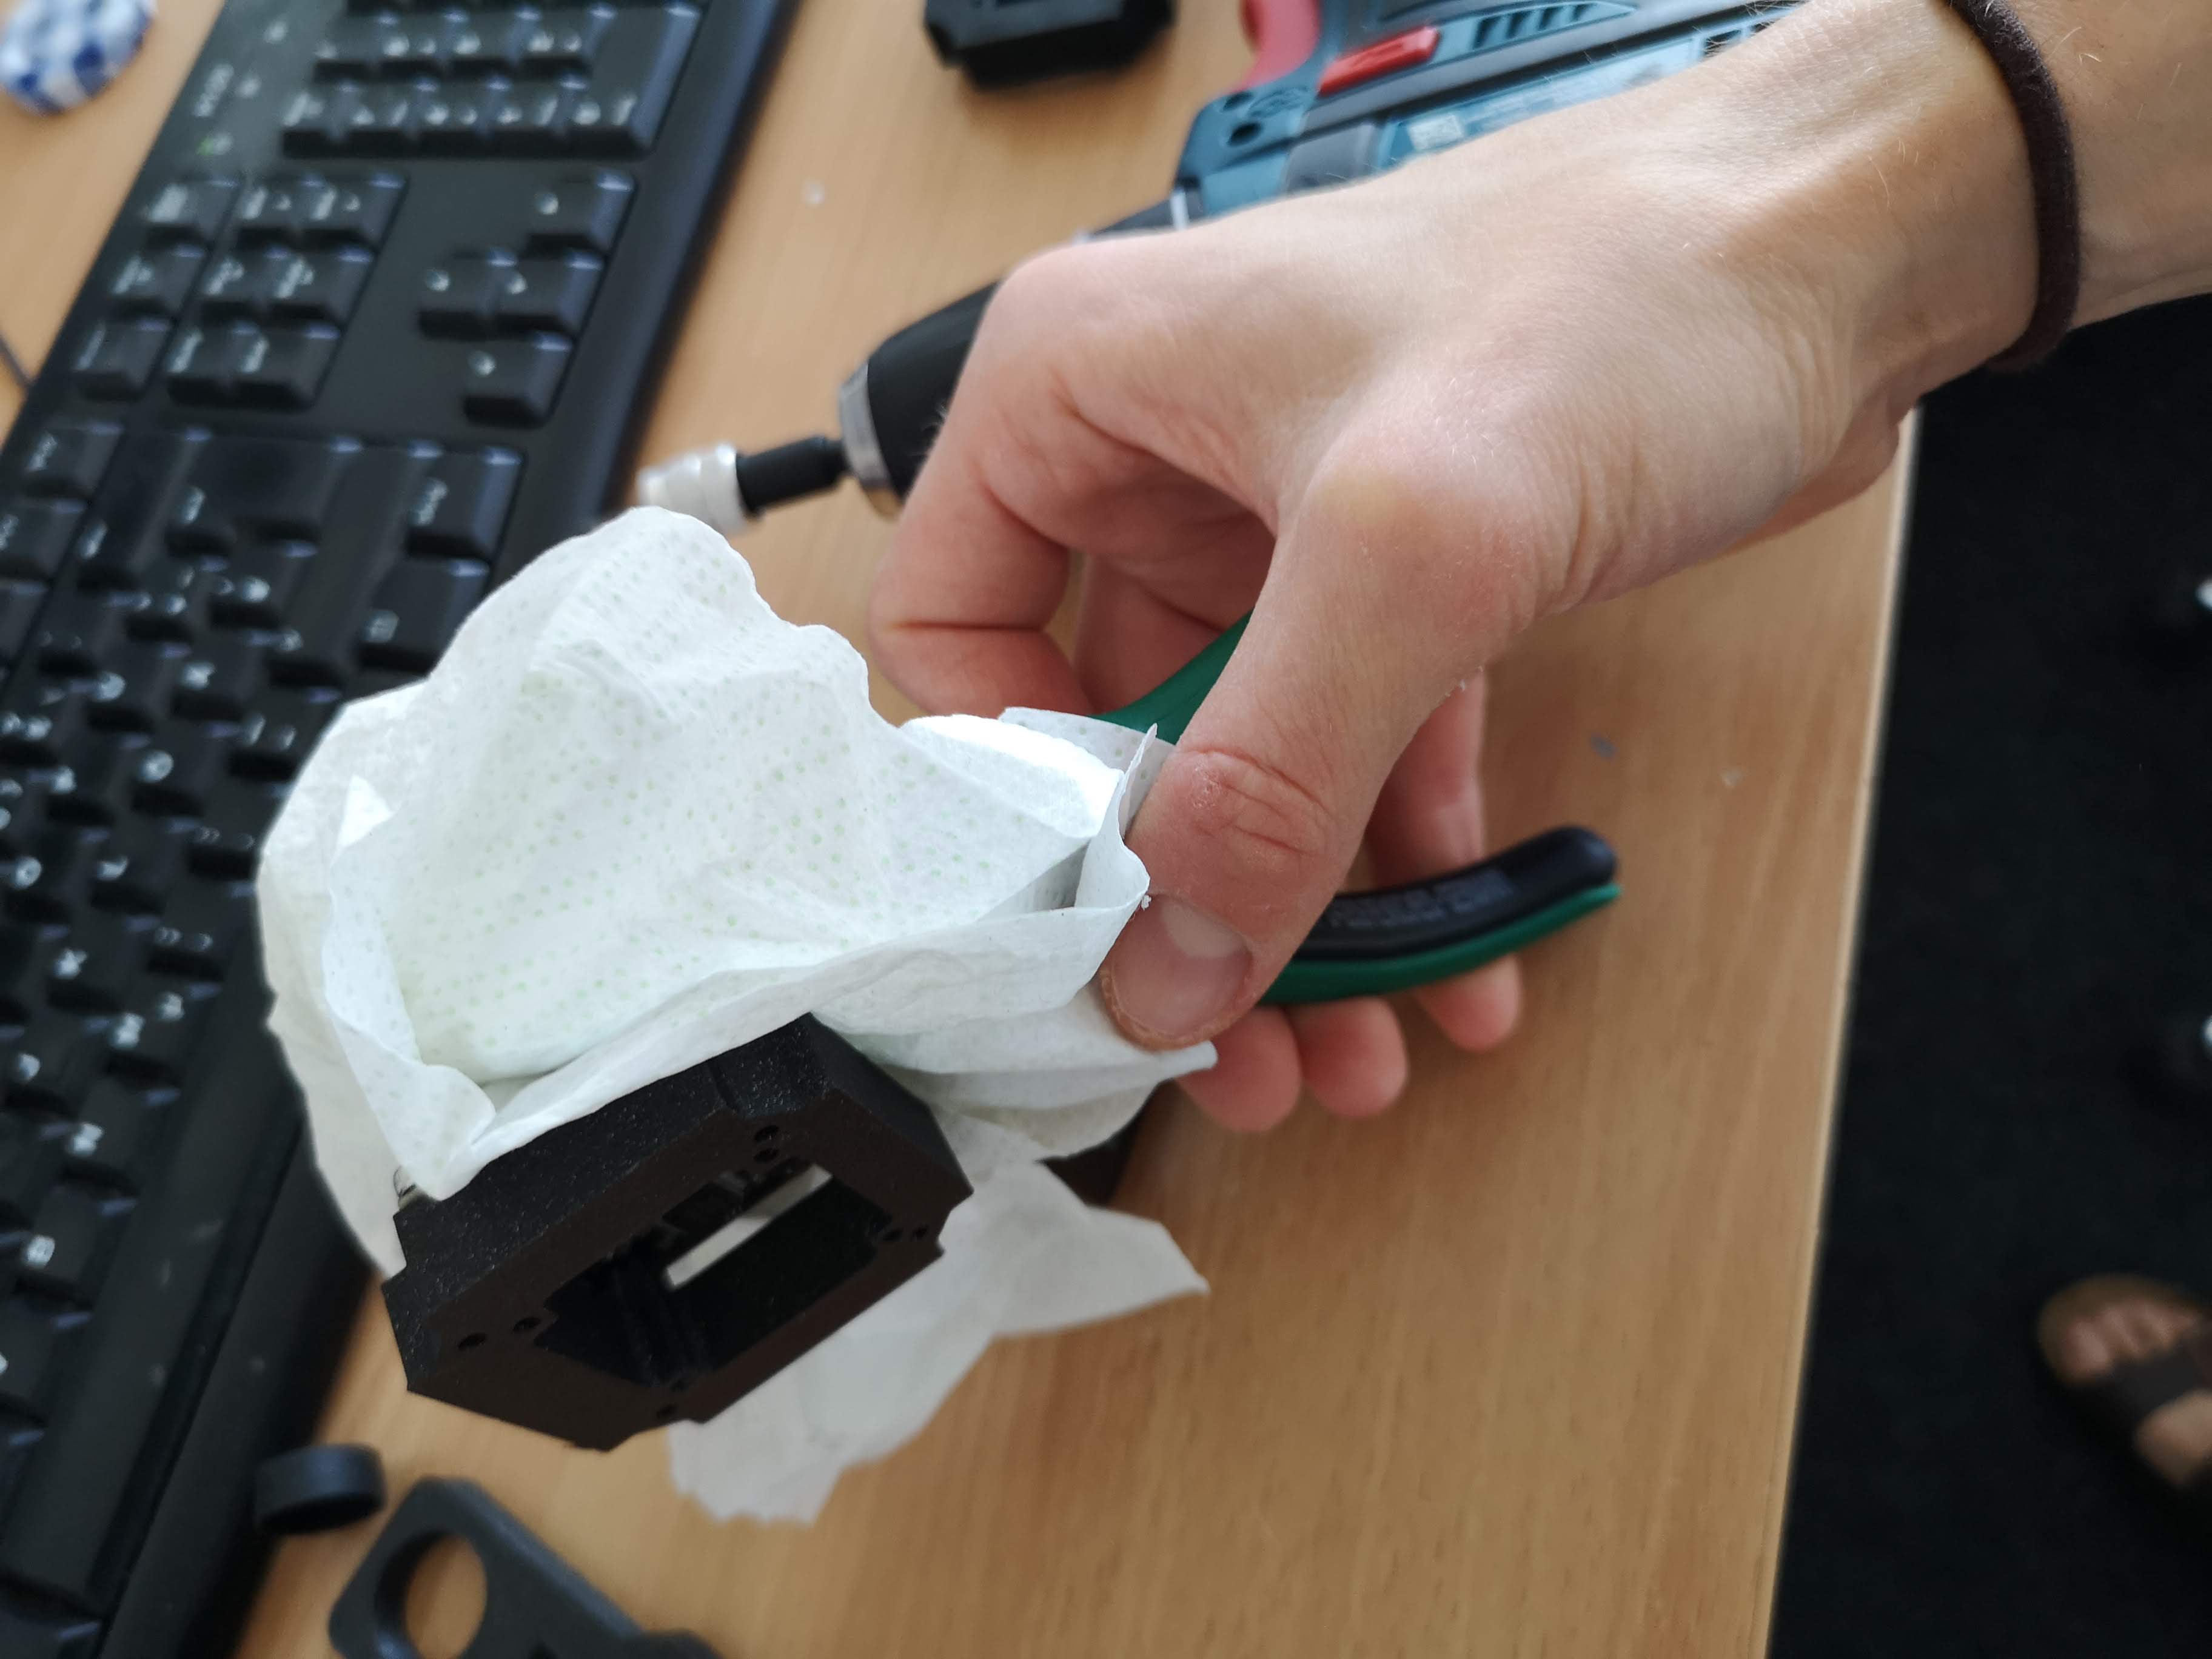
To remove the lens take a cloth/tissue and pliers and knock it of with some force. Don't break the part!
STEP 5
Add the part to the cube and you're done.
Design files
The original design files are in the INVENTOR folder.