openUC2 FiveD v4
Design Files
:::warn Coming soon-ish :::
Version 4
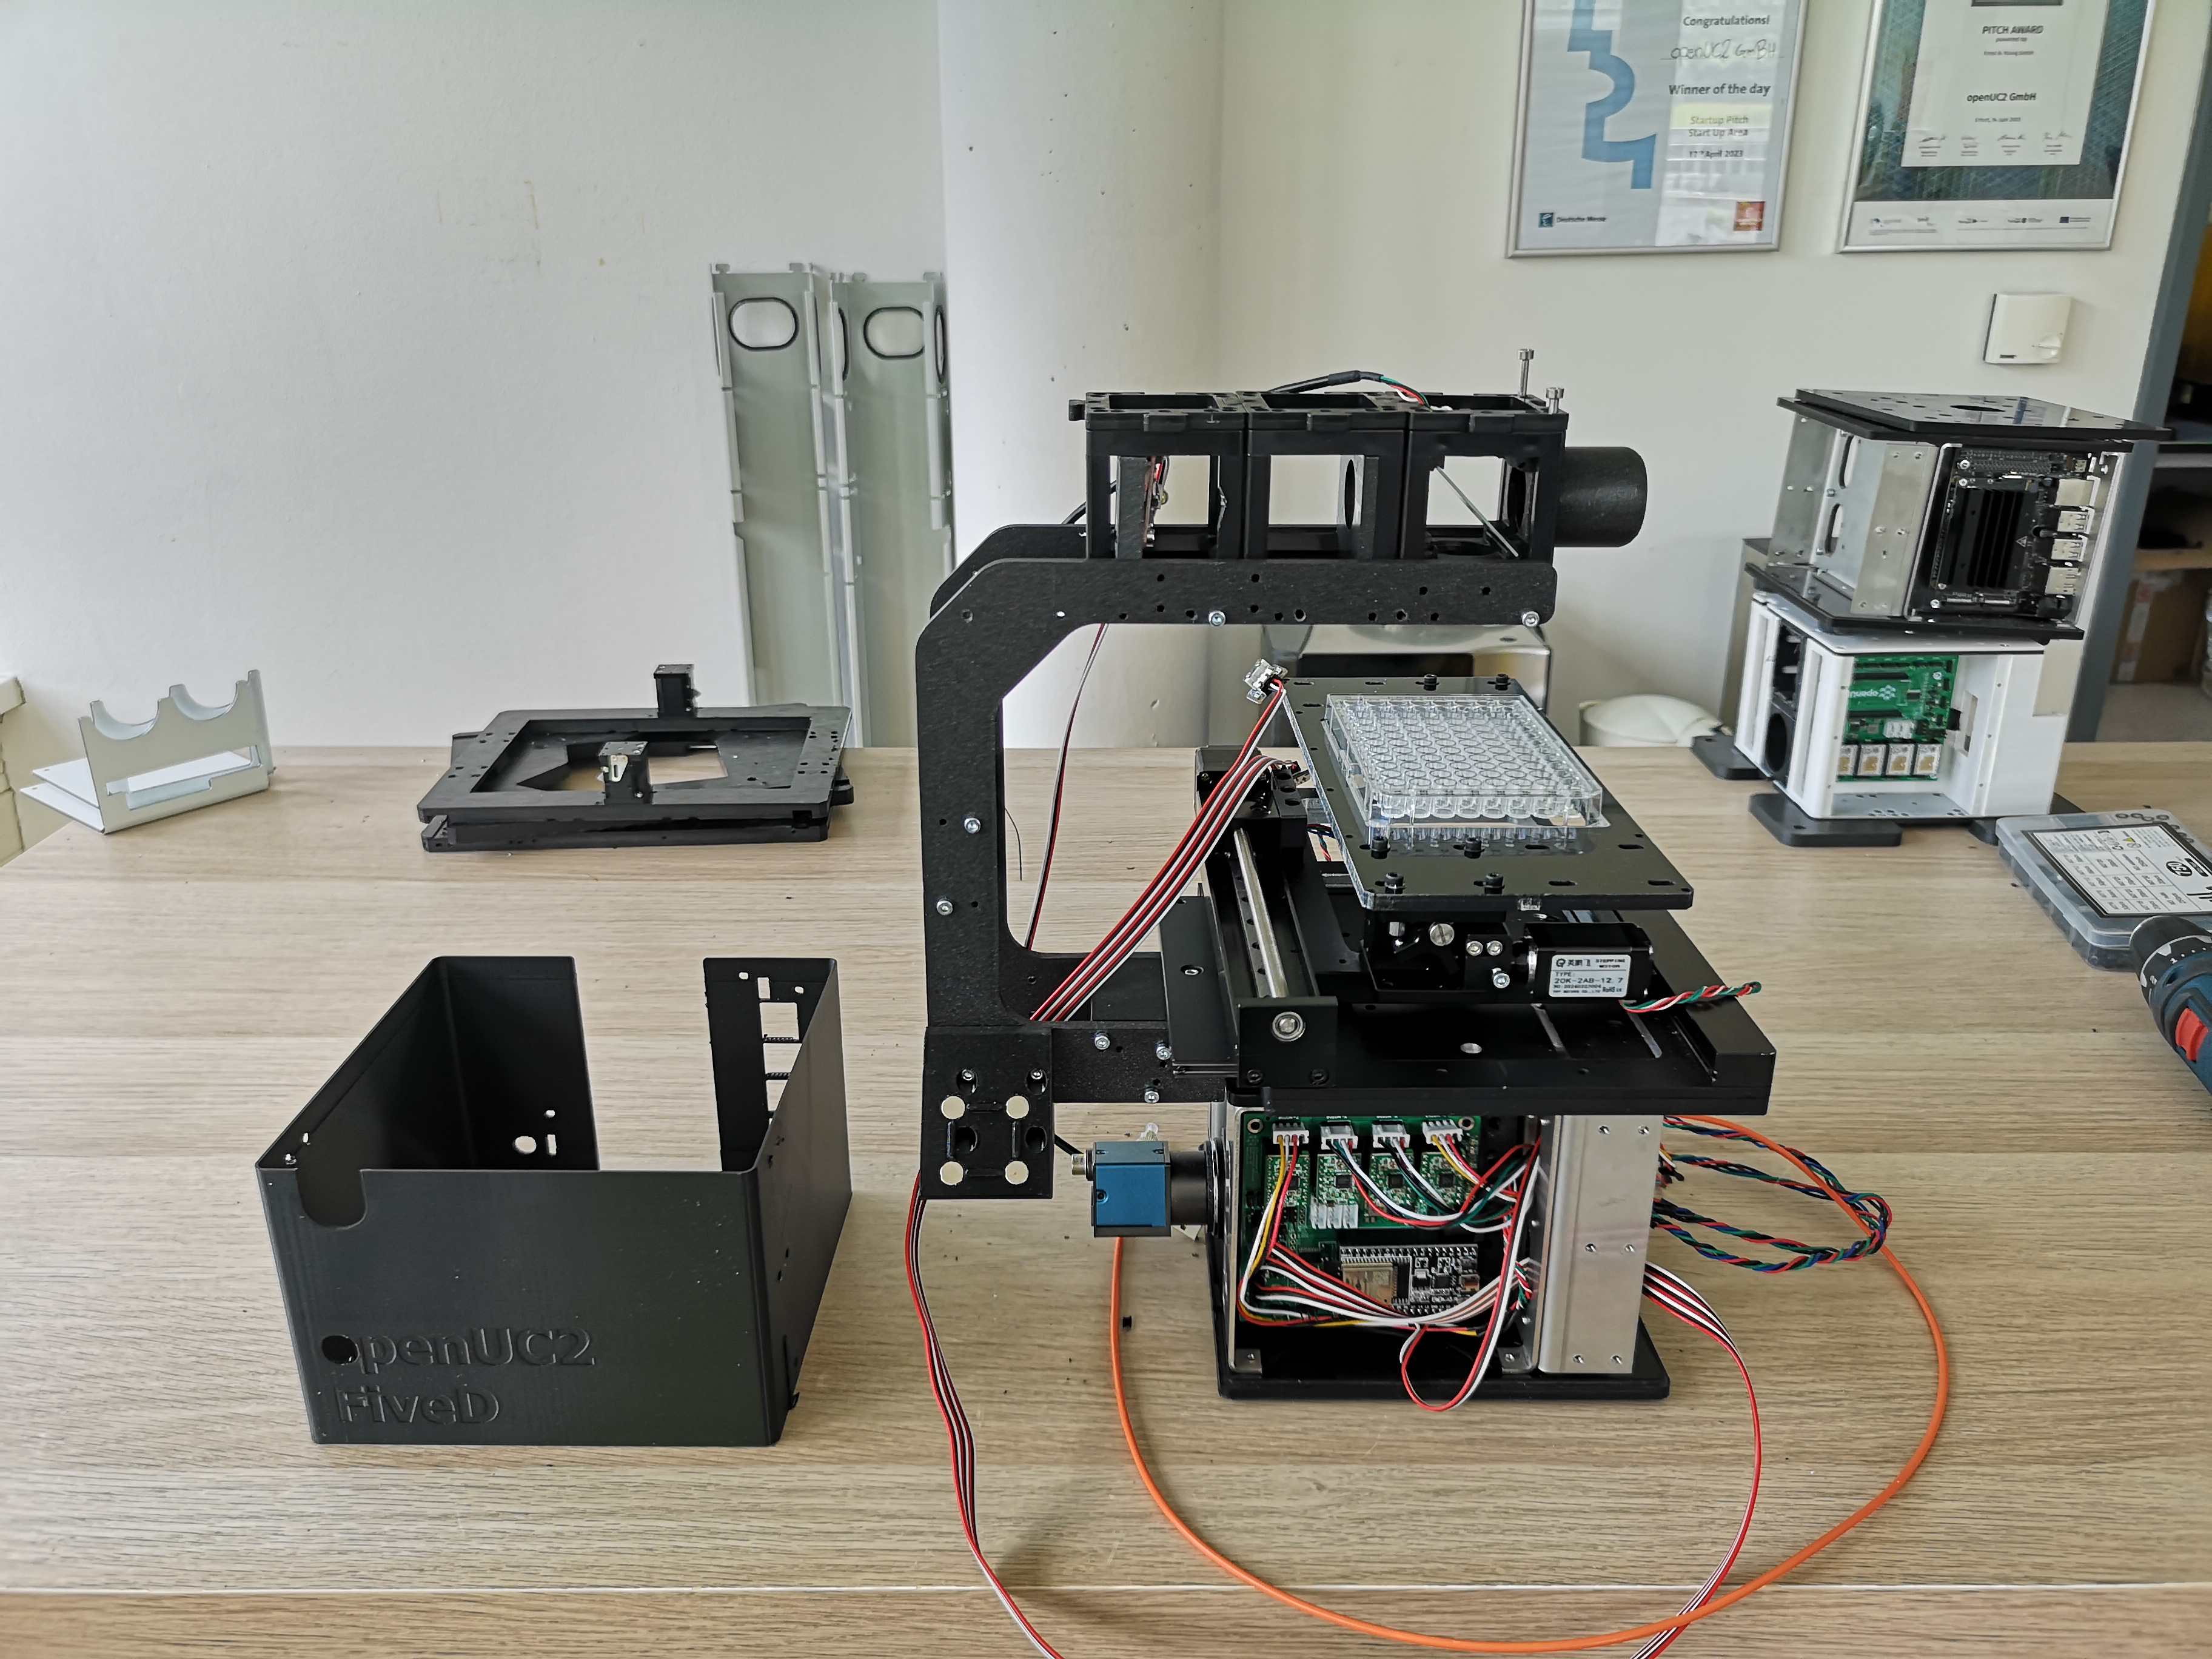
This is a novel version of the XYZ microscope that also includes fluorescence imaging. It is not based on the UC2 cubes anymore but featues a monolithic body that is not made out of metal sheet!
More information are comming soon!
Introduction
A first video explains the basic operation of the device
Software
The device runs using ImSwitch with the following Configuration. Find the ImSwitch Installer here: https://github.com/openUC2/ImSwitchInstaller/releases/tag/v0.0.2 (go to latest release)
{
  "positioners": {
    "ESP32Stage": {
      "managerName": "ESP32StageManager",
      "managerProperties": {
        "rs232device": "ESP32",
        "isEnable": true,
        "enableauto": false,
        "stepsizeX": -0.3125,
        "stepsizeY": -0.3125,
        "stepsizeZ": 0.3125,
        "homeSpeedX": 15000,
        "homeSpeedY": 15000,
        "homeSpeedZ": 15000,
        "isDualaxis": true,
        "homeDirectionX": 1,
        "backlashXOld": 15,
        "backlashYOld": 40,
        "backlashX": 0,
        "backlashY": 0,
        "homeEndstoppolarityY": 0,
        "homeDirectionY": -1,
        "homeDirectionZ": 0,
        "homeXenabled": 1,
        "homeYenabled": 1,
        "homeZenabled": 0,
        "initialSpeed": {
          "X": 15000,
          "Y": 15000,
          "Z": 15000
        }
      },
      "axes": [
        "X",
        "Y",
        "Z"
      ],
      "forScanning": true,
      "forPositioning": true
    }
  },
  "rs232devices": {
    "ESP32": {
      "managerName": "ESP32Manager",
      "managerProperties": {
        "host_": "192.168.43.129",
        "serialport": "COM5",
        "baudrate":115200,
        "debug":1
      }
    }
  },
  "lasers": {
    "LED": {
        "analogChannel": null,
        "digitalLine": null,
        "managerName": "ESP32LEDLaserManager",
        "managerProperties": {
          "rs232device": "ESP32",
          "channel_index": 1
        },
        "wavelength": 0,
        "valueRangeMin": 0,
        "valueRangeMax": 1023
      },
      "Laser 488": {
        "analogChannel": null,
        "digitalLine": null,
        "managerName": "ESP32LEDLaserManager",
        "managerProperties": {
          "rs232device": "ESP32",
          "channel_index": 2
        },
        "wavelength": 635,
        "valueRangeMin": 0,
        "valueRangeMax": 1023
      },
      "Laser 635": {
        "analogChannel": null,
        "digitalLine": null,
        "managerName": "ESP32LEDLaserManager",
        "managerProperties": {
          "rs232device": "ESP32",
          "channel_index": 3
        },
        "wavelength": 488,
        "valueRangeMin": 0,
        "valueRangeMax": 1023
      }

    },
  "detectors": {
    "WidefieldCamera": {
      "analogChannel": null,
      "digitalLine": null,
      "managerName": "HikCamManager",
      "managerProperties": {
        "isRGB": 1,
        "cameraListIndex": 0,
        "cameraEffPixelsize": 0.2257,
        "hikcam": {
          "exposure": 0,
          "gain": 0,
          "blacklevel": 100,
          "image_width": 1000,
          "image_height": 1000
        }
      },
      "forAcquisition": true,
      "forFocusLock": true
    },
    "Observer": {
      "analogChannel": null,
      "digitalLine": null,
      "managerName": "OpenCVCamManager",
      "managerProperties": {
        "cameraListIndex": 1,
        "cameraListIndexWIN": 0,
        "isRGB":1,
        "opencvcam": {
          "exposure": 10
        }
      },
      "forAcquisition": true
    }
  },
  "autofocus": {
    "camera": "WidefieldCamera",
    "positioner": "ESP32Stage",
    "updateFreq": 10,
    "frameCropx": 780,
    "frameCropy": 400,
    "frameCropw": 500,
    "frameCroph": 100
  },
  "mct": {
    "monitorIdx": 2,
    "width": 1080,
    "height": 1920,
    "wavelength": 0,
    "pixelSize": 0,
    "angleMount": 0,
    "patternsDirWin": "C:\\Users\\wanghaoran\\Documents\\ImSwitchConfig\\imcontrol_slm\\488\\",
    "patternsDir": "/users/bene/ImSwitchConfig/imcontrol_sim/488"
  },
  "PixelCalibration": {},
  "focusLock": {
    "camera": "WidefieldCamera",
    "positioner": "ESP32StageManager",
    "updateFreq": 4,
    "frameCropx": 0,
    "frameCropy": 0,
    "frameCropw": 0,
    "frameCroph": 0
  },
  "availableWidgets": [
    "Settings",
    "View",
    "Recording",
    "Image",
    "Laser",
    "Positioner",
    "Autofocus",
    "MCT",
    "UC2Config",
    "ImSwitchServer",
    "PixelCalibration",
    "HistoScan",
    "ROIScan"
  ],
  "nonAvailableWidgets": [
    "STORMRecon",
    "DPC",
    "Hypha",
    "FocusLock",
    "HistoScan",
    "FocusLock",
    "FOVLock"
  ]
}
Assembly Instructions
Assembly of the Optics Cube
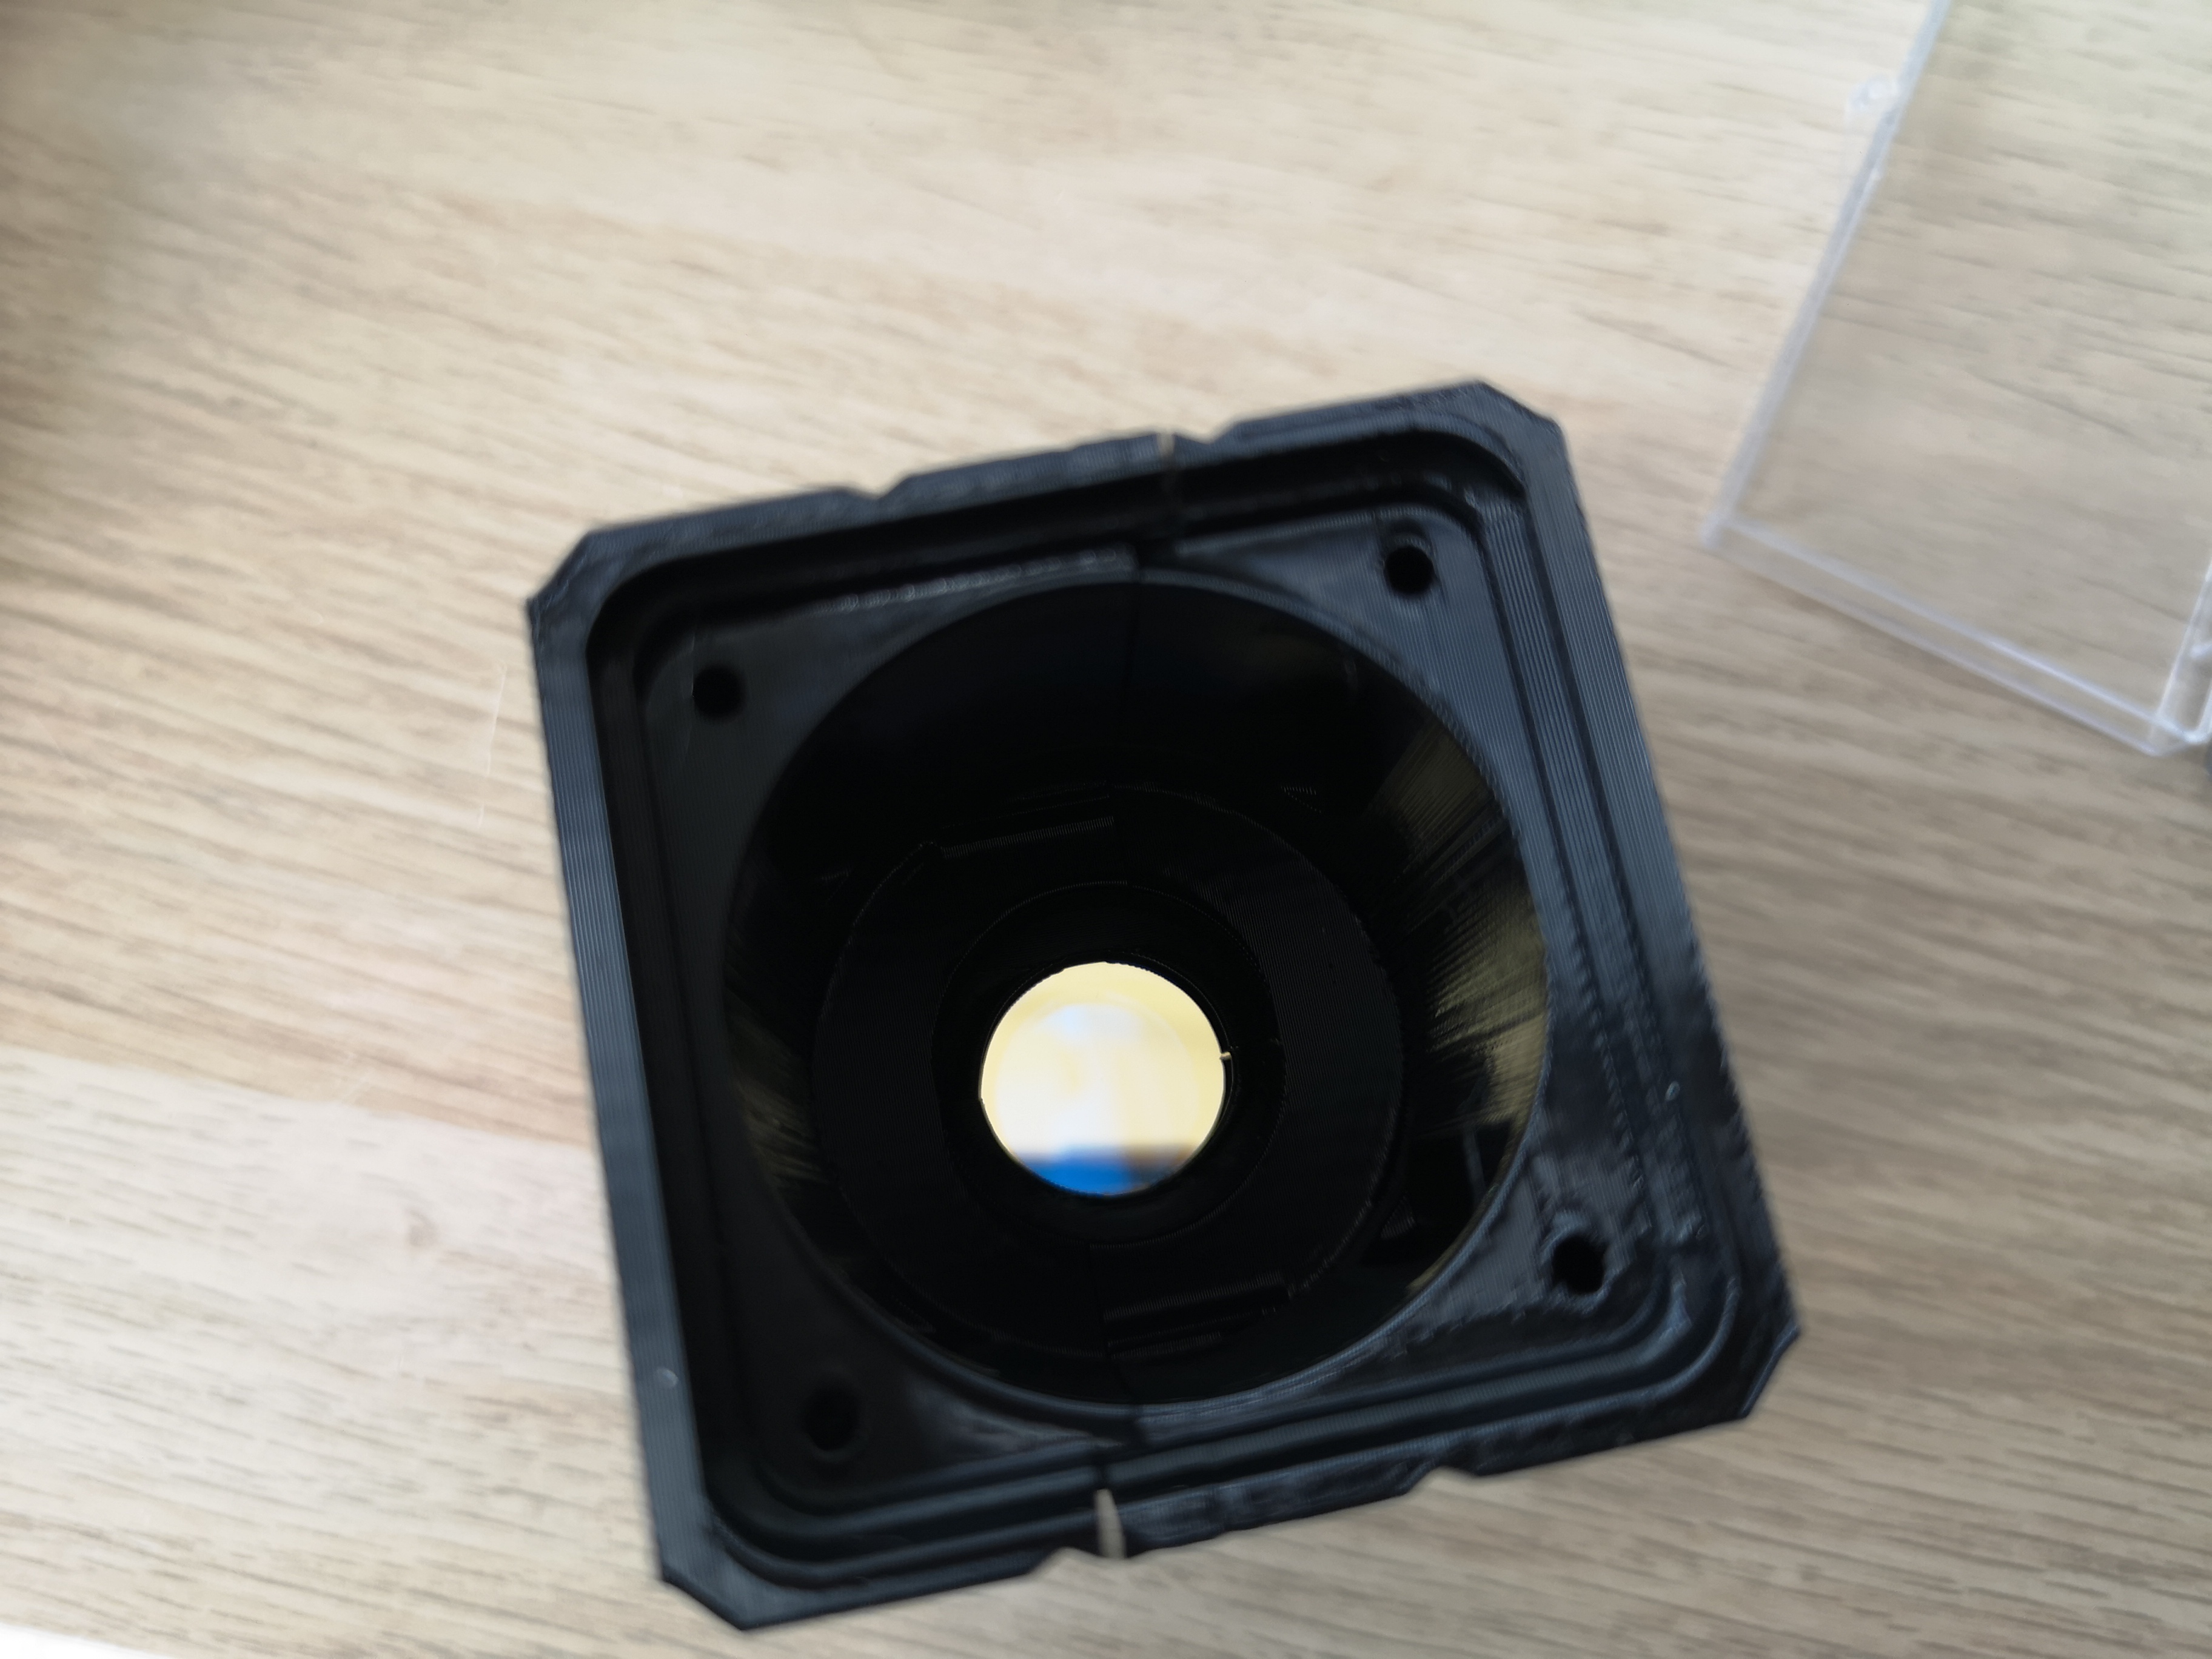
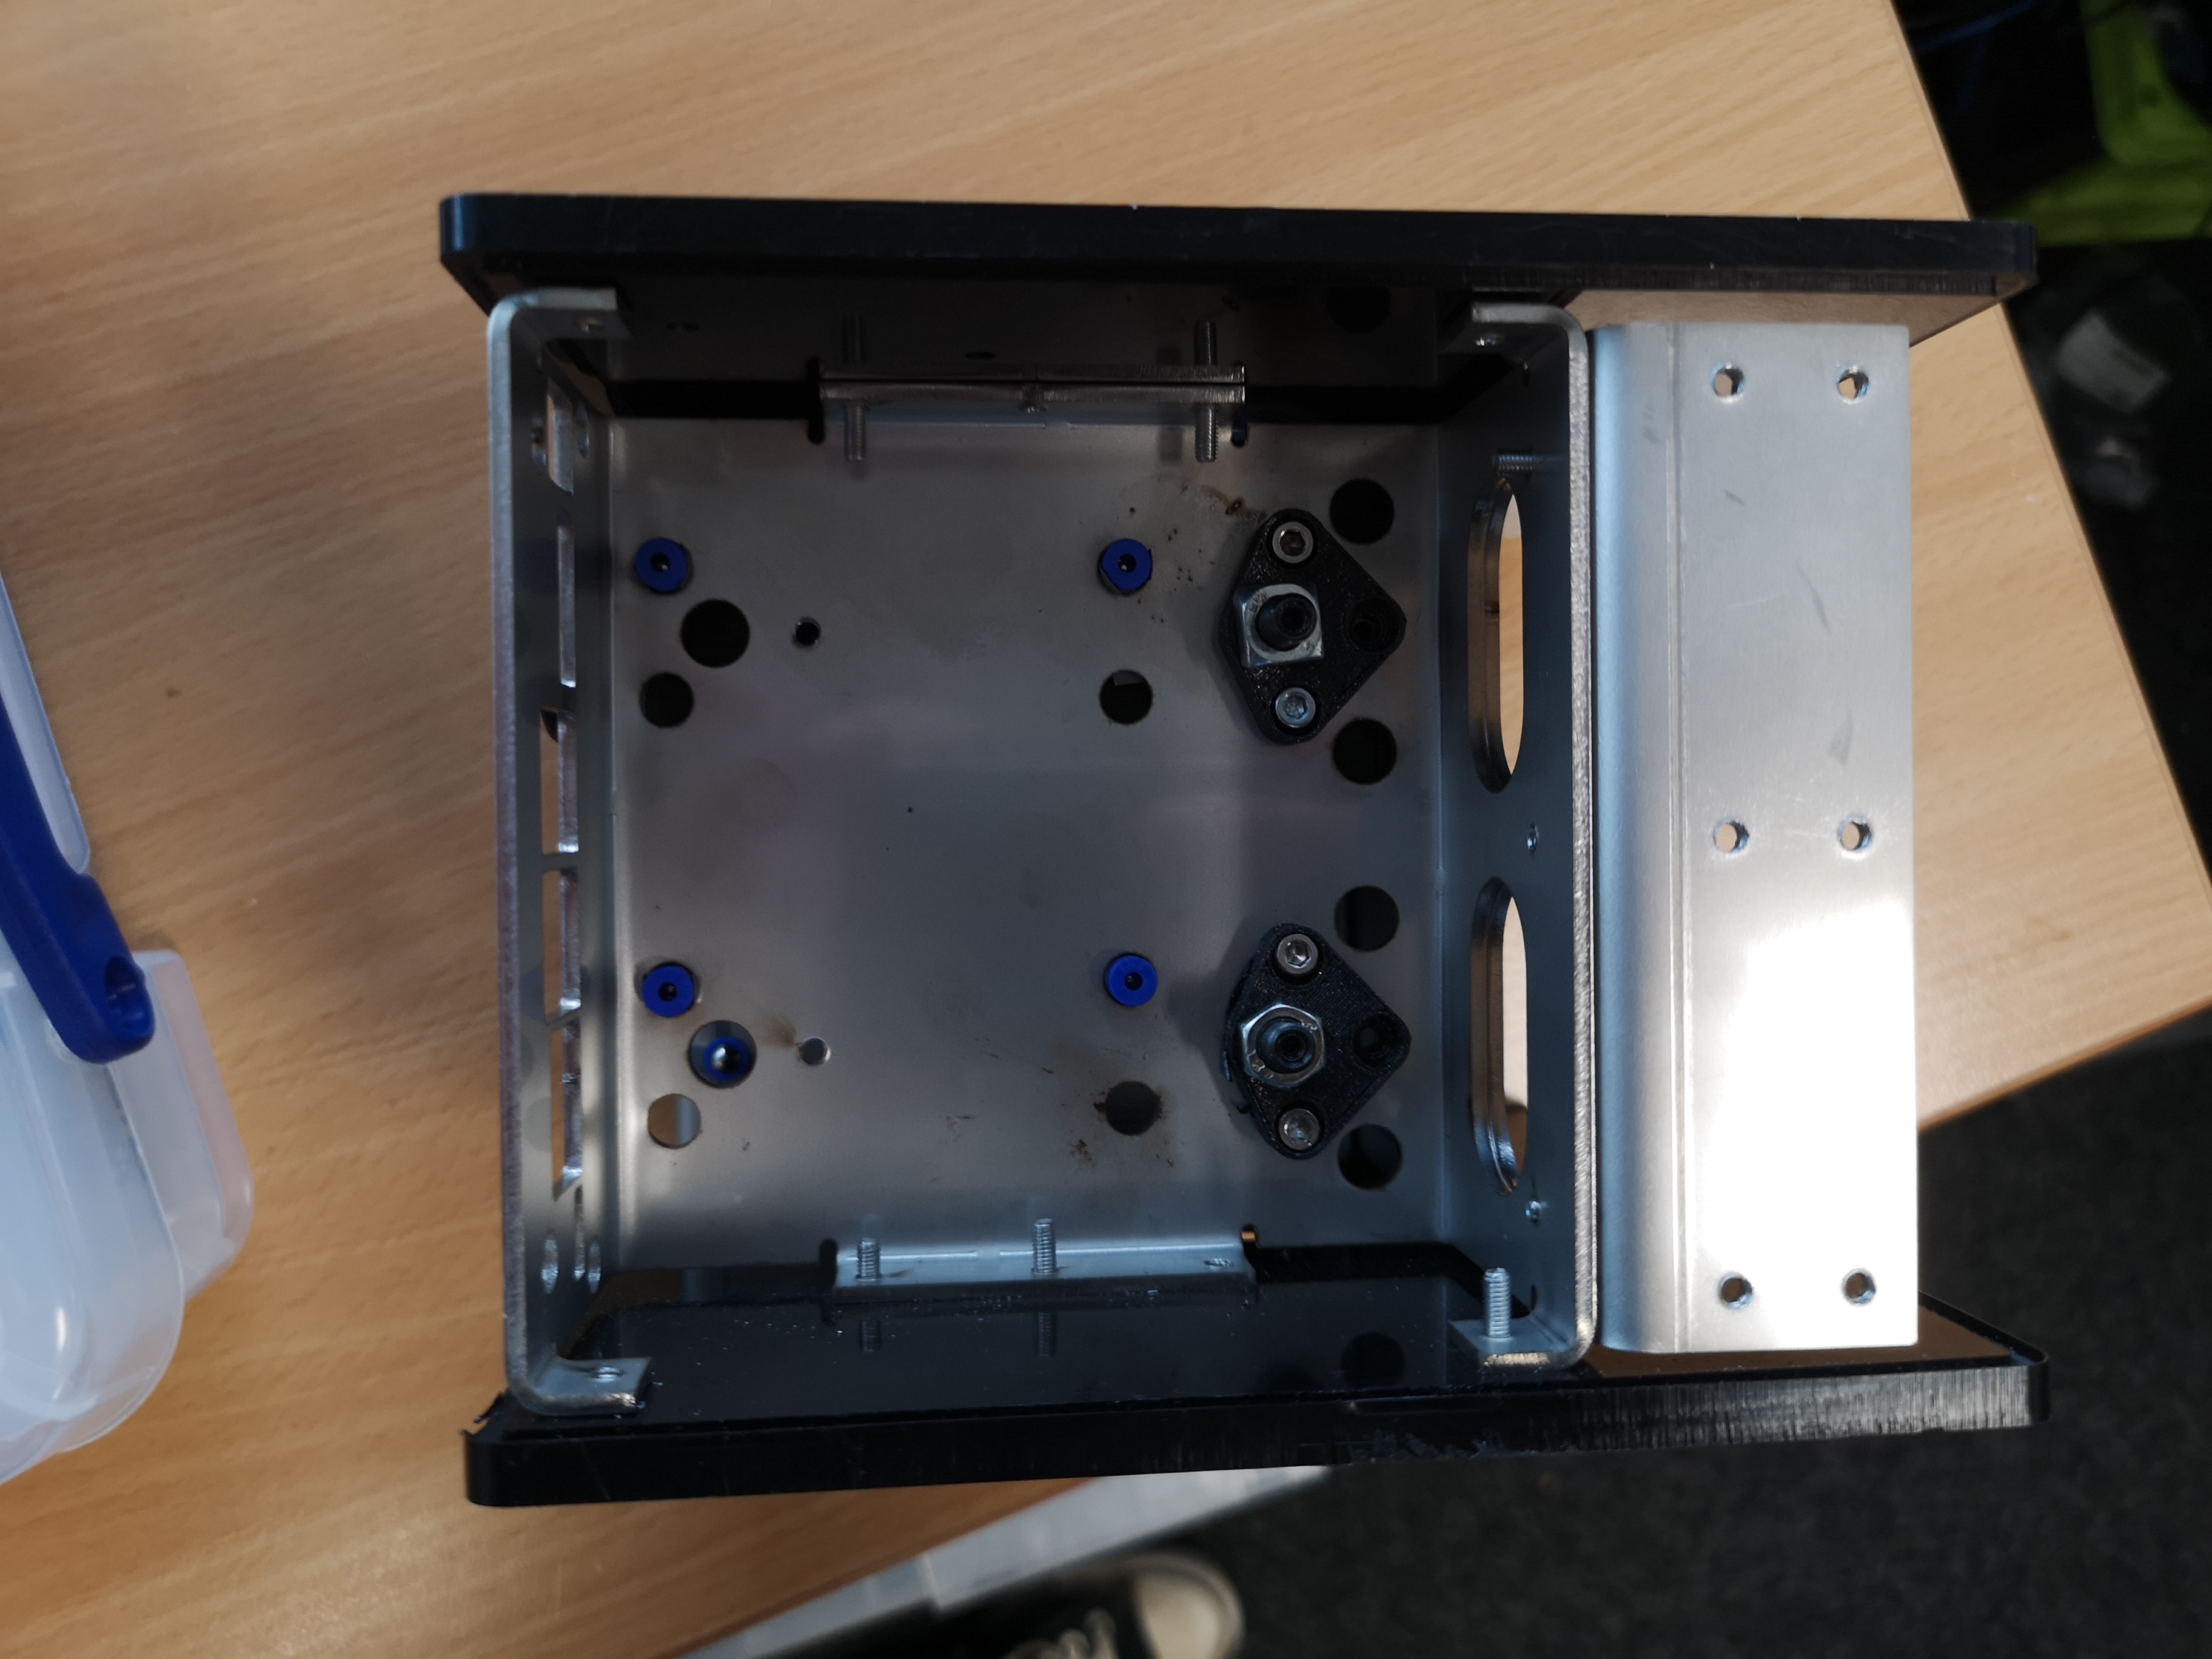
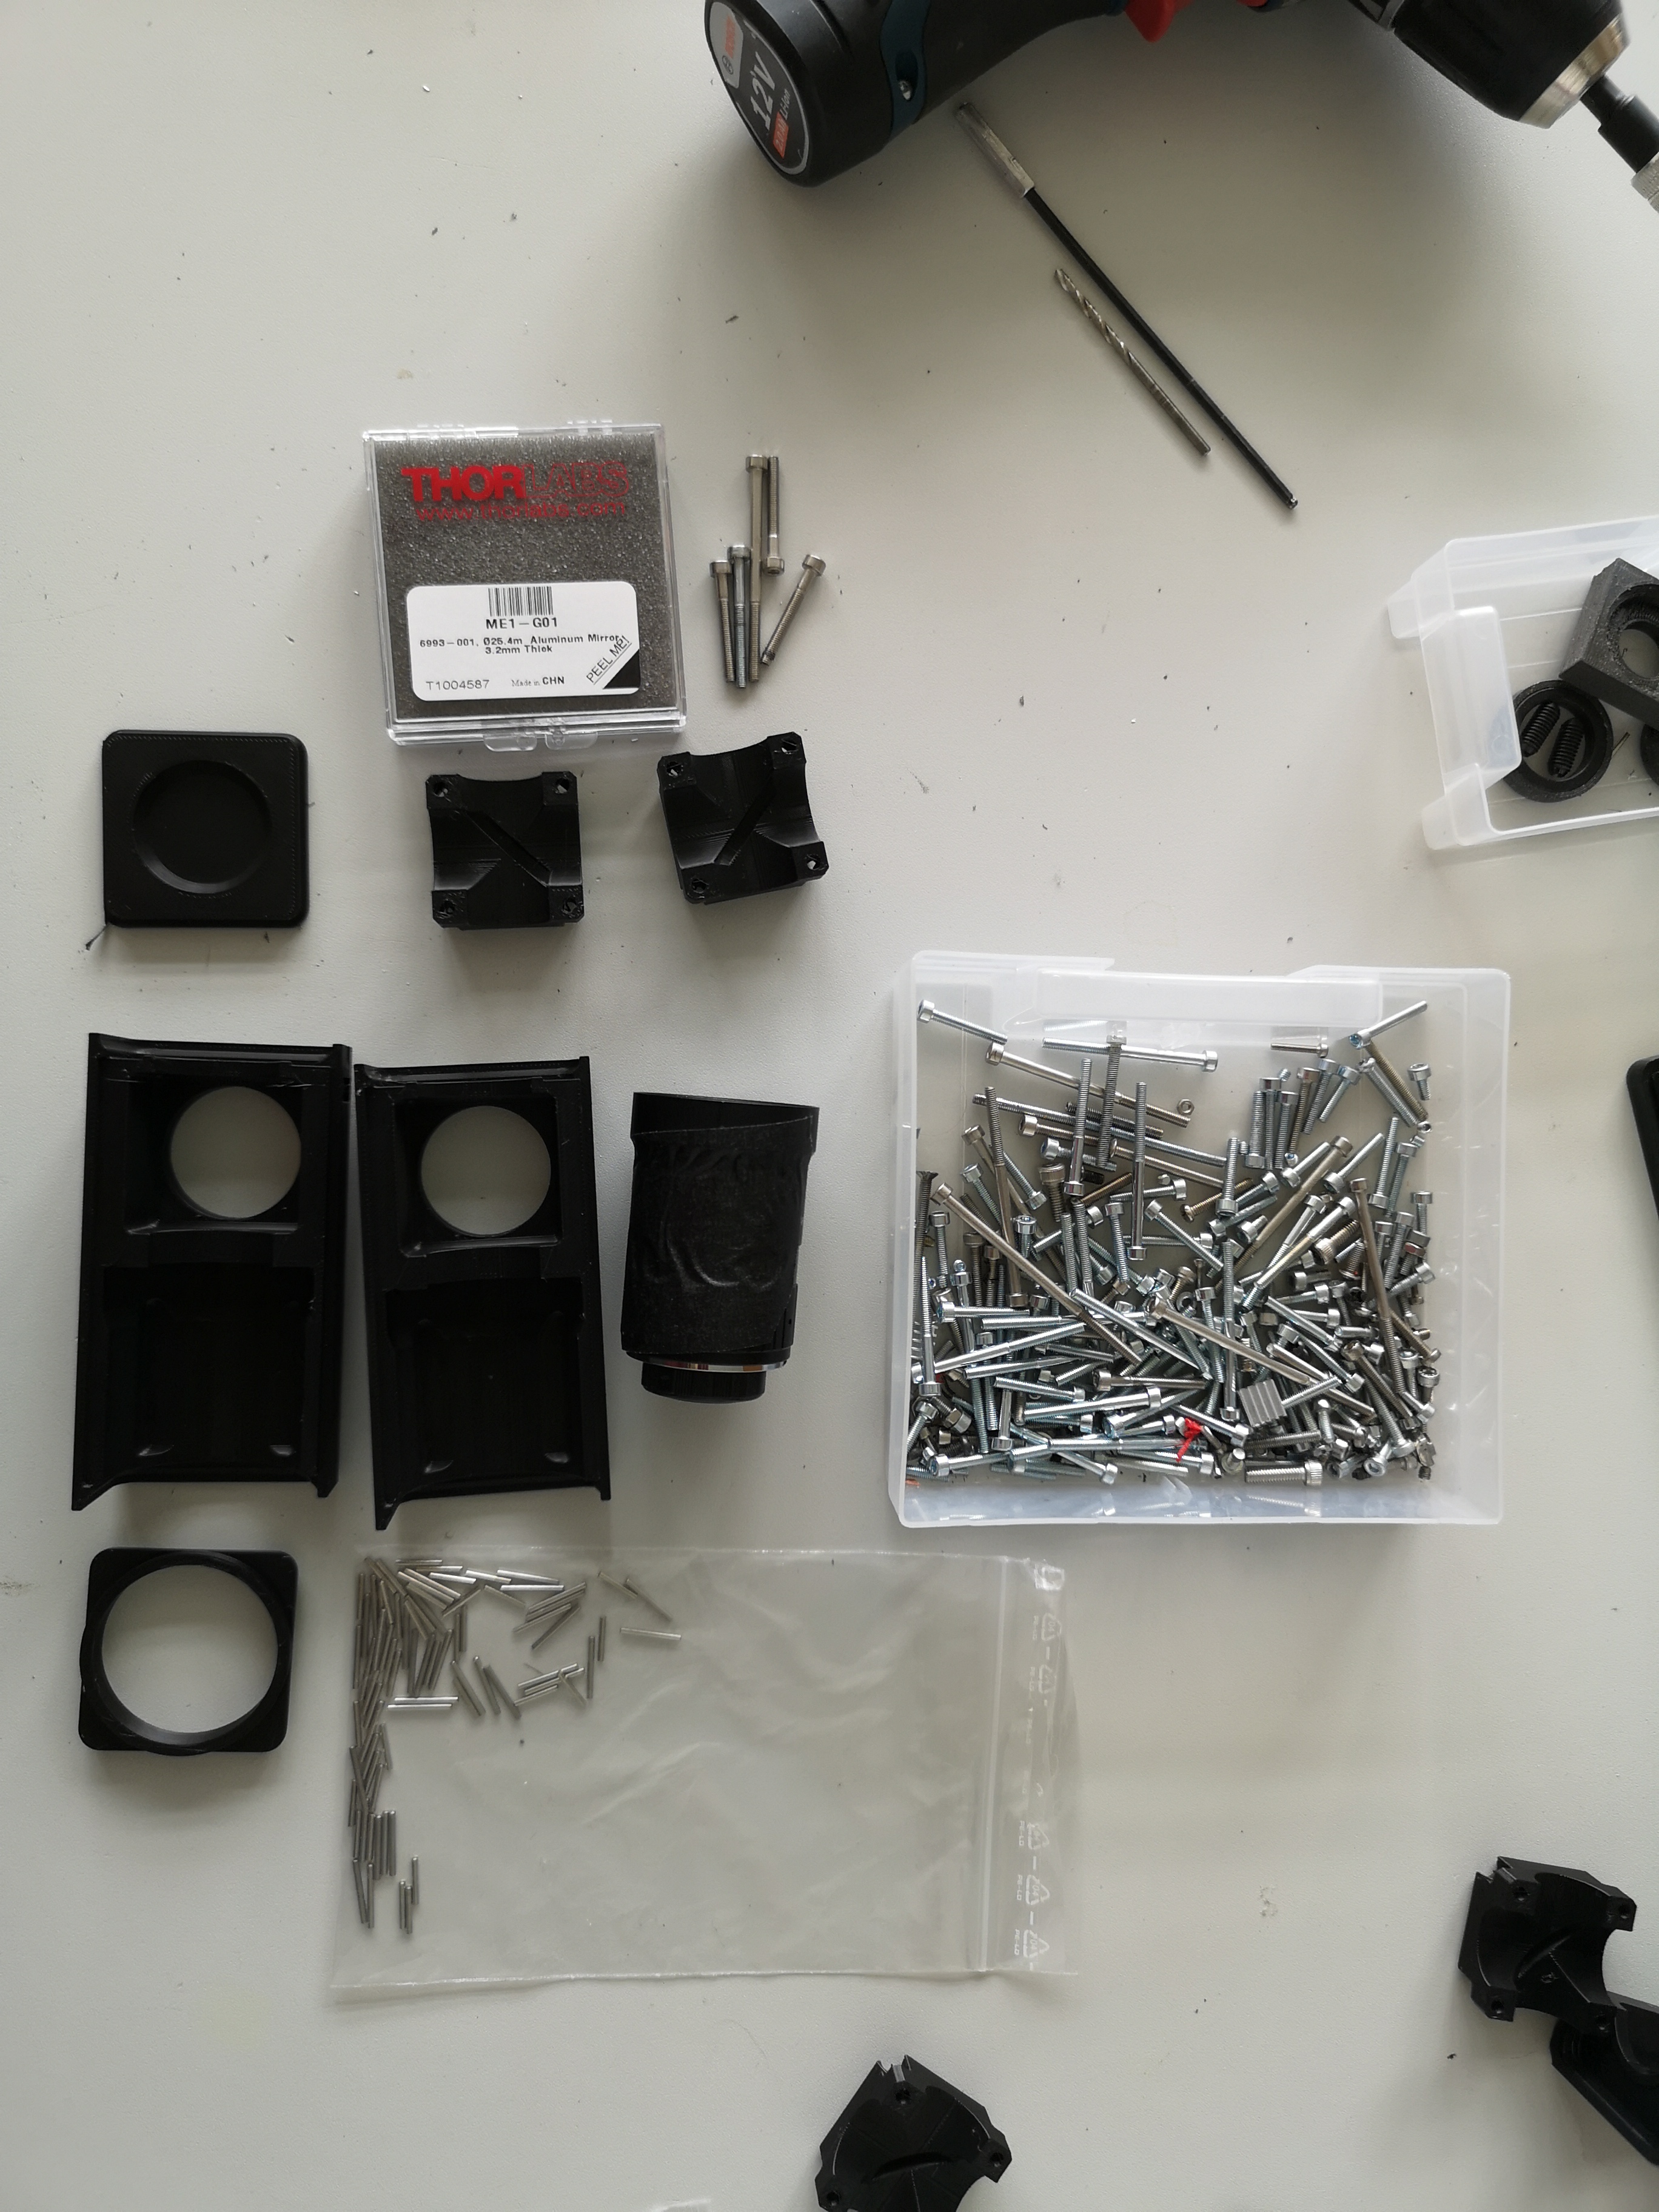 Necessary Parts to assemble the Optics module: Two halfs to mount the optics/beamsplitters, two lids and screws
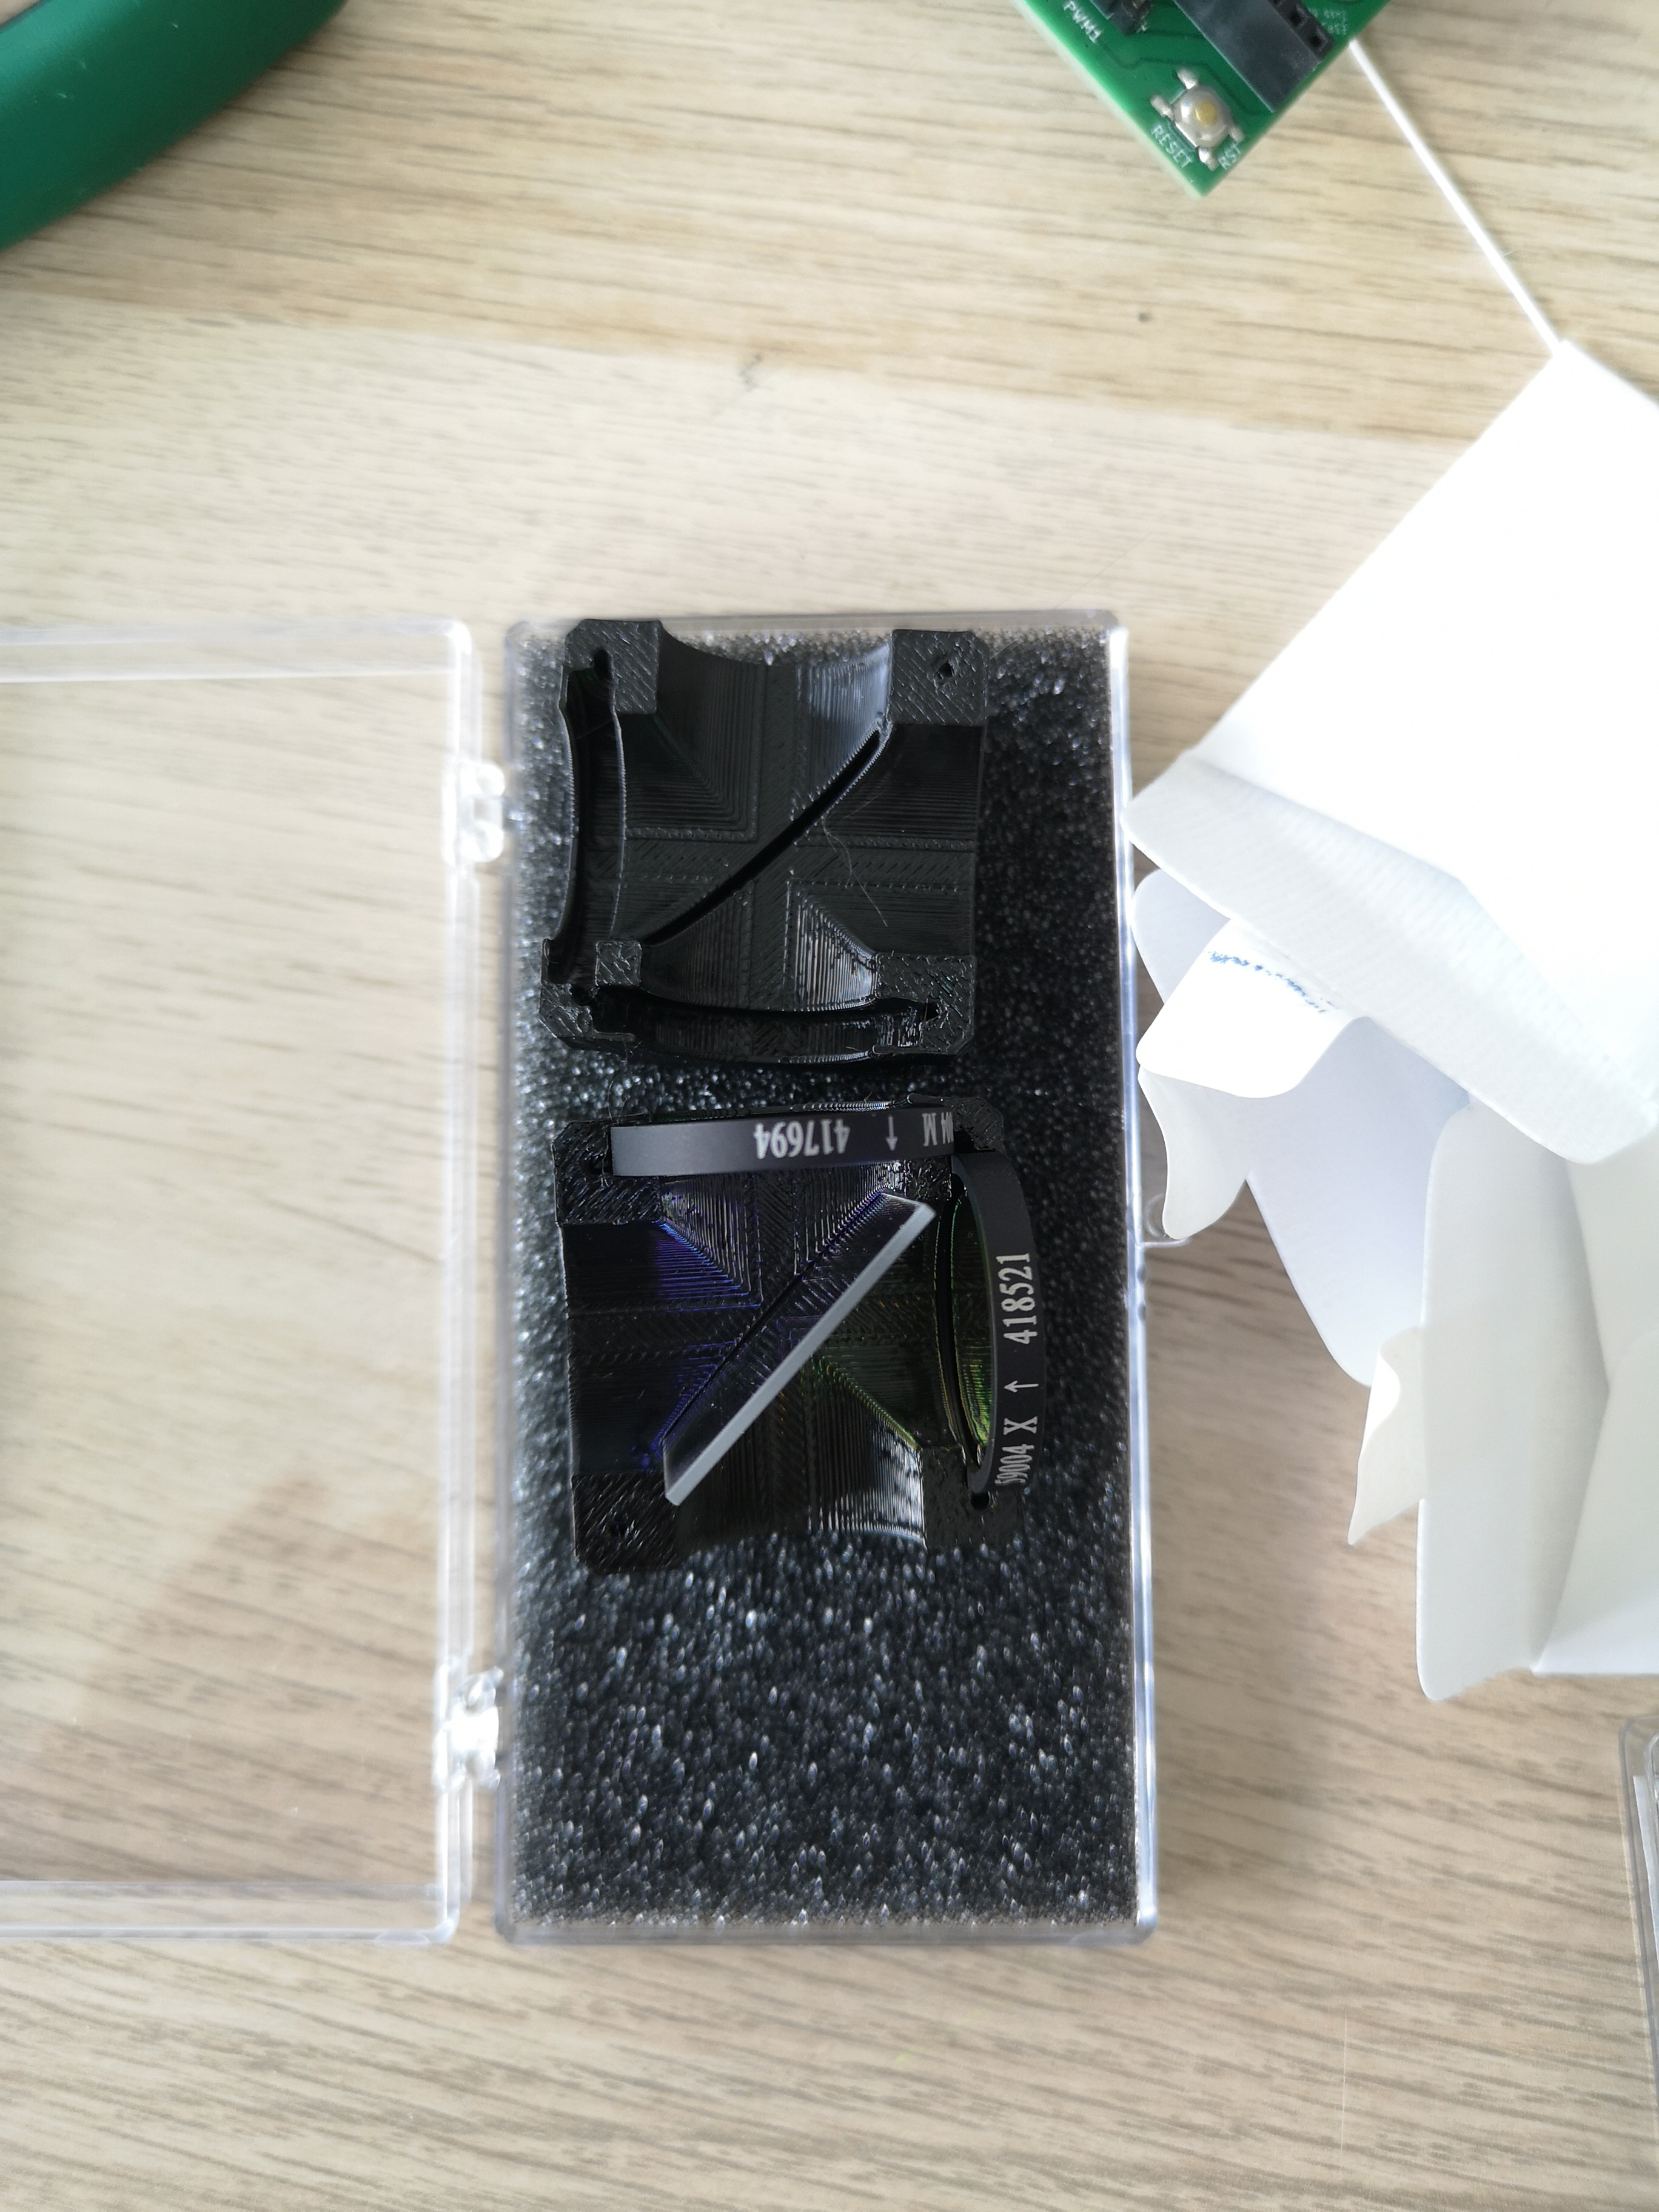
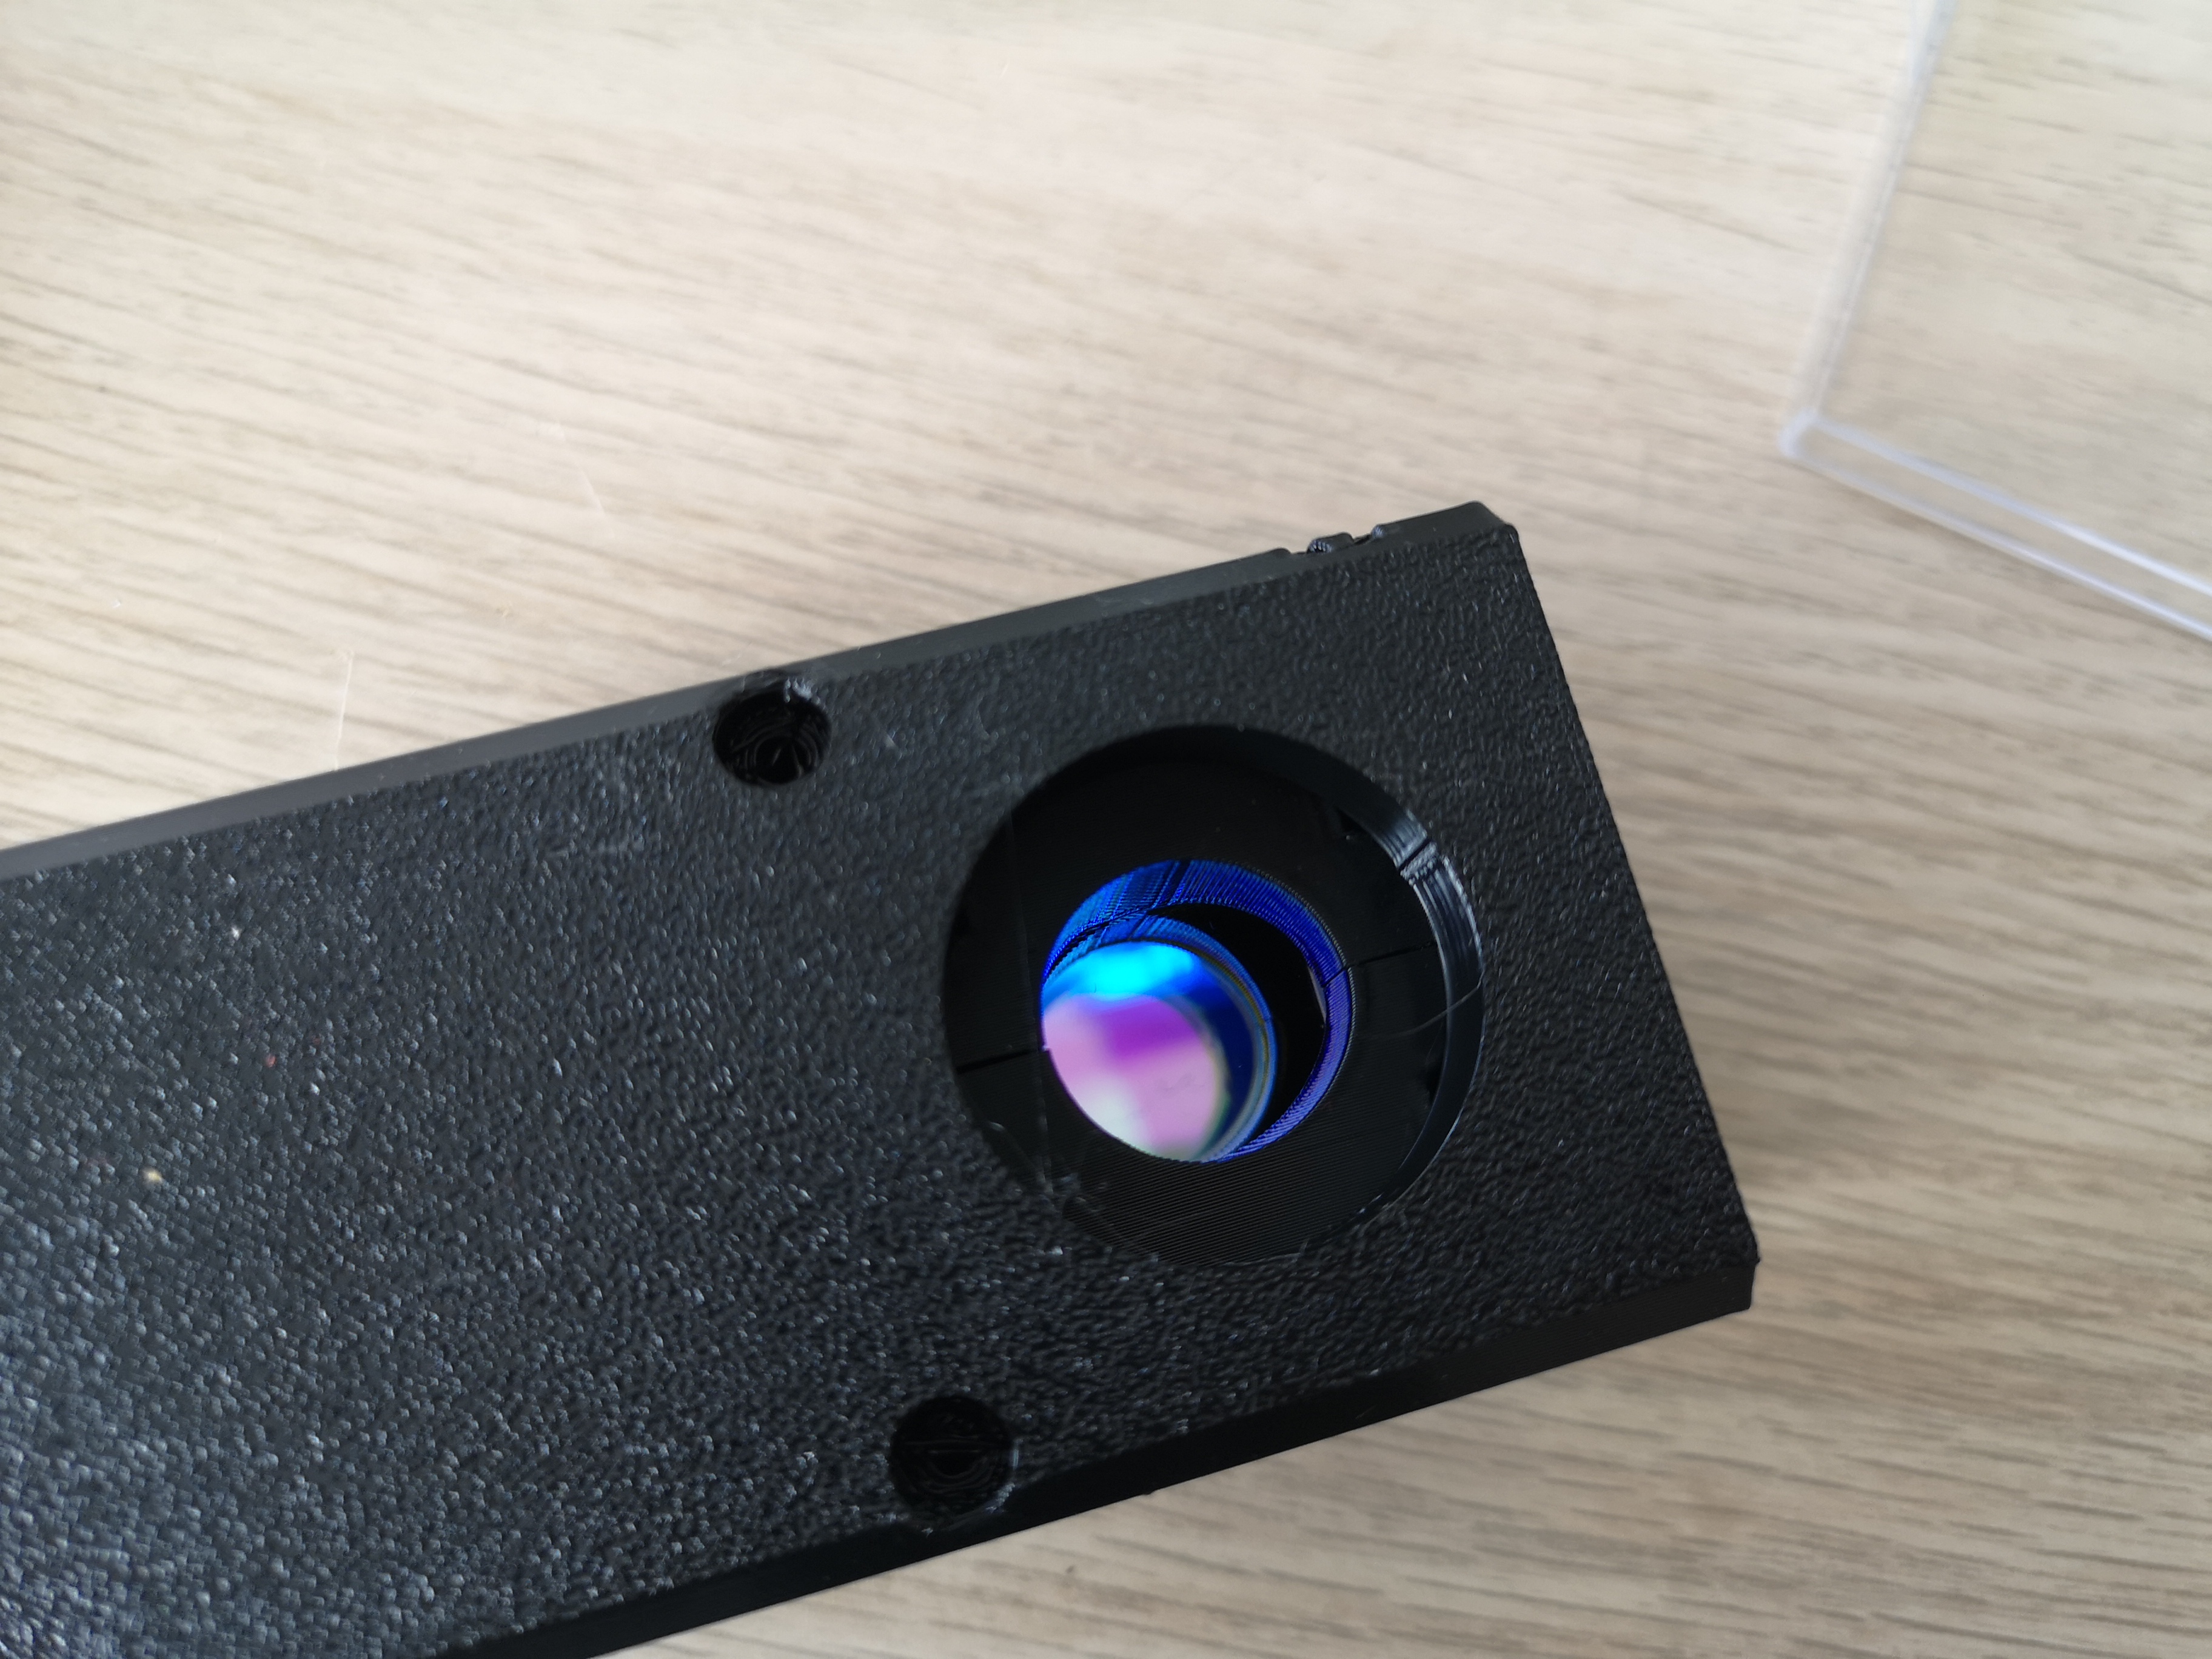
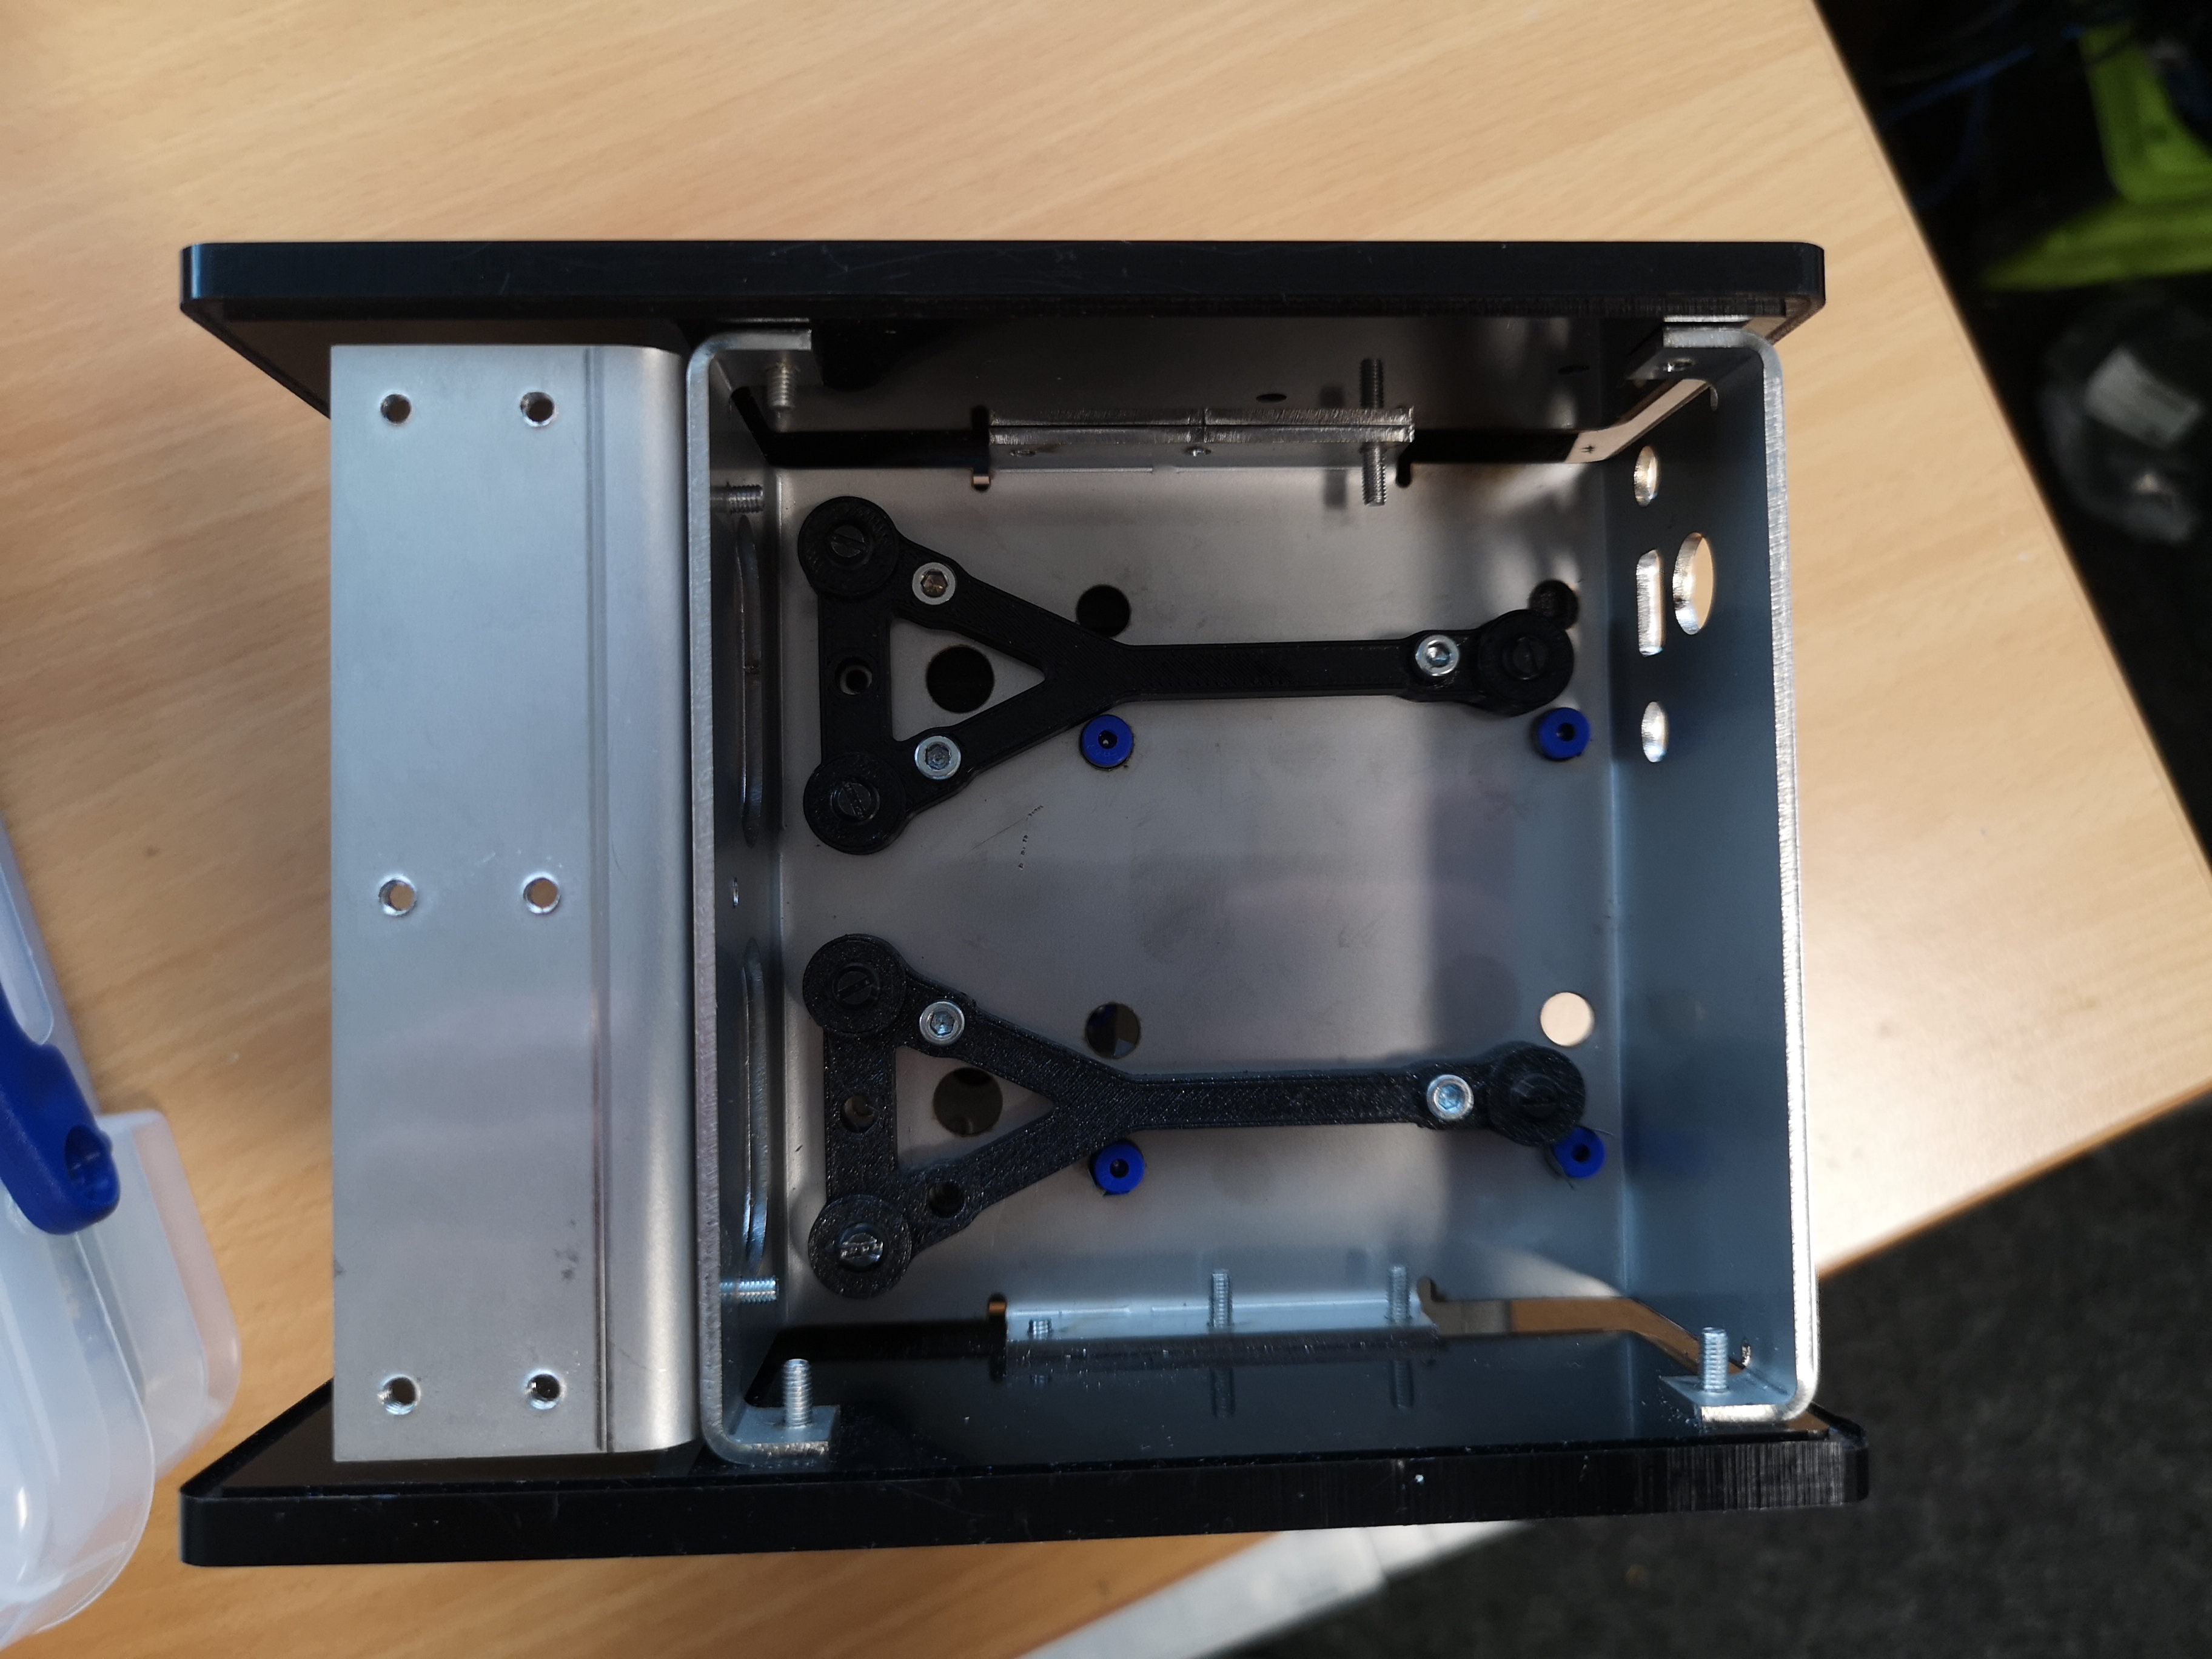
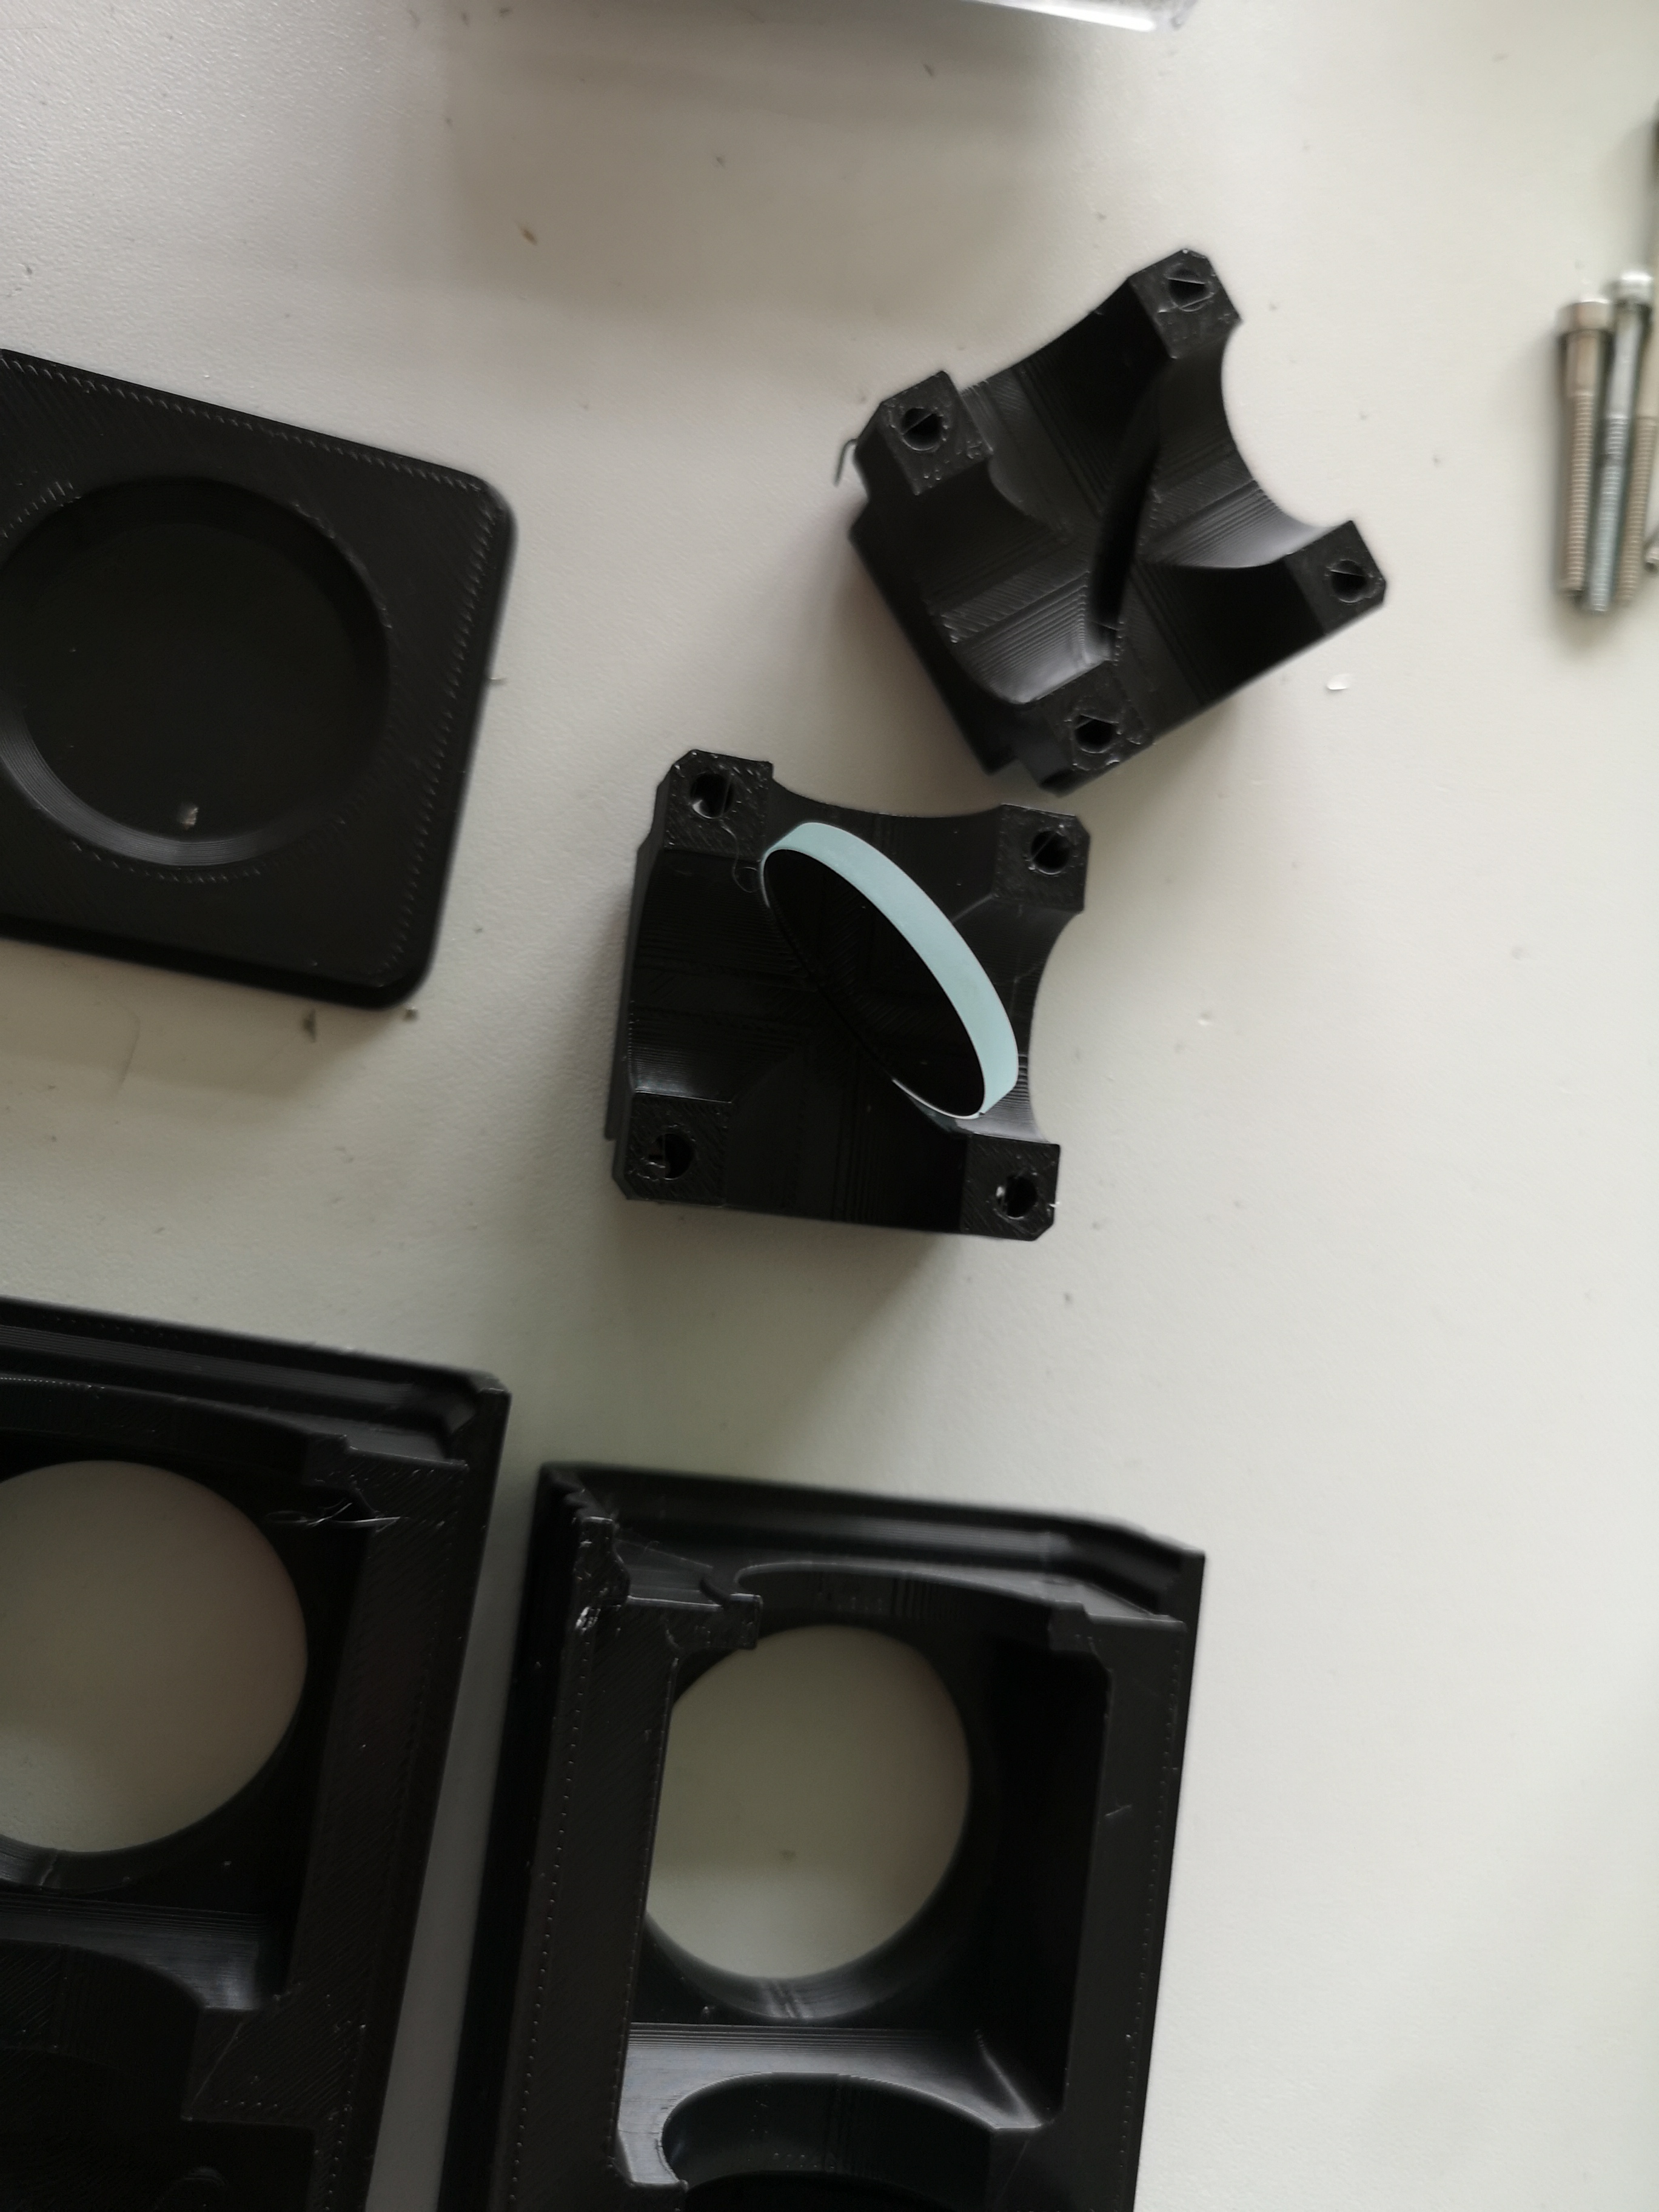 Add mirror to the beamsplitter component
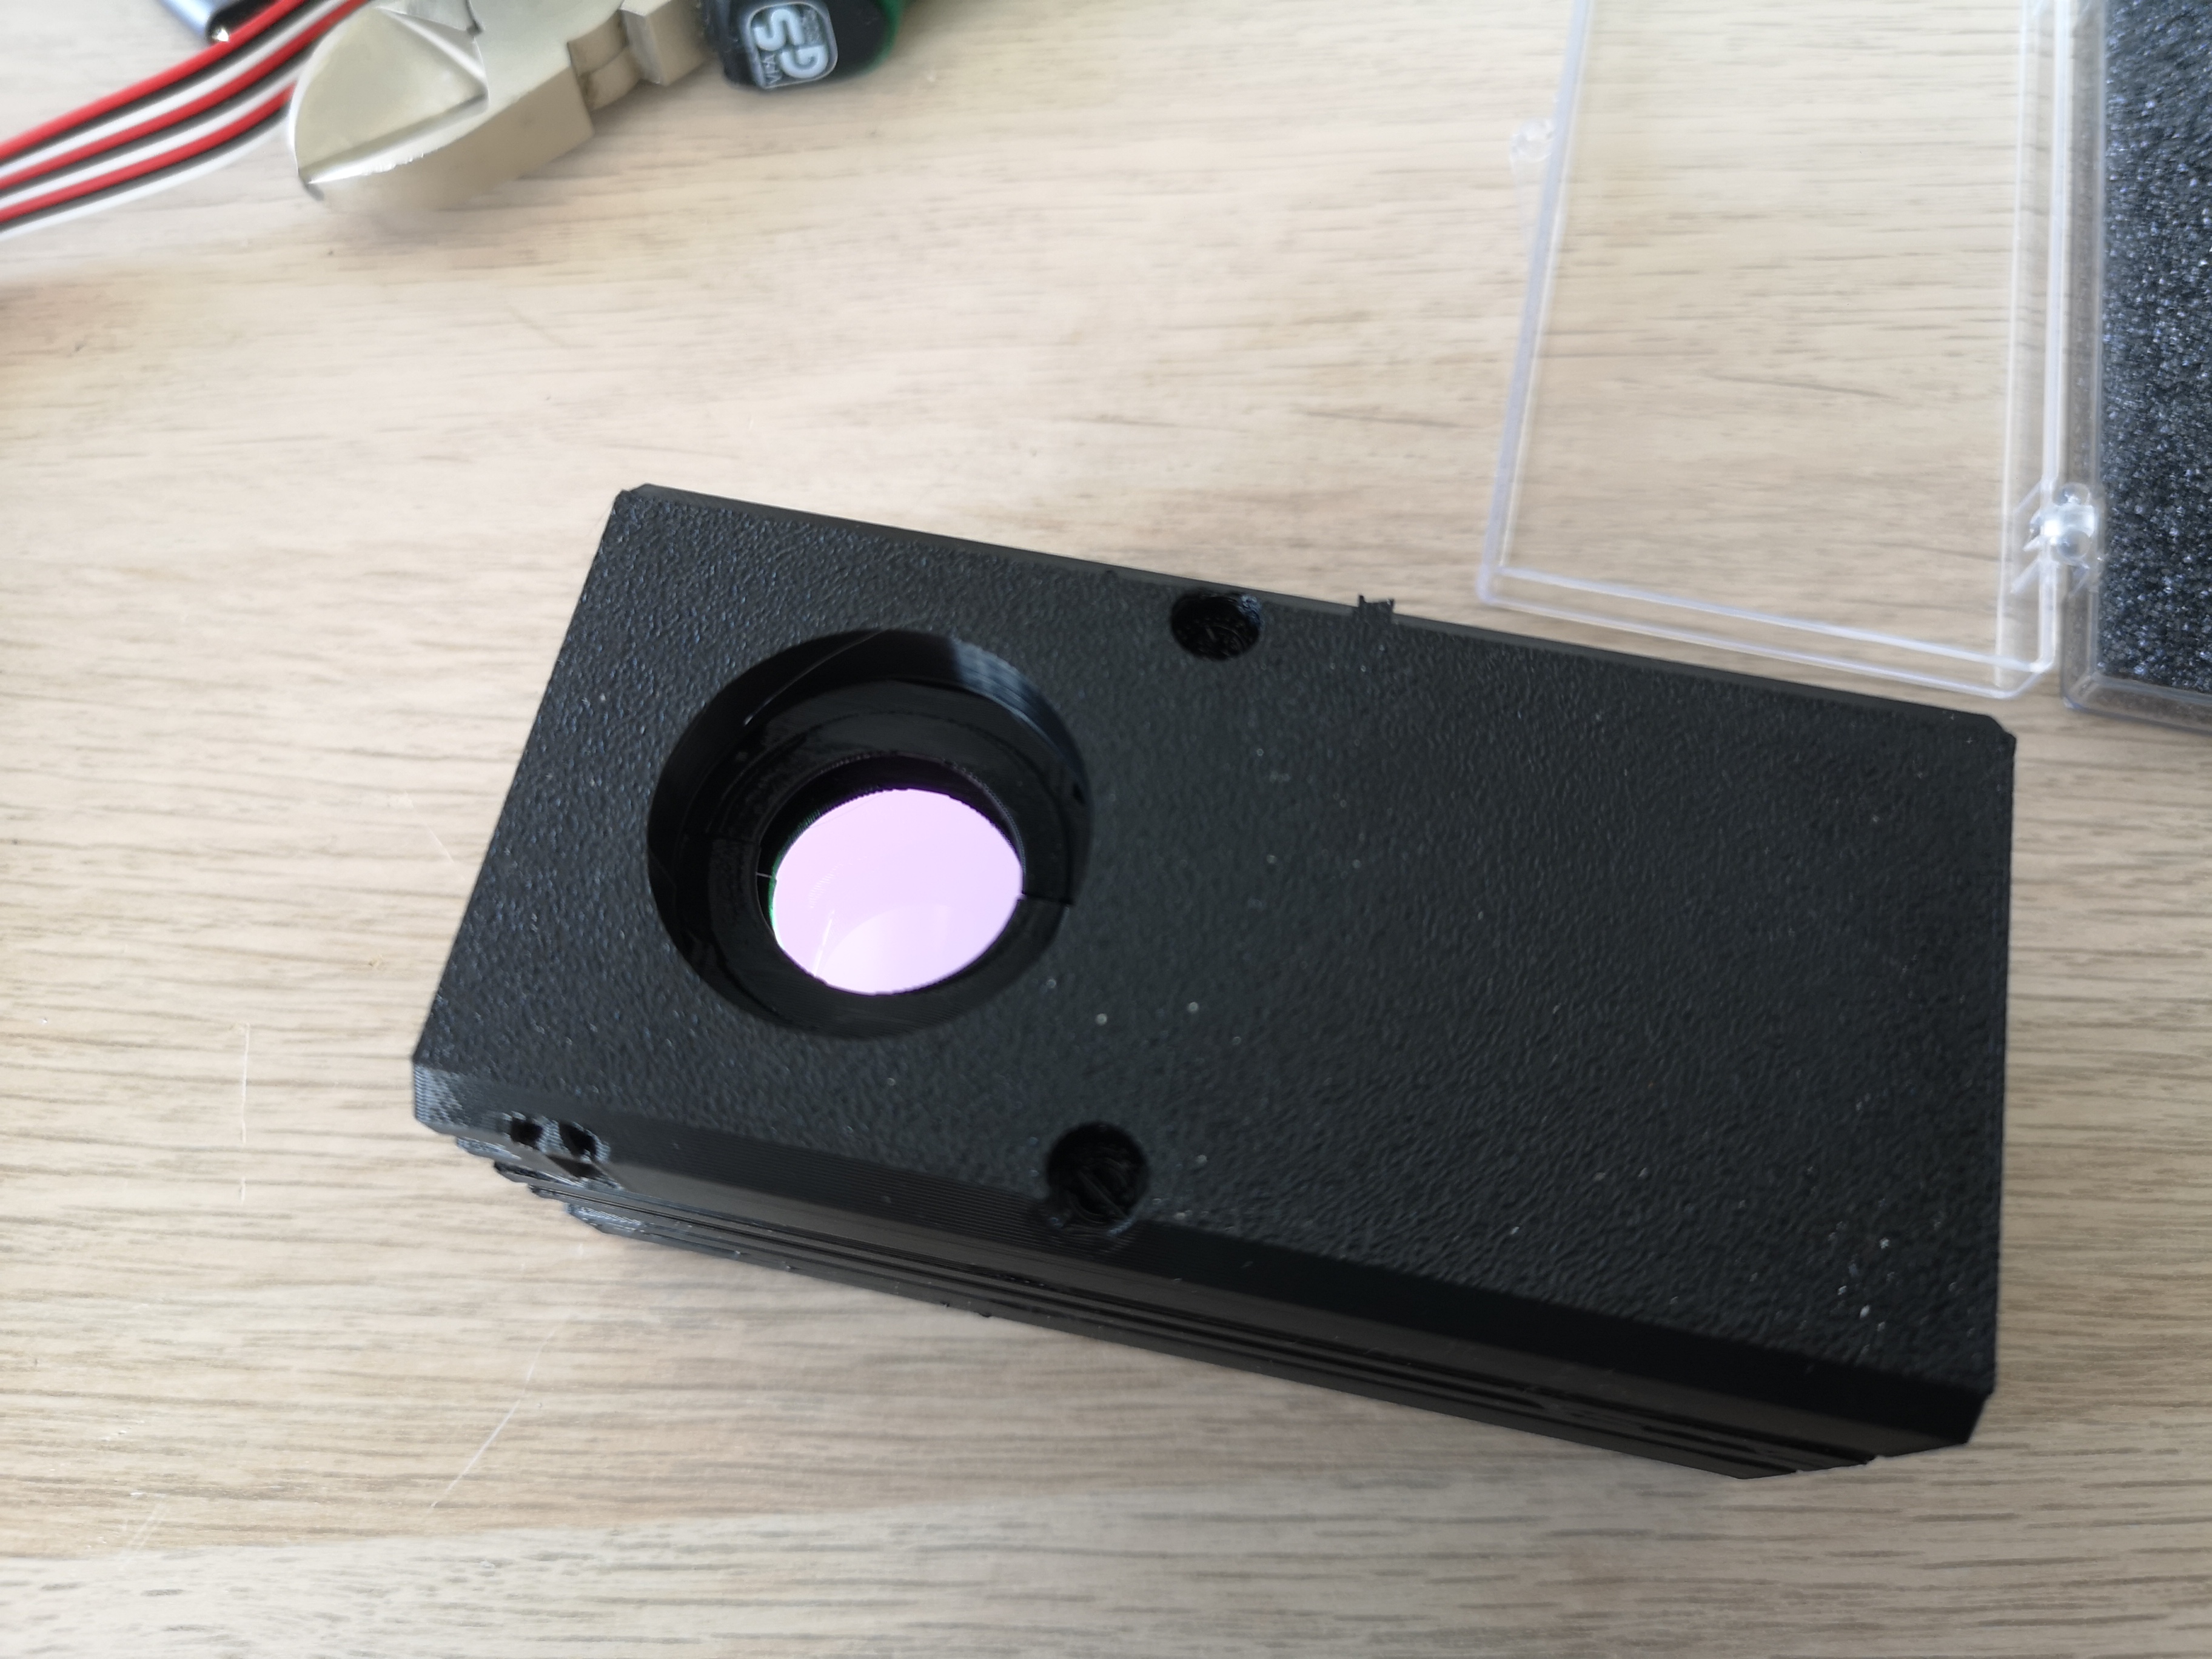
 Add the mirror + objective lens to the assembly (ensure the focus cannot move after you insert the lens; fixing the lens is not necessary as we want to rotate the field of view eventually)
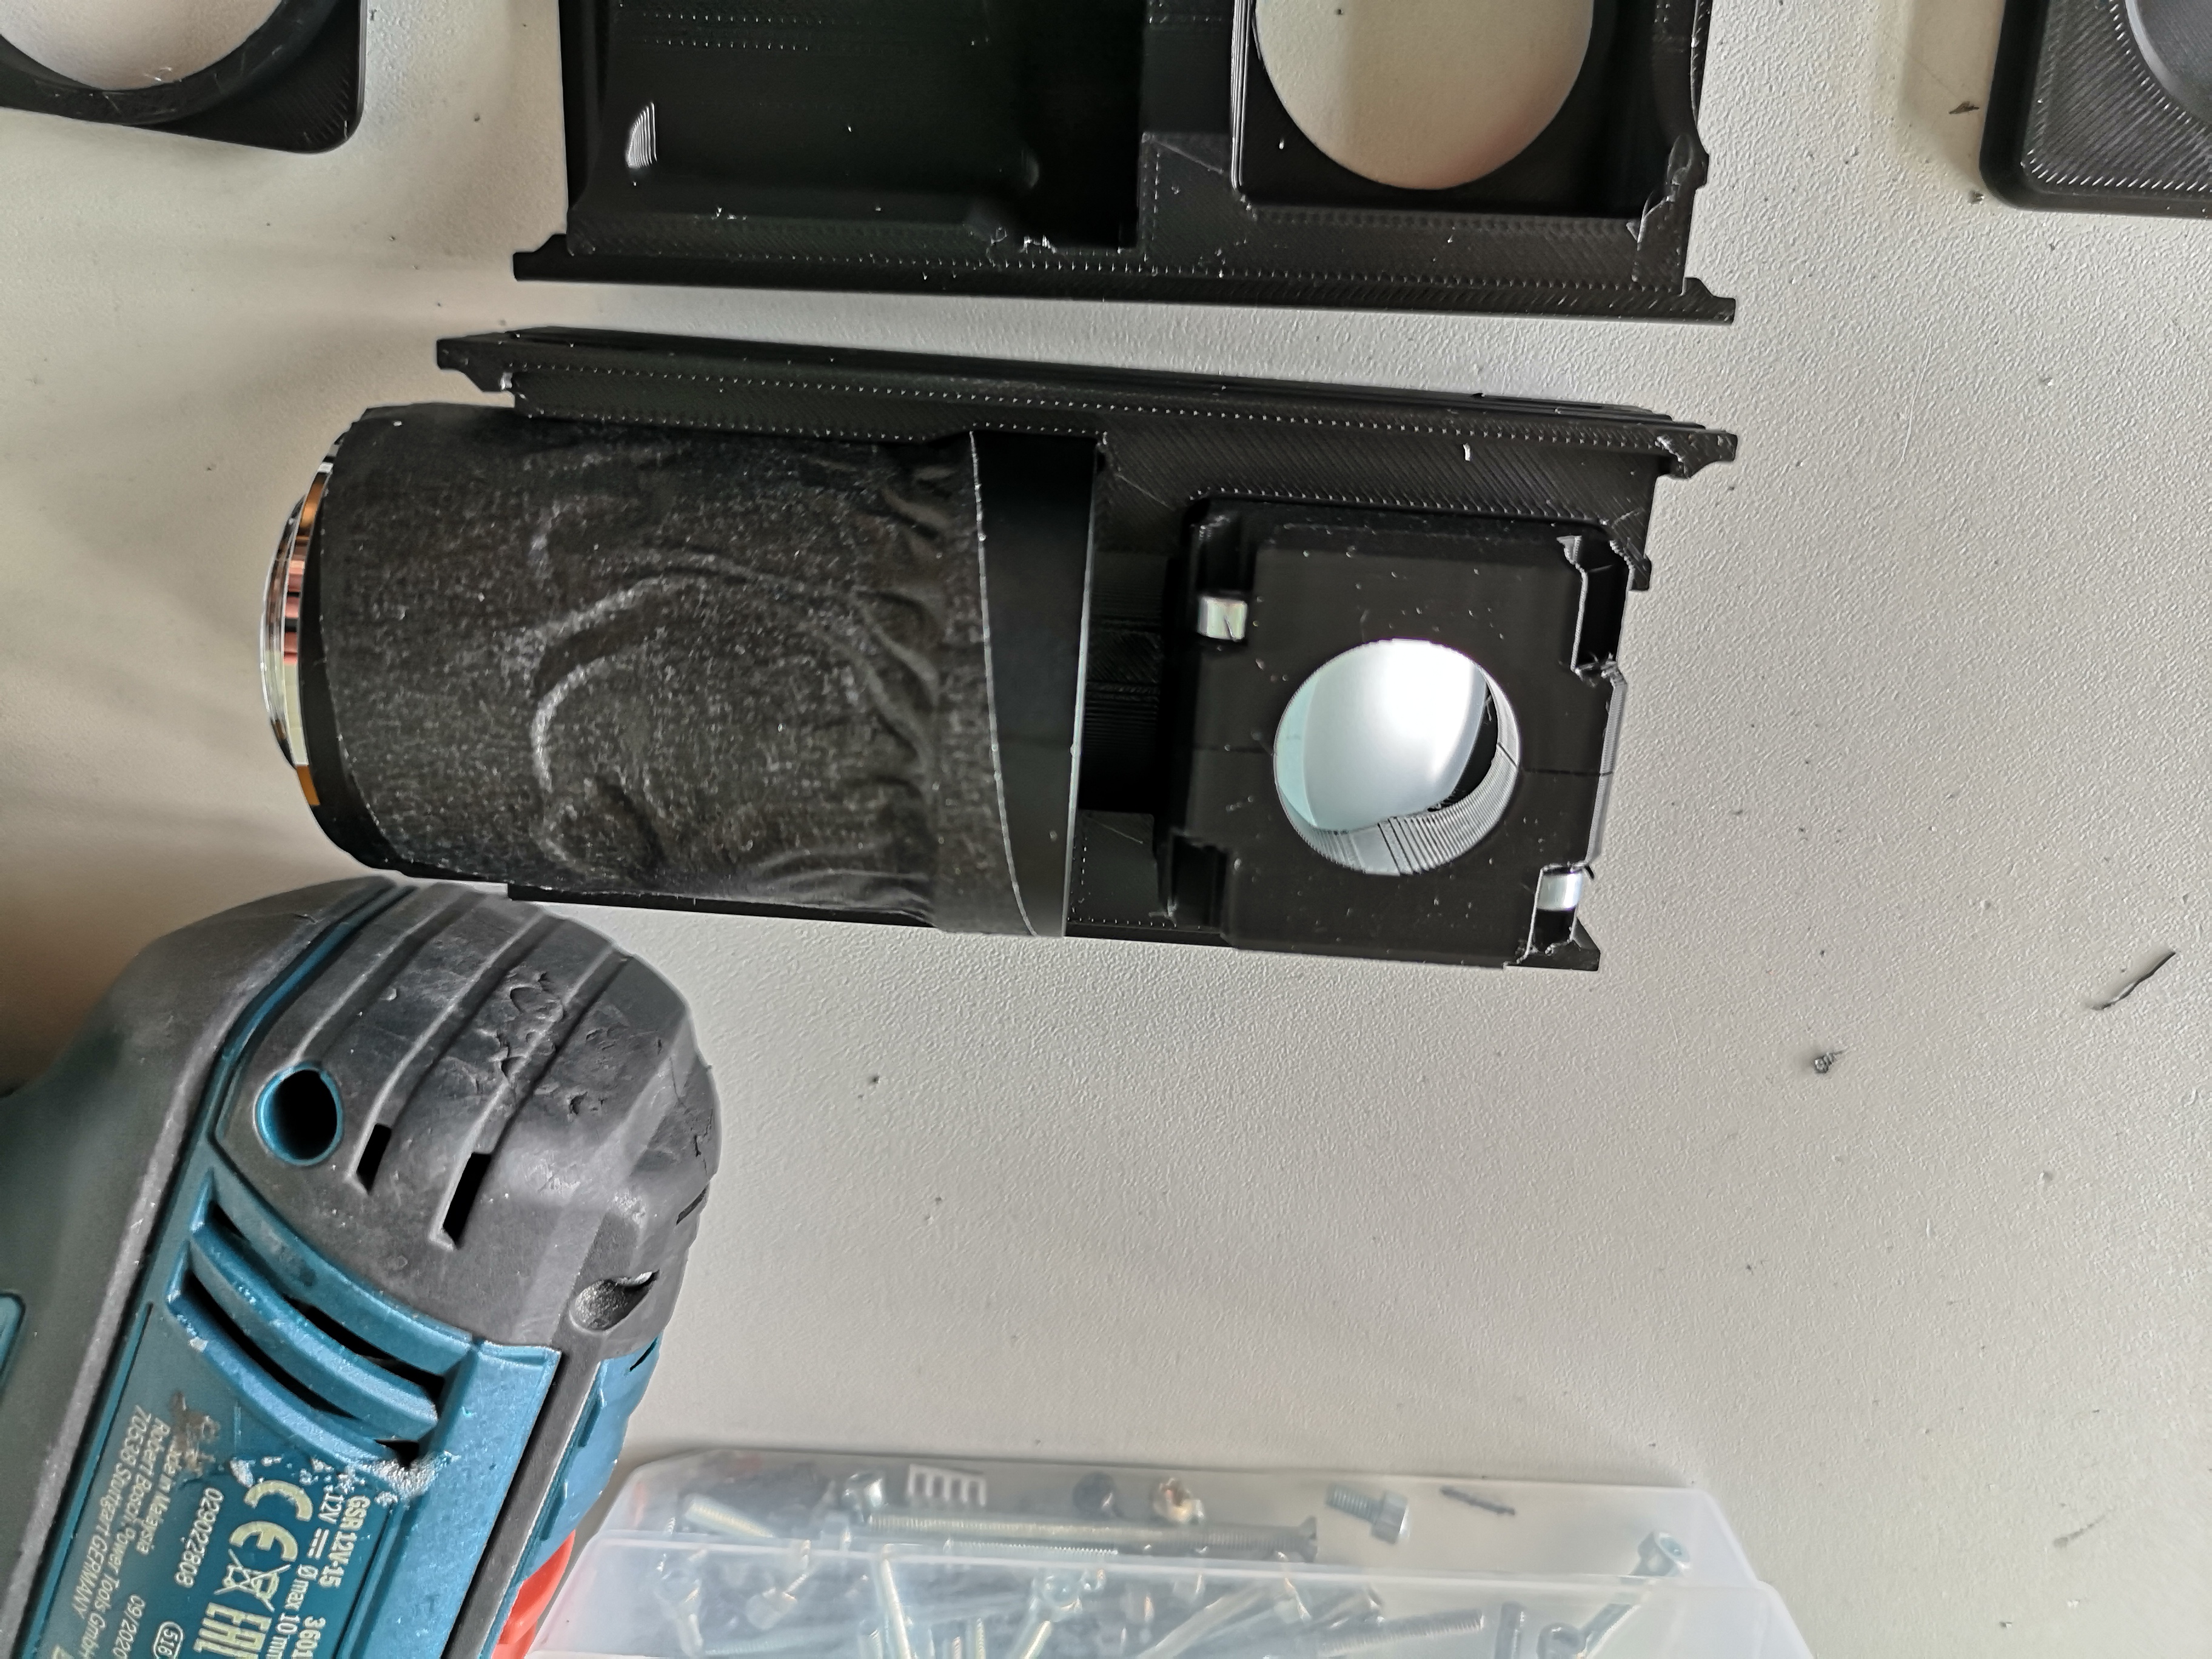
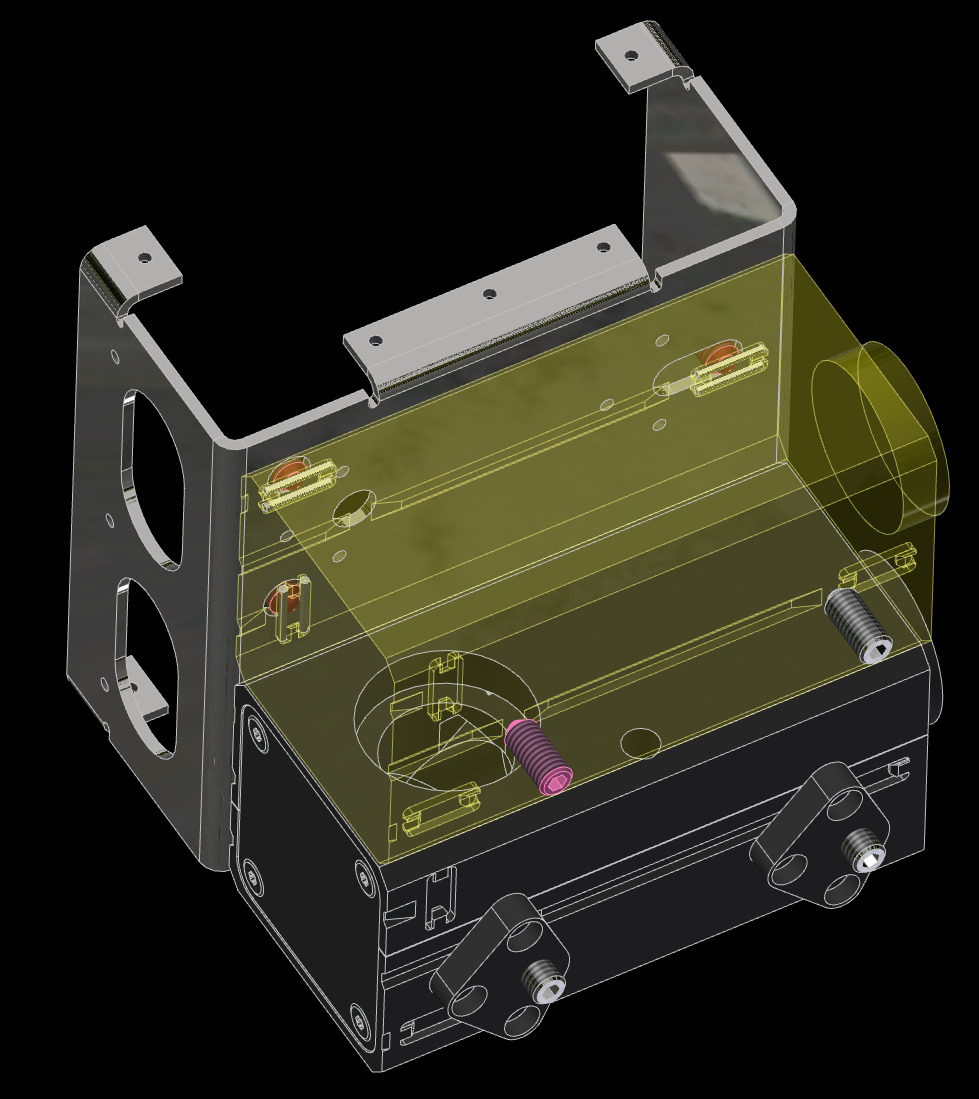
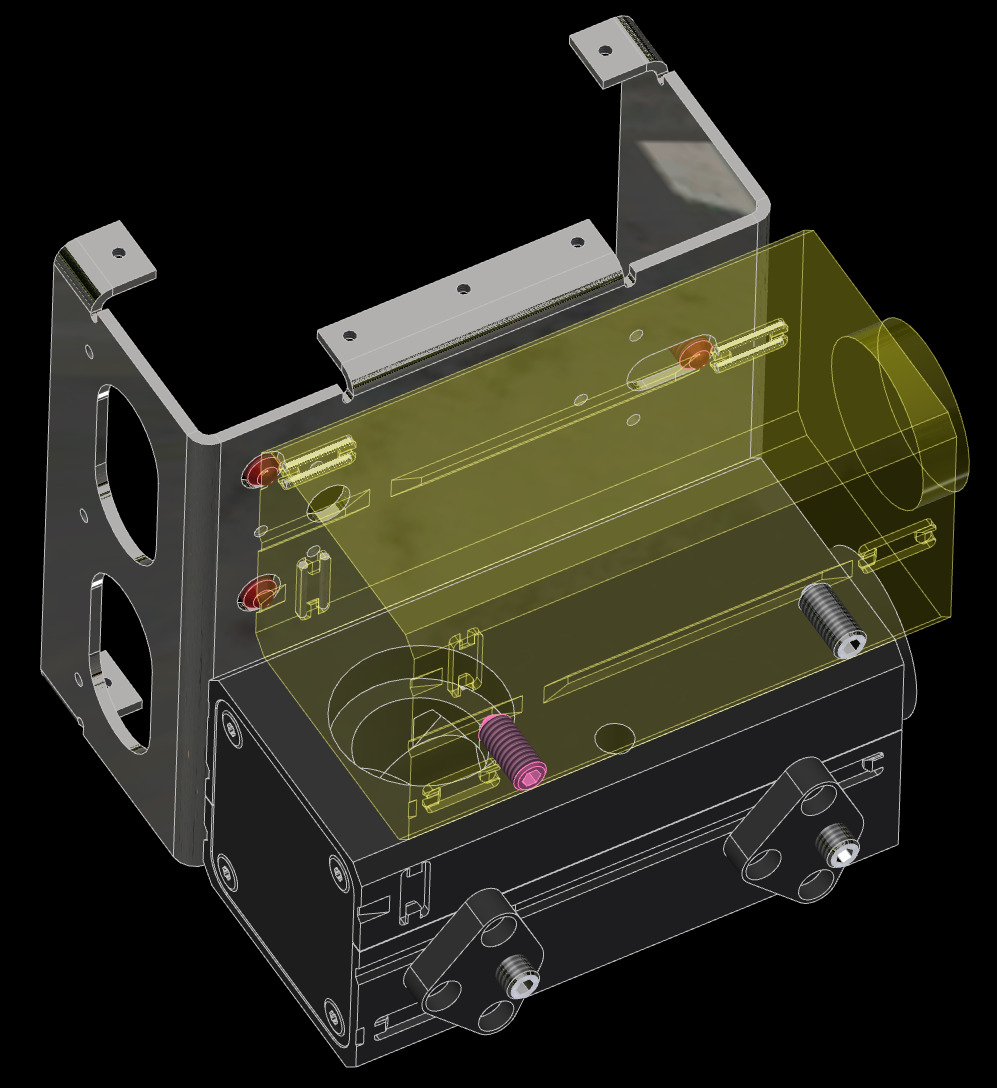
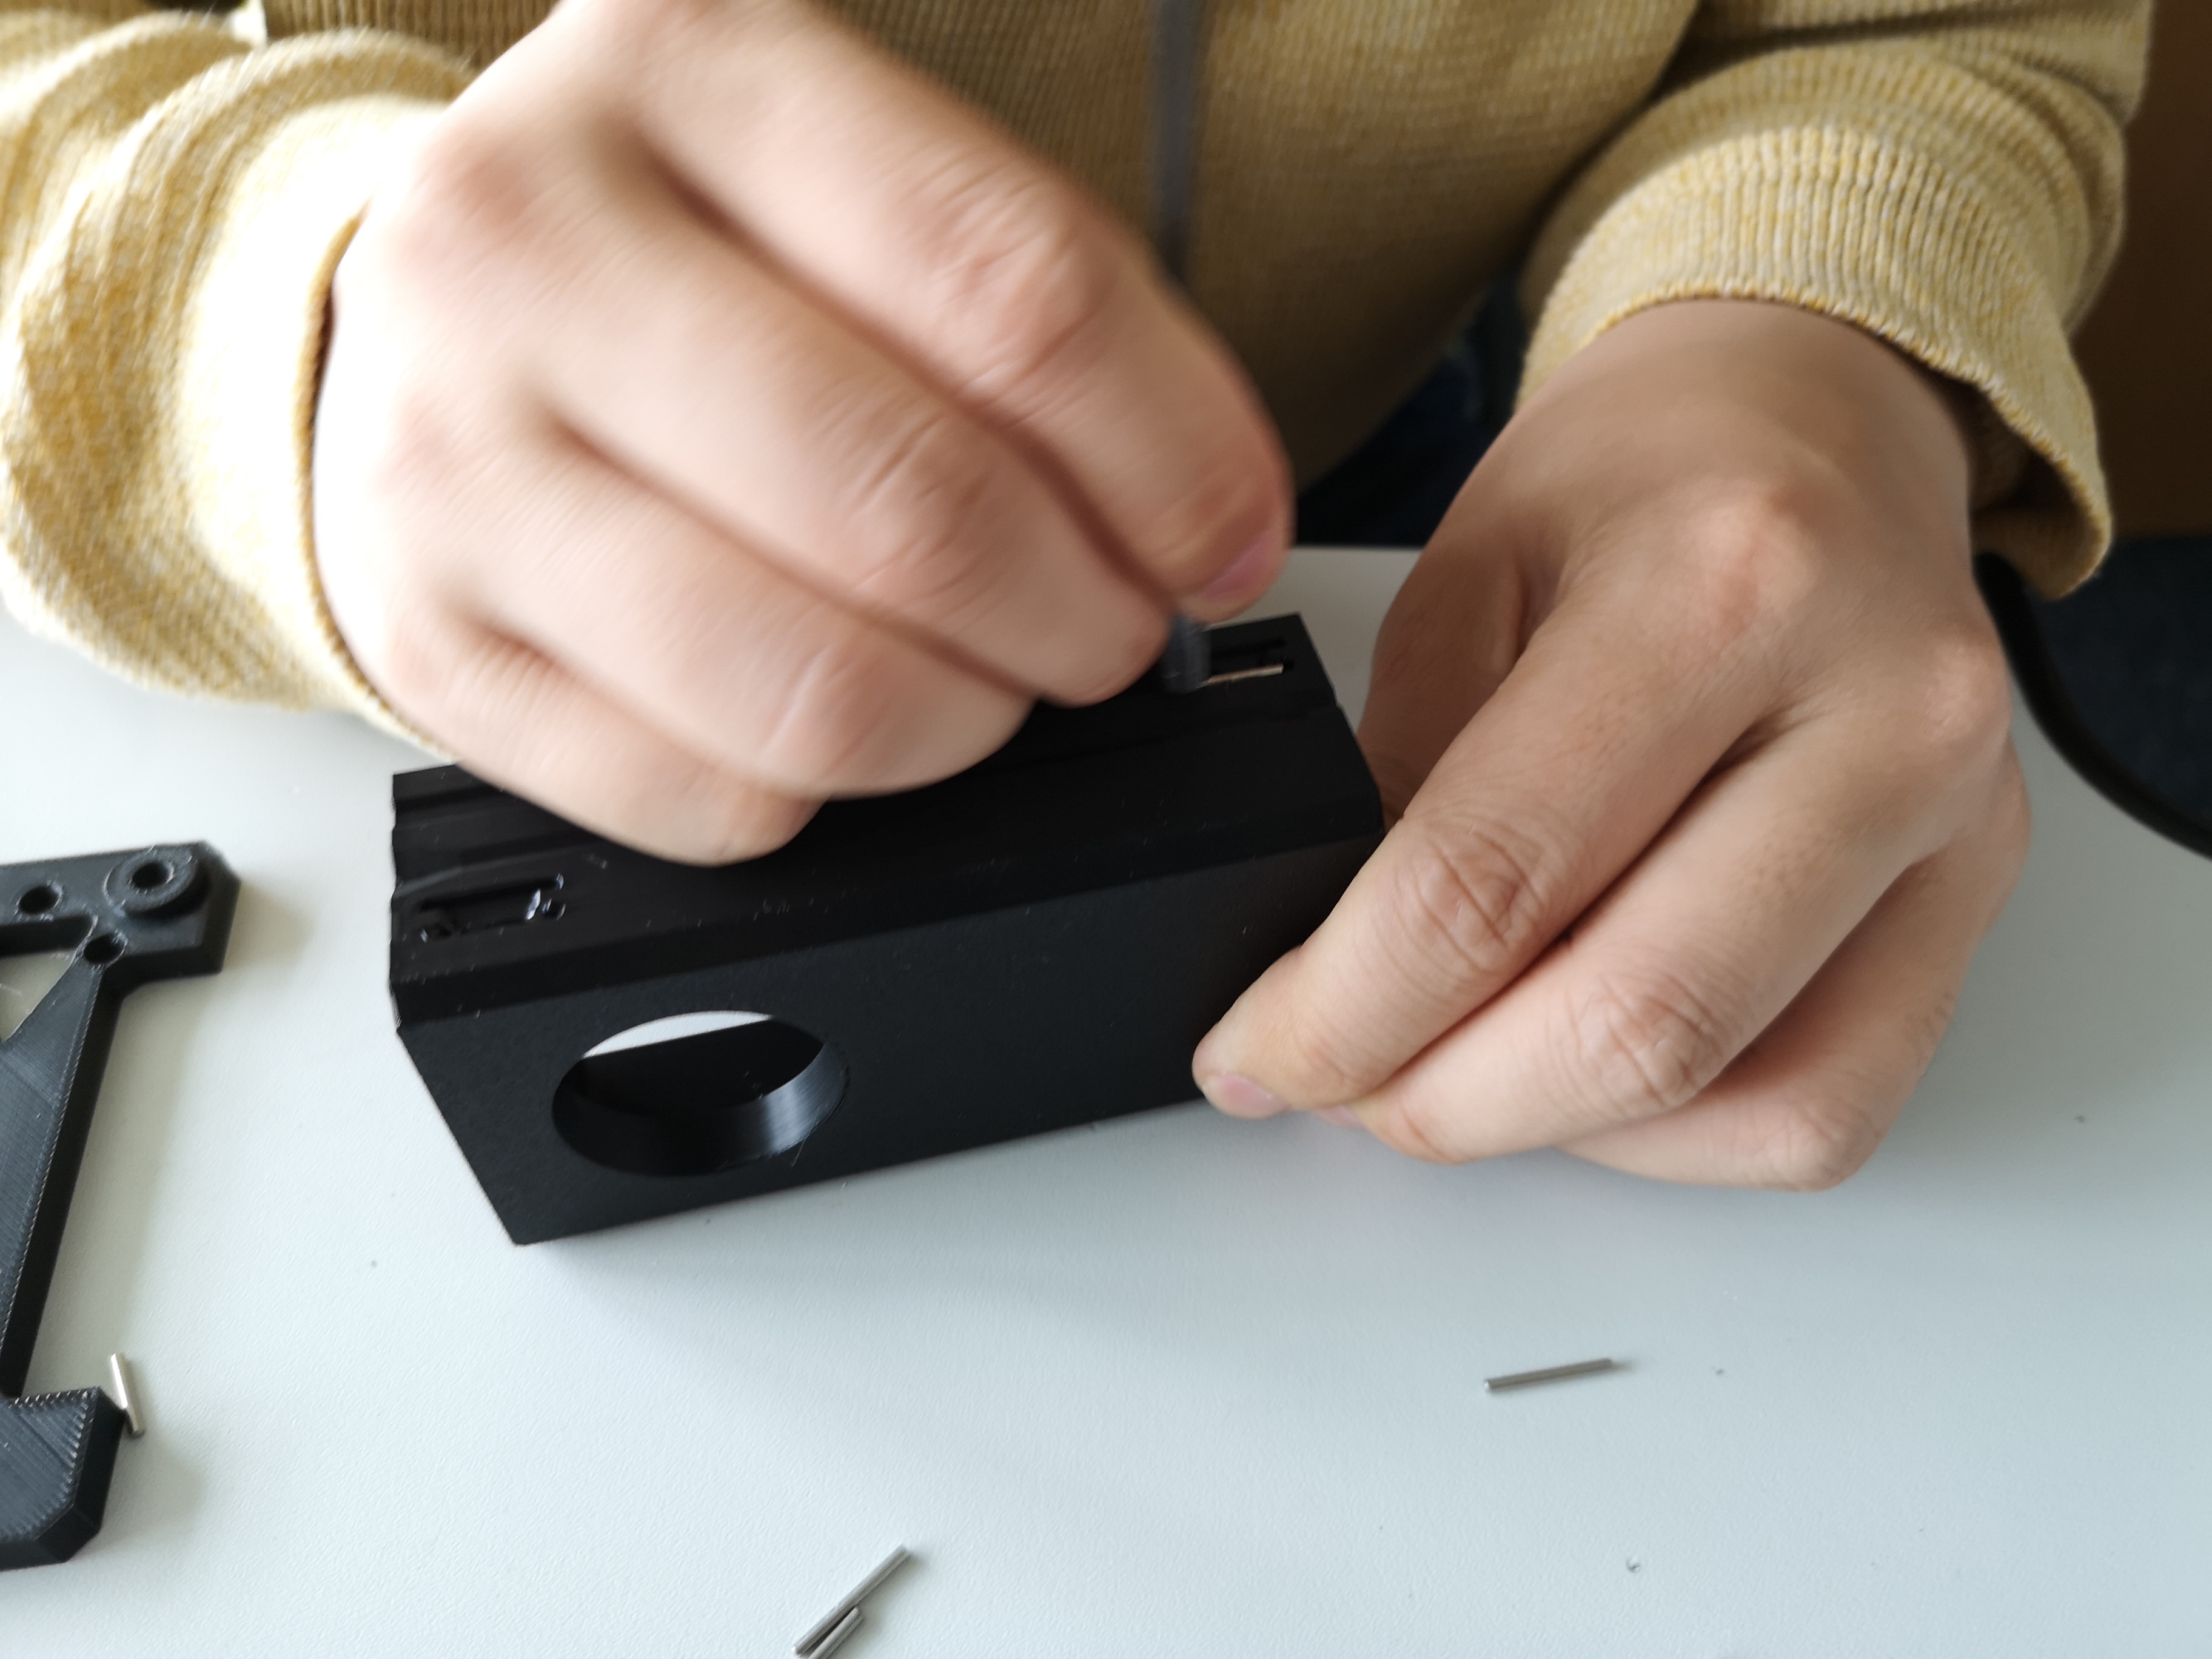 Close the two halfs and screw them together with M3x25mm; (old version: add the 12mmx1mm rods for the sliding mechanism by glueing them)
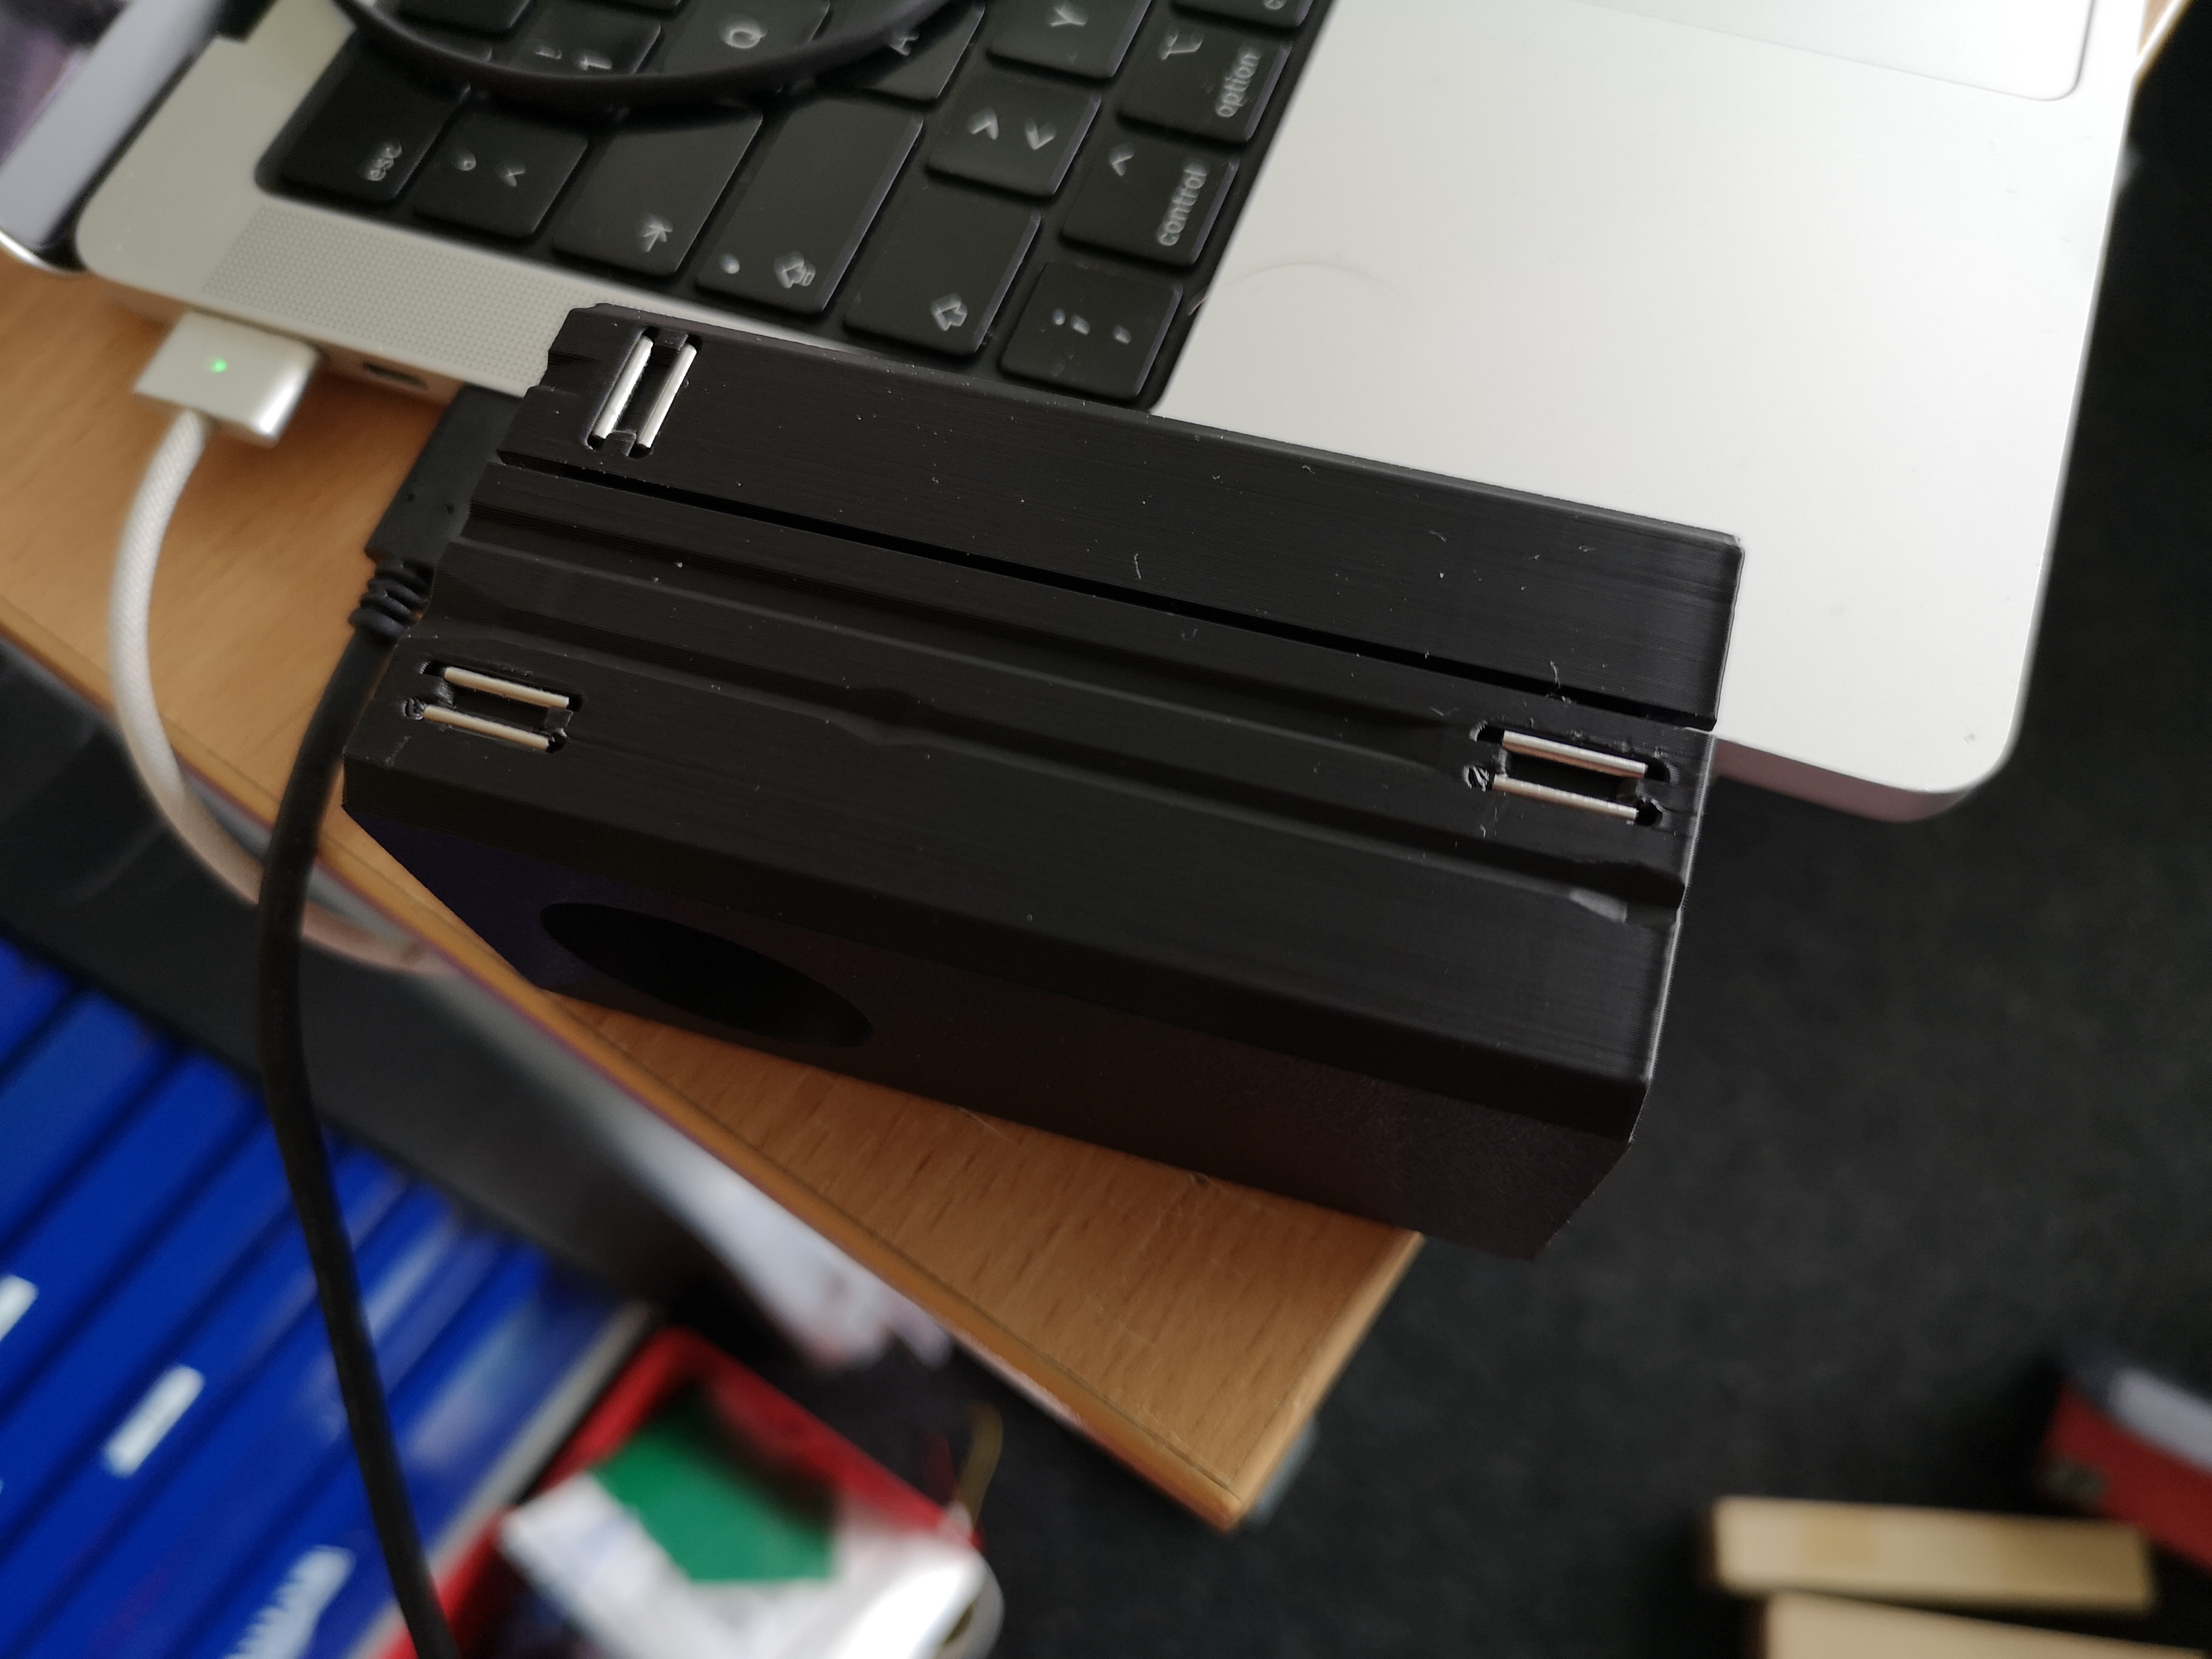 Fully Assembled module with locking mechanism (metal rods)
 Fluorescent Cube
 Fluorescent Cube inside Optics Module
Inserting the Modules
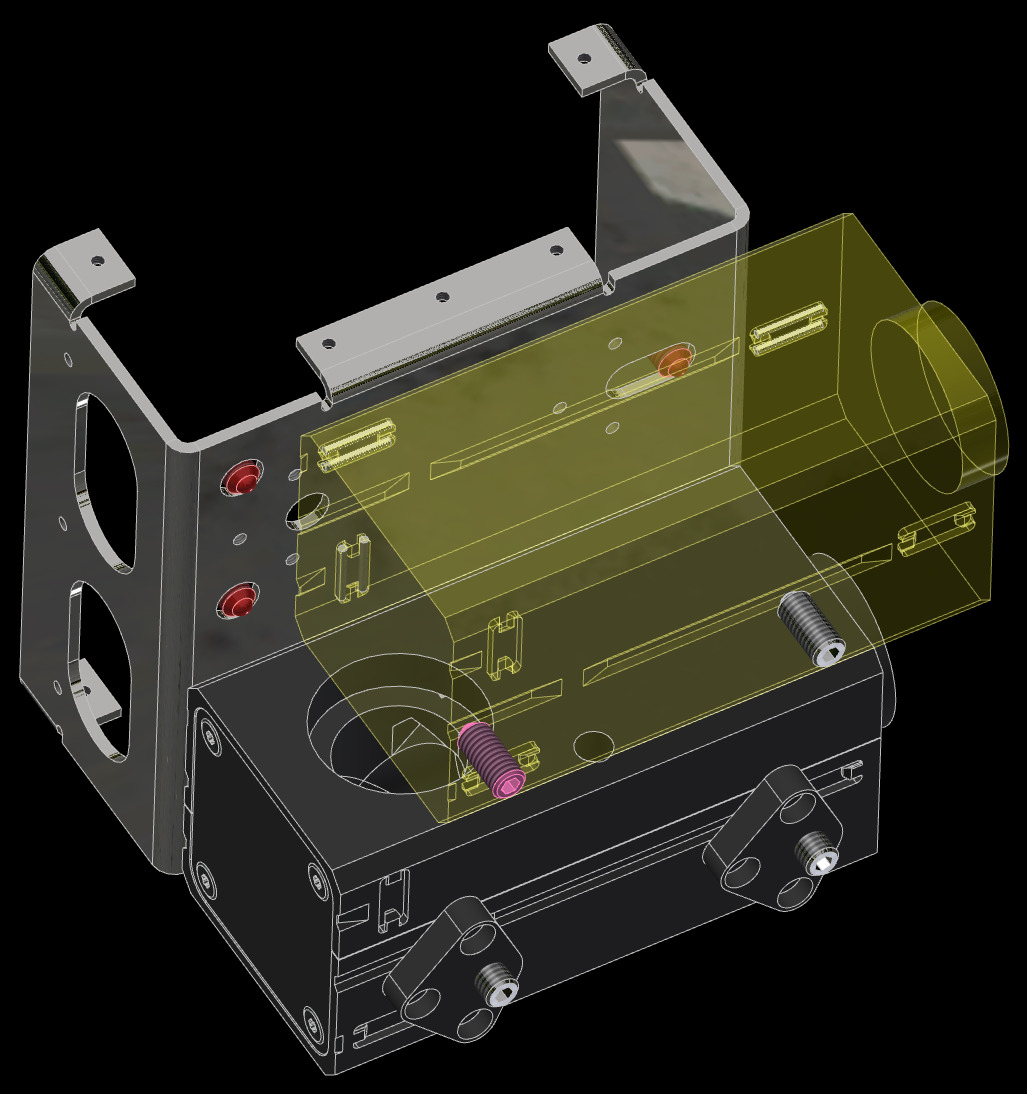
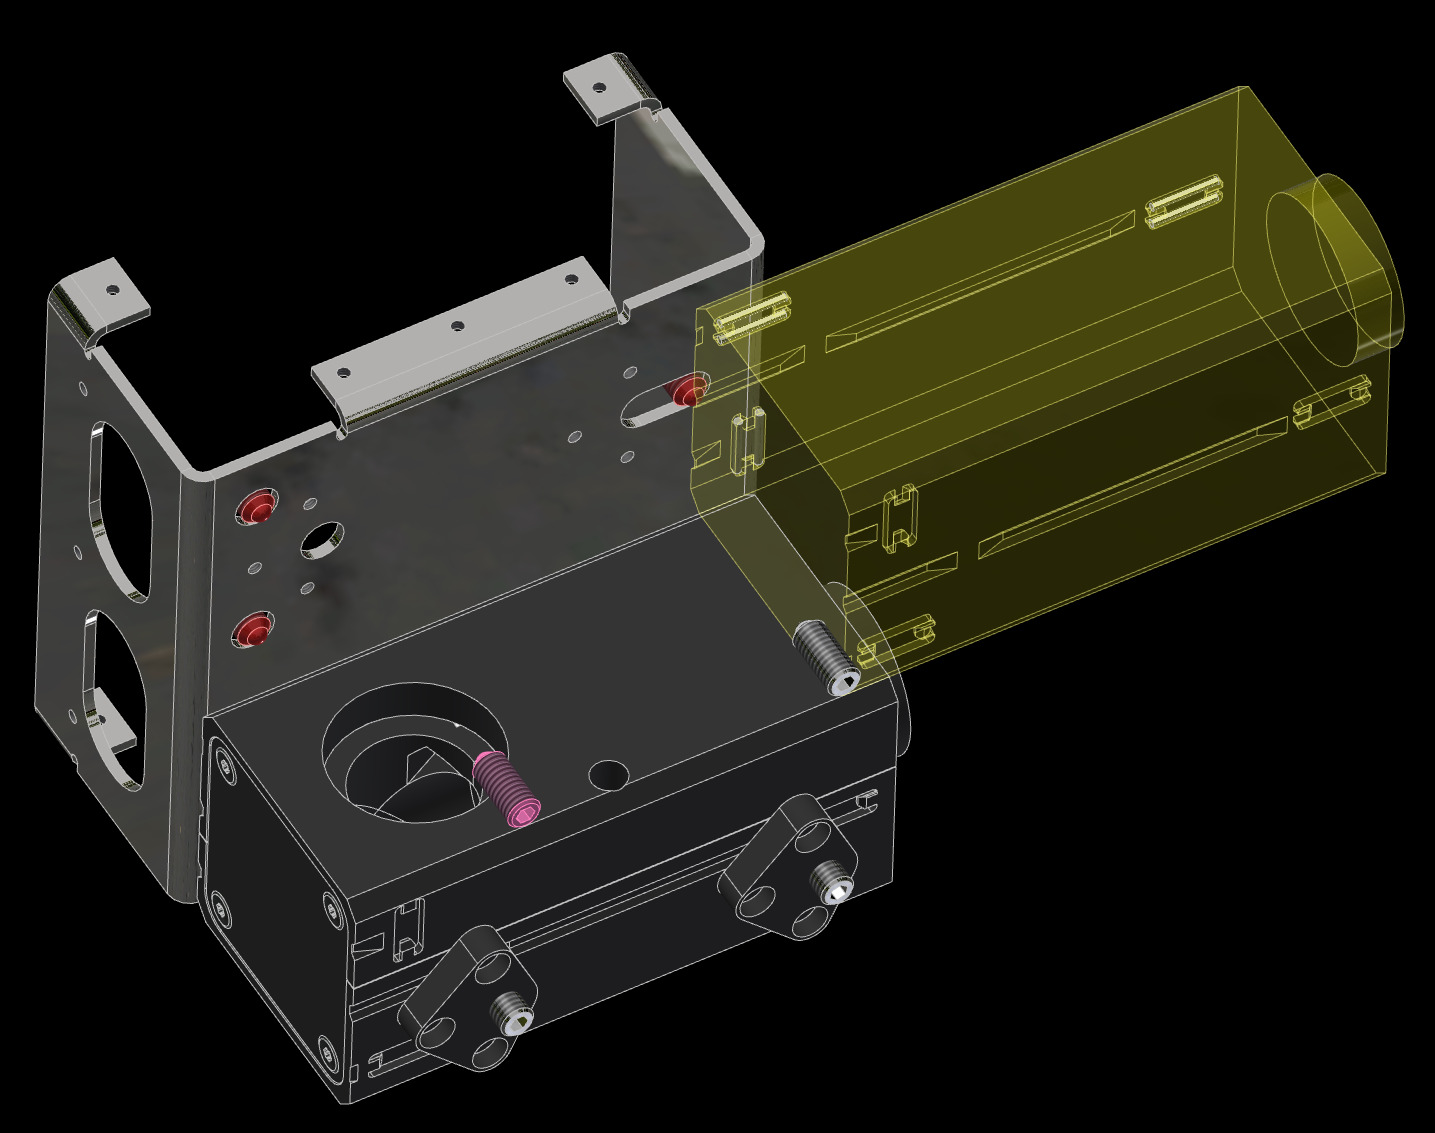
This shows how the optics module have to be slided into the FiveD assembly. There is a series of groves, slides and accompanying spring-loaded mechanisms to keep the module in exactly one place. It is mechanically well defined. The way to slide it in is a bit involved, but worth it:
 one of the positioning spheres (without spring) beaks first
 immediately after this comes the first spring-loaded ball
 *Both balls have to pass over this hill on their bhan. But since one of them is spring-loaded, this should work.
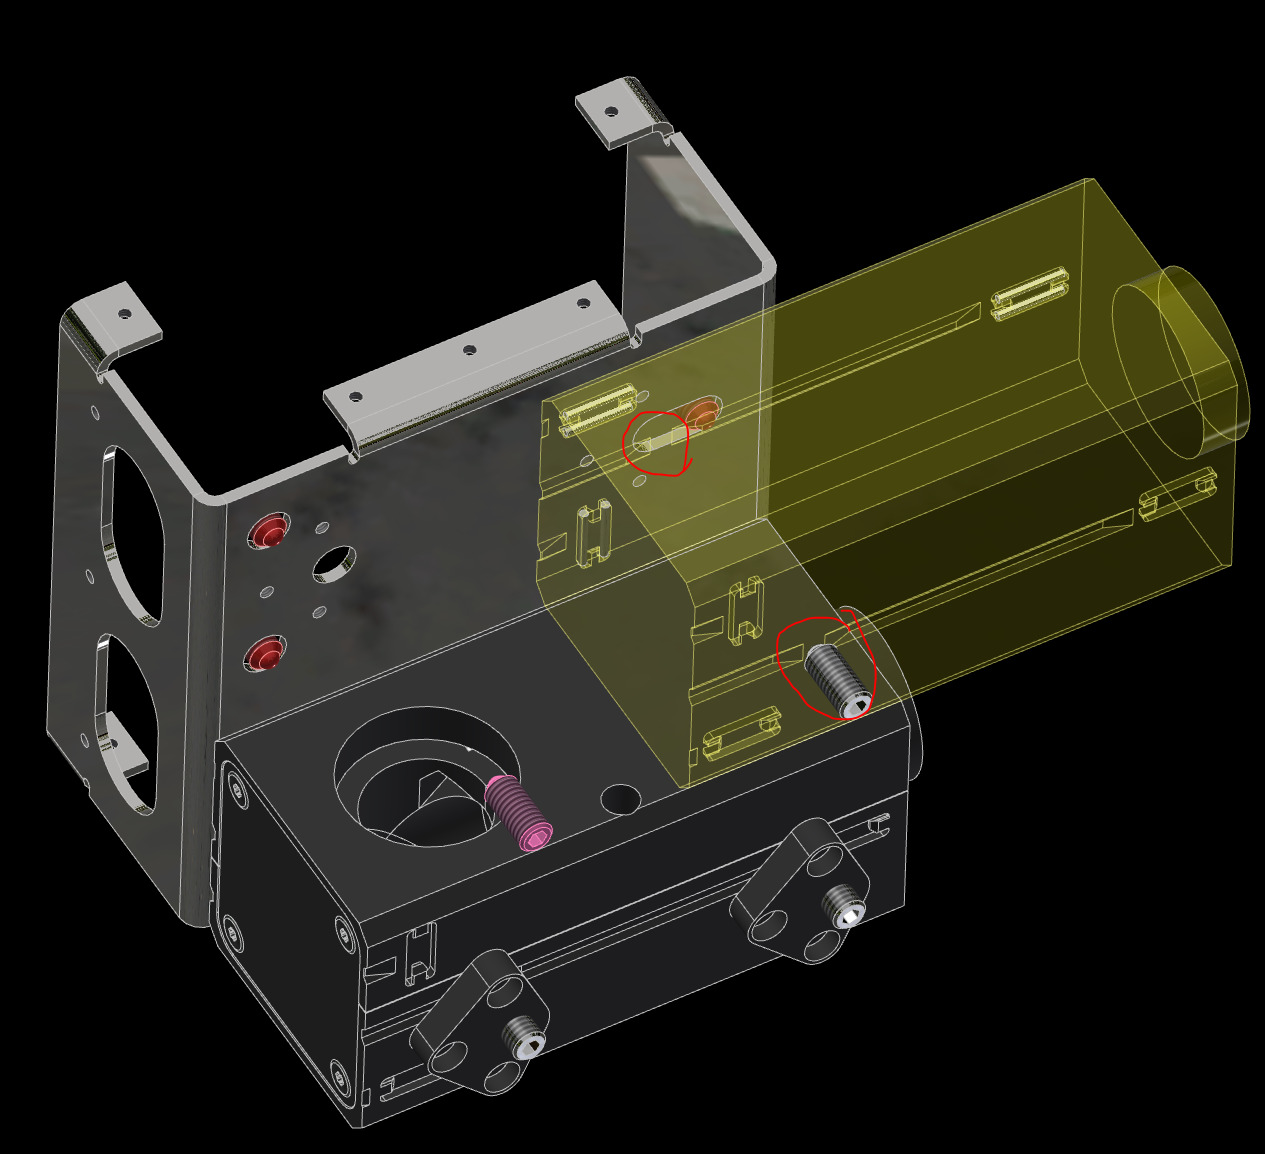 the second spring ball now plays along
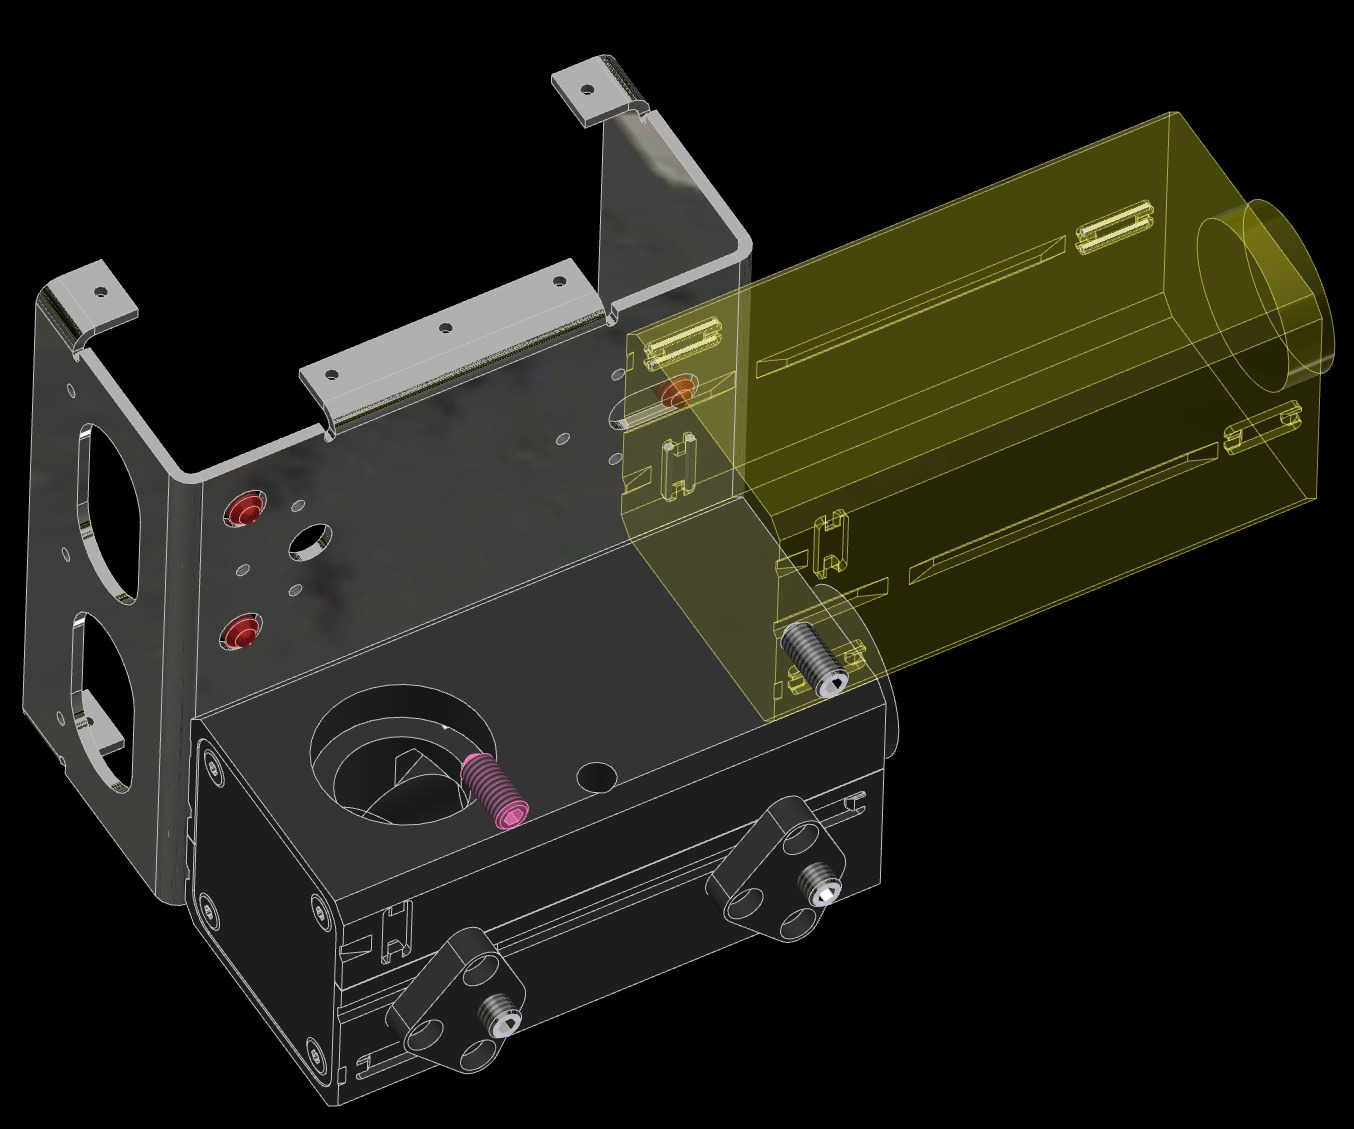 The last two fixed balls find their groove almost immediately before the front ball moves up its ramp to the pins
 Final position. All fixed balls in their "pin yokes" and both spring balls press the optics module against them.
Final result
Safety
- in case of shattered glass, make sure you don't cut yourself
- Make sure you don't hurt yourself
- The moving parts can potentially hurt your finger
- The electronics - if used in a wrong way - can harm you
- edges may be sharp, make sure you don't cut yourself