ImSwitch Native Python Installation (With QT GUI)
This guide covers installing ImSwitch directly on your system using Python, suitable for development and advanced users who need full control over the installation.
Installation Options
ImSwitch can be installed in two modes:
1. GUI Version (with Qt) - Full Desktop Experience
- Complete graphical user interface
- All visualization and control widgets
- Requires display/desktop environment
- Best for interactive microscopy work
2. Headless Version (no Qt) - Server/Remote Mode
- No graphical interface dependencies
- REST API and web interface only
- Ideal for automated systems and remote control
- Lower resource requirements
Automated Installation
For most users, we provide automated installation scripts:
Headless Installation Script
The automated headless installation script handles all dependencies:
Repository: openUC2/ImSwitchDockerInstall
# Download and run the automated installer
wget https://raw.githubusercontent.com/openUC2/ImSwitchDockerInstall/master/install_native.sh
chmod +x install_native.sh
sudo ./install_native.sh
This script performs the following steps:
- System Updates: Updates package manager and installs dependencies
- Miniforge Installation: Installs conda package manager (ARM64/x86_64)
- Environment Creation: Creates isolated Python 3.11 environment
- ImSwitch Installation: Clones and installs ImSwitch from GitHub
- UC2-REST Installation: Installs Python interface for ESP32 control
- Dependency Resolution: Handles package conflicts and version compatibility
Script Details
#!/bin/bash -eu
sudo apt-get update
sudo apt-get install -y git curl

# in case they don't exist create Download/Desktop folder (e.g. lite)
mkdir -p ~/Downloads
mkdir -p ~/Desktop

ARCH=$(uname -m)

# Set timezone
export TZ=America/Los_Angeles
echo "Setting timezone to $TZ"
#sudo ln -snf /usr/share/zoneinfo/"$TZ" /etc/localtime && echo "$TZ" >/etc/timezone

# Update and install necessary dependencies
echo "Updating system and installing dependencies"
sudo apt-get update && sudo apt-get install -y \
    wget \
    unzip \
    python3 \
    python3-pip \
    build-essential \
    git \
    mesa-utils \
    openssh-server \
    libhdf5-dev \
    usbutils

# Clean up apt caches
sudo apt-get clean
sudo rm -rf /var/lib/apt/lists/*
# Install Miniforge
echo "Installing Miniforge"
if [ "$ARCH" = "aarch64" ]; then
    wget https://github.com/conda-forge/miniforge/releases/latest/download/Miniforge3-Linux-aarch64.sh -O /tmp/miniforge.sh
elif [ "$ARCH" = "x86_64" ]; then
    wget https://github.com/conda-forge/miniforge/releases/latest/download/Miniforge3-Linux-x86_64.sh -O /tmp/miniforge.sh
fi
sudo bash /tmp/miniforge.sh -b -p /opt/conda
rm /tmp/miniforge.sh

# Update PATH environment variable
echo "Updating PATH"
export PATH=/opt/conda/bin:$PATH

# Create conda environment and install packages
echo "Creating conda environment and installing packages"
conda create -y --name imswitch311 python=3.11
conda install -n imswitch311 -y -c conda-forge h5py numcodecs==0.13.1 scikit-image==0.25.2
conda clean --all -f -y

# if ImSwitch Config already exists, skip this step
if [ -d ~/ImSwitchConfig ]; then
    echo "ImSwitchConfig already exists, skipping clone."
else
    echo "ImSwitchConfig does not exist, cloning repository."
    # Clone the config folder
    echo "Cloning ImSwitchConfig"
    git clone https://github.com/openUC2/ImSwitchConfig ~/ImSwitchConfig
fi

# Clone the repository and install dependencies
echo "Cloning and installing imSwitch"
git clone https://github.com/openUC2/imSwitch ~/ImSwitch
cd ~/ImSwitch
git checkout master
source /opt/conda/bin/activate imswitch311 && pip install -e ~/ImSwitch

# Install UC2-REST
echo "Installing UC2-REST"
git clone https://github.com/openUC2/UC2-REST ~/UC2-REST
cd ~/UC2-REST
source /opt/conda/bin/activate imswitch311 && pip install -e ~/UC2-REST

# we want psygnal to be installed without binaries - so first remove it - raspi doesn't need this one
# source /opt/conda/bin/activate imswitch && pip uninstall psygnal -y
# source /opt/conda/bin/activate imswitch && pip install psygnal --no-binary :all:
source /opt/conda/bin/activate imswitch311 && mamba install -c conda-forge --strict-channel-priority numcodecs==0.13.1 -y

# fix numpy
source /opt/conda/bin/activate imswitch311 && python3 -m pip install numpy==1.26.4 --force-reinstall

# Expose SSH port and HTTP port
#echo "Exposing ports 22, 8002 and 8001 and 8888"
#sudo ufw allow 22
#sudo ufw allow 8001
#sudo ufw allow 8002
#sudo ufw allow 8888

echo "Installation complete. To run the application, use the following command:"
echo "source /opt/conda/bin/activate imswitch311 && python3 ~/ImSwitch/main.py --headless --http-port 8001"

echo "source /opt/conda/bin/activate imswitch311" >>~/.bashrc
Manual Installation
For advanced users who want full control over the installation process, here are manual instructions for both GUI and headless versions.
GUI Installation (with Qt)
Prerequisites for GUI Version:
- Desktop environment (X11/Wayland)
- Qt5/Qt6 development libraries
- OpenGL support
In all cases, you can start the GUI (in case all the dependencies are properly installed) using the is_headless=0 flag. For this create a python file (e.g. main2.py) and launch this:
if __name__ == '__main__':
    from imswitch.__main__ import main
    '''
    To start imswitch in headless with a remote config file, you can add additional arguments:
    main(is_headless=True, default_config="/Users/bene/ImSwitchConfig/imcontrol_setups/example_virtual_microscope.json", http_port=8001, ssl=True, data_folder="/Users/bene/Downloads")
    - is_headless: True or False
    - default_config: path to the config file
    - http_port: port number^
    - ssl: True or False
    - data_folder: path to the data folder => in docker this could be e.g. Volumes, media in combination with external scanning or any other volume that is direclty mapped as a folder to Imswitch
    - scan_ext_data_folder: True or False => we will look for any externally connected devices (usb) that is mounted under /Volumes or /media
    example:
    main(is_headless=True, data_folder="/Users/bene/Downloads")

    # kill -9 $(lsof -ti:8001)
    '''
    #main(is_headless=False) ## this has to be maintained for DOCKER!
    #main(default_config="/Users/bene/ImSwitchConfig/imcontrol_setups/FRAME.json", is_headless=True, http_port=8001) ## this has to be maintained for DOCKER!
    #main(default_config="/Users/bene/ImSwitchConfig/imcontrol_setups/example_uc2_lightsheet_hik.json", is_headless=True, http_port=8001) ## this has to be maintained for DOCKER!
    main(default_config="/Users/bene/ImSwitchConfig/imcontrol_setups/example_virtual_microscope.json", is_headless=False, http_port=8001, socket_port=8002, scan_ext_data_folder=True, data_folder="~/Downloads", ext_drive_mount="/Volumes")
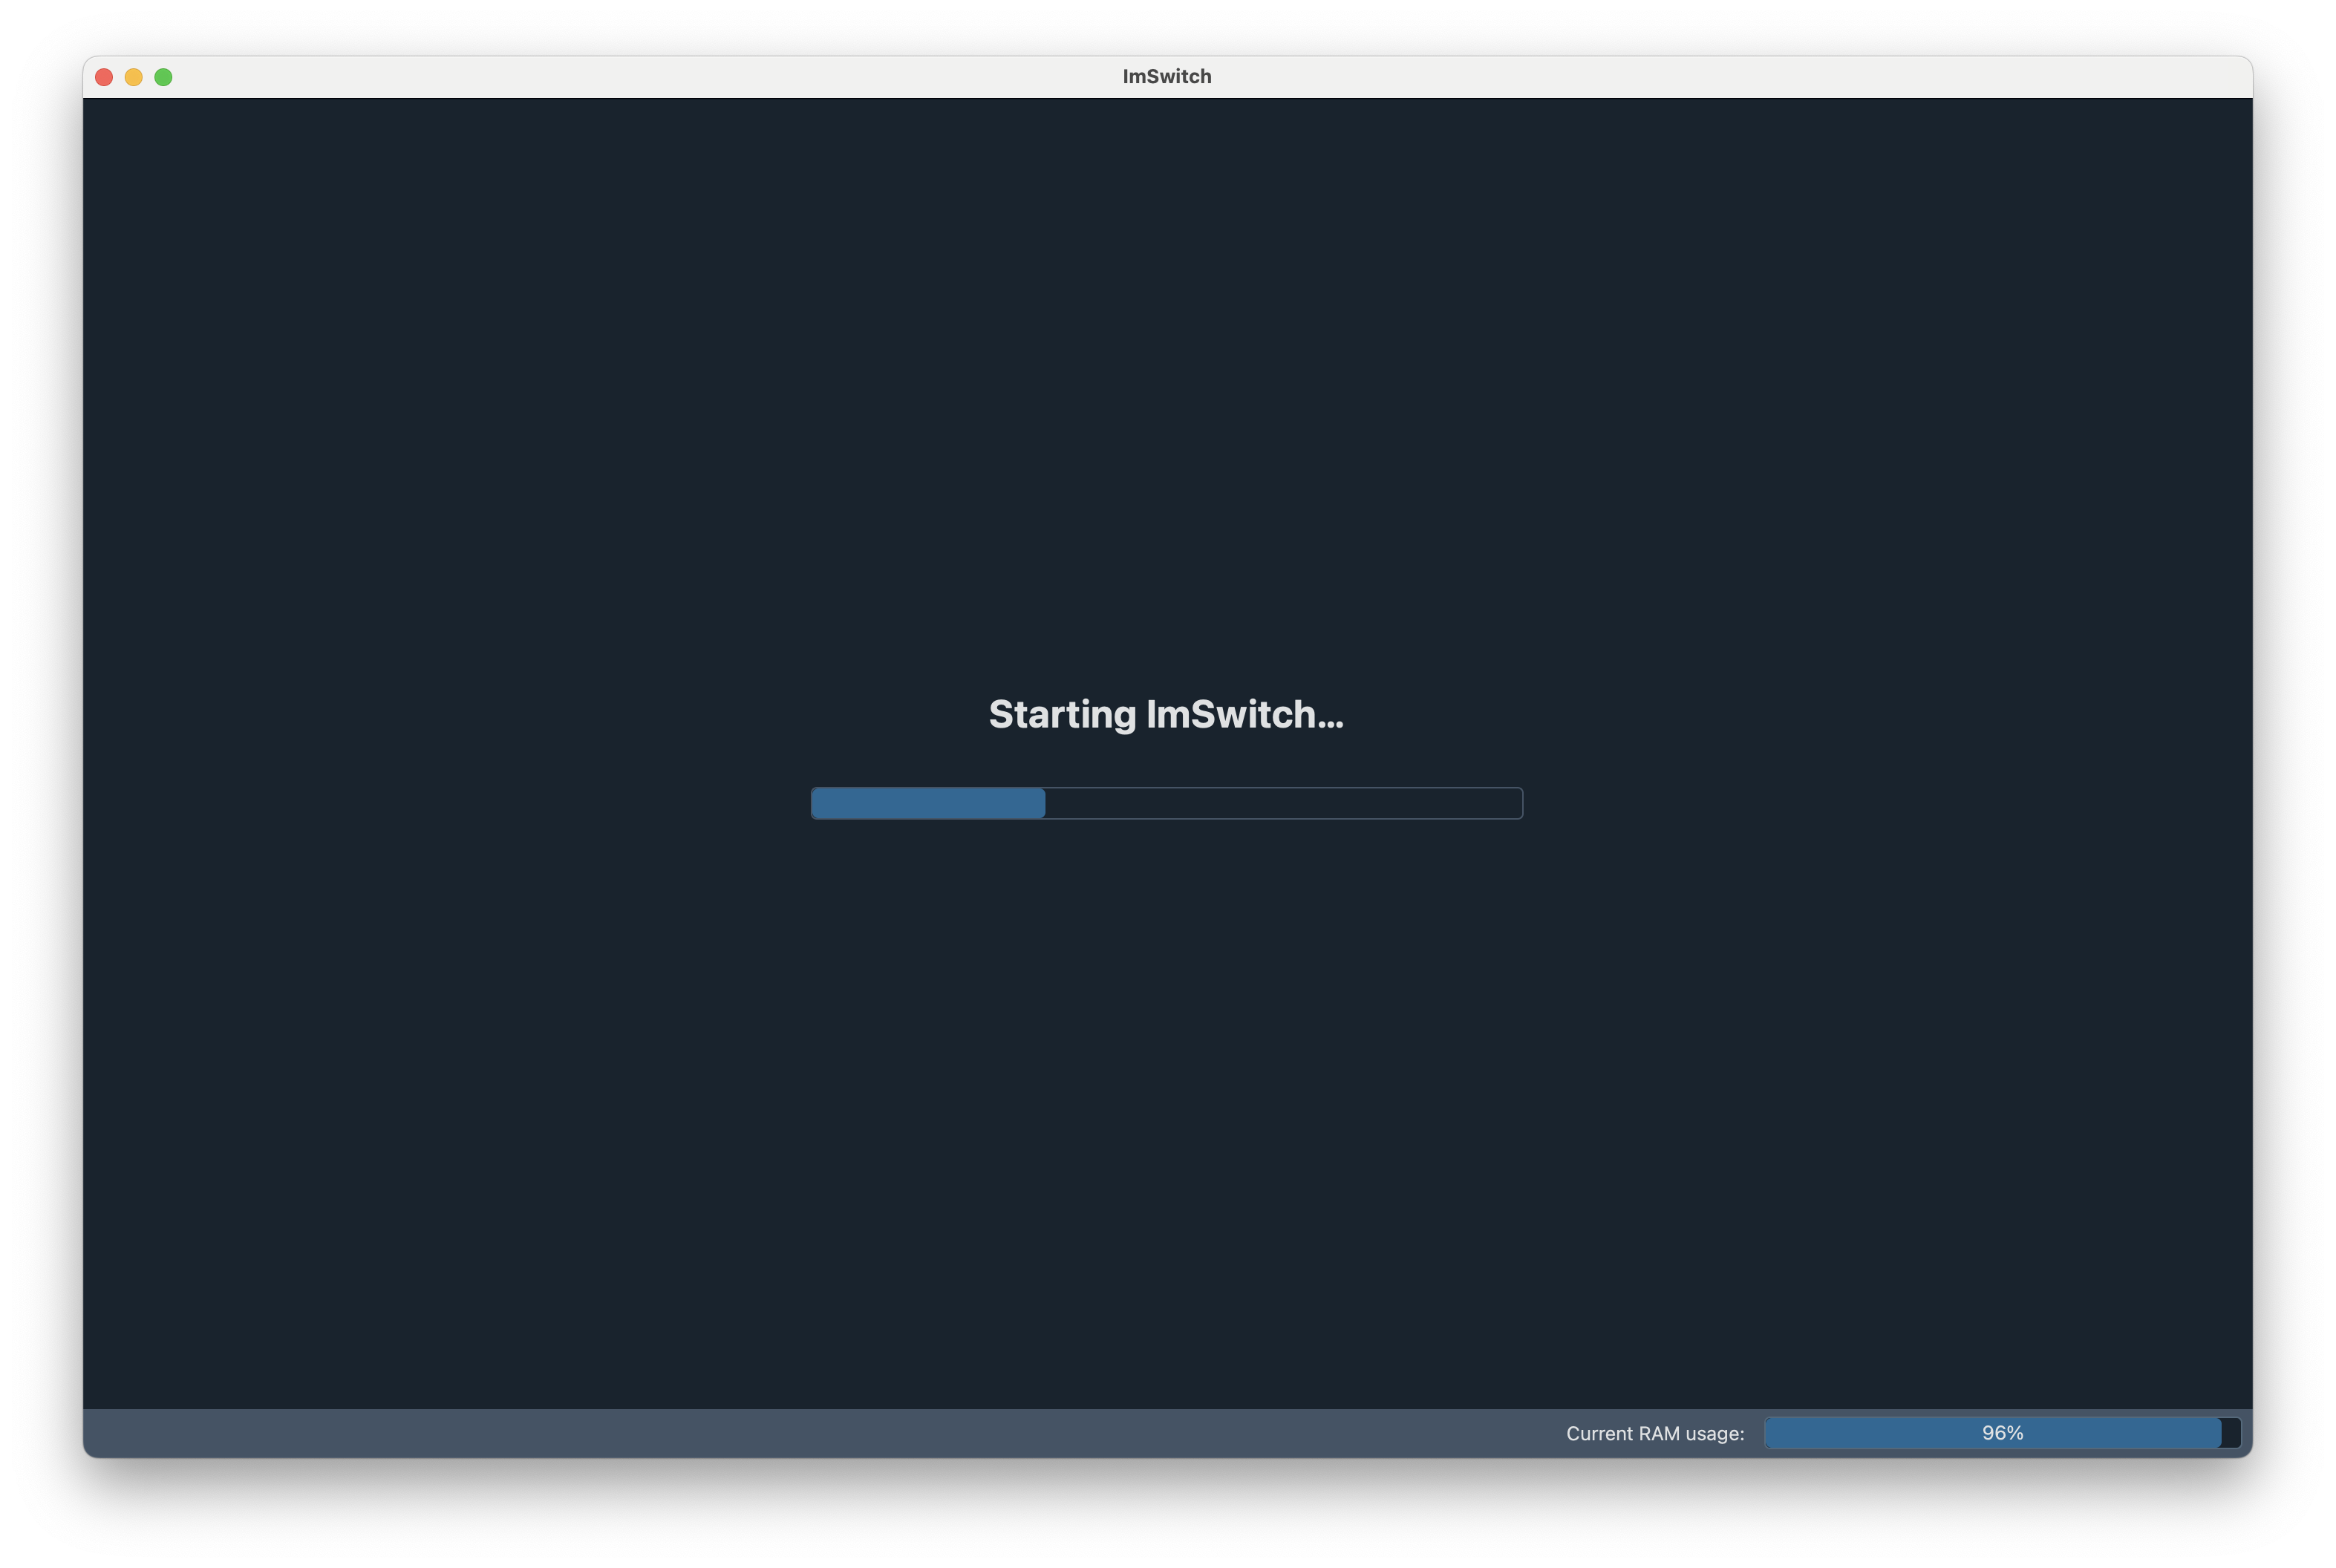
With this we will see the qt app load:

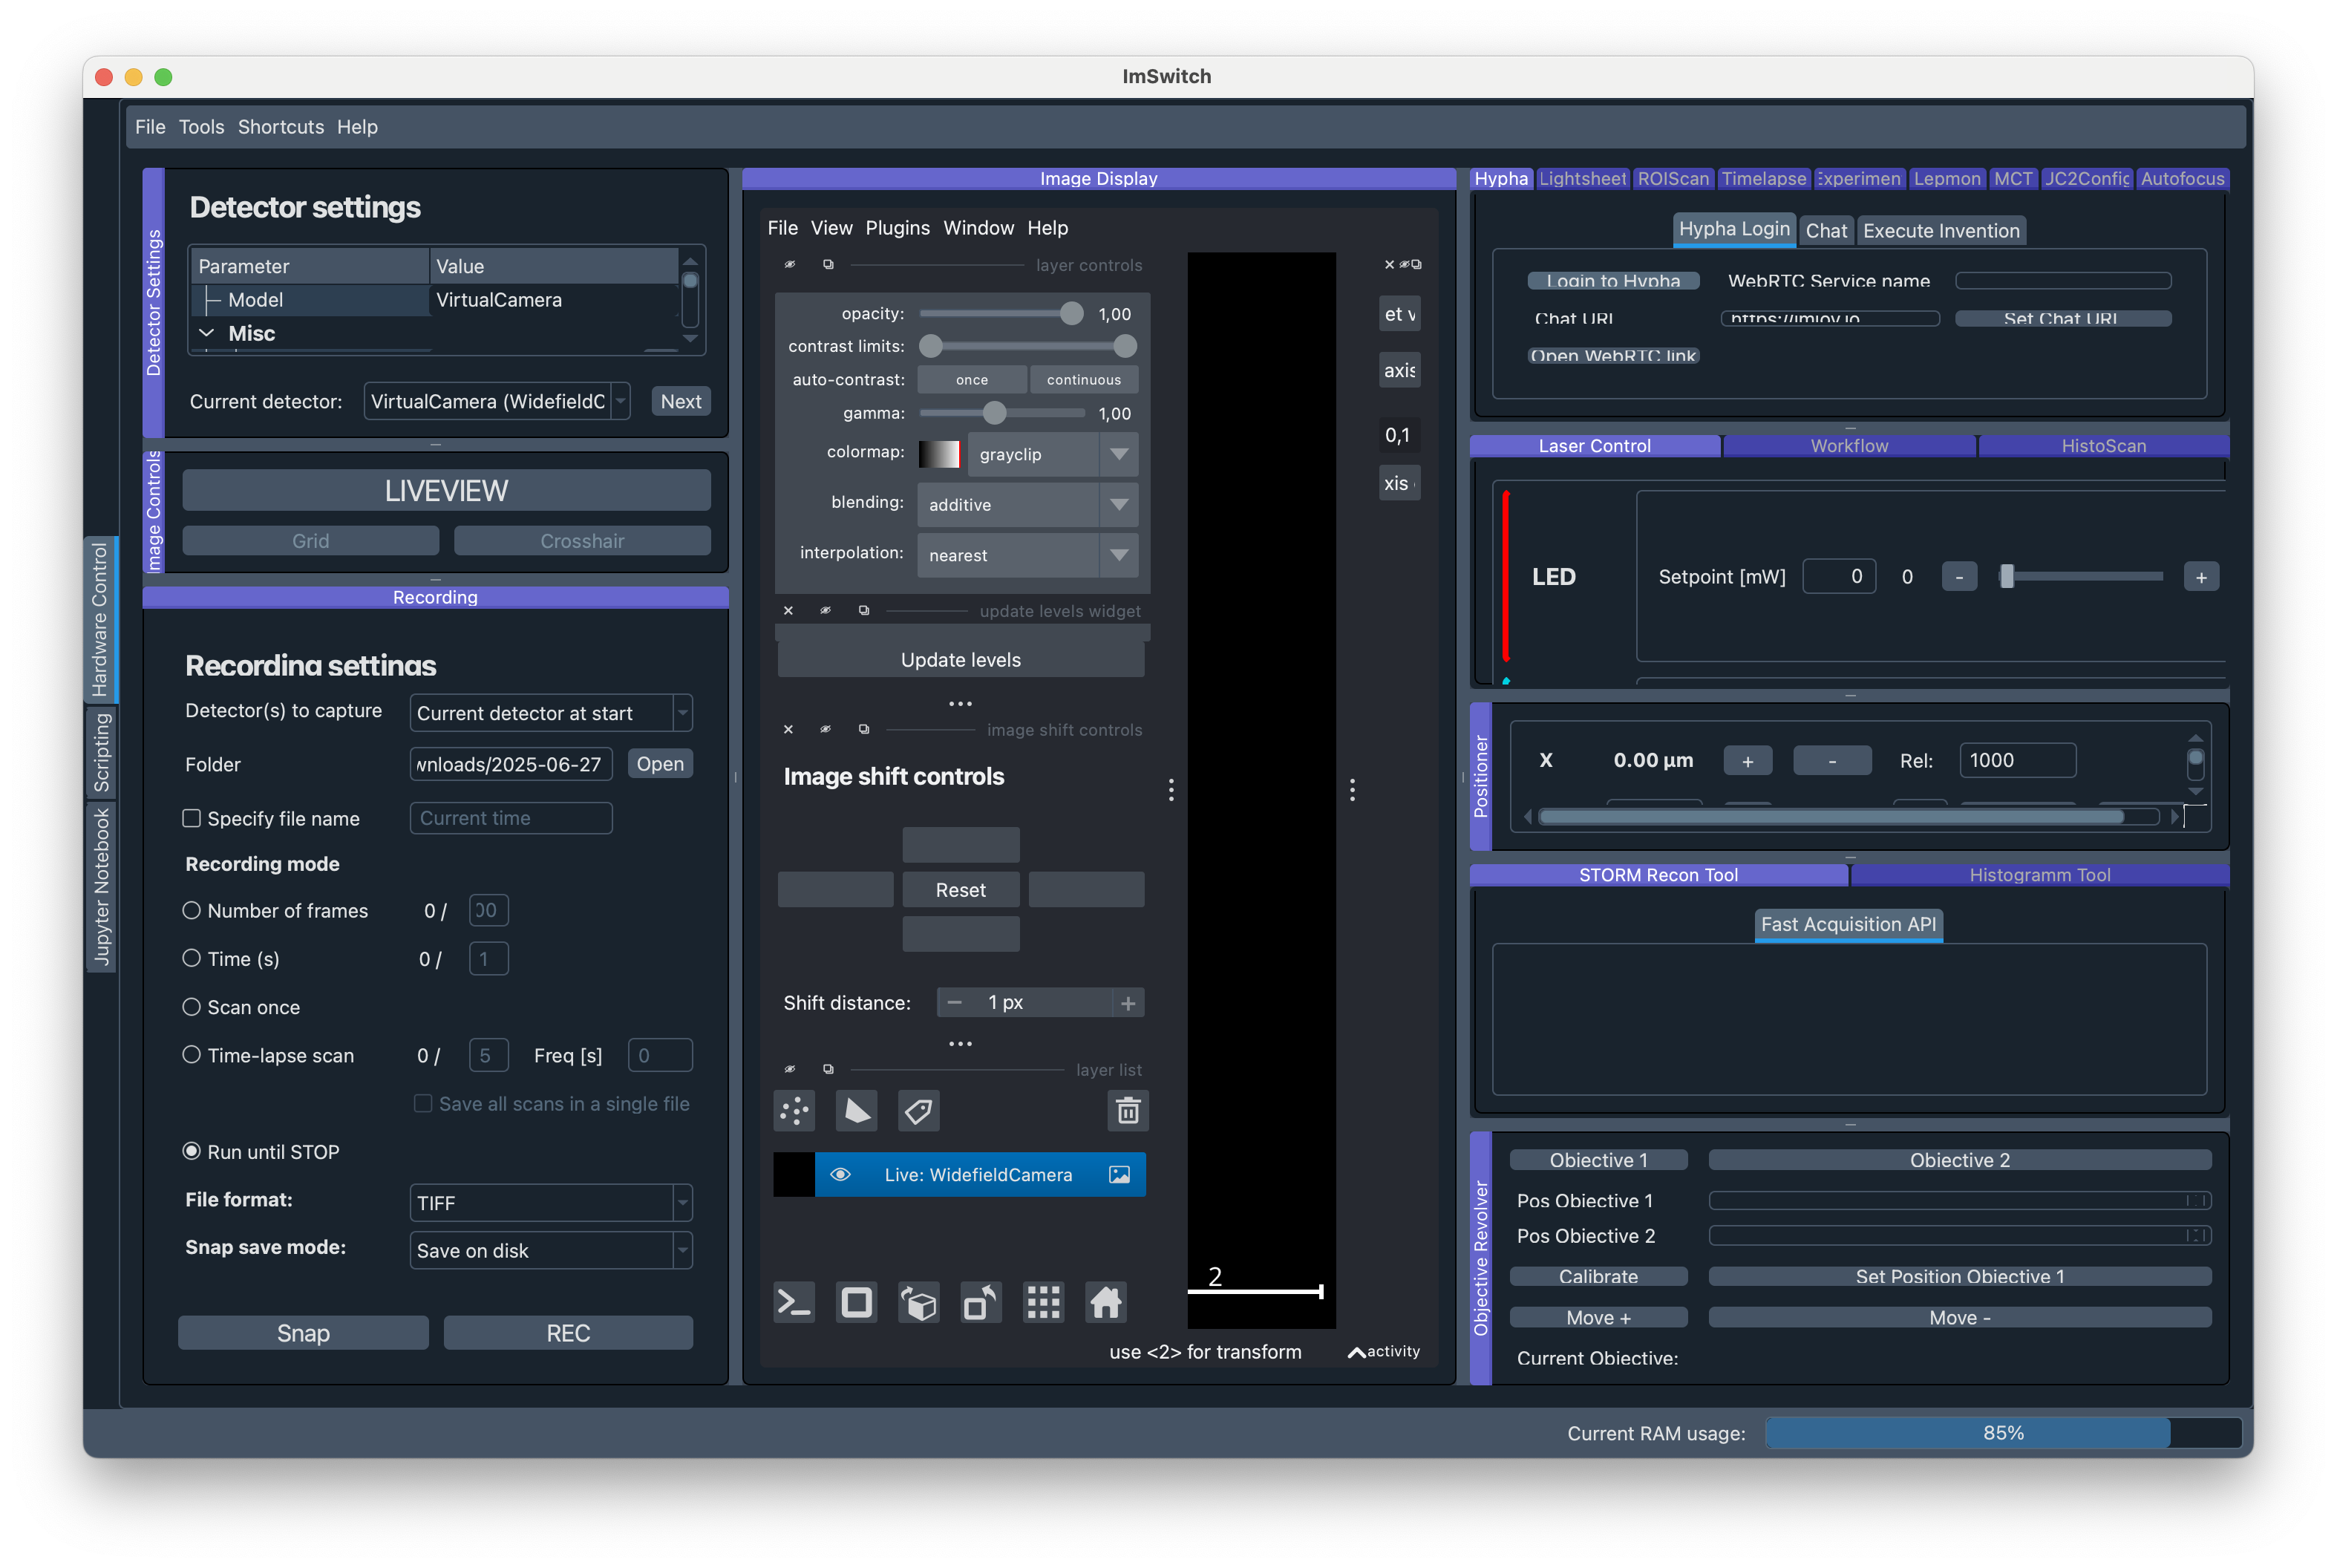
Below you will find ways how to install the dependencies. In a nutshell: You install imswitch with the PyQt5 flag which will install napari and its dependencies (e.g. pip install .[PyQt5] assuming you are in the same folder as the cloned ImSwitch (openUC2 version) repo). The ImSwitch app in QT looks as follows:

Discontinued support for QT: We have stopped supporting the qt framework as we push towards the headless mode - please expect errors and unsupported functions!
Ubuntu/Debian (GUI)
# Install system dependencies
sudo apt-get update
sudo apt-get install -y \
    python3 python3-pip python3-venv \
    git build-essential \
    qt5-default python3-pyqt5 \
    libgl1-mesa-glx libglib2.0-0 \
    libhdf5-dev libopencv-dev

# Create virtual environment
python3 -m venv ~/imswitch-env
source ~/imswitch-env/bin/activate

# Install ImSwitch
git clone https://github.com/openUC2/imSwitch ~/ImSwitch
cd ~/ImSwitch
pip install -e .

# Install UC2-REST
git clone https://github.com/openUC2/UC2-REST ~/UC2-REST
cd ~/UC2-REST
pip install -e .
Windows (GUI)
# Install Python 3.11 from python.org
# Install Git from git-scm.com
# Install Visual Studio Code (optional)

# Create virtual environment
python -m venv imswitch-env
imswitch-env\Scripts\activate

# Clone and install
git clone https://github.com/openUC2/imSwitch
cd imSwitch
pip install -e .[PyQt5]

# Install UC2-REST
git clone https://github.com/openUC2/UC2-REST
cd UC2-REST
pip install -e .
macOS (GUI)
# Install Homebrew (if not already installed)
/bin/bash -c "$(curl -fsSL https://raw.githubusercontent.com/Homebrew/install/HEAD/install.sh)"

# Install dependencies
brew install python@3.11 git qt5
export PATH="/usr/local/opt/qt5/bin:$PATH"

# Create virtual environment
python3 -m venv ~/imswitch-env
source ~/imswitch-env/bin/activate

# Install ImSwitch
git clone https://github.com/openUC2/imSwitch ~/ImSwitch
cd ~/ImSwitch
pip install -e .[PyQt5]

# Install UC2-REST
git clone https://github.com/openUC2/UC2-REST ~/UC2-REST
cd ~/UC2-REST
pip install -e .
Headless Installation (no Qt)
Prerequisites for Headless Version:
- Python 3.10+
- No desktop environment required
- Minimal system dependencies
Ubuntu/Debian (Headless)
# Install minimal dependencies
sudo apt-get update
sudo apt-get install -y \
    python3 python3-pip python3-venv \
    git build-essential \
    libhdf5-dev

# Create virtual environment
python3 -m venv ~/imswitch-headless
source ~/imswitch-headless/bin/activate

# Install headless version
git clone https://github.com/openUC2/imSwitch ~/ImSwitch
cd ~/ImSwitch
pip install -e .[headless]

# Install UC2-REST
git clone https://github.com/openUC2/UC2-REST ~/UC2-REST
cd ~/UC2-REST
pip install -e .
Running ImSwitch
GUI Mode
# Activate environment
source ~/imswitch-env/bin/activate  # Linux/Mac
# OR
imswitch-env\Scripts\activate  # Windows

# Run with GUI
cd ~/ImSwitch
python main.py
Headless Mode
# Activate environment
source ~/imswitch-headless/bin/activate

# Run headless with web interface
cd ~/ImSwitch
python main.py --headless --http-port 8001

# Access web interface at: http://localhost:8001/imswitch/index.html
Configuration
After installation, configure ImSwitch by creating or editing configuration files:
# Clone configuration repository
git clone https://github.com/openUC2/ImSwitchConfig ~/ImSwitchConfig

# Configuration files location:
# Linux/Mac: ~/Documents/ImSwitchConfig/config/
# Windows: %USERPROFILE%\Documents\ImSwitchConfig\config\
Troubleshooting
Common Issues
Qt/GUI Issues:
# Install additional Qt packages
sudo apt-get install python3-pyqt5.qtsvg python3-pyqt5.qtwebengine
Camera Driver Issues:
# Install camera drivers
sudo apt-get install libhik-camera-dev libdaheng-camera-dev
Permission Issues:
# Add user to dialout group for serial port access
sudo usermod -a -G dialout $USER
# Log out and log back in
Prerequisites
- Python 3.10 or higher
- Git
- Visual Studio Code (recommended)
- Platform-specific development tools
Windows Installation
Step 1: Install Required Software
Visual Studio Code
- Download from VS Code website
- Install with default settings
Git for Windows
- Download from Git website
- Install with default settings
Miniconda
- Download from Miniconda website
- Install the 64-bit version
- Important: Select "Add Anaconda to my PATH environment variable" during installation
Step 2: Clone Repositories
Open Command Prompt and navigate to your preferred directory:
cd C:\Users\<YourUsername>\Downloads

# Clone required repositories
git clone https://github.com/openUC2/UC2-REST
git clone https://github.com/openUC2/ImSwitch
git clone https://gitlab.com/bionanoimaging/nanoimagingpack
Step 3: Create Environment and Install
# Create new conda environment
conda create -n imswitch python=3.10

# Activate environment
conda activate imswitch

# Install ImSwitch
cd ImSwitch
pip install -e .

# Install UC2-REST
cd ../UC2-REST
pip install -e .

# Install NanoImagingPack (optional, for advanced image processing)
cd ../nanoimagingpack
pip install -e .
Step 4: Install Hardware Drivers
UC2 Electronics (CH340 Driver):
- Download CH340 driver
- Extract and run the installer
- Device will appear as COM port in Device Manager
UC2 Electronics (CP210x Driver):
- Download CP210x driver
- Install following manufacturer instructions
Linux/Ubuntu Installation
Step 1: Install Dependencies
# Update package list
sudo apt update

# Install required packages
sudo apt install -y python3-pip python3-venv git build-essential

# Install Python development headers
sudo apt install -y python3-dev

# For camera support
sudo apt install -y libusb-1.0-0-dev
Step 2: Clone Repositories
cd ~/Downloads

# Clone required repositories
git clone https://github.com/openUC2/UC2-REST
git clone https://github.com/openUC2/ImSwitch
git clone https://gitlab.com/bionanoimaging/nanoimagingpack
Step 3: Create Virtual Environment
# Create virtual environment
python3 -m venv ~/imswitch-env

# Activate environment
source ~/imswitch-env/bin/activate

# Install ImSwitch and dependencies
cd ~/Downloads/ImSwitch
pip install -e .

# Install UC2-REST
cd ~/Downloads/UC2-REST
pip install -e .

# Install NanoImagingPack (optional)
cd ~/Downloads/nanoimagingpack
pip install -e .
Step 4: Hardware Setup
USB Serial Devices:
# Add user to dialout group for serial port access
sudo usermod -a -G dialout $USER

# Logout and login again for changes to take effect
macOS Installation
Step 1: Install Homebrew and Dependencies
# Install Homebrew (if not already installed)
/bin/bash -c "$(curl -fsSL https://raw.githubusercontent.com/Homebrew/install/HEAD/install.sh)"

# Install required packages
brew install python@3.10 git
Step 2: Clone and Install
cd ~/Downloads

# Clone repositories
git clone https://github.com/openUC2/UC2-REST
git clone https://github.com/openUC2/ImSwitch
git clone https://gitlab.com/bionanoimaging/nanoimagingpack

# Create virtual environment
python3 -m venv ~/imswitch-env
source ~/imswitch-env/bin/activate

# Install packages
cd ImSwitch && pip install -e . && cd ..
cd UC2-REST && pip install -e . && cd ..
cd nanoimagingpack && pip install -e . && cd ..
Verification
Test Installation
# Activate environment (if not already active)
# Windows: conda activate imswitch
# Linux/macOS: source ~/imswitch-env/bin/activate

# Test ImSwitch
python -c "import imswitch; print('ImSwitch installed successfully')"

# Test UC2-REST
python -c "import UC2REST; print('UC2-REST installed successfully')"

# Launch ImSwitch
python -m imswitch
Expected Output
- ImSwitch GUI should launch
- Check console for any error messages
- Verify hardware detection in the interface
Development Setup
IDE Configuration
Visual Studio Code Extensions:
- Python
- Pylance
- Python Docstring Generator
- GitLens
Settings for ImSwitch development:
{
    "python.defaultInterpreterPath": "./imswitch-env/bin/python",
    "python.linting.enabled": true,
    "python.linting.pylintEnabled": true
}
Contributing
If you plan to contribute to ImSwitch:
# Fork the repository on GitHub first, then:
git clone https://github.com/YOUR_USERNAME/ImSwitch
cd ImSwitch

# Add upstream remote
git remote add upstream https://github.com/openUC2/ImSwitch

# Create development branch
git checkout -b feature/my-feature

# Install in development mode
pip install -e .[dev]
Troubleshooting
Common Issues
Import errors:
# Ensure environment is activated
# Reinstall with verbose output
pip install -e . -v
Qt/GUI issues on Linux:
# Install Qt dependencies
sudo apt install -y python3-pyqt5 python3-pyqt5.qtsvg
Serial port access denied:
# Linux: Add user to dialout group
sudo usermod -a -G dialout $USER

# Windows: Check driver installation in Device Manager
Camera not detected:
# Install camera-specific drivers
# For HIK cameras: Install MVS runtime
# For other cameras: Check manufacturer documentation
Getting Help
- GitHub Issues: ImSwitch Issues
- Discussions: ImSwitch Discussions
- UC2 Forum: openUC2.com
Next Steps
After successful installation:
- Configure your setup - Create configuration files for your hardware
- Basic usage - Learn ImSwitch fundamentals
- Update procedures - Keep your installation current