ImSwitch Installer
Introduction
The ImSwitch Installer is an Electron-based application designed to streamline the installation process of the ImSwitch environment. It automates the download and setup of a Mamba environment along with all necessary dependencies from GitHub via pip. This tool simplifies the installation process, reducing it to a few clicks and eliminating the need for executing multiple complex commands.
NEW: ImSwitch now runs as a web-based application embedded within the installer window. No external browser required.
Installation Process
1. Download the Installer
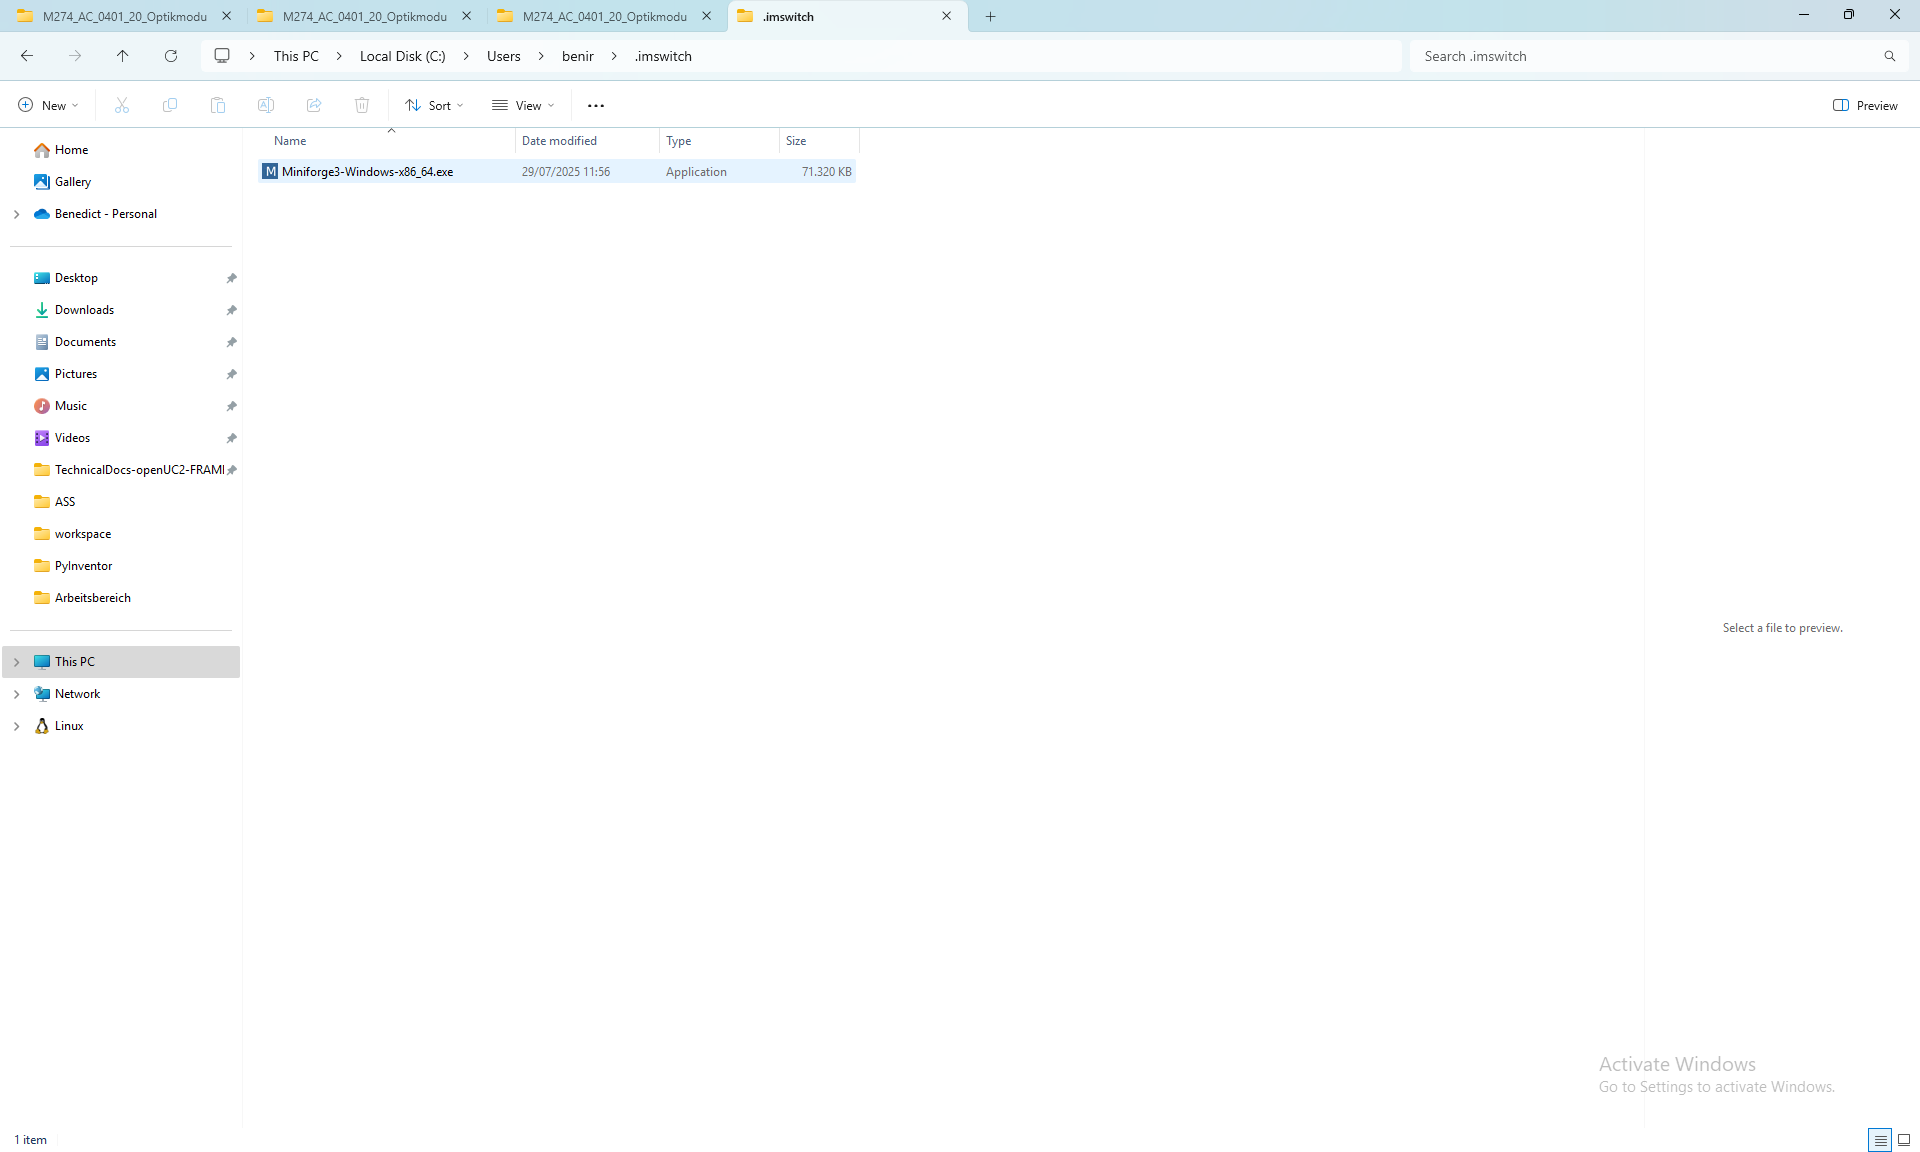
Go to the ImSwitch Installer releases page and download the appropriate version for your system (Windows, macOS ARM64/Intel, or Linux).
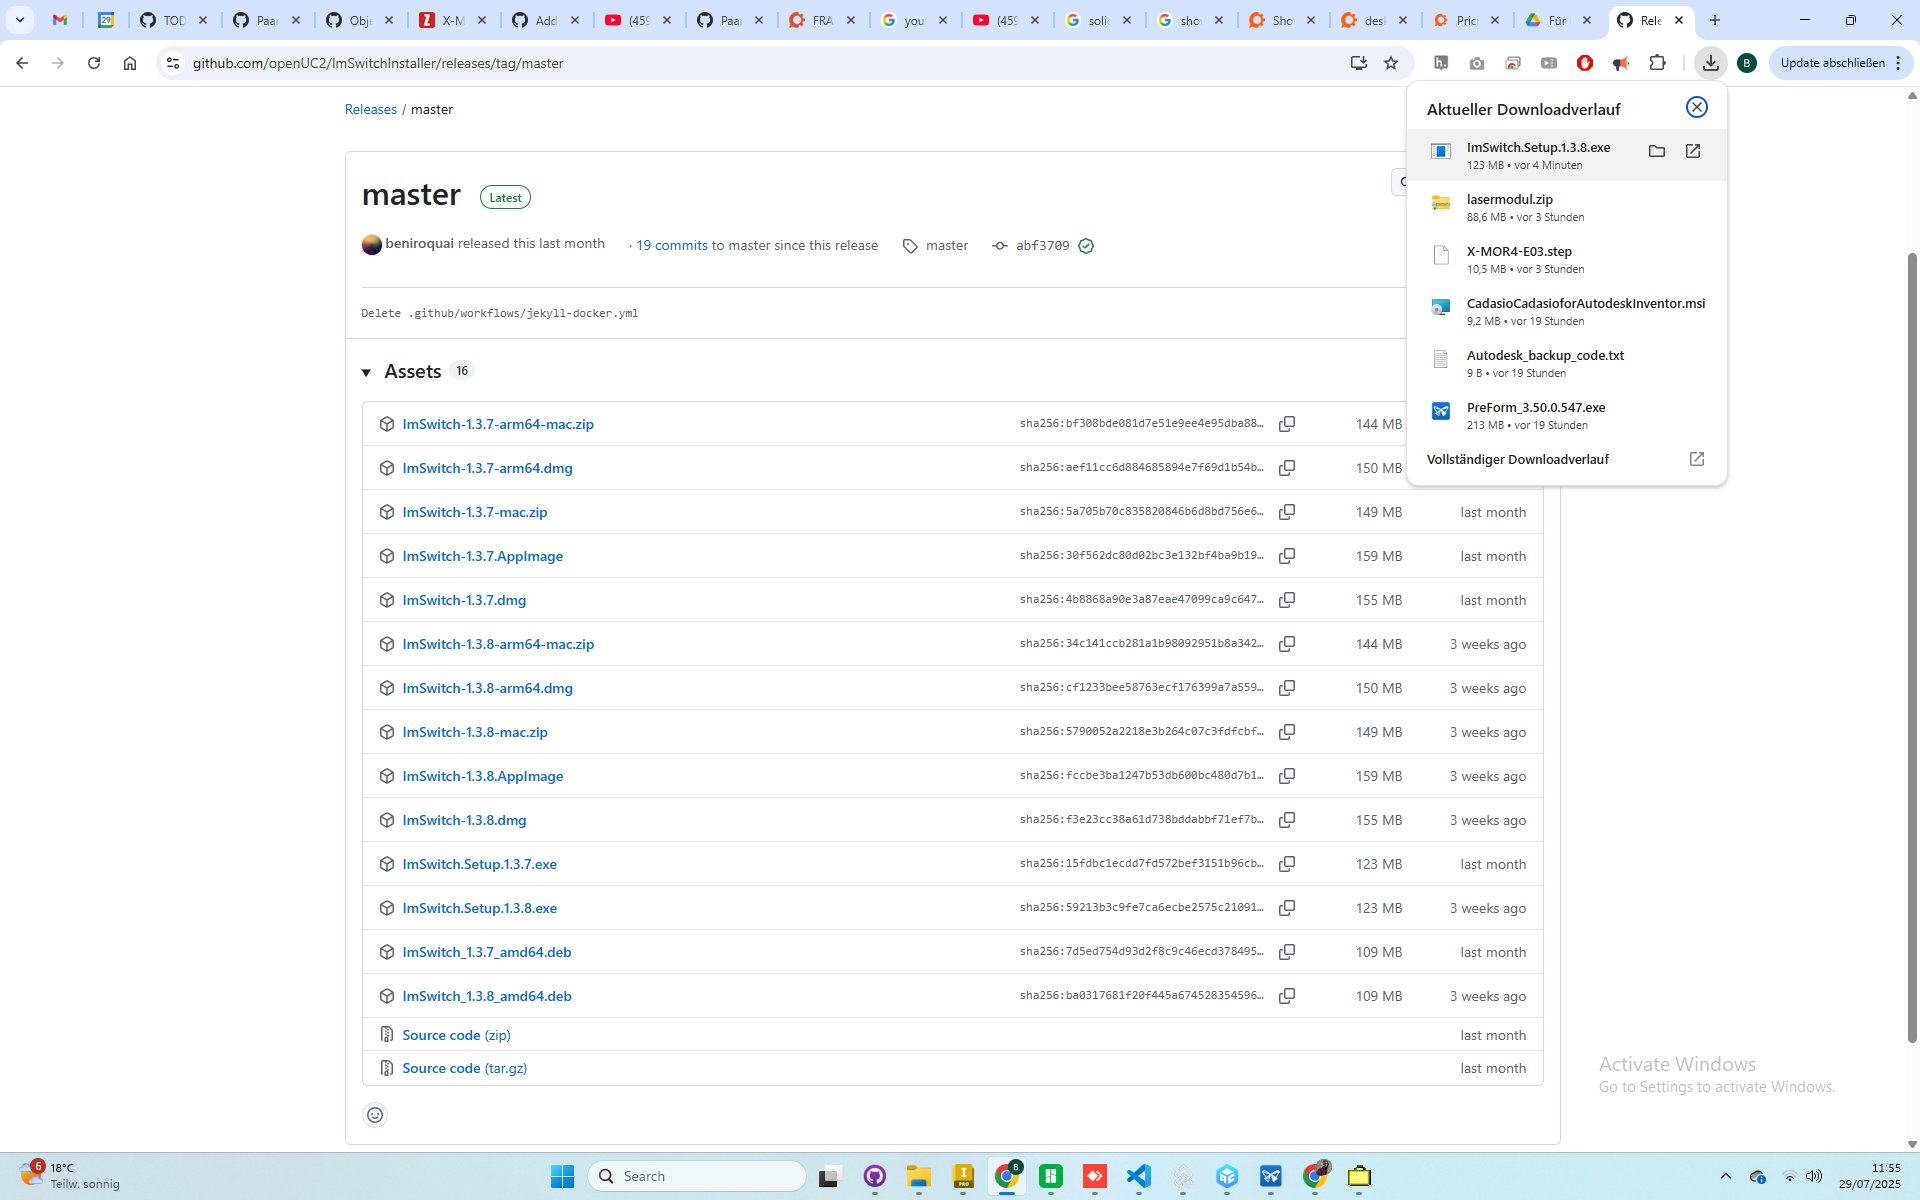 Navigate to the GitHub release page and download the correct installer for your operating system.
2. Run the Installer
Windows:
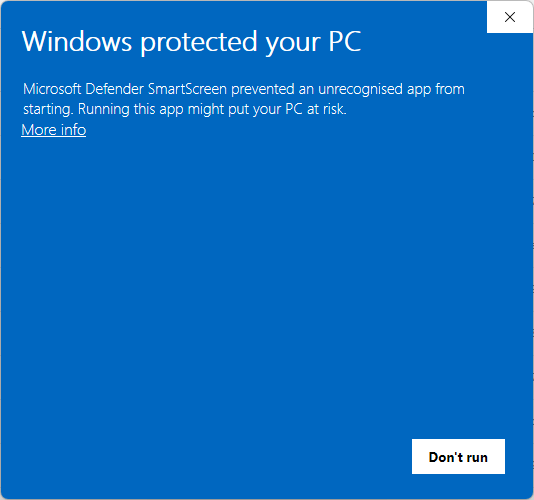 When launching on Windows, you may encounter a security warning. Accept it to continue.
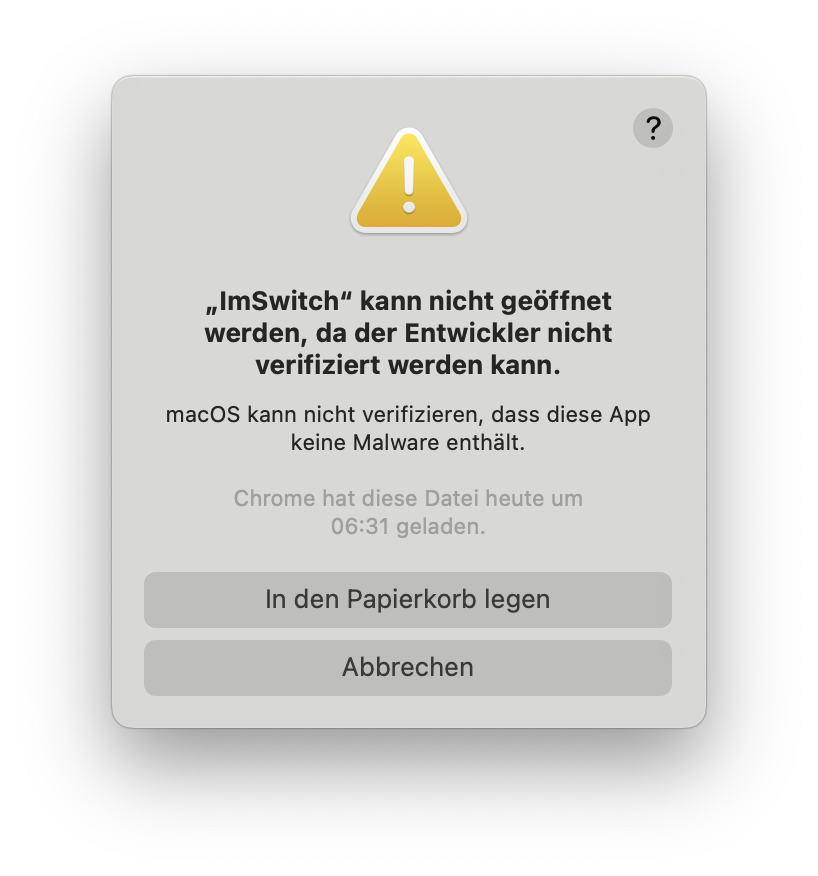
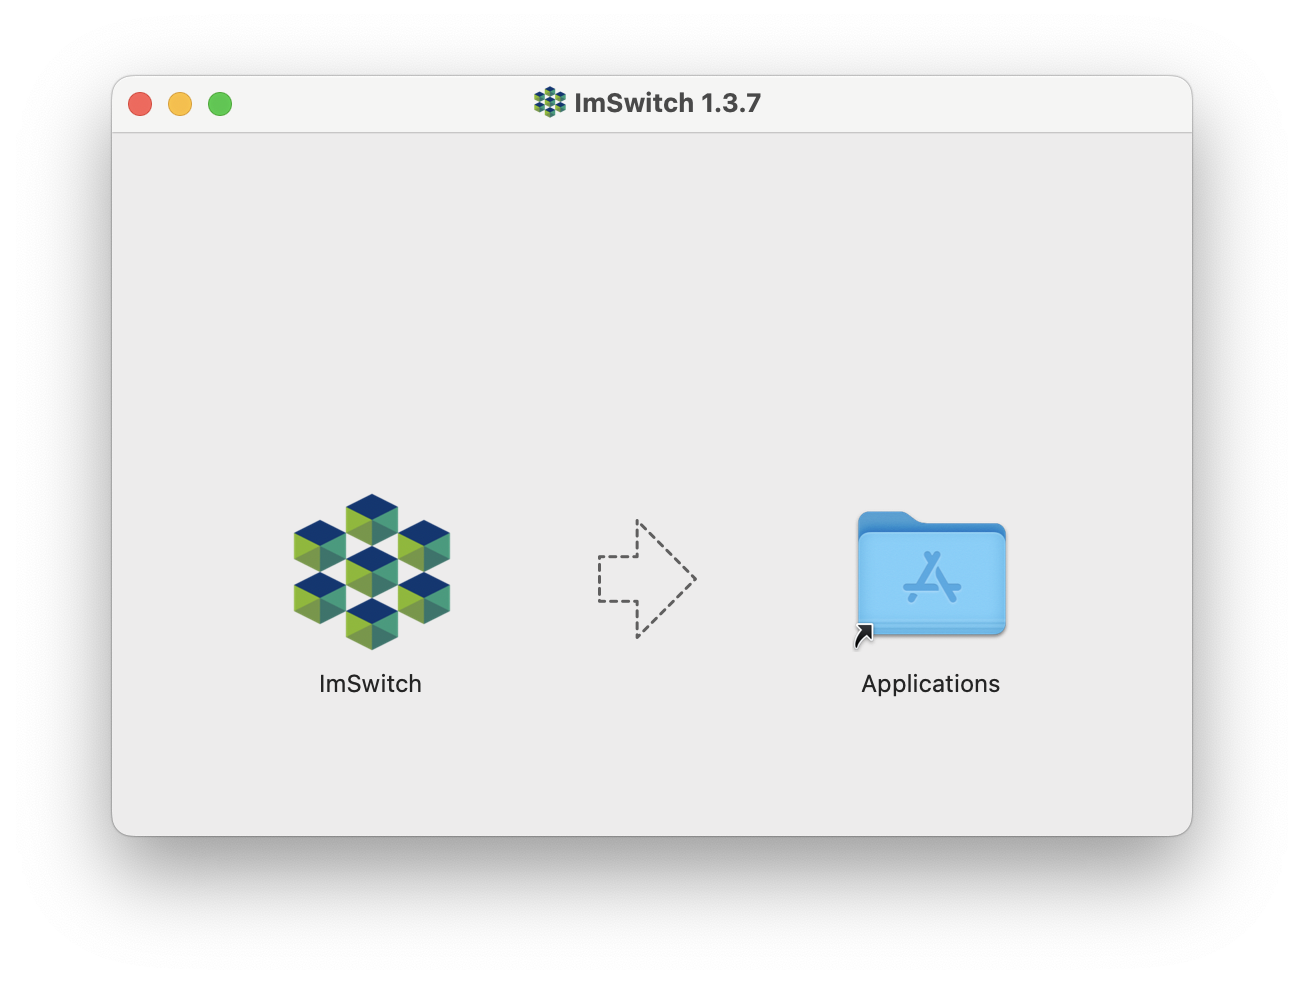
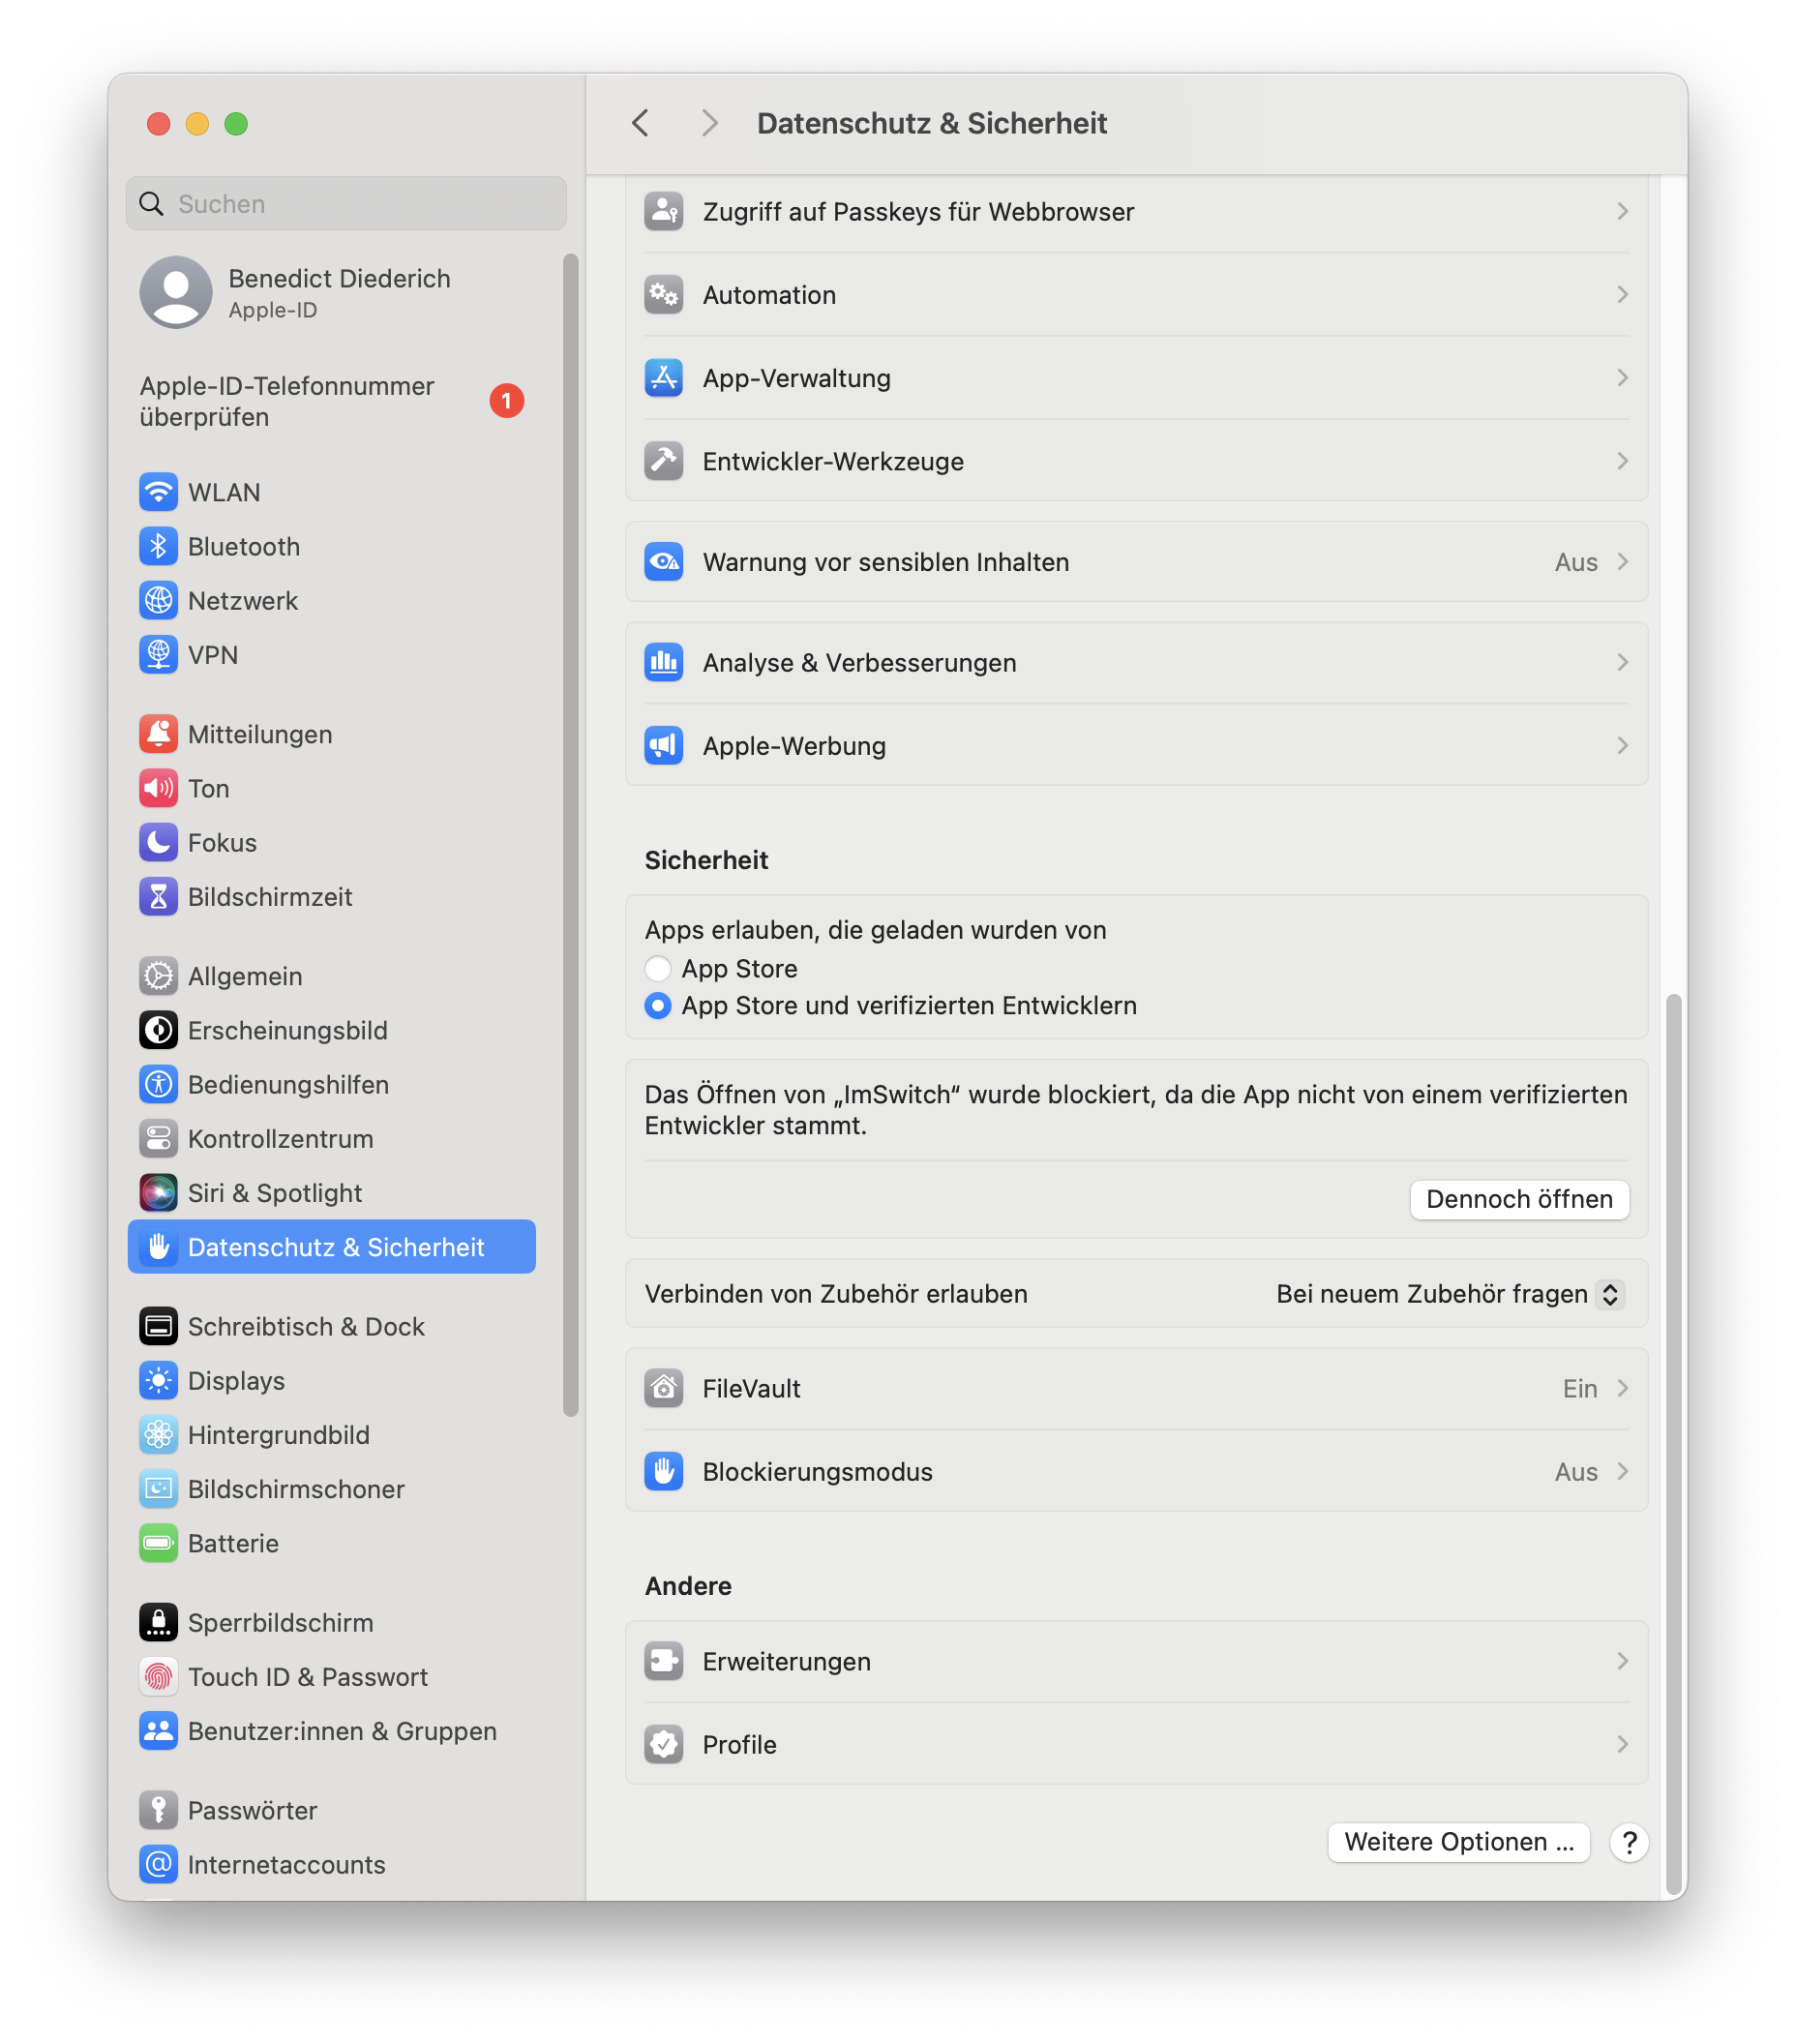
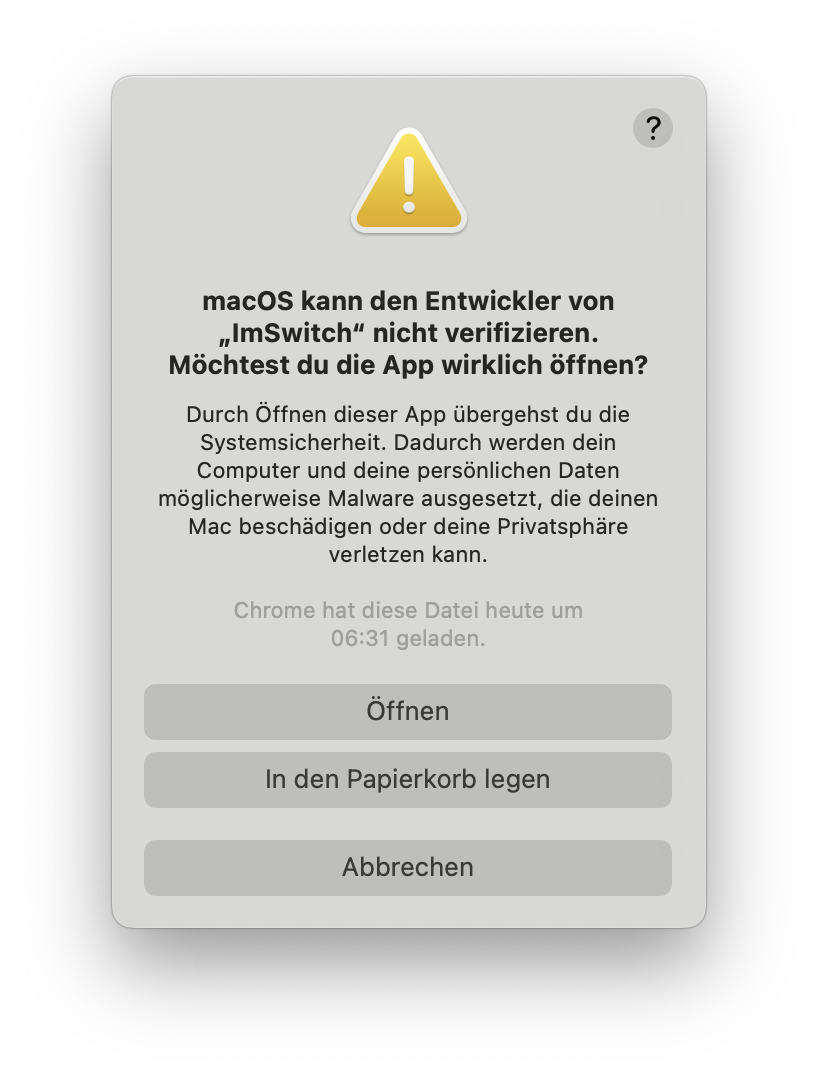
macOS: Follow Apple's instructions to run unsigned apps.
3. Installation Begins
 The Electron app will start unpacking. Please wait until it's ready.
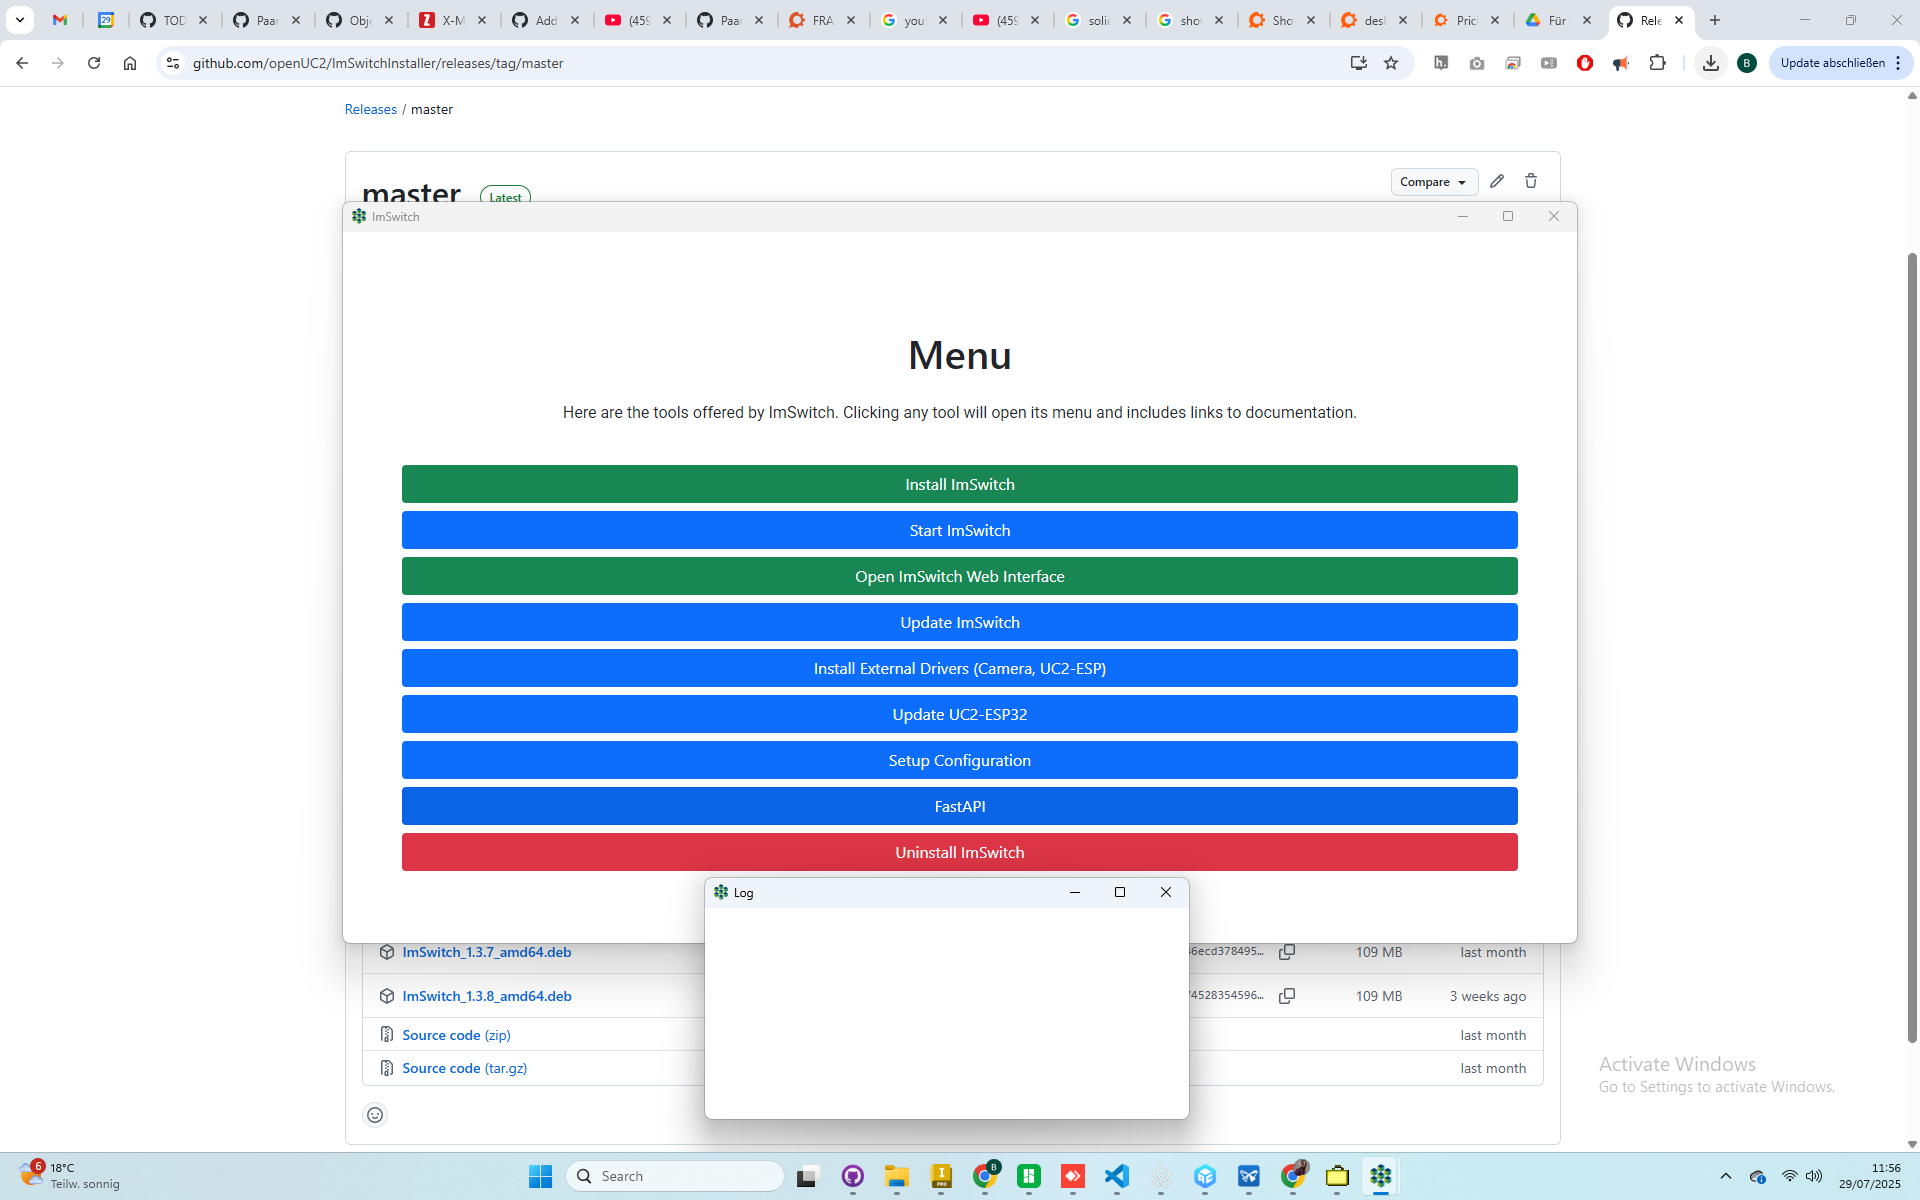 You’ll see the menu interface and a protocol logger for real-time feedback.
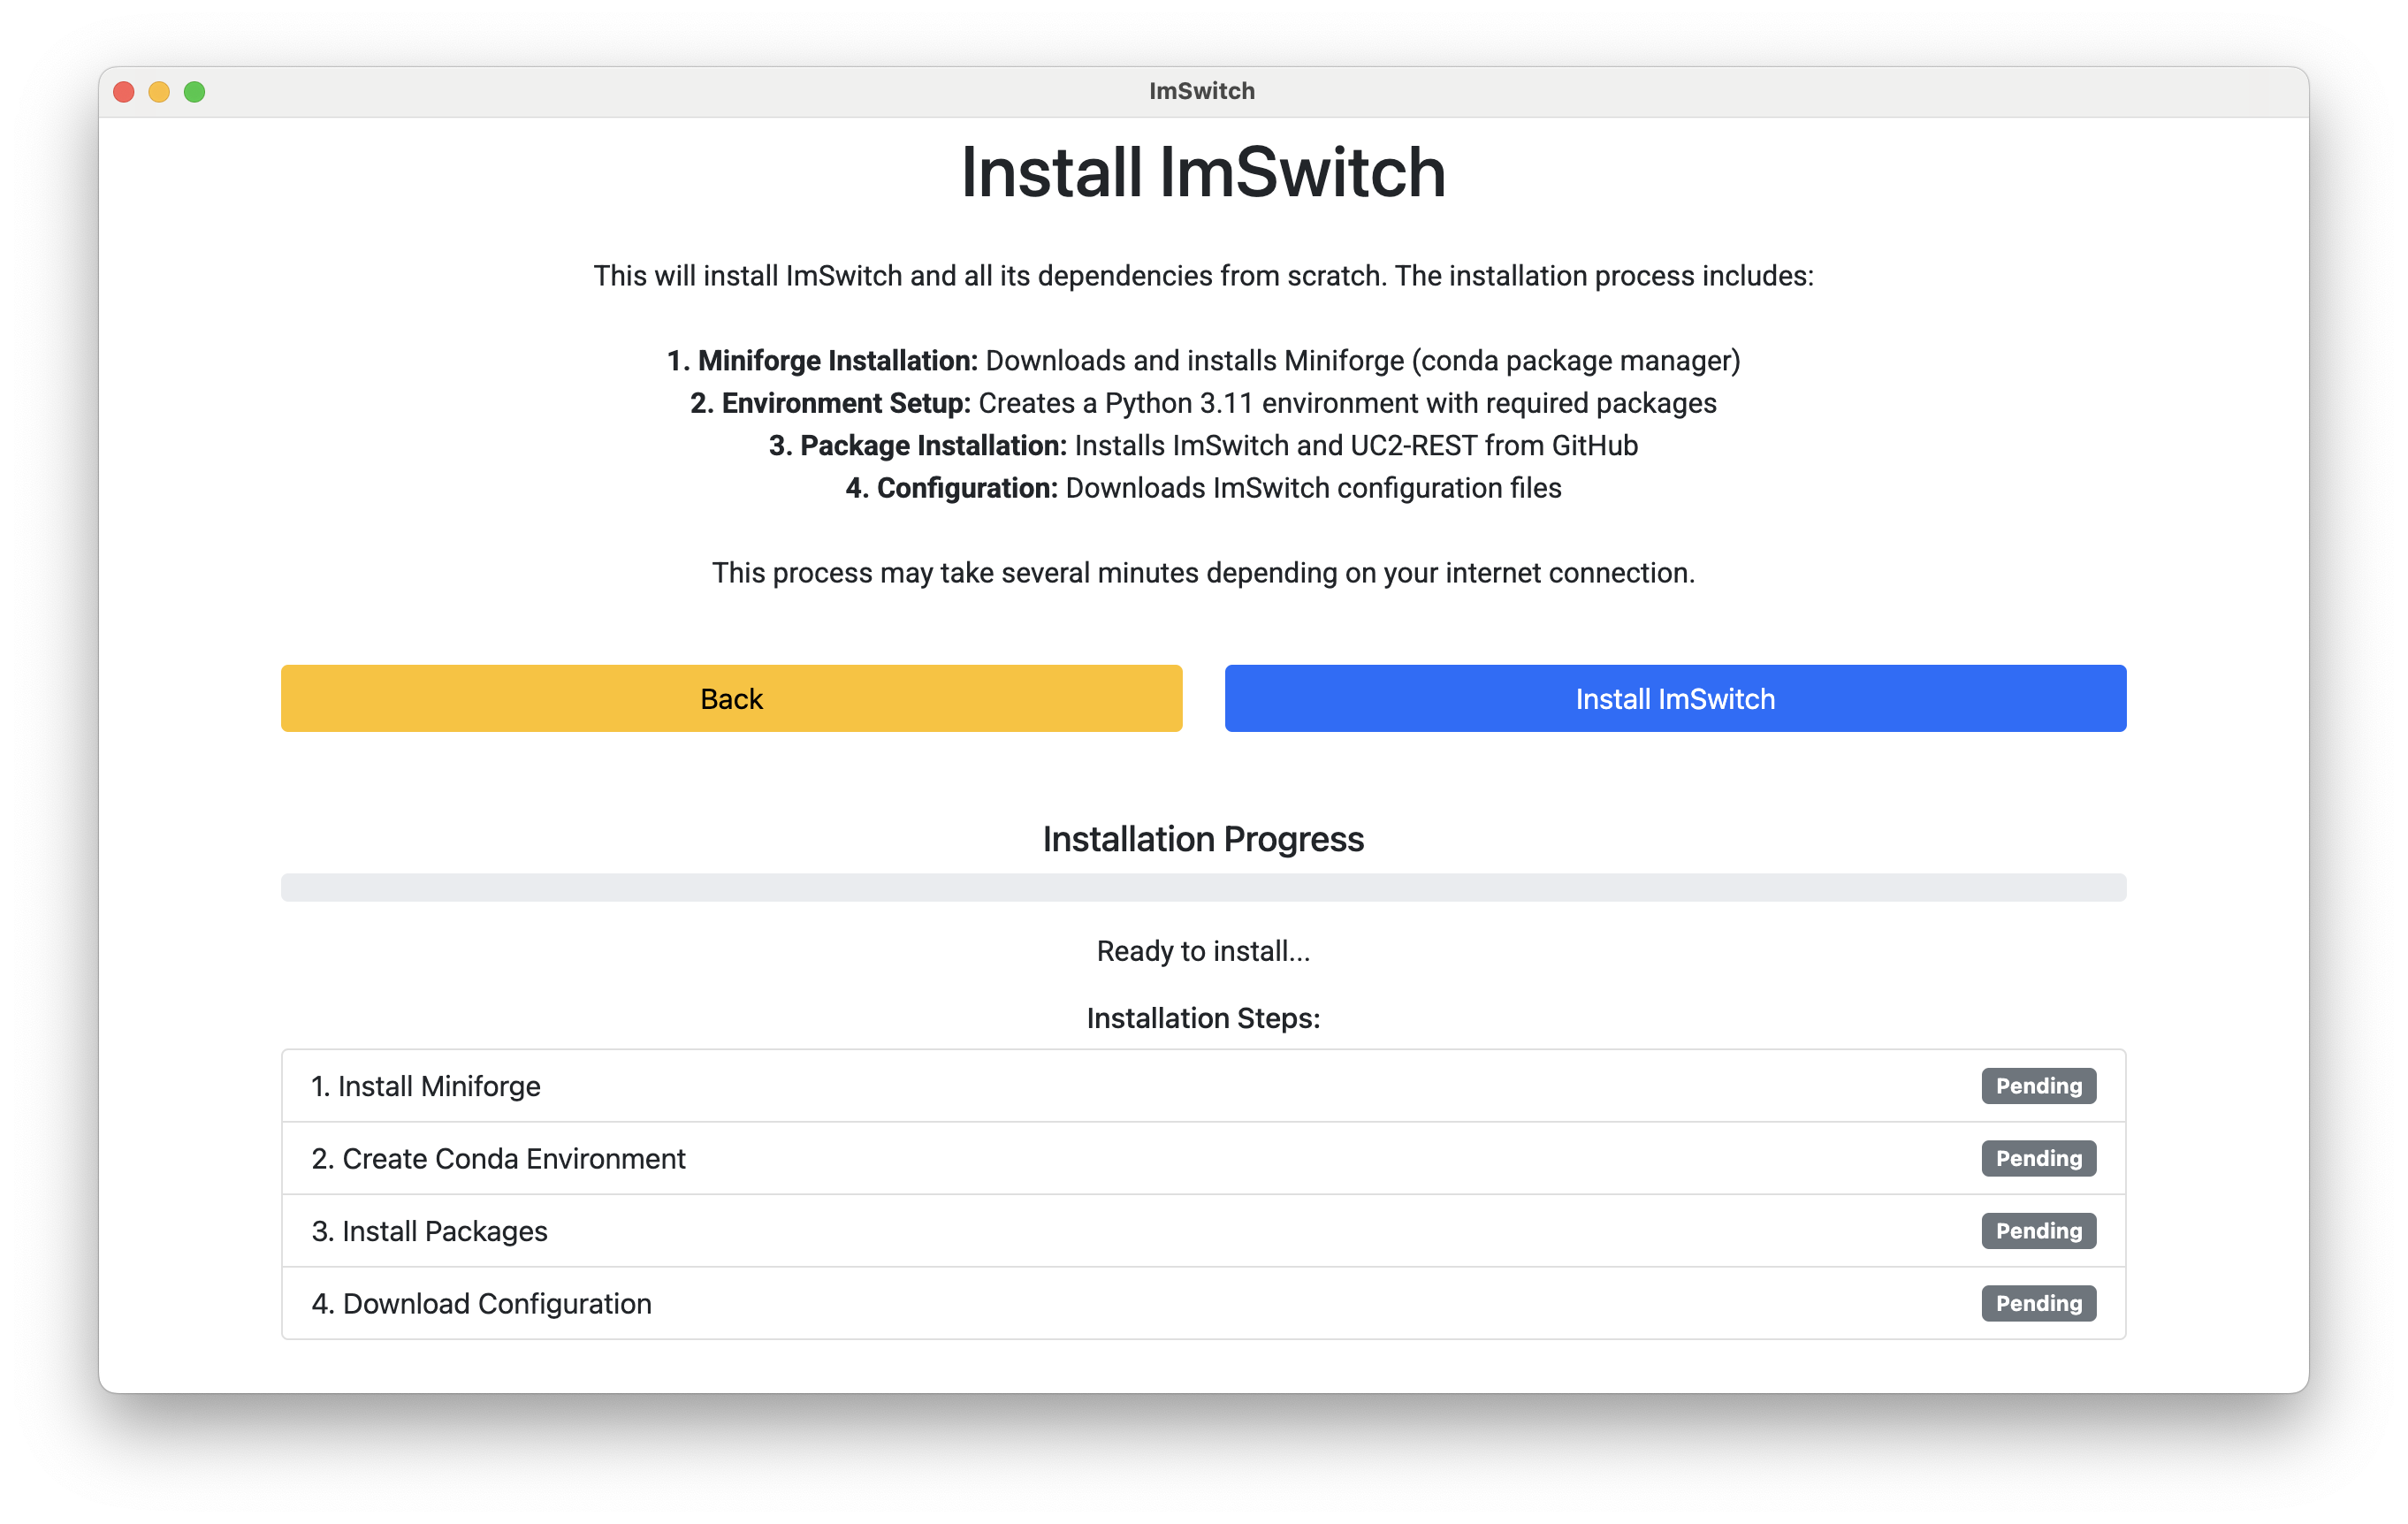
4. Click Install
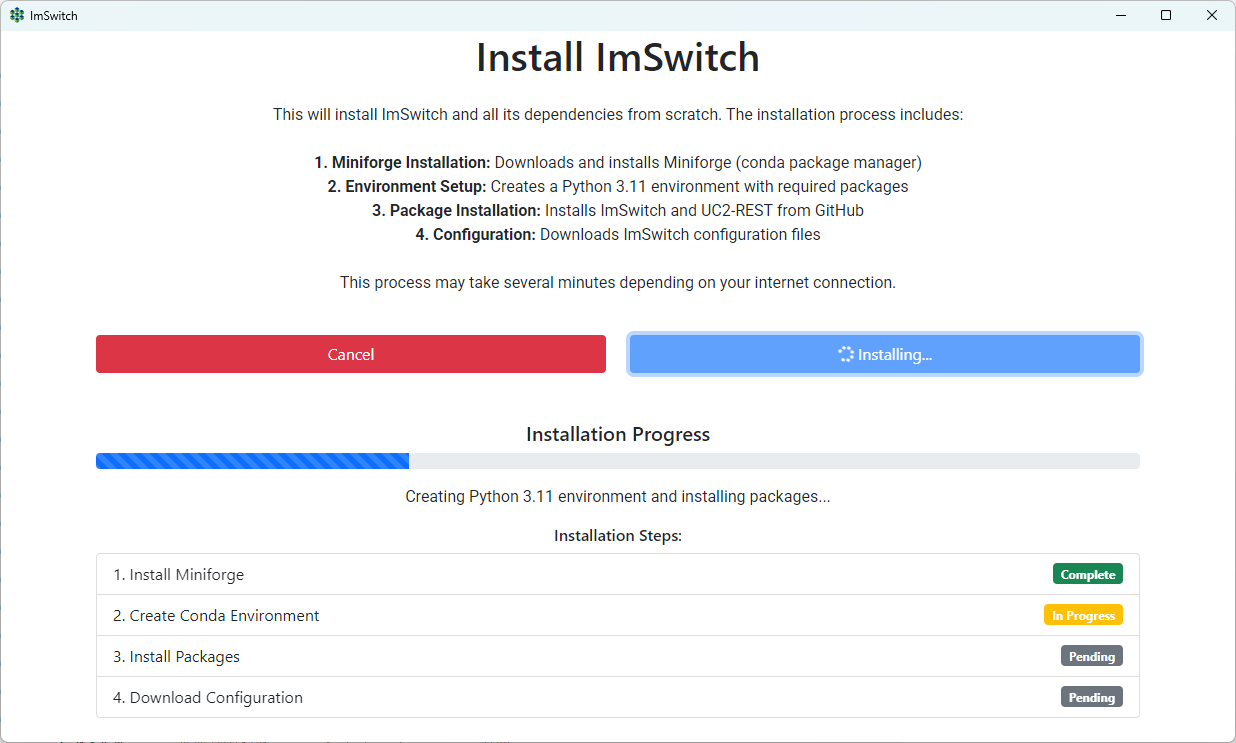
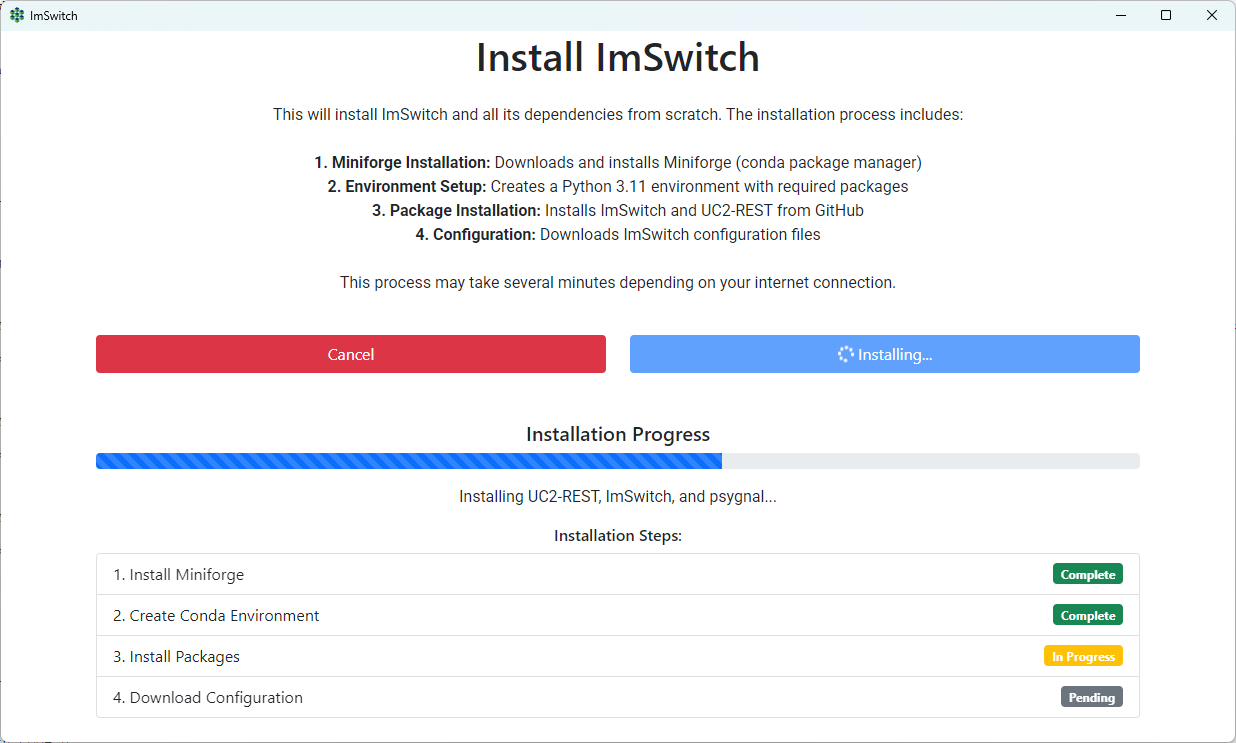
 Click the “Install ImSwitch” button to begin the environment setup.
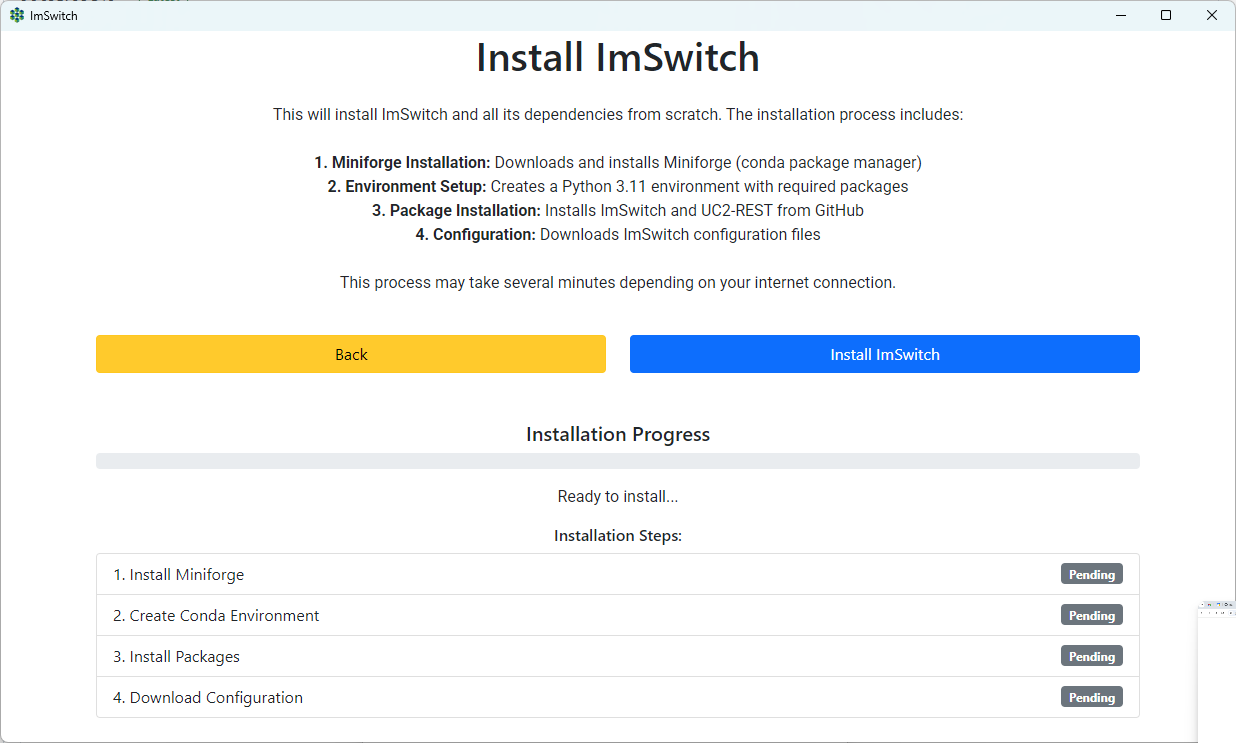
 You’ll be prompted again to confirm. Click the install button once more to proceed.
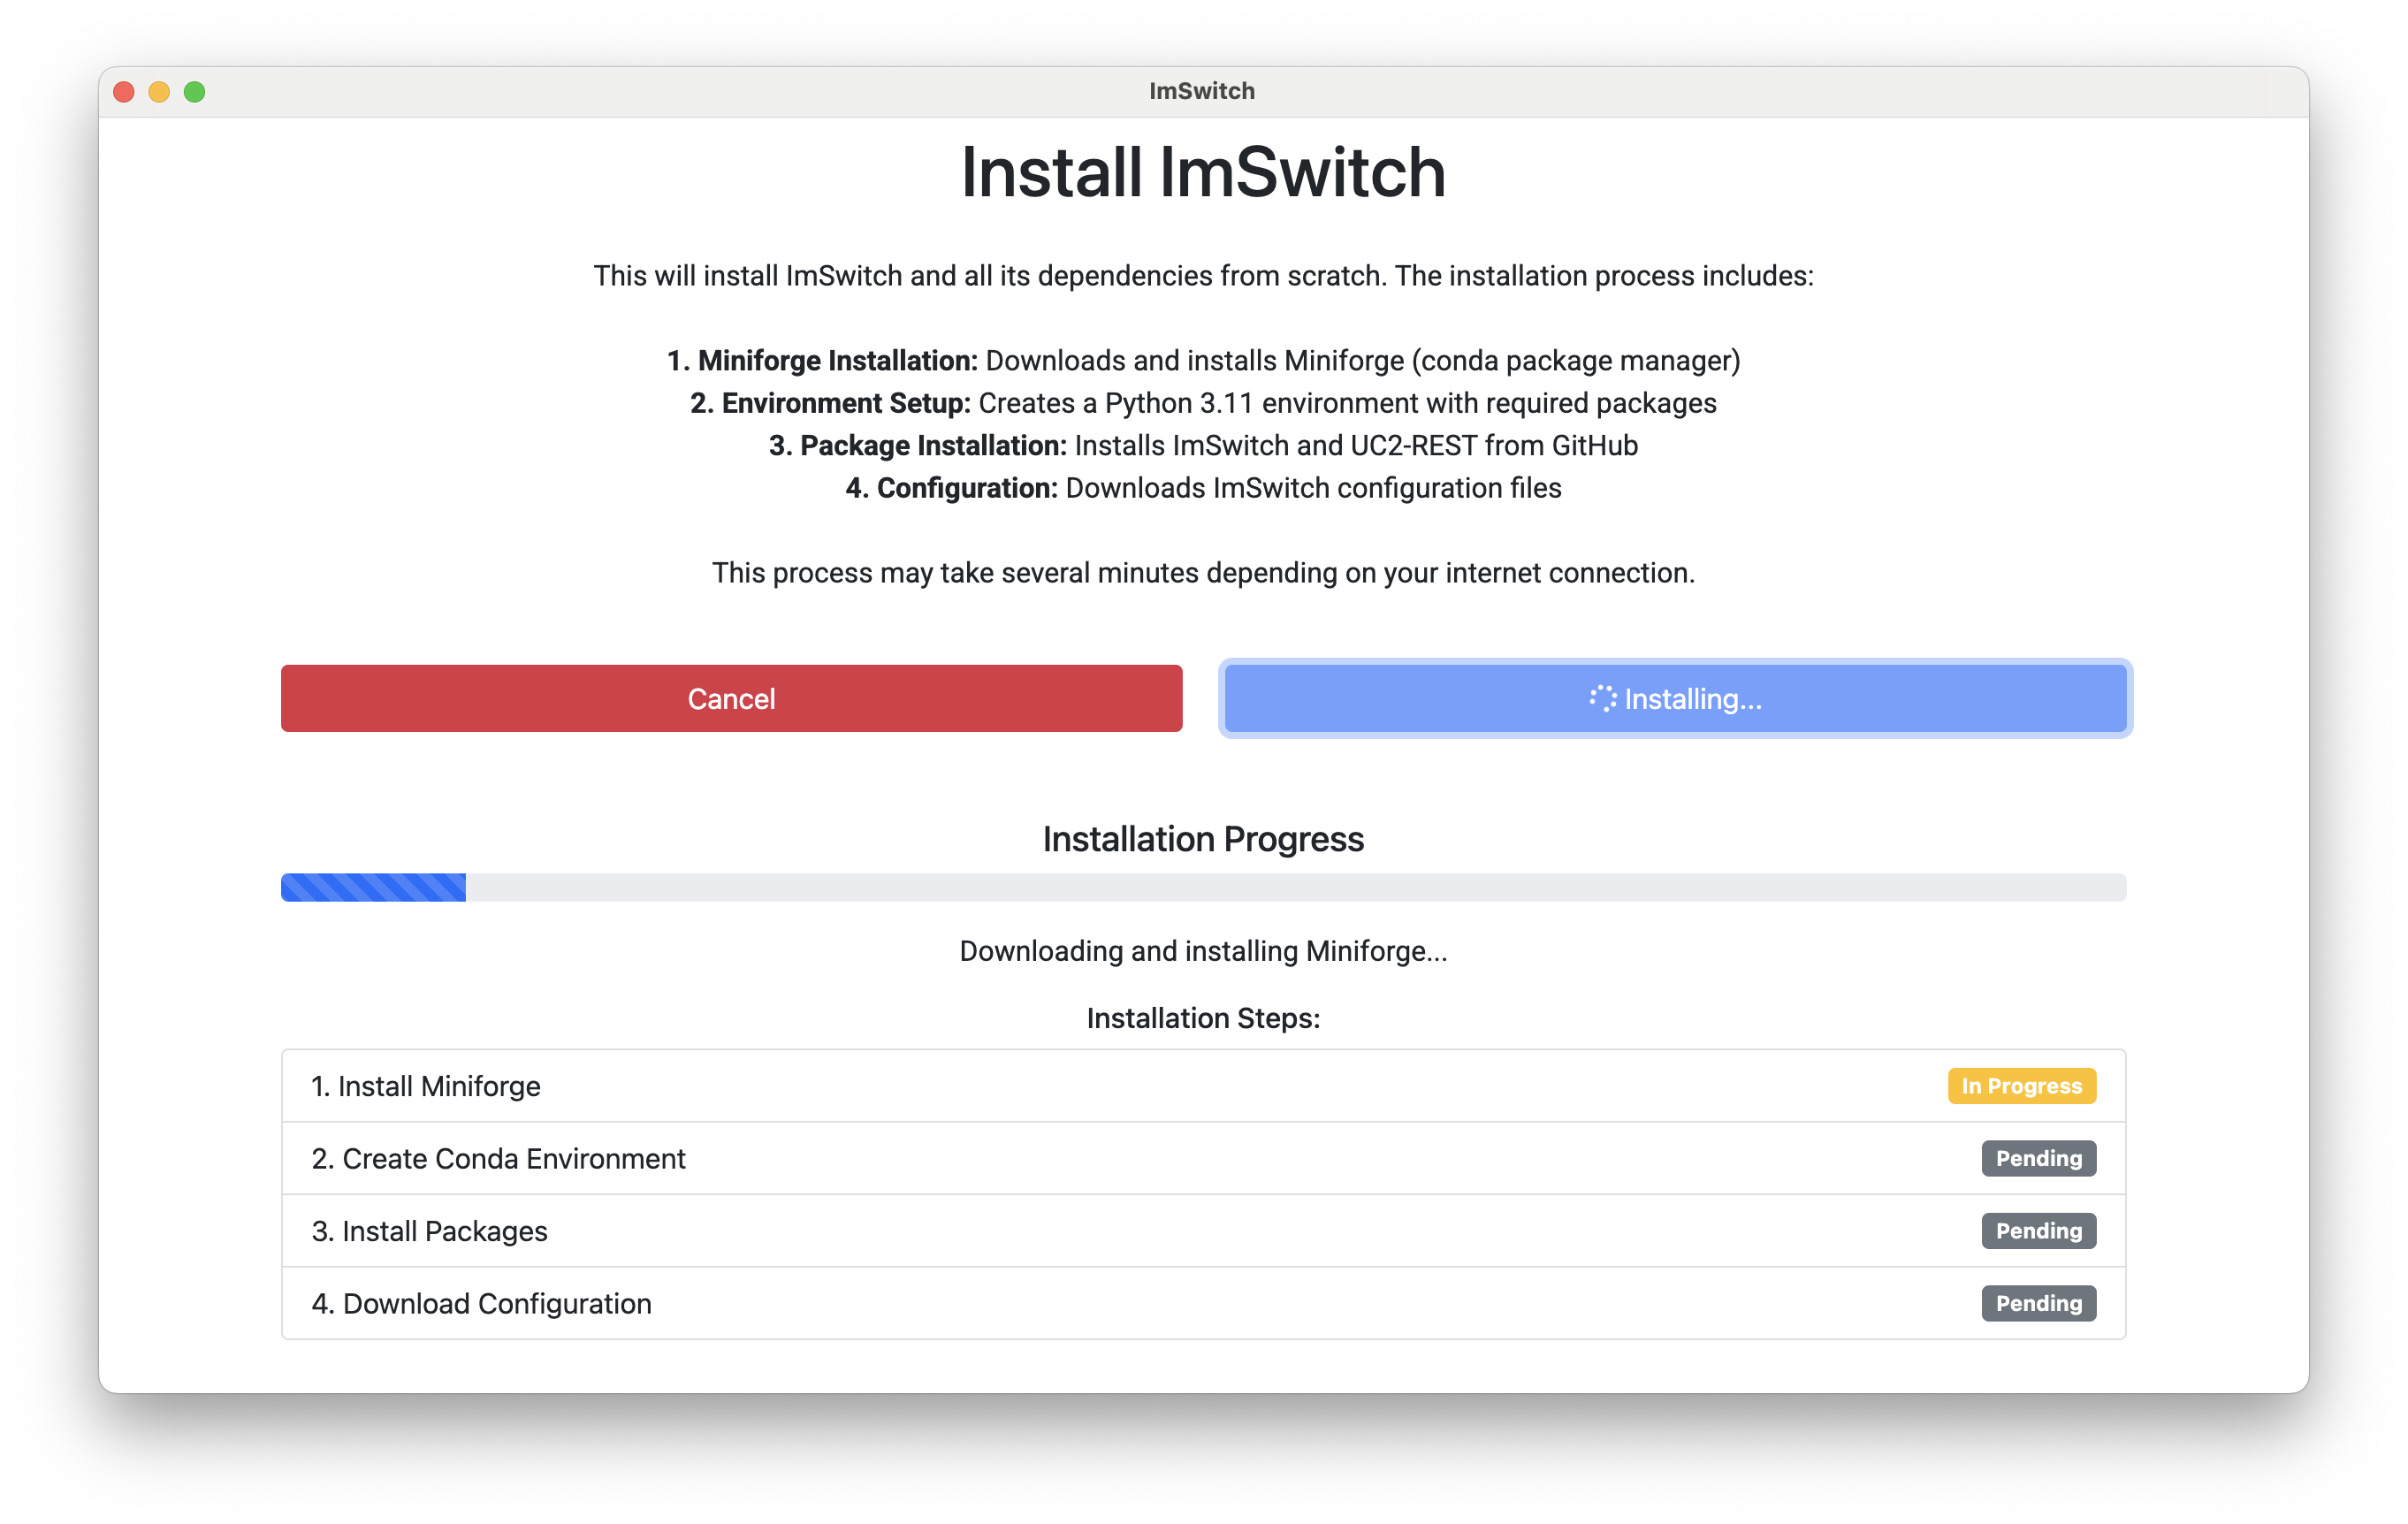
5. Wait for Installation to Complete
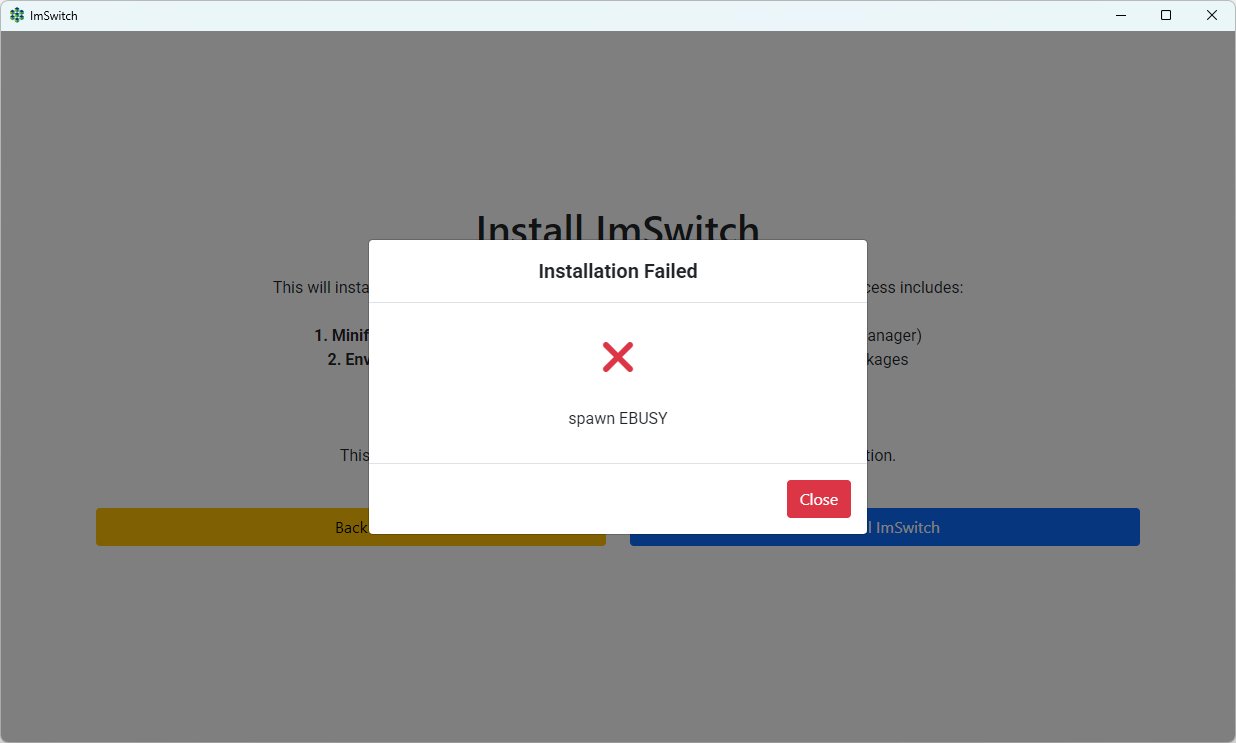 In case of failure, retry. All files are installed in
 USER/.imswitch, including a standalone Miniconda environment.
 Don’t close the extra terminal window. If anything fails or looks suspicious, restart the installer.
 Python and pip packages will now be installed. Make sure camera drivers are also installed from the menu.
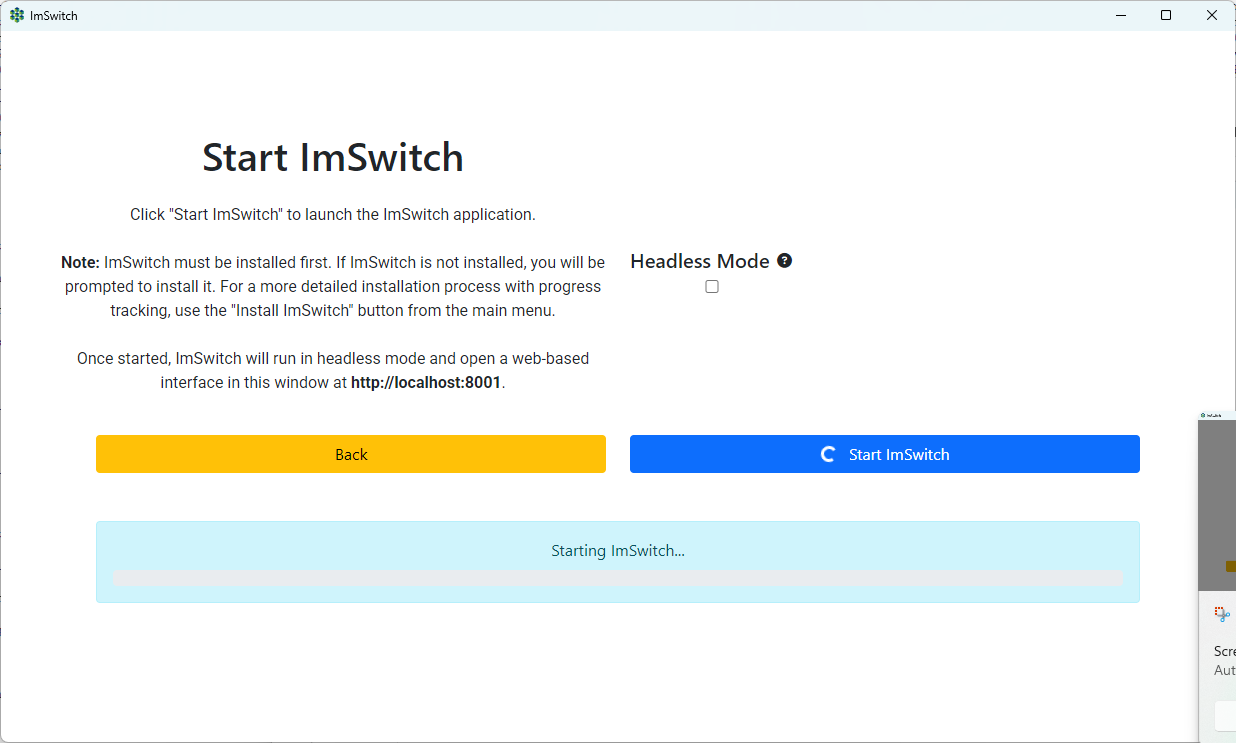
6. Start ImSwitch
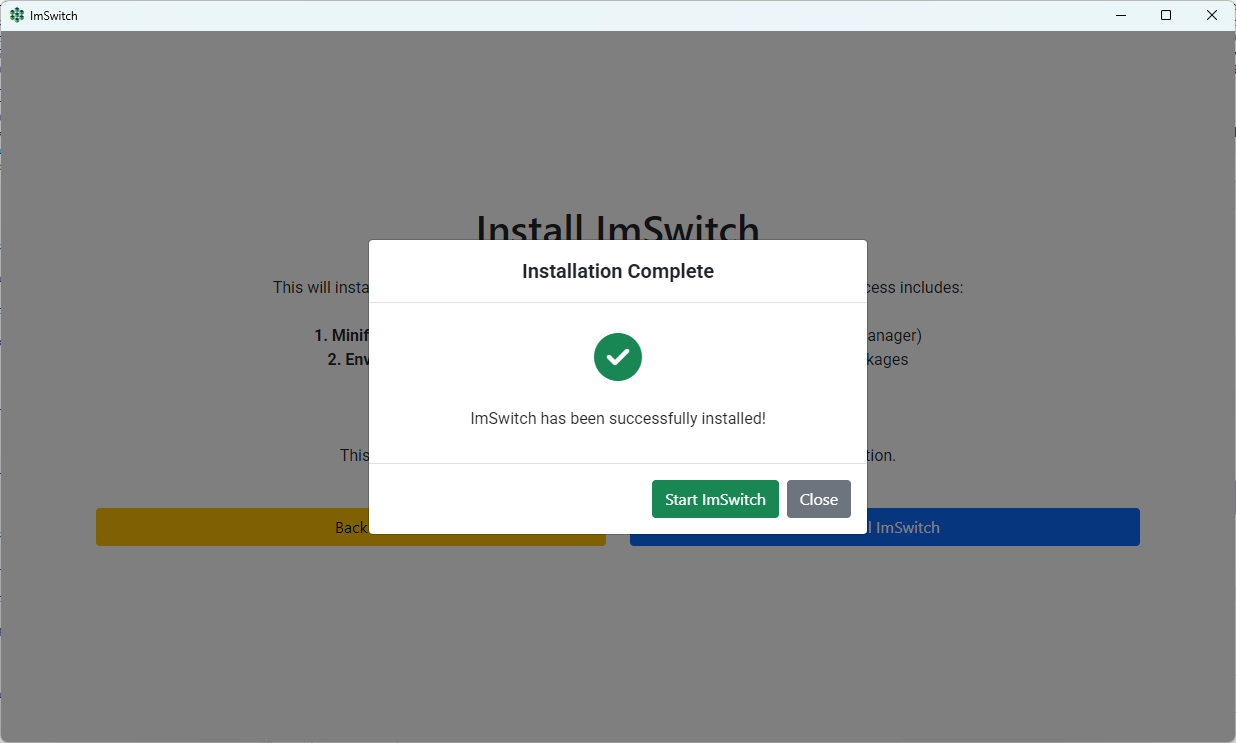 After installation, click the "Start ImSwitch Web Server" button.
 Click again even if the loading spinner is active.
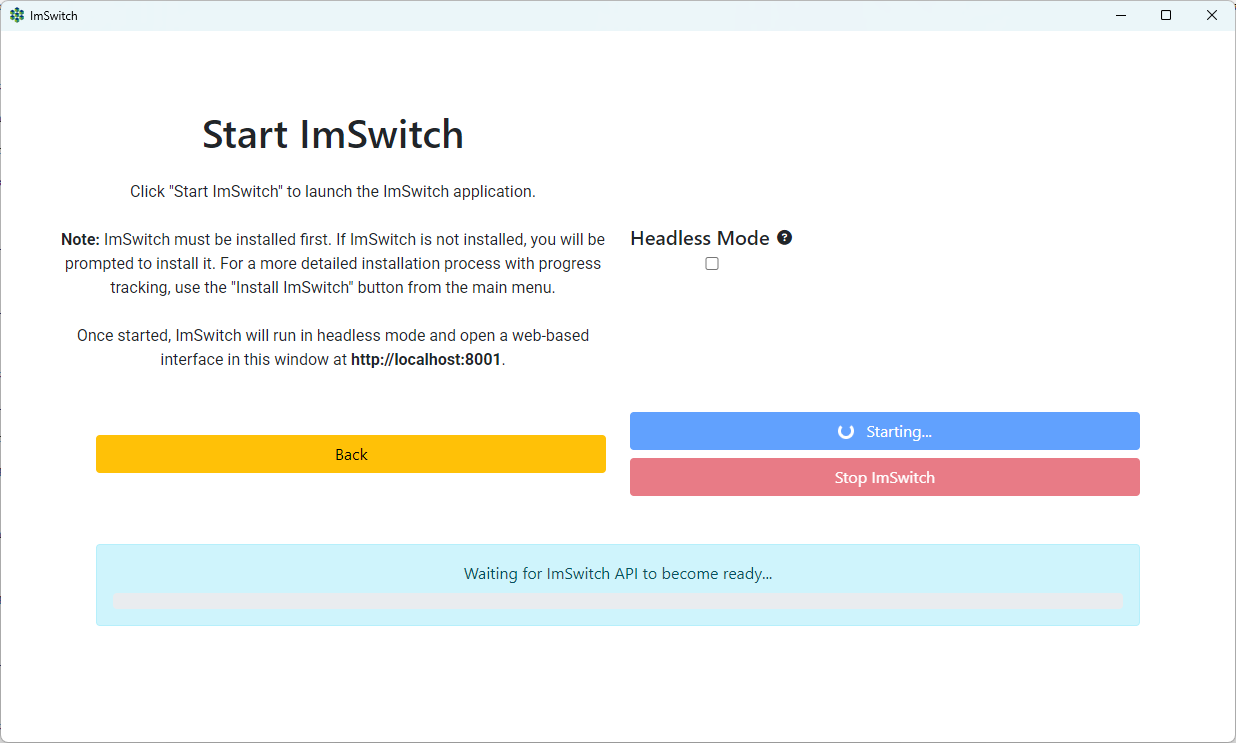 ImSwitch will start and load within the app. You can also access it via http://localhost:8001/ in your browser.
 Accept any firewall requests to allow local connections.
 The application is fully accessible via http://localhost:8001/.
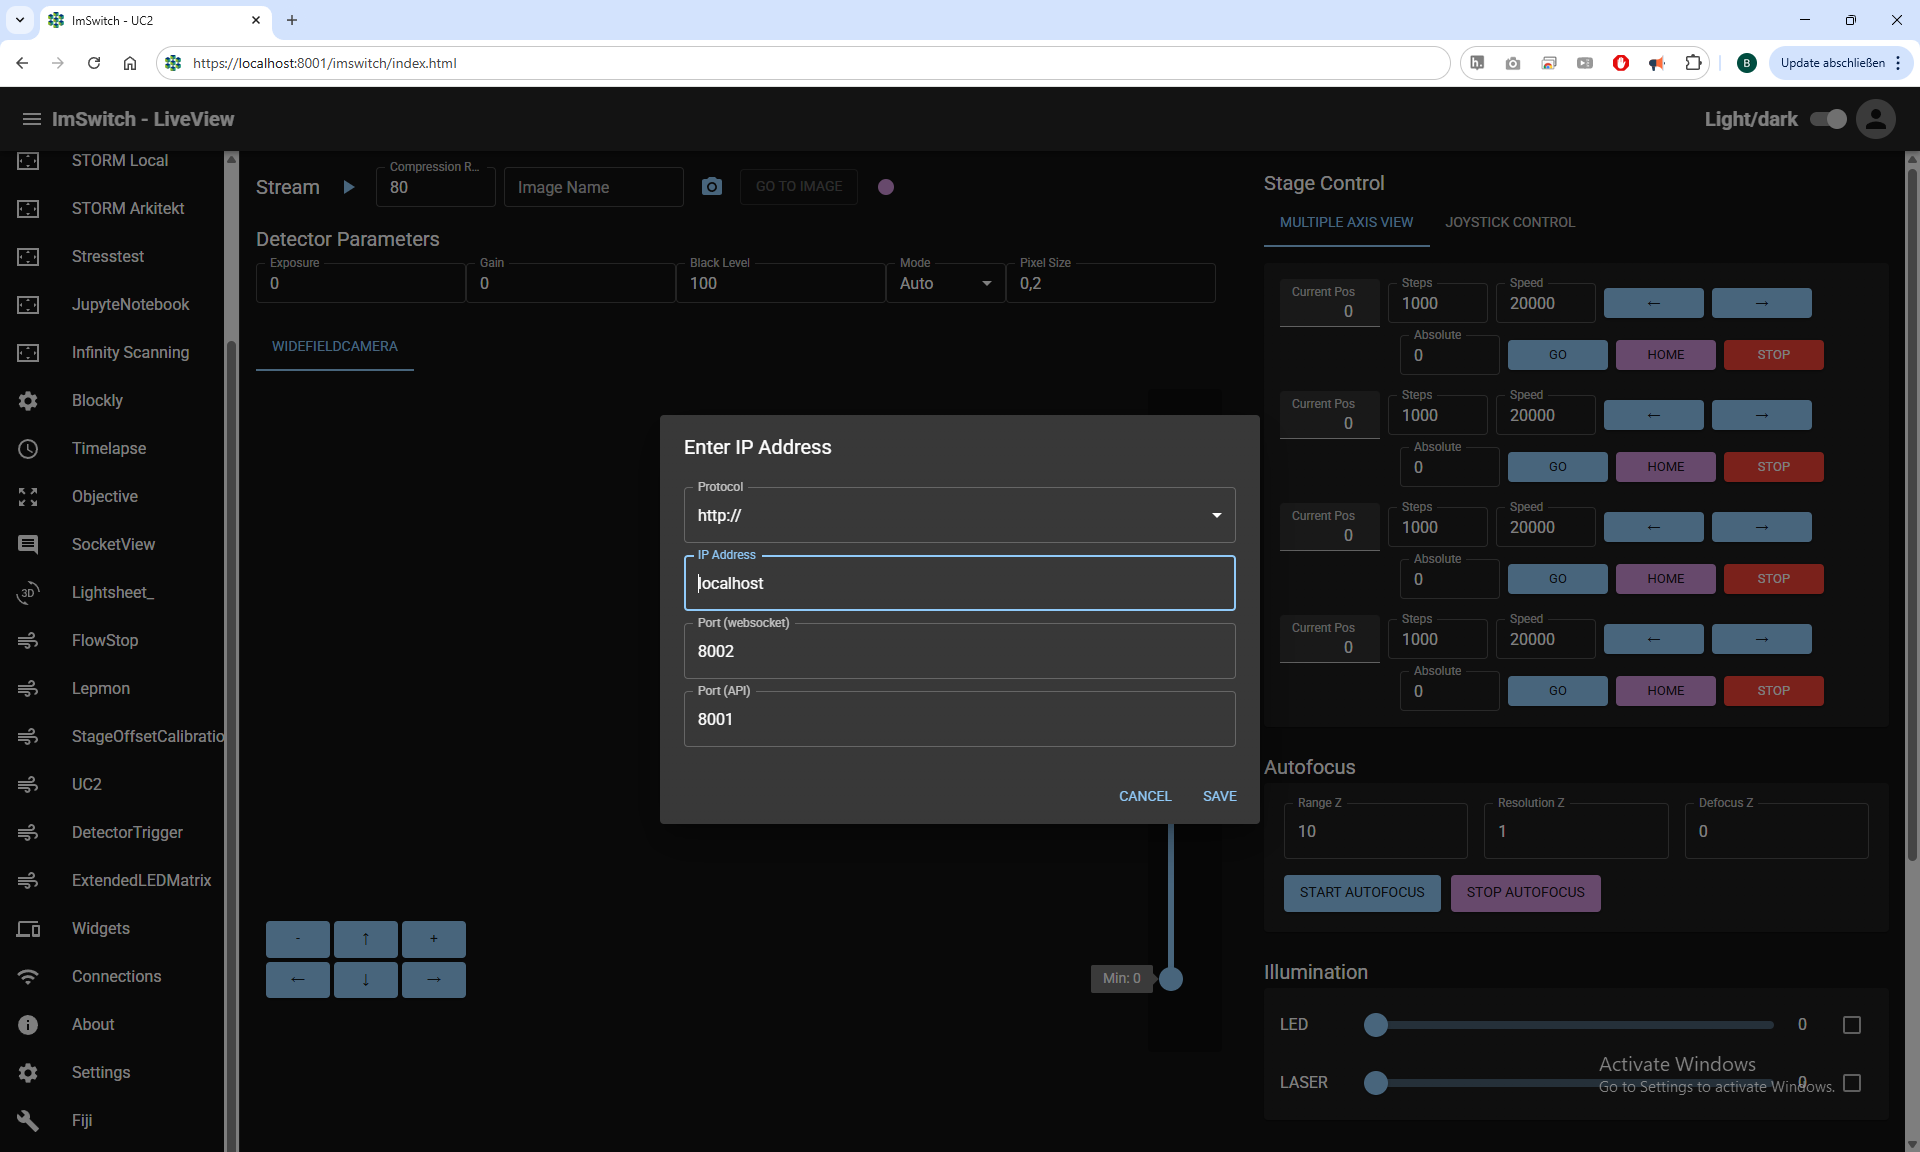 If you are connecting to a secure version of ImSwitch, change the protocol from https to http in the left menu’s connection settings.
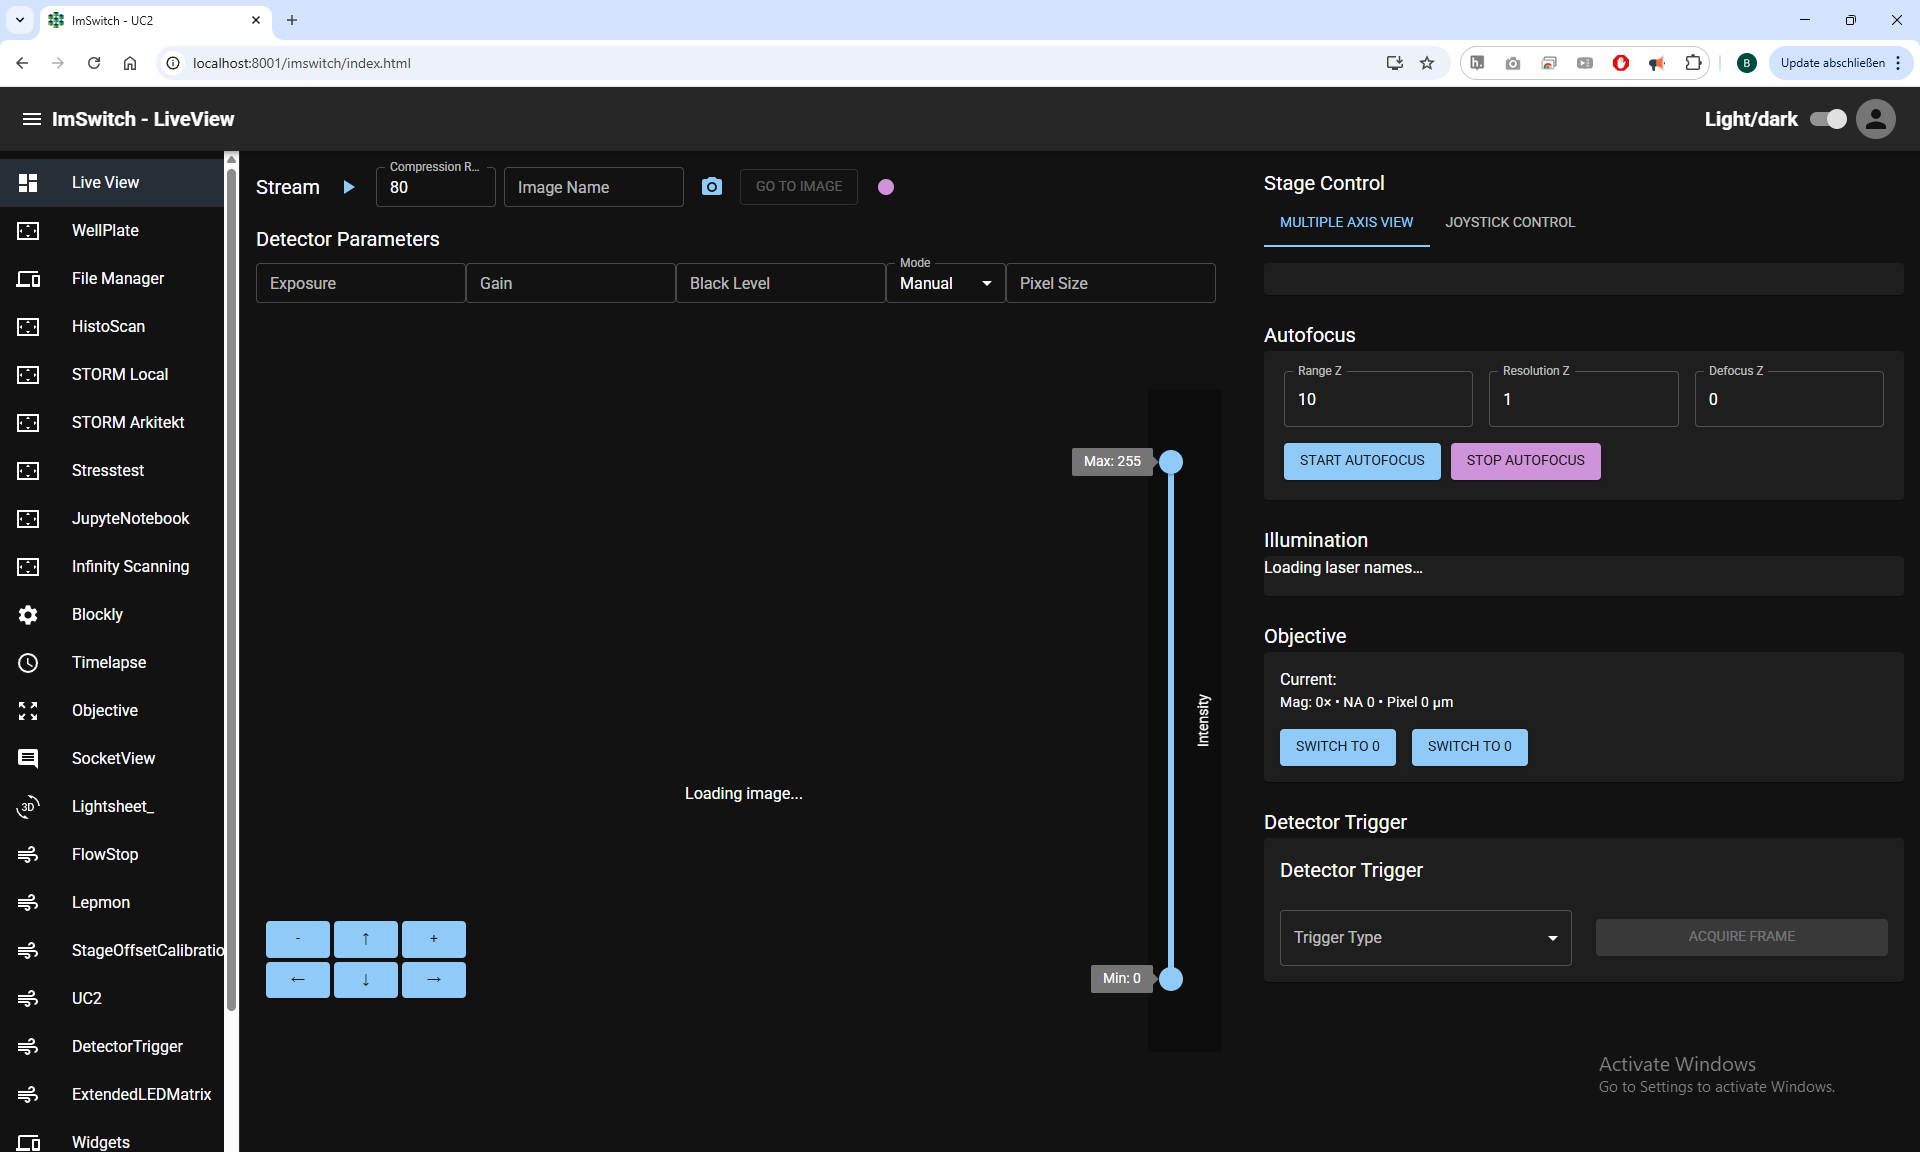
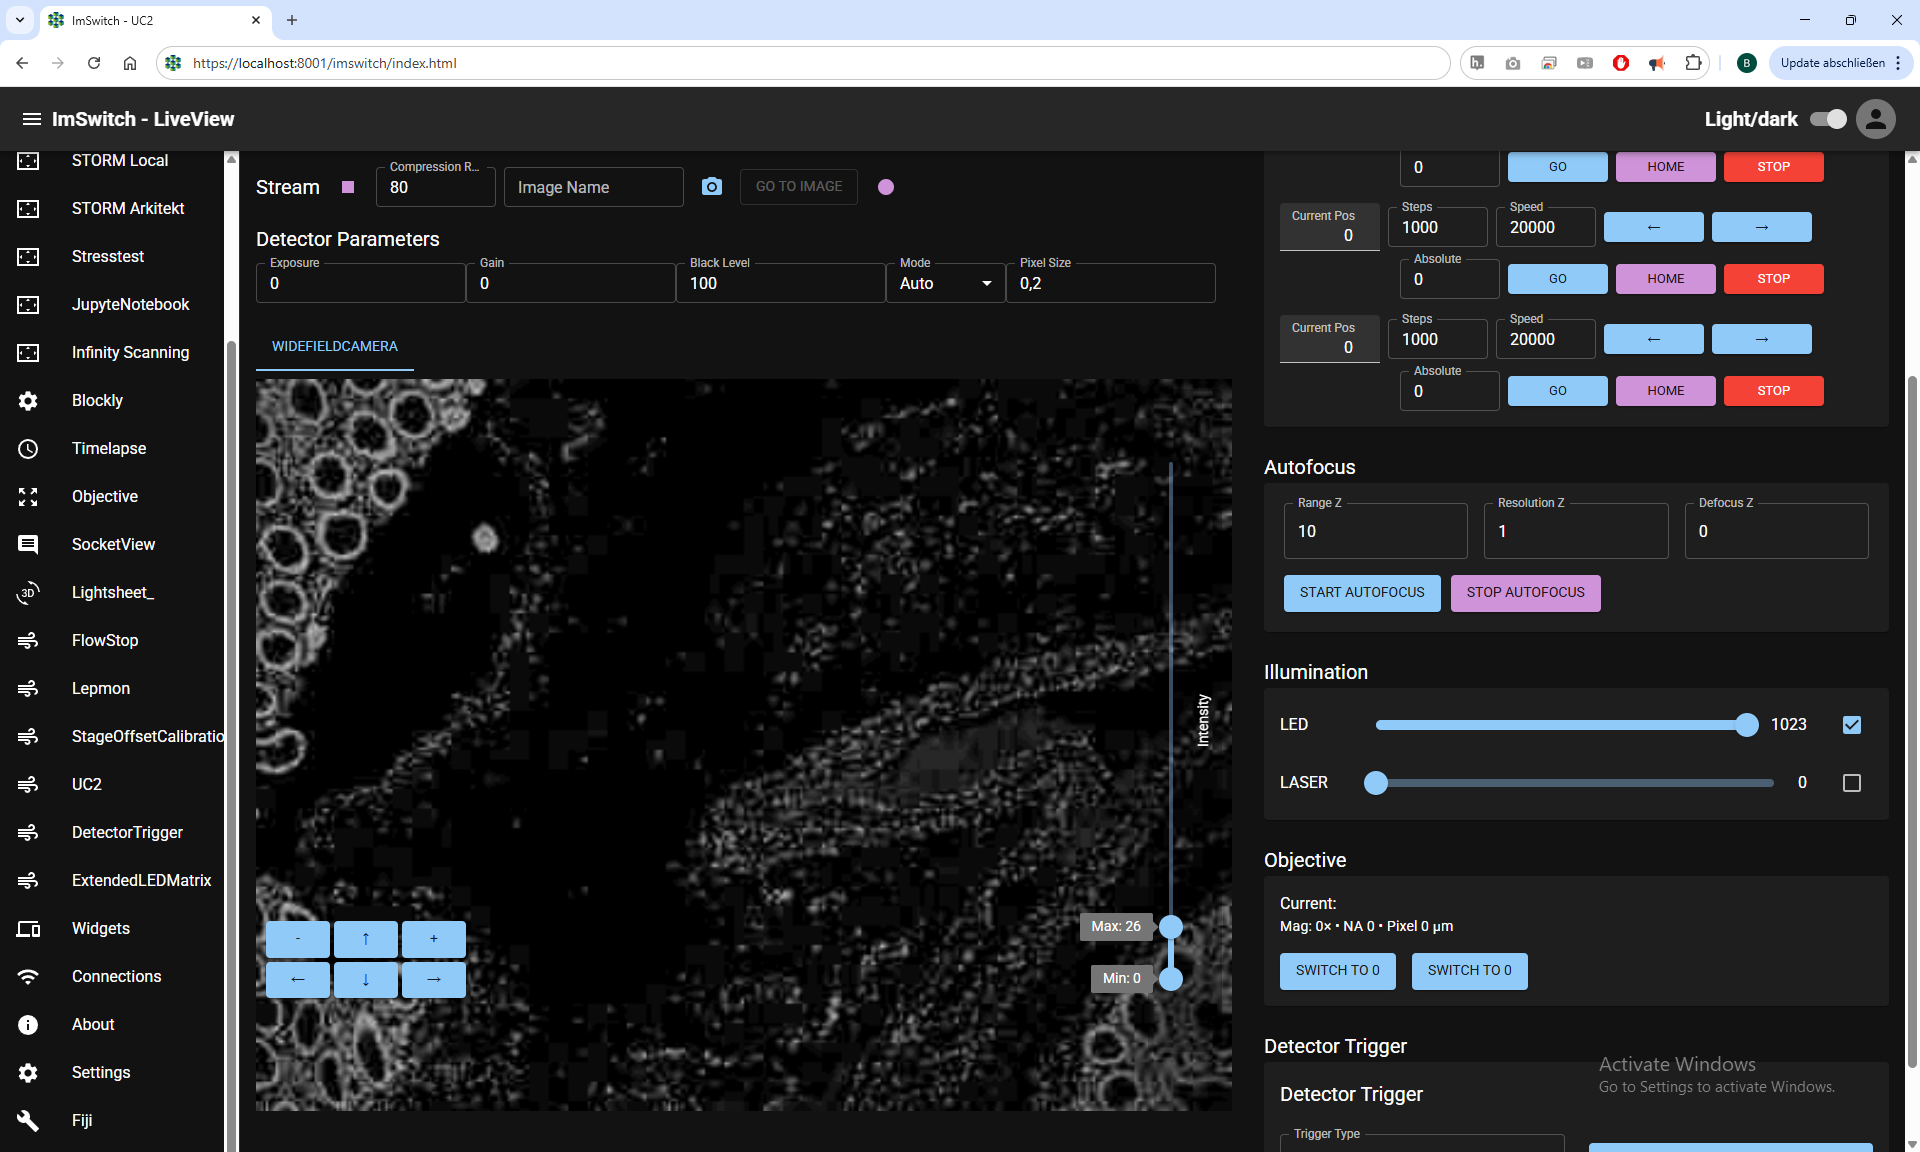 Activate the light source and live stream, then adjust intensity to view the simulated microscope image.
 Explore the API documentation at http://localhost:8001/docs via Swagger UI.
Watch the full installation process here (OUTDATED):
Installer on Mac
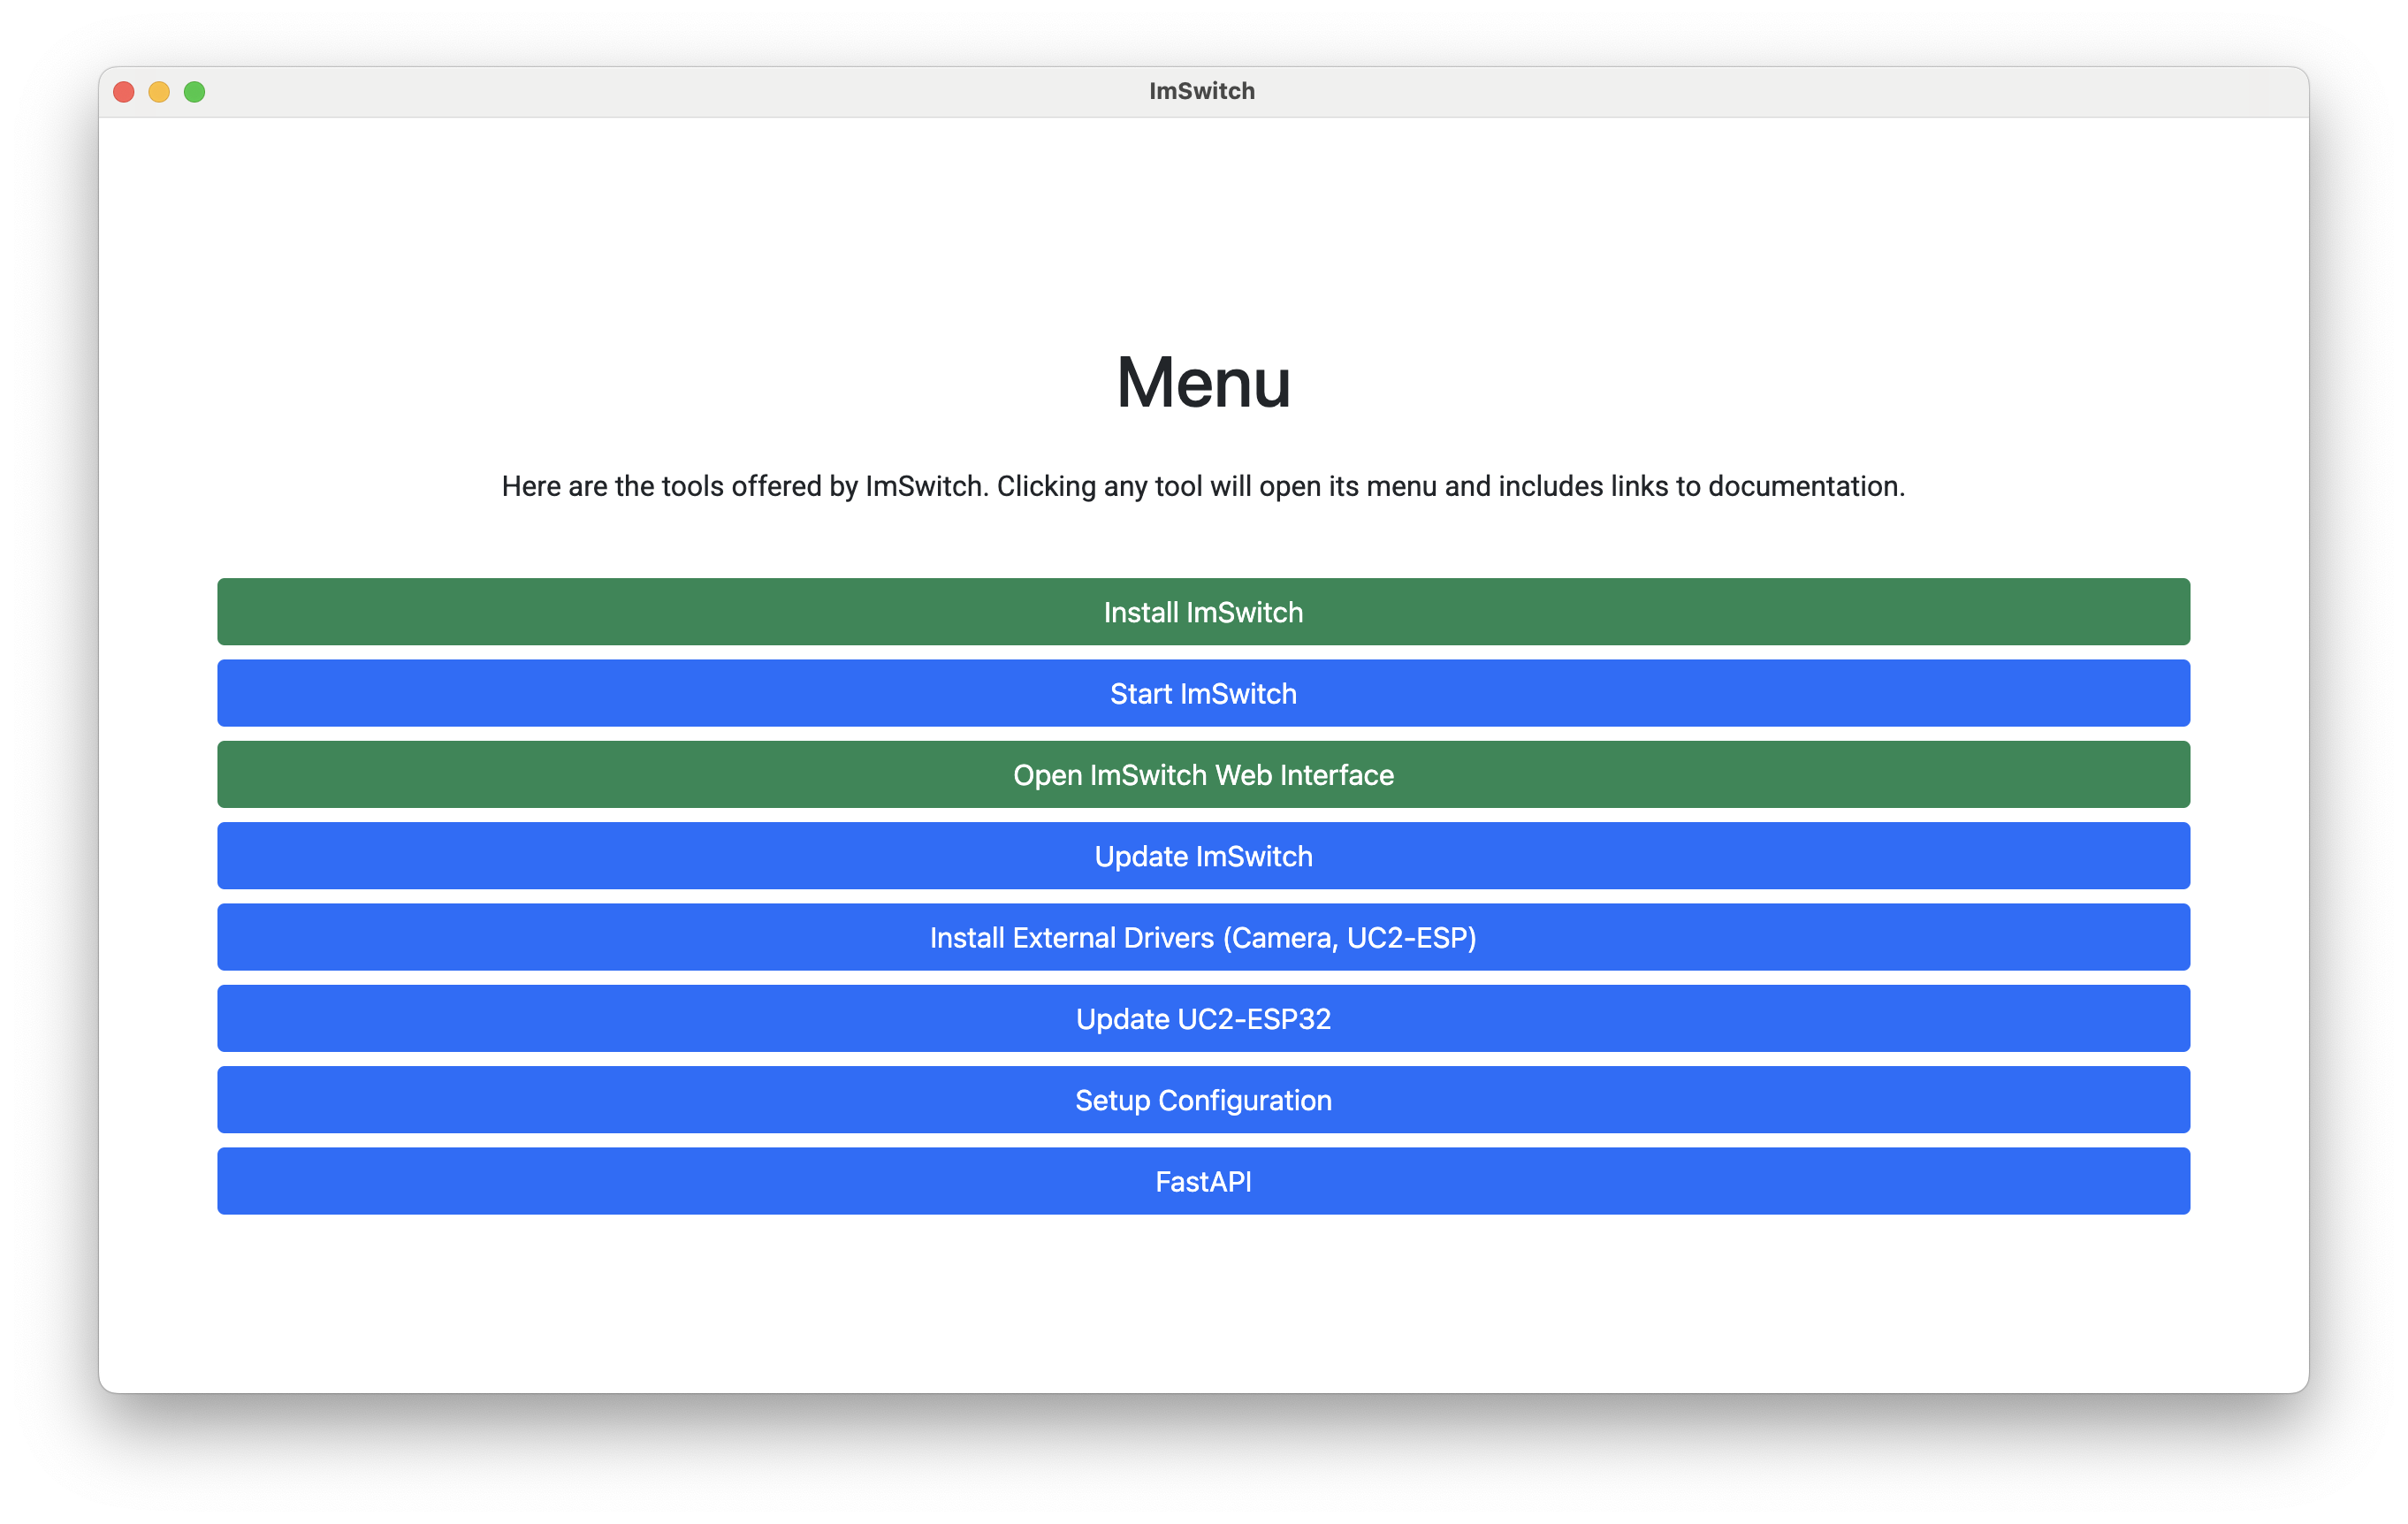
Features
- One-Click Installation with auto dependency resolution
- Cross-platform: macOS, Windows, Linux
- Embedded Web UI: No need for an external browser
- Camera Driver Installation via GUI
- Configurable Git/PIP Update System
- Easy Uninstallation: Just delete the ImSwitch folder
Auto-Discovery Mode
You can scan for available microscopes in your network using the new installer.
Updating ImSwitch
- Update source code via Git (ImSwitch, UC2-REST)
- Update Python packages via pip (from GitHub archives or local path)
psygnalis installed with--no-binaryfor compatibility
Just click Update in the installer to trigger this.
Driver Installation
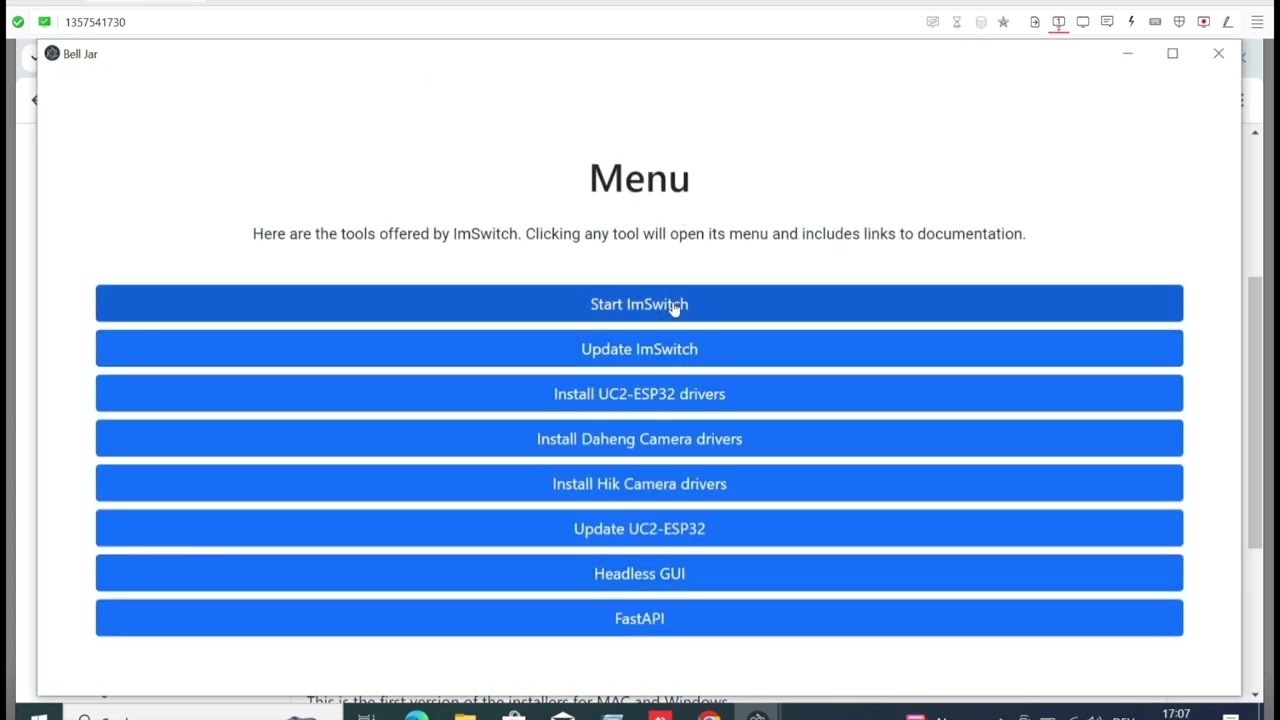
Use the "Driver Installation" button in the menu to install:
- Daheng camera drivers
- HIK Vision camera drivers
Make sure drivers are installed before starting ImSwitch.
💡 Upcoming Features
- Flash UC2 firmware directly from the installer
- Drag-and-drop GUI builder for hardware configurations
Install from Source
# Clone repository
git clone https://github.com/openUC2/imswitchinstaller.git
cd imswitchinstaller

# Install dependencies
npm install

# Run app
npm start

# Build installers
npm run dist
Automated Builds
GitHub Actions build the app for all platforms:
- Windows:
.exeinstaller via NSIS - macOS:
.dmgfor Intel and Apple Silicon - Linux:
.AppImageand.deb
Releases are created automatically for new commits on main. Pre-releases are available for testing pull requests.
Debugging
Python Environment Paths
- Windows:
C:\\Users\\YOURNAME\\ImSwitch\\miniforge\\python.exe - macOS/Linux:
/Users/YOURNAME/ImSwitch/miniforge/bin/python - Package folder:
.../site-packages/imswitch - Conda usage:
mamba install devbio-napari -c conda-forge
License and Attribution
This installer builds on BellJar. Big thanks to the original authors for their open-source contribution!
Feedback & Support
- Post issues on GitHub
- Join the discussion at openuc2.discourse.group
- Check the main website: openUC2.com
Continue with Configuration to set up your specific hardware.