ESP32 XIAO Sense-based microscope
More information can be found here https://github.com/openUC2/openUC2-SEEED-XIAO-Camera
HINT: The z-stage looks a little different now:
Introduction
Welcome to our workshop on building a modular microscope! In this hands-on session, we will guide you through the process of assembling a simple microscope using a modular system. The microscope will consist of a camera, a mirror assembly holder, and a light source. The assembled microscope will allow you to observe and capture images of samples using a smartphone or a computer.
Materials Needed
- Camera (esp32 camera module)
- Mirror Assembly Holder
- Light Source
- Finite Corrected Microscope Objective Lens
- Puzzle Pieces (provided in the kit)
Overview of Assembly
The microscope's general assembly involves setting up a light source to illuminate the sample, a finite corrected microscope objective lens with a joint-based focusing mechanism, a folding mirror to adjust the distance between the lens and the camera, and finally, the camera itself. The camera is an esp32 camera module that can connect to your smartphone or computer through Wi-Fi or USB.
Step-by-Step Assembly Guide
Step 1: Setting Up the Camera
- Connect the camera to a USB power source to create a Wi-Fi access point.
- On your smartphone, go to the Wi-Fi settings and connect to the access point named "Matchboxscope-****."
- Open your web browser and enter the camera's IP address. This will open a control interface for the camera.
- Adjust the camera's settings as needed and make sure to start the camera stream by clicking the "Start Stream" button.
Step 2: Placing the Camera Cube
- Place the camera cube and two puzzle pieces on a stable surface.
- Position the camera on top of the cube and secure it in place using the puzzle pieces.
Step 3: Adding the Mirror
- Position the mirror next to the camera cube in a way that allows you to view the camera sensor through the mirror.
- Securely attach the mirror to the camera cube using the provided puzzle pieces.
Step 4: Attaching the Objective Lens
- Take the empty cube and position it next to the camera and mirror assembly.
- Carefully insert the finite corrected microscope objective lens into the cube.
Step 5: Finalizing the Microscope
- Connect the empty cube with the objective lens to the camera cube using the provided puzzle pieces.
- Ensure that all components are securely attached and aligned properly.
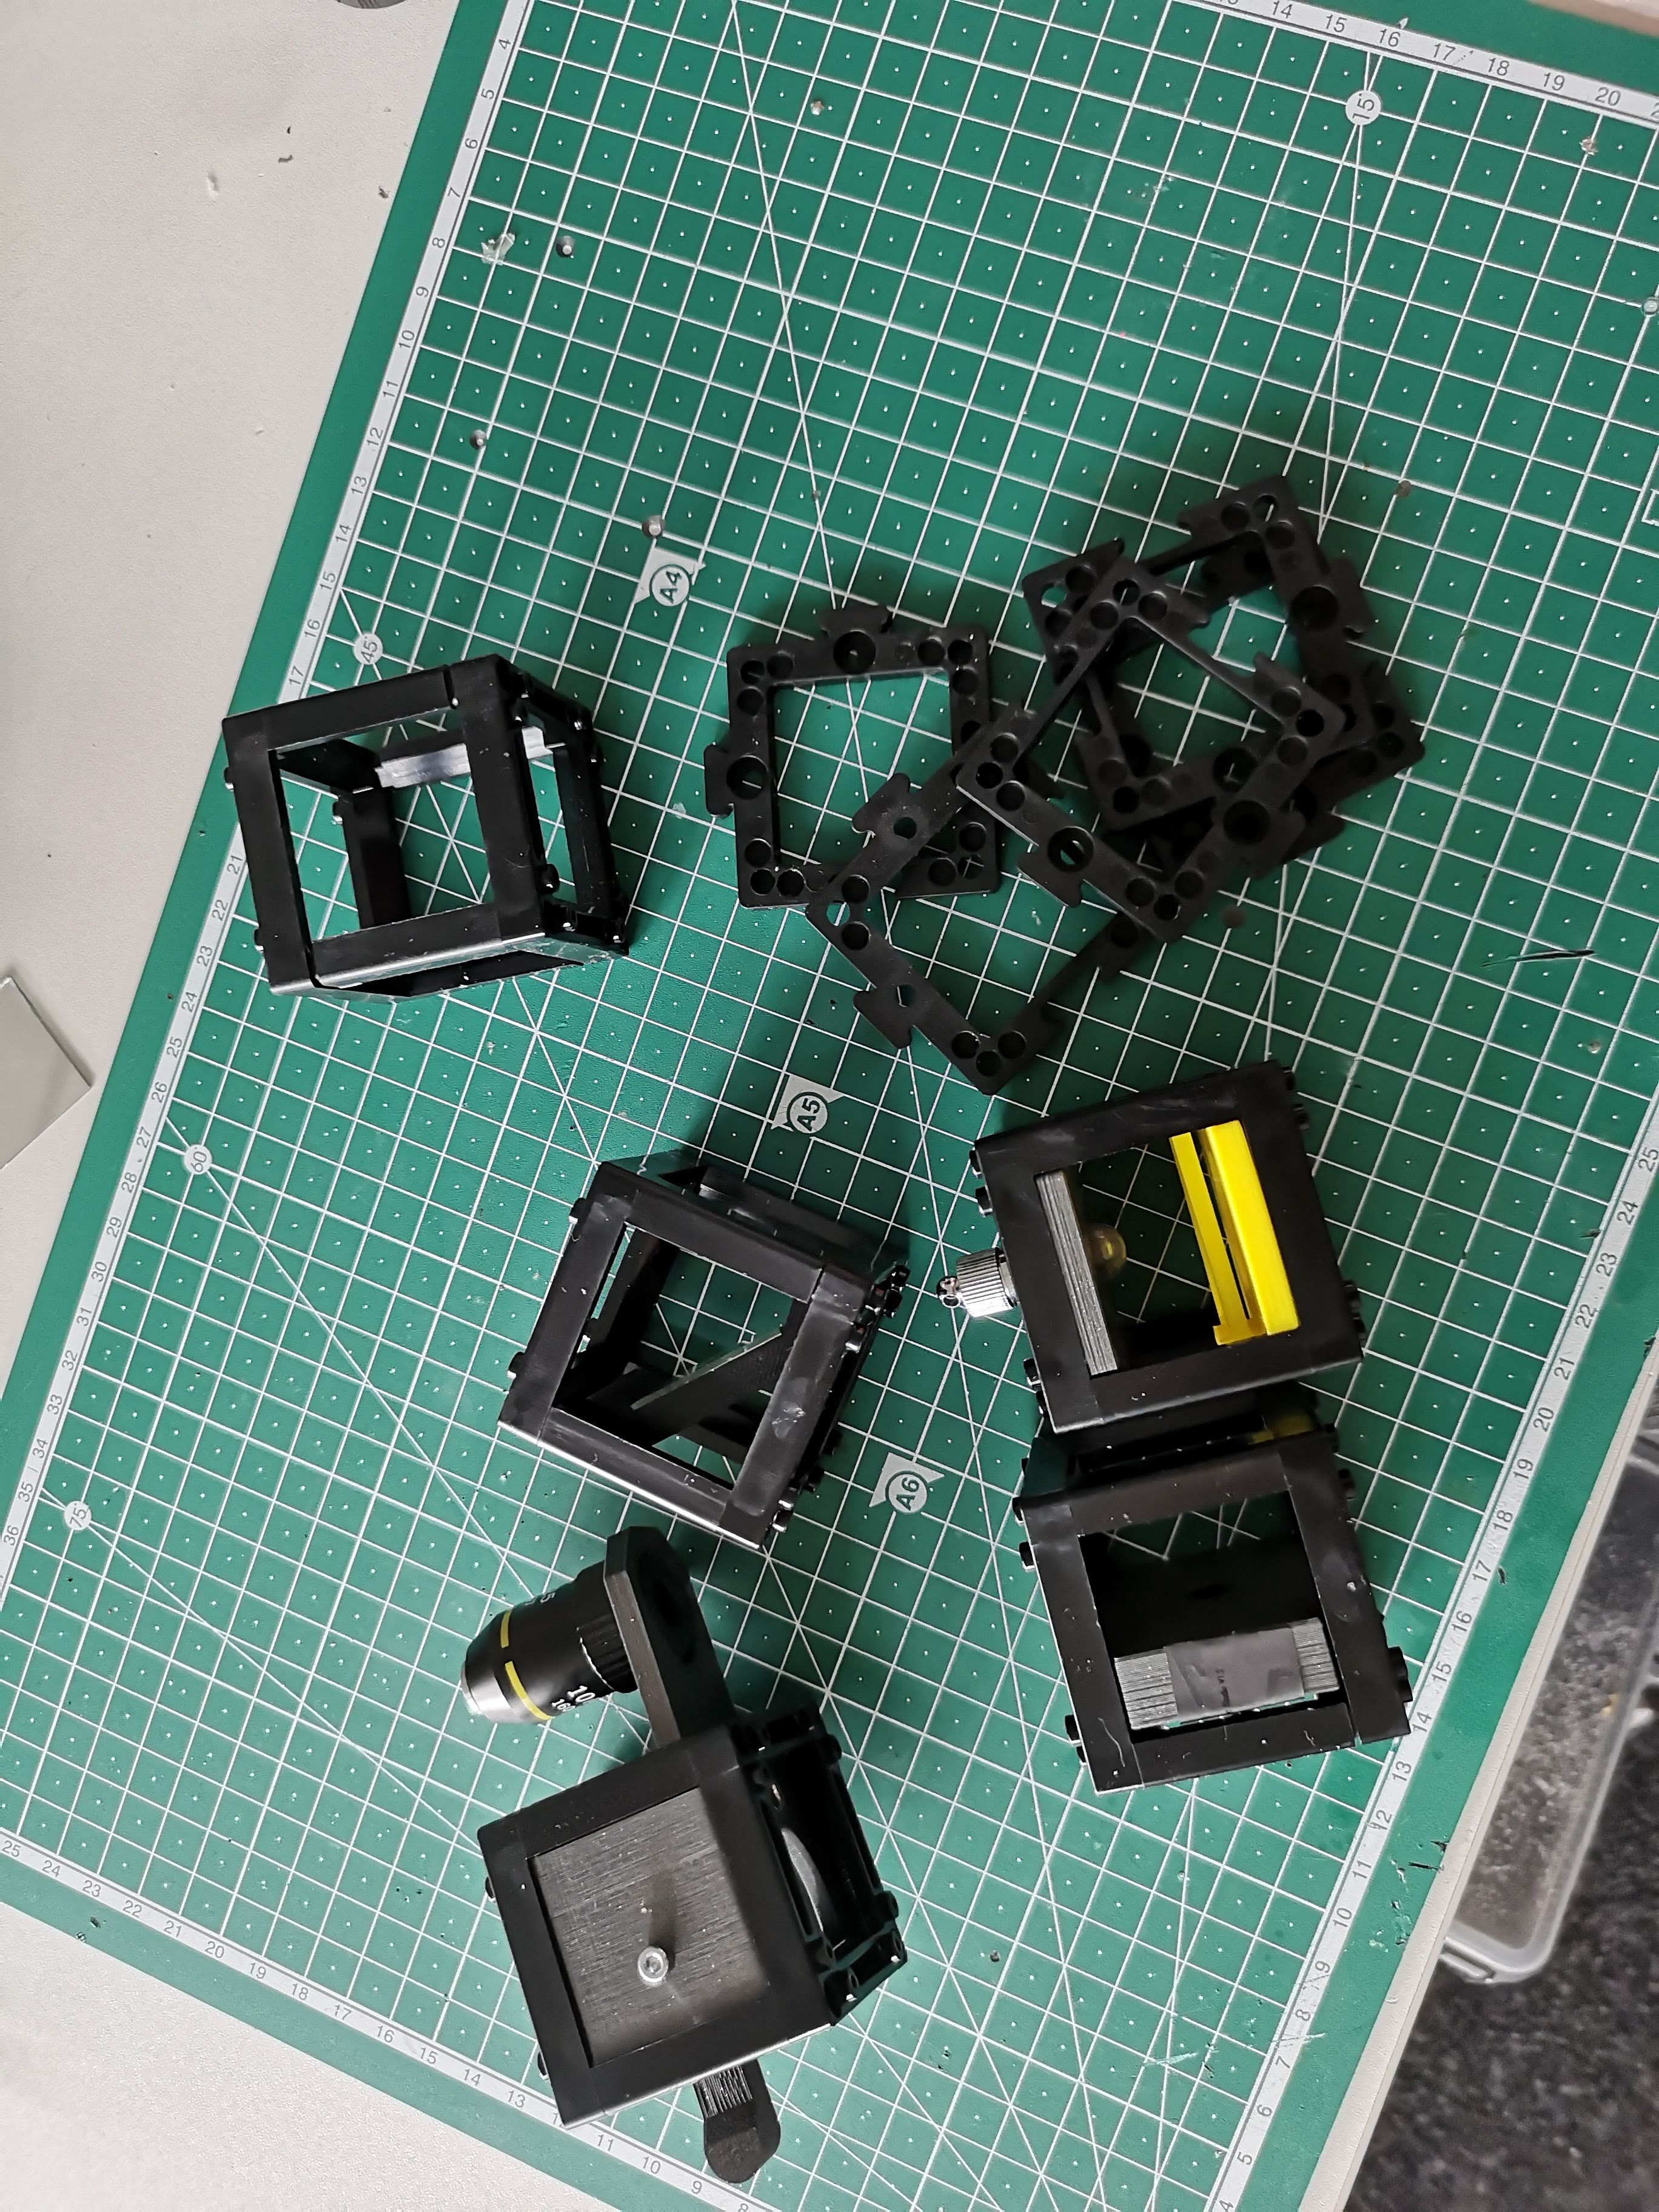
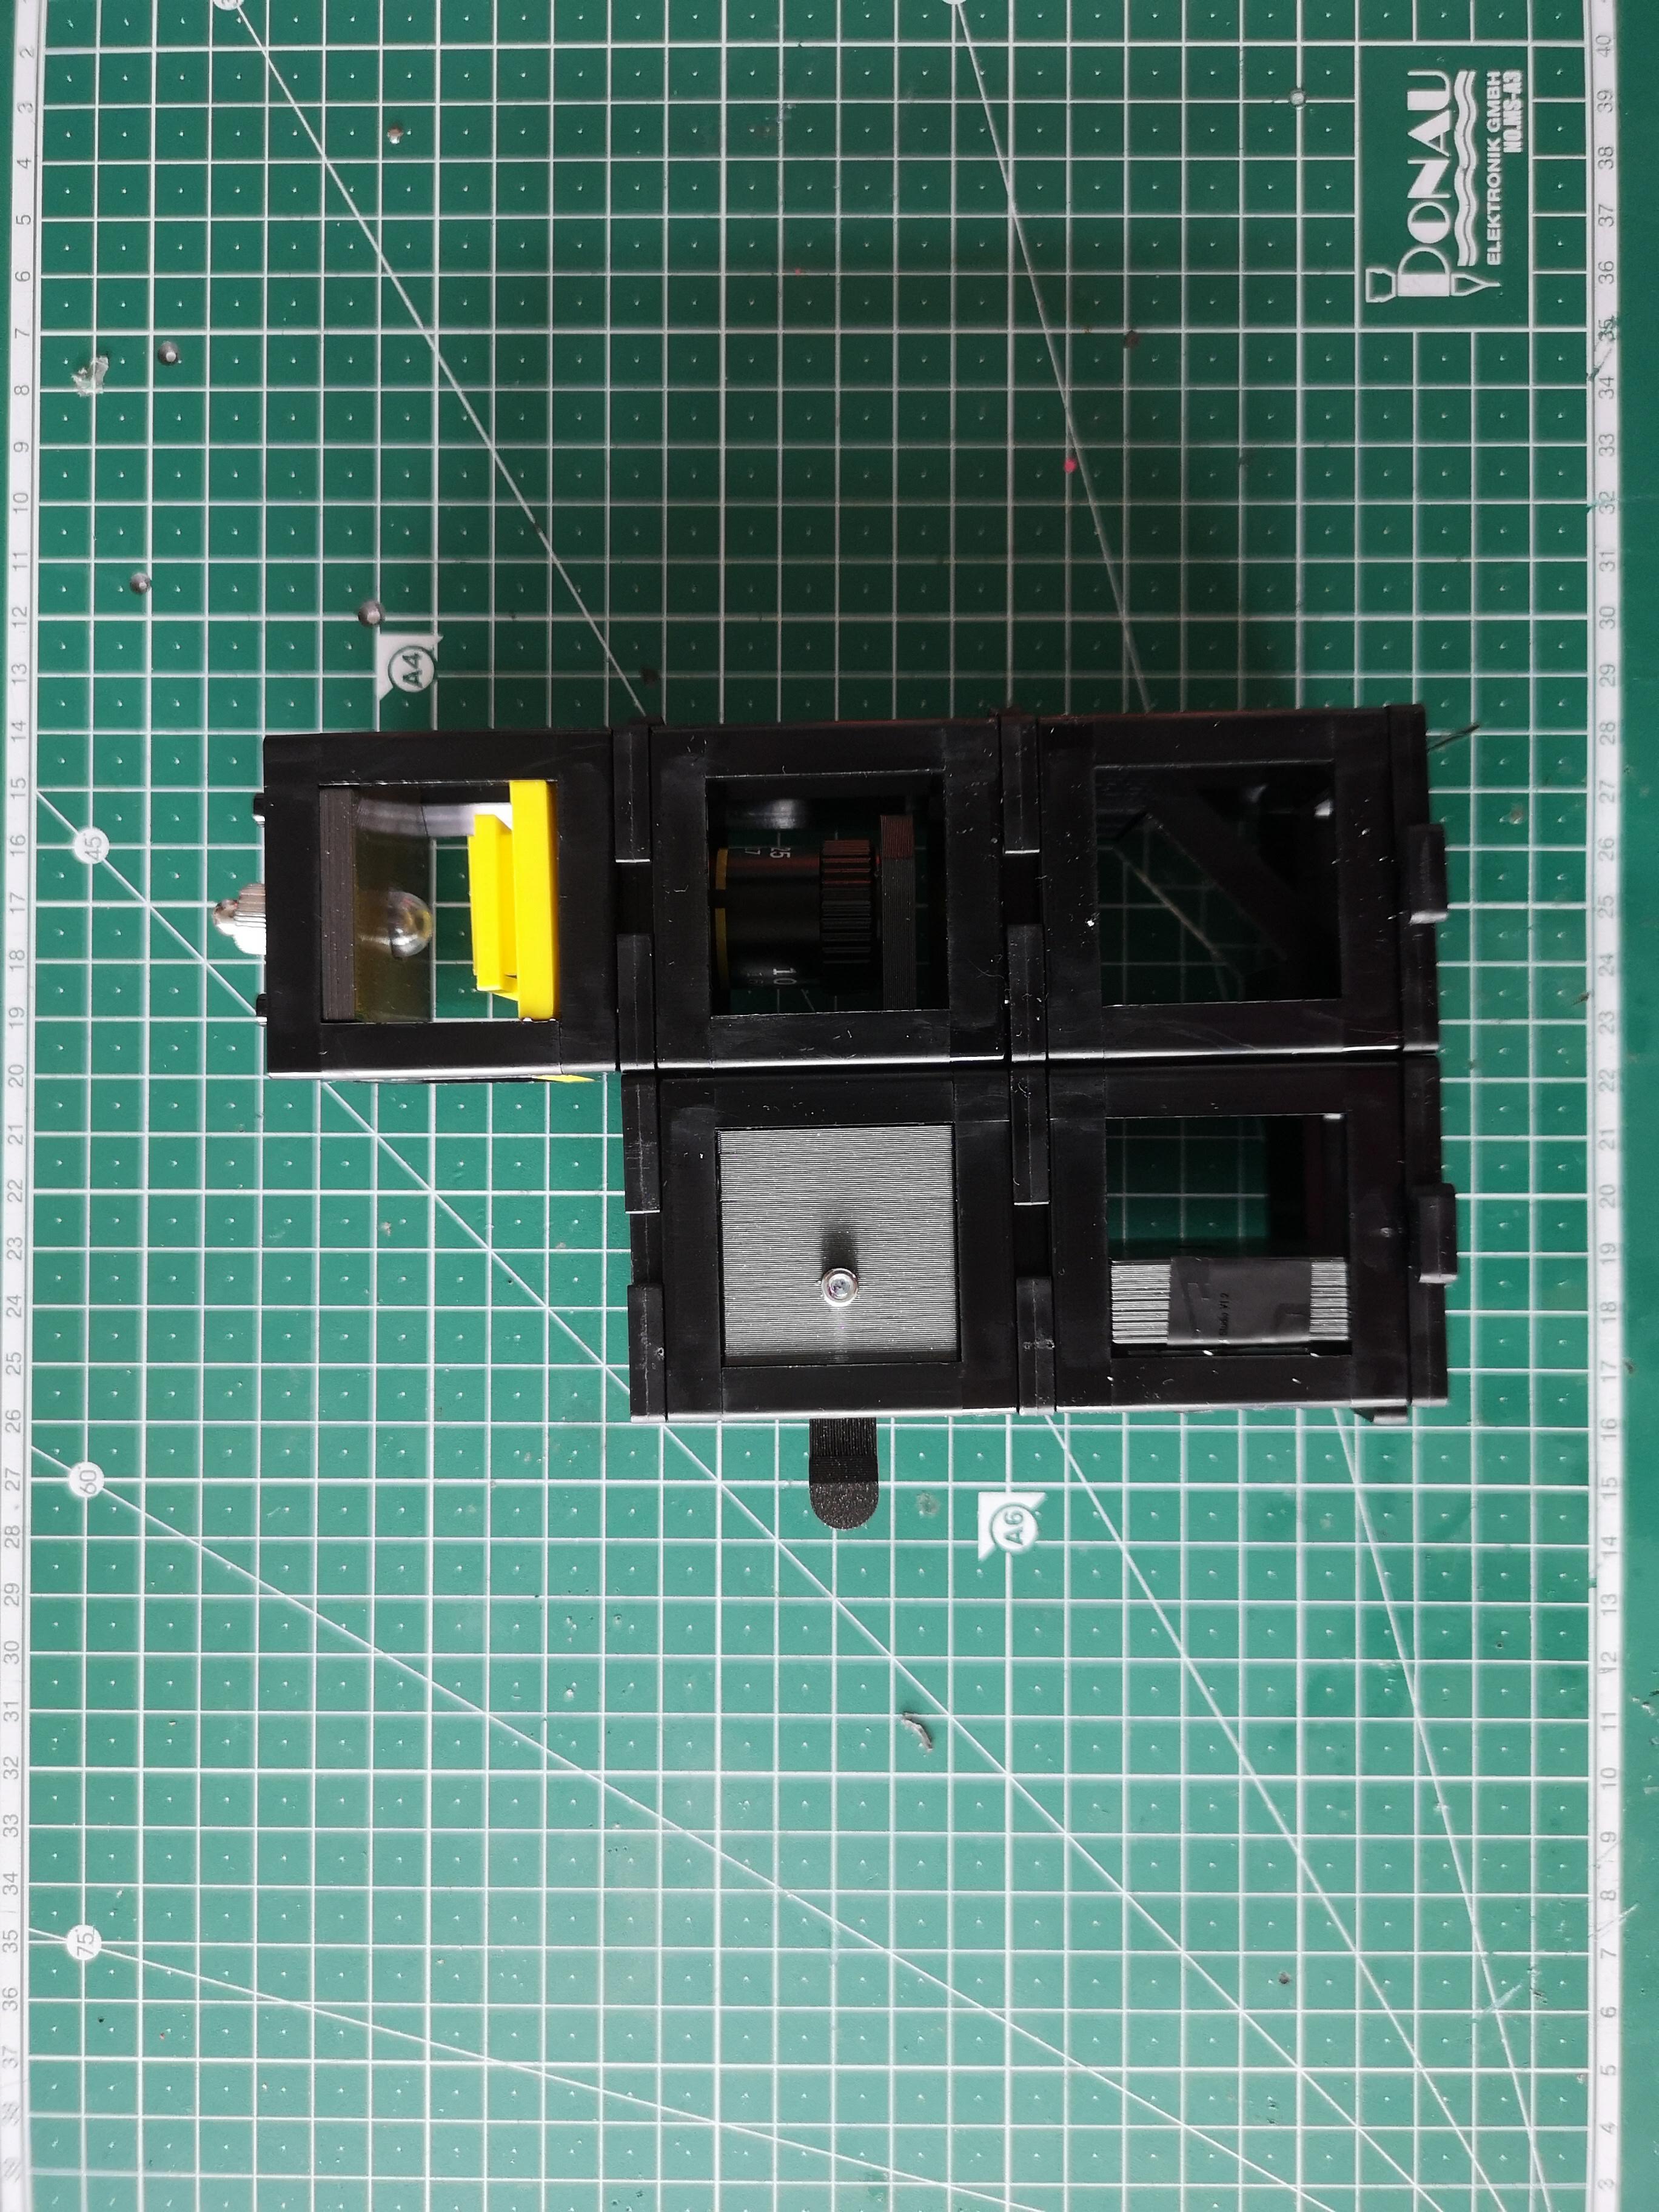
Assembly with photos
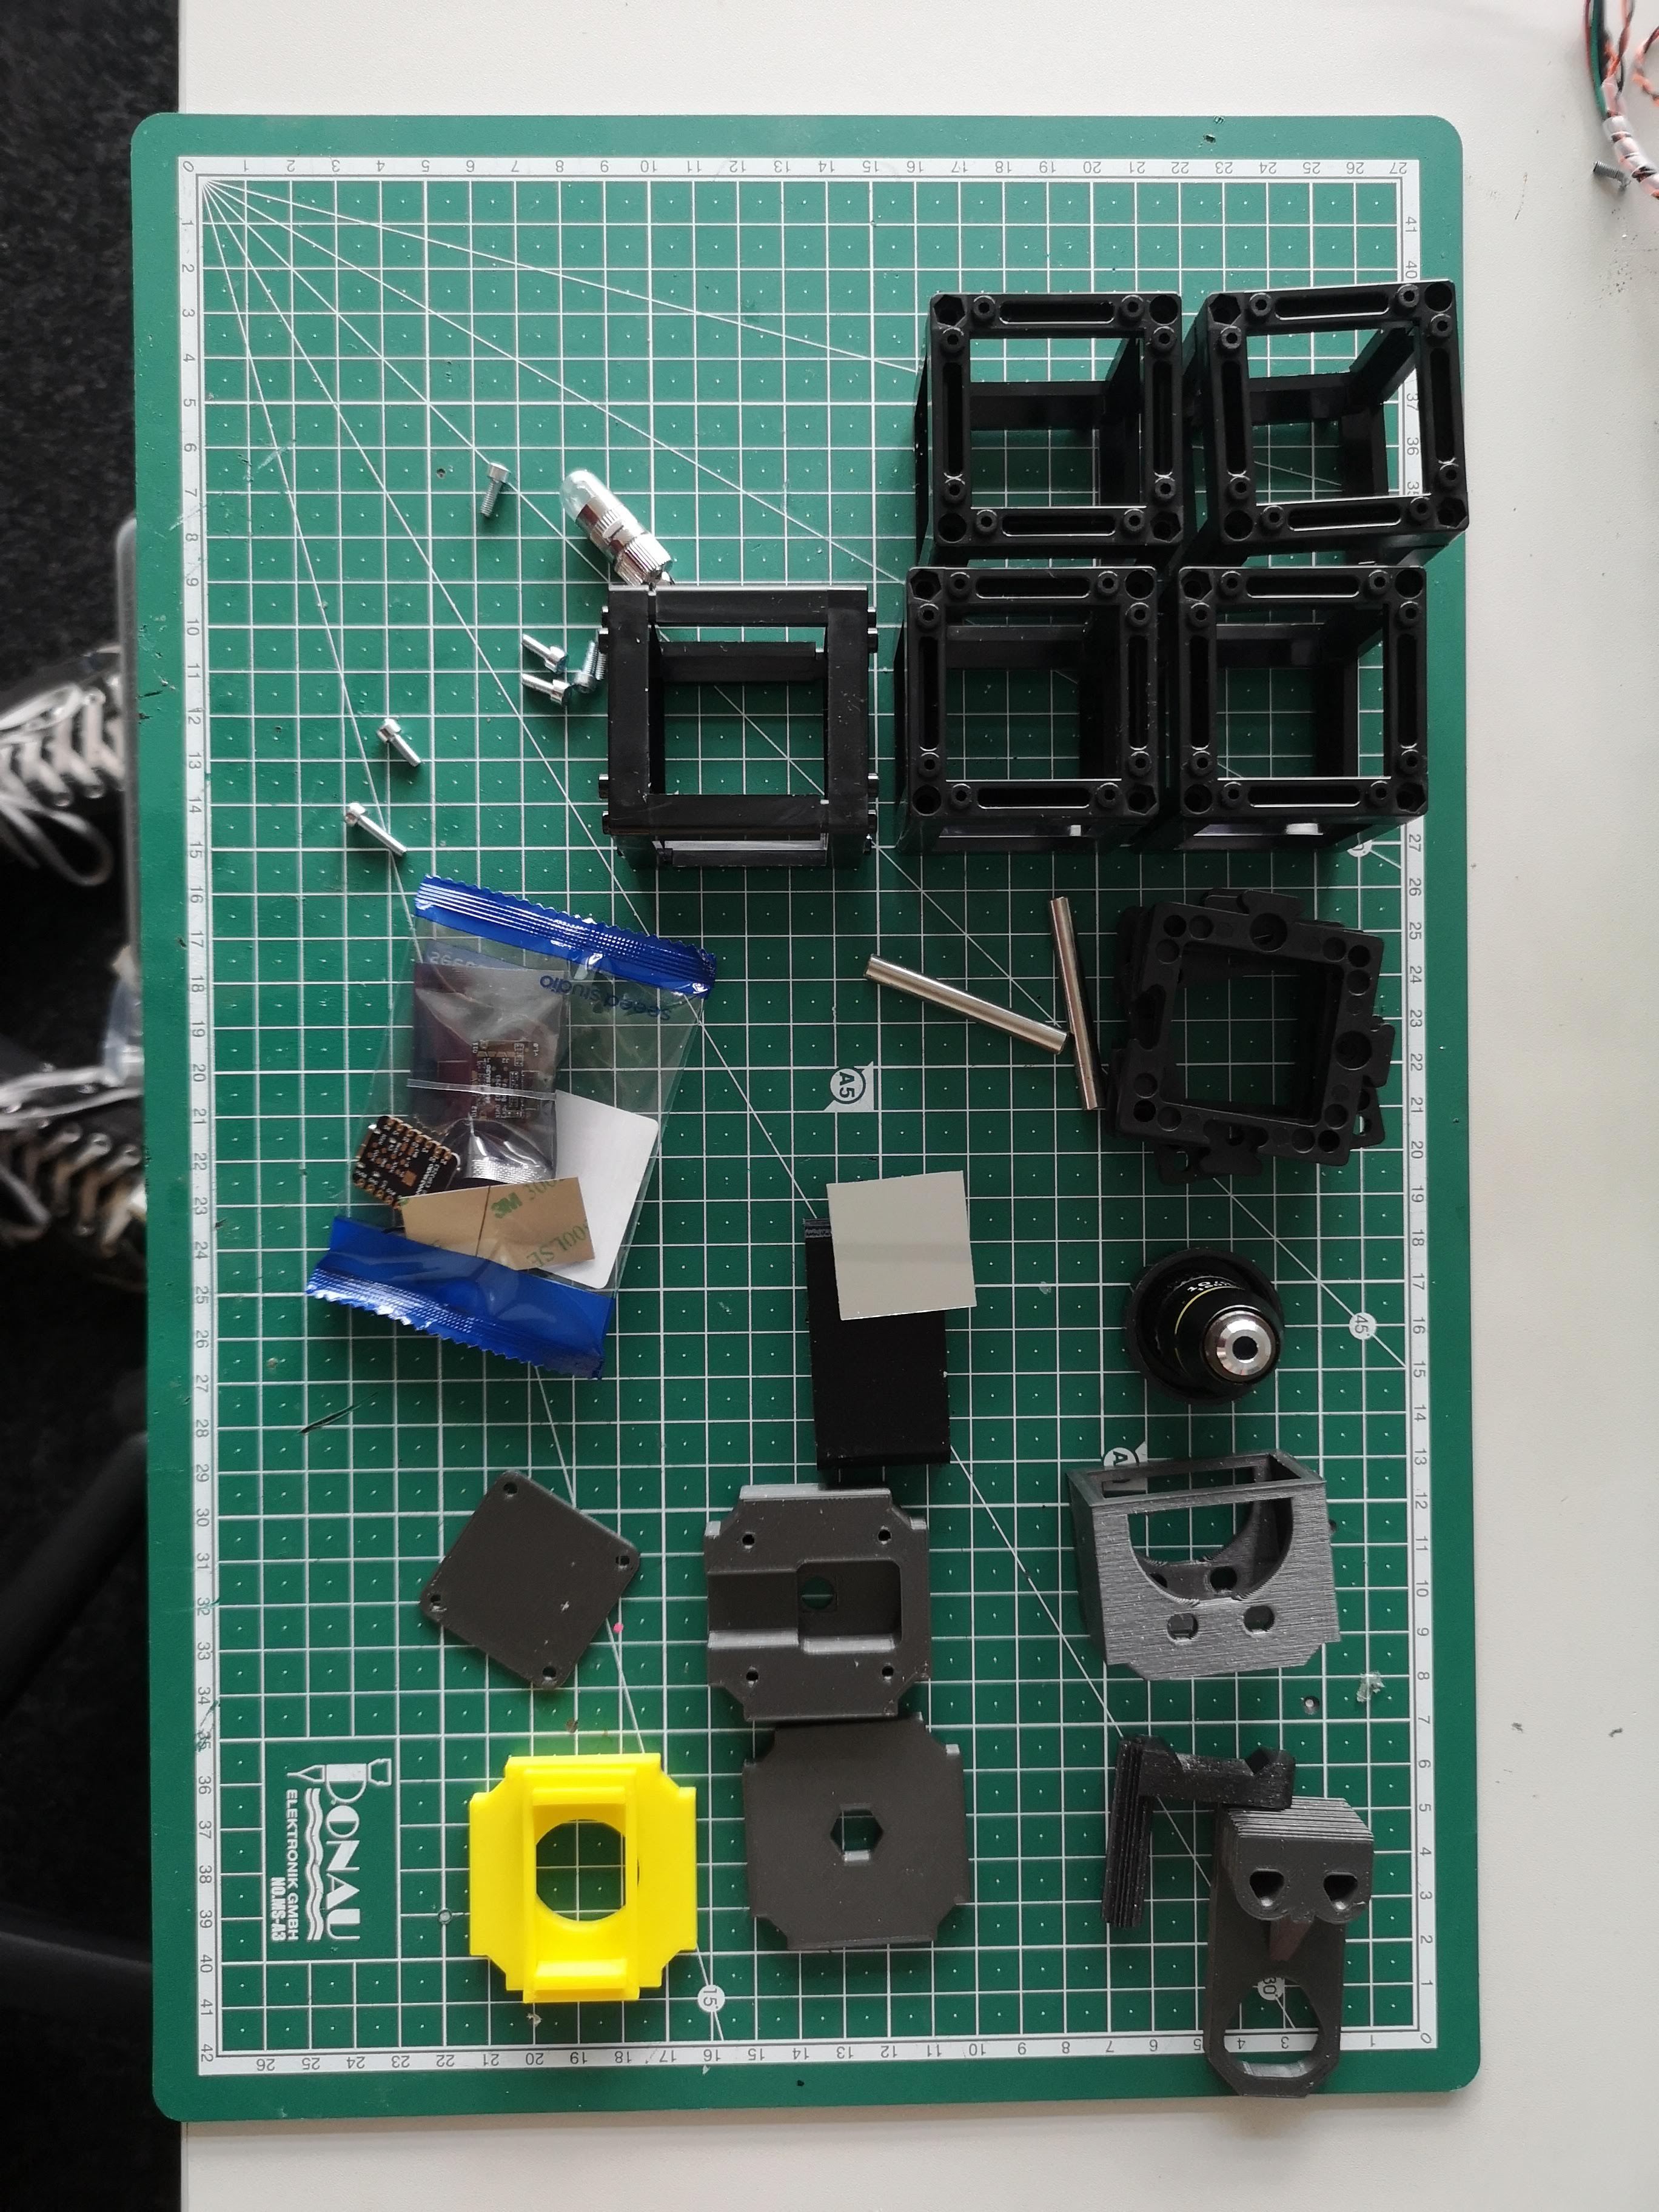
All necessary parts
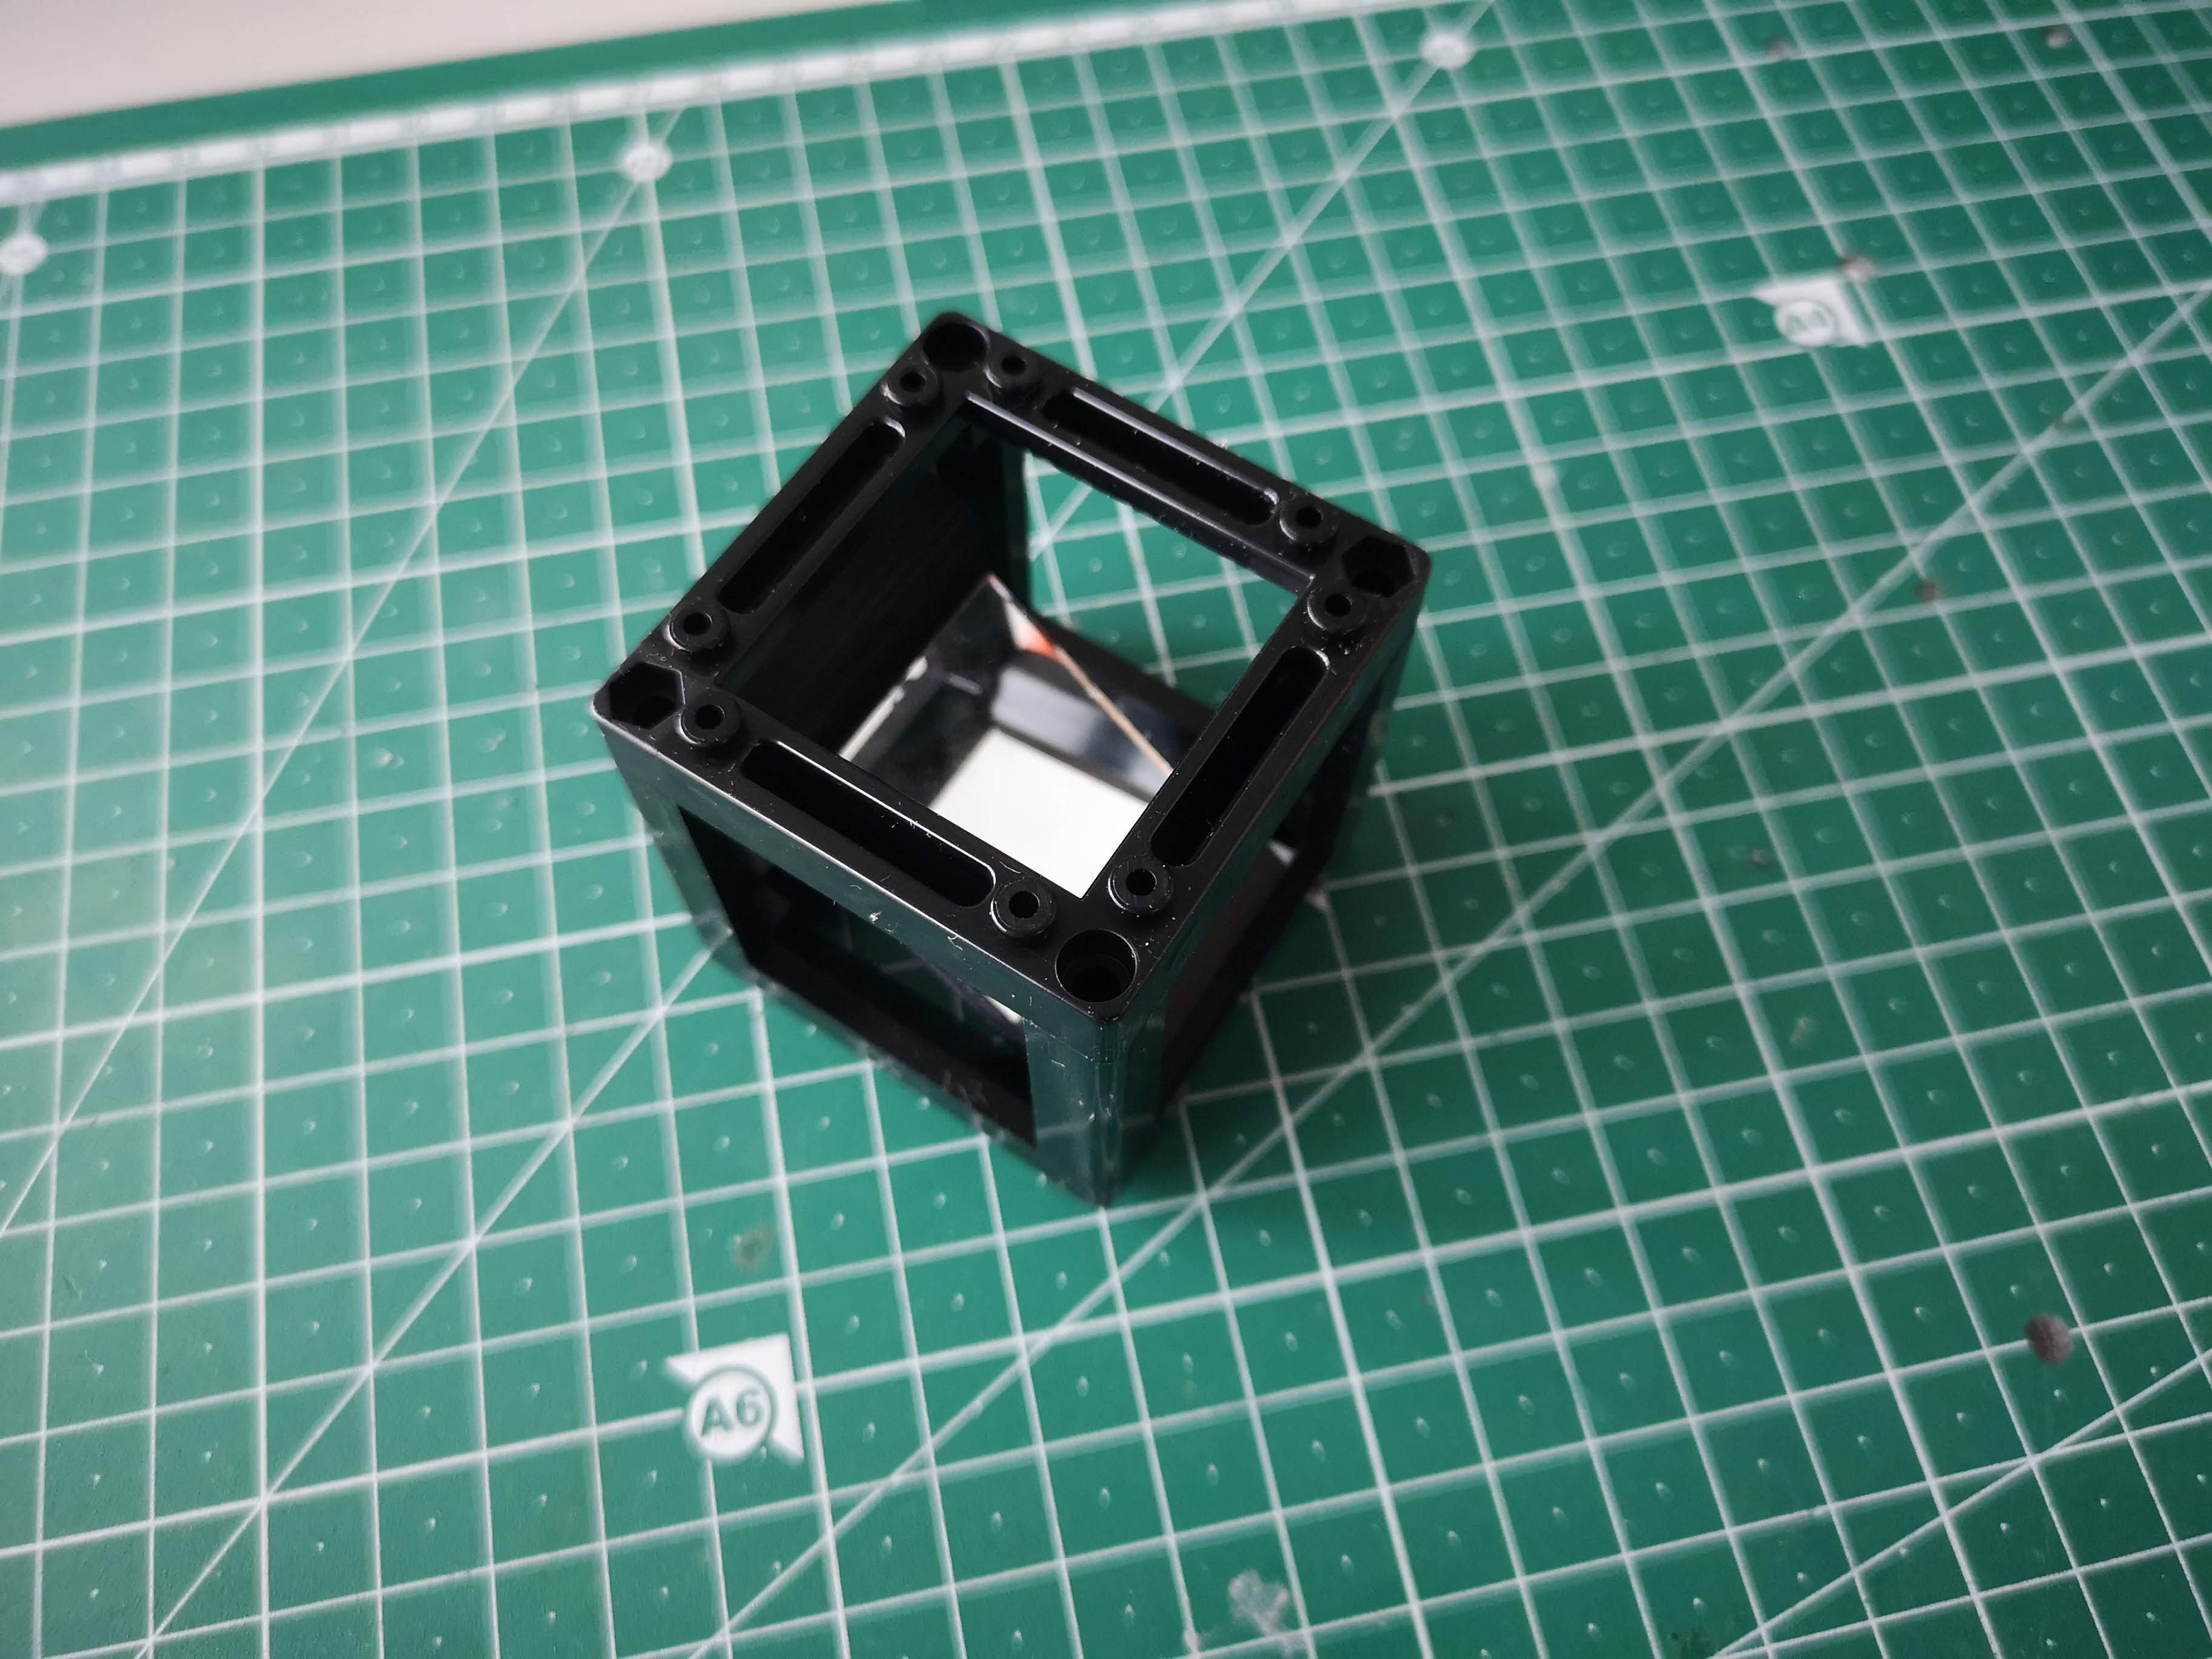
Mirror Cube
All necessary parts
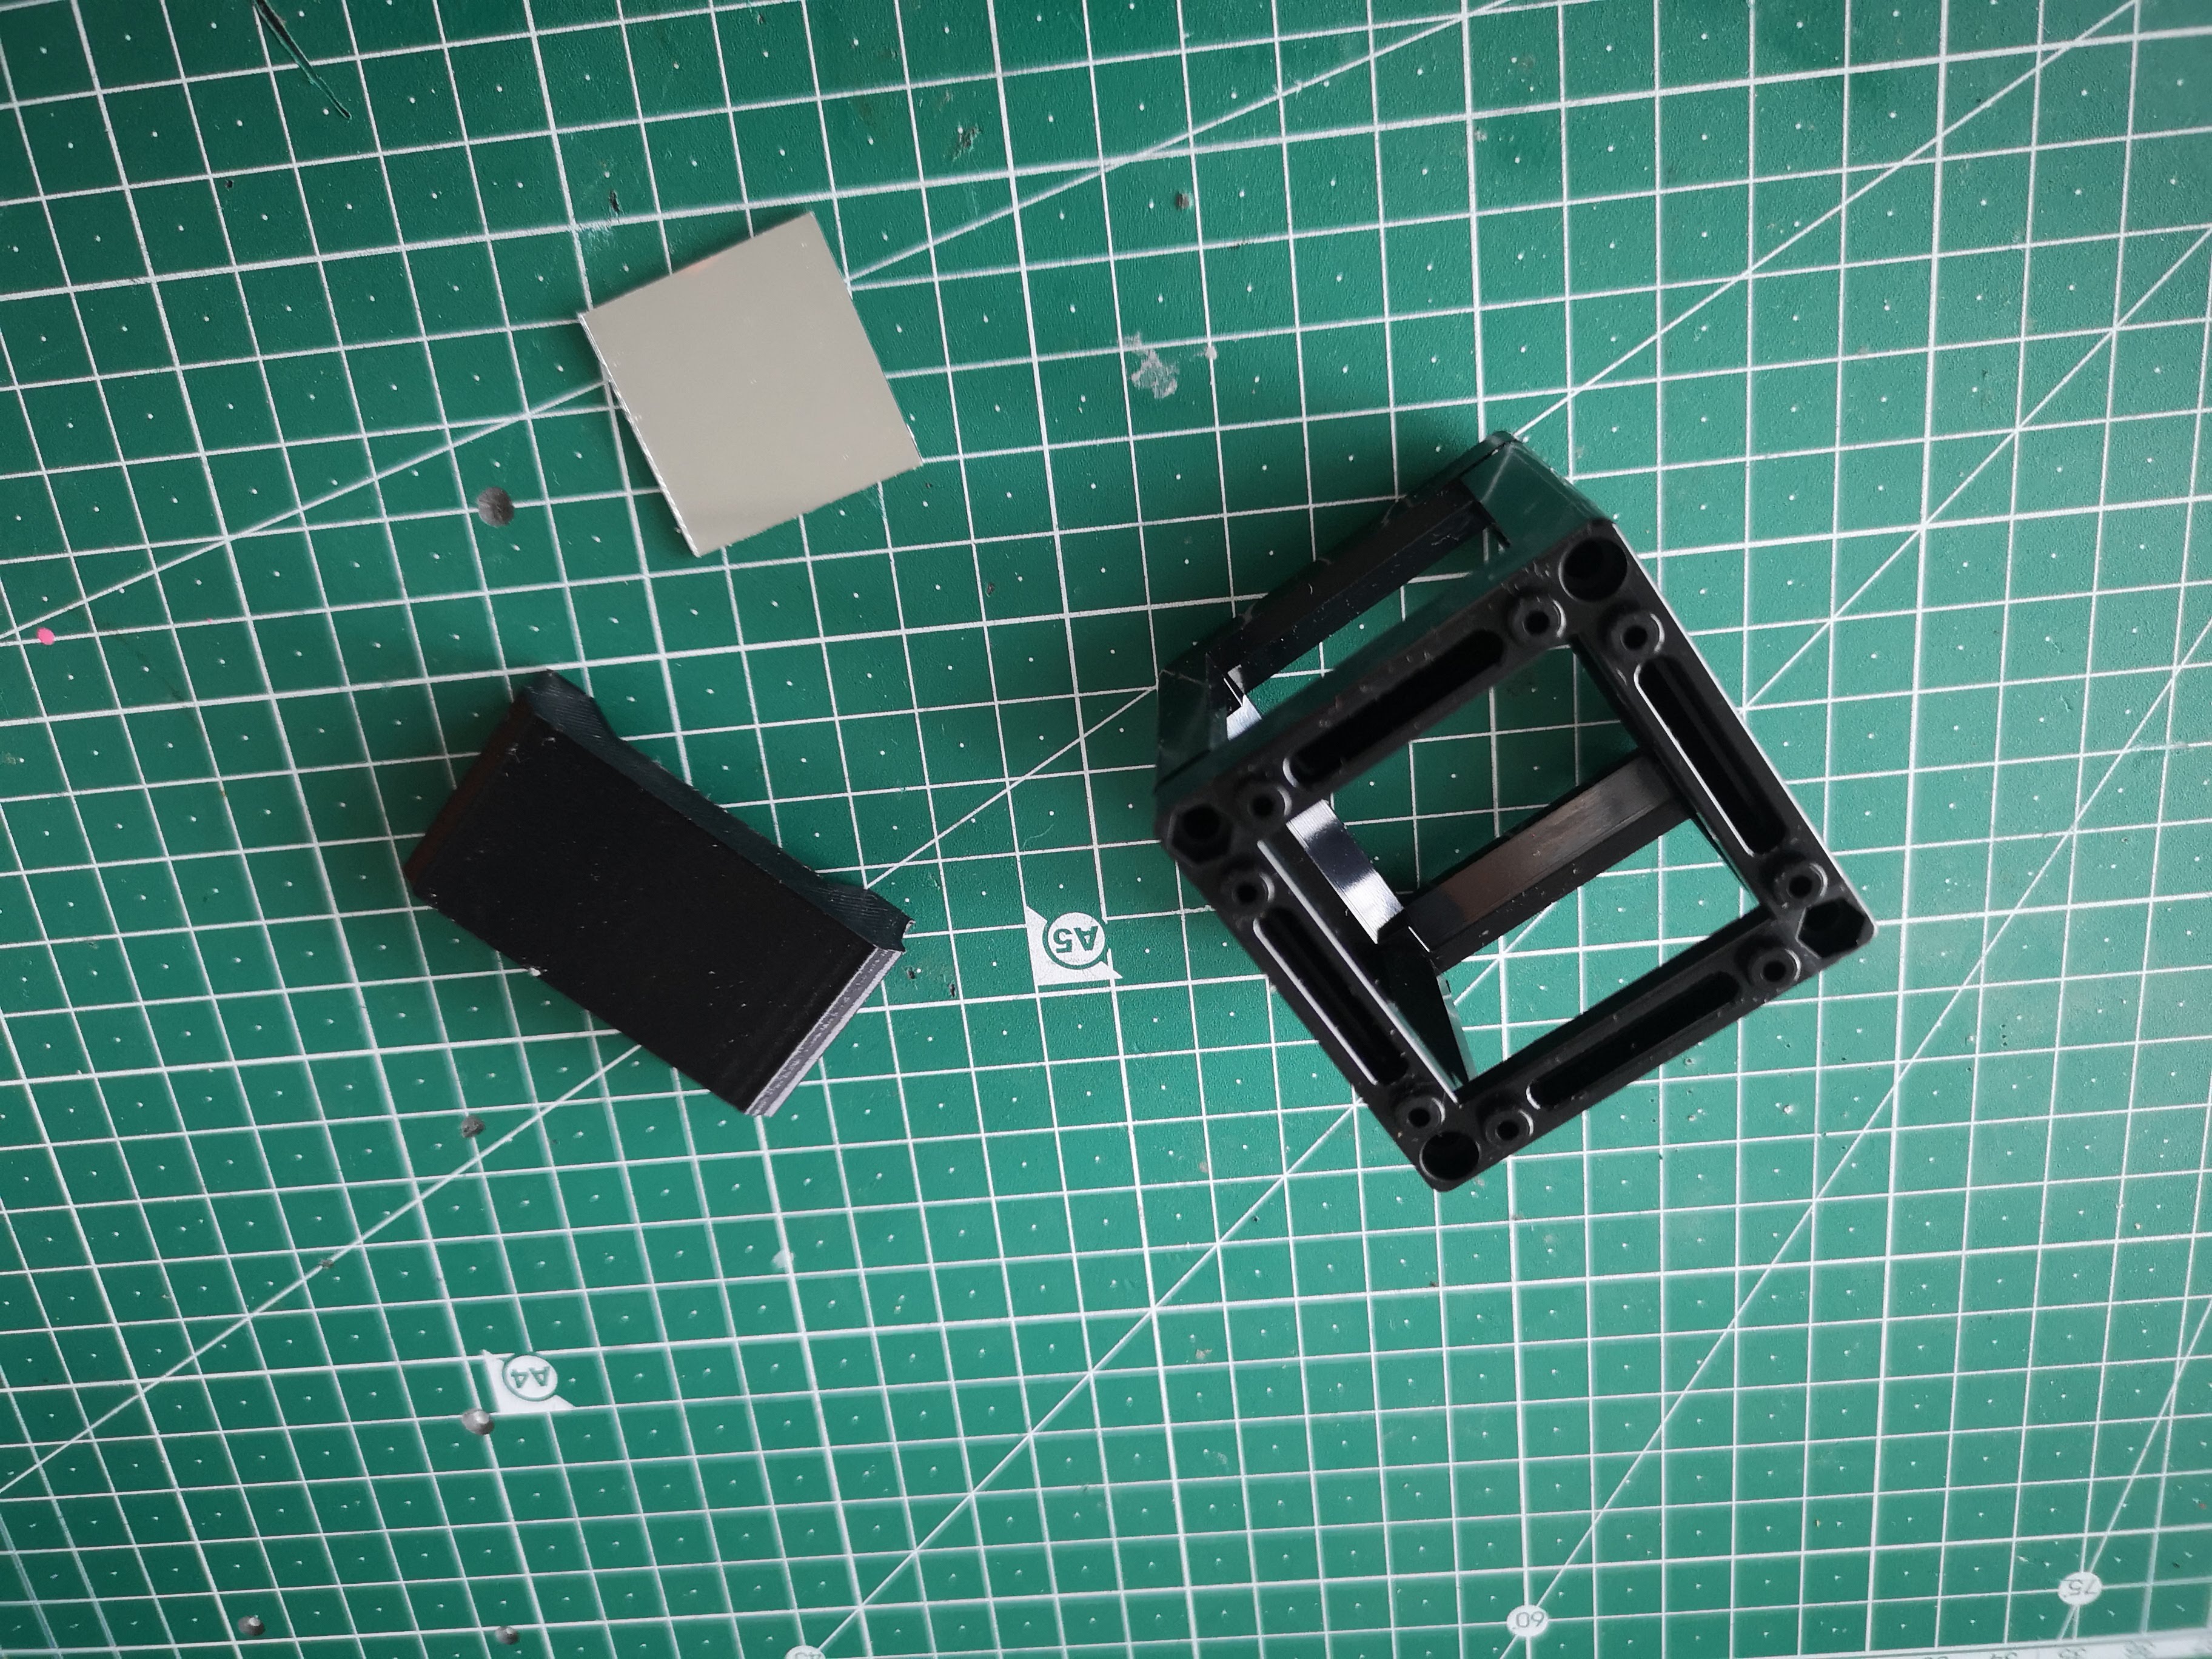
Add Mirror to holder (Mirror has double-sided sticky tape)
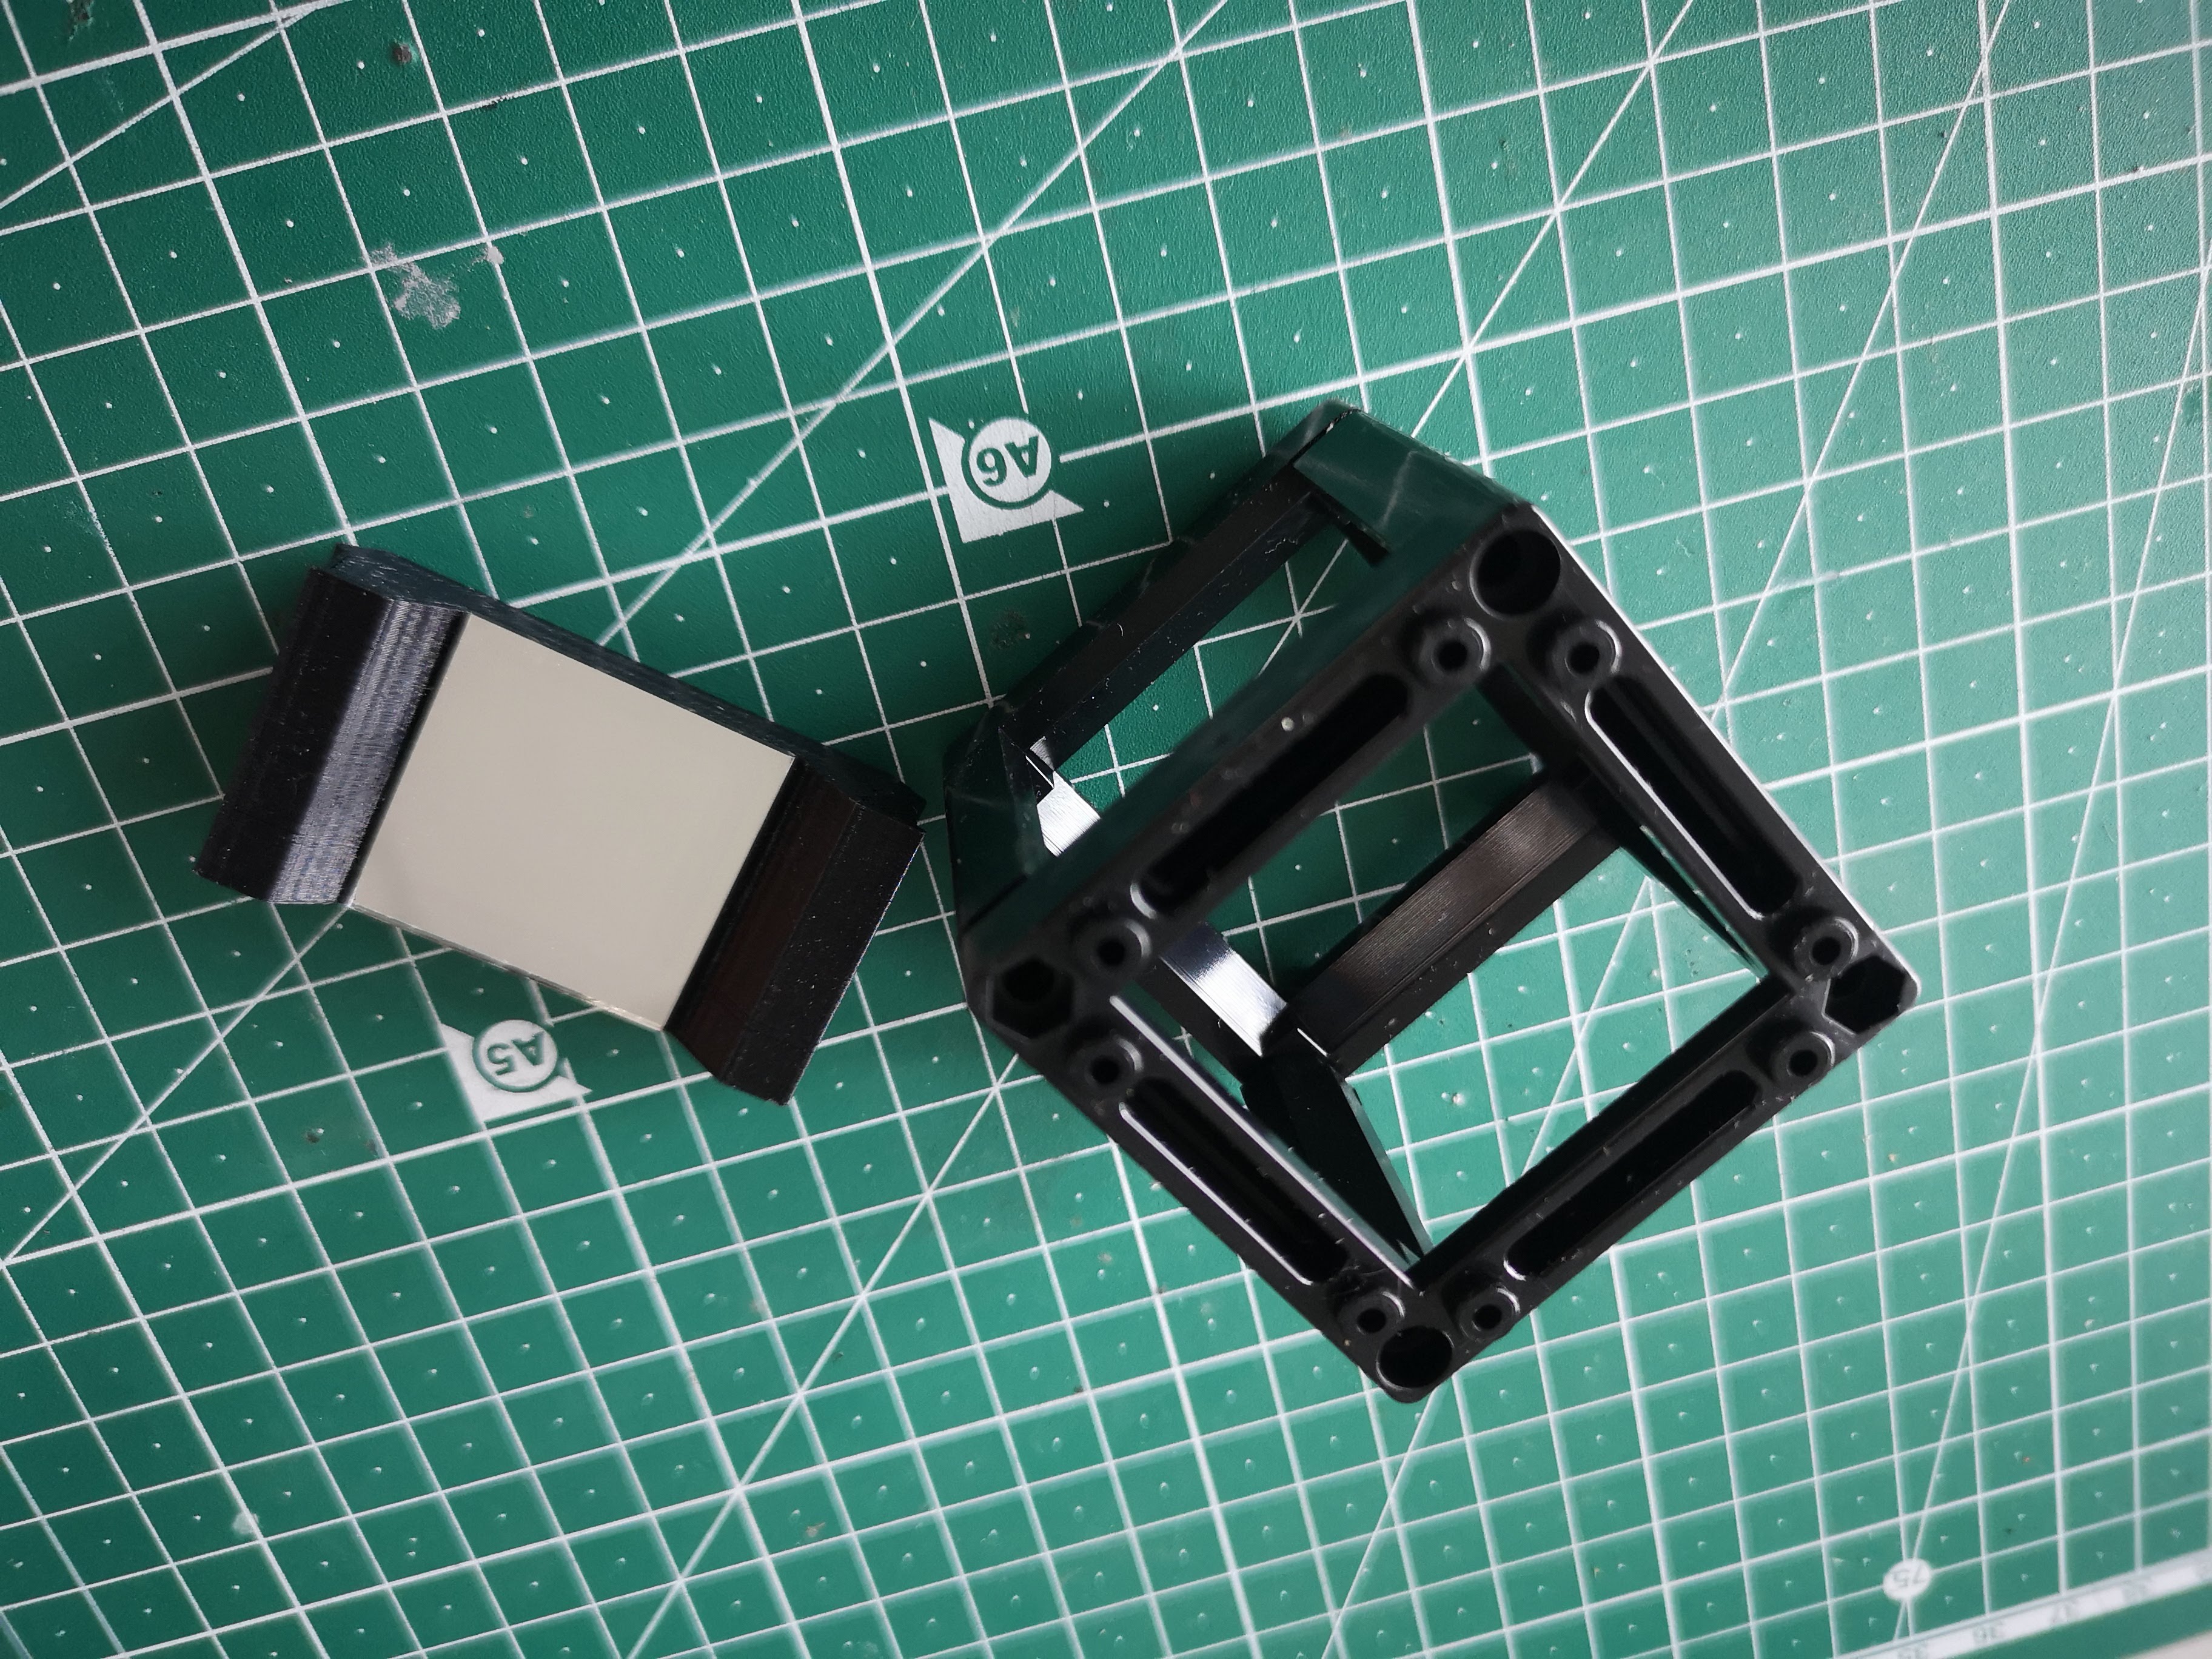
Add Holder to Cube
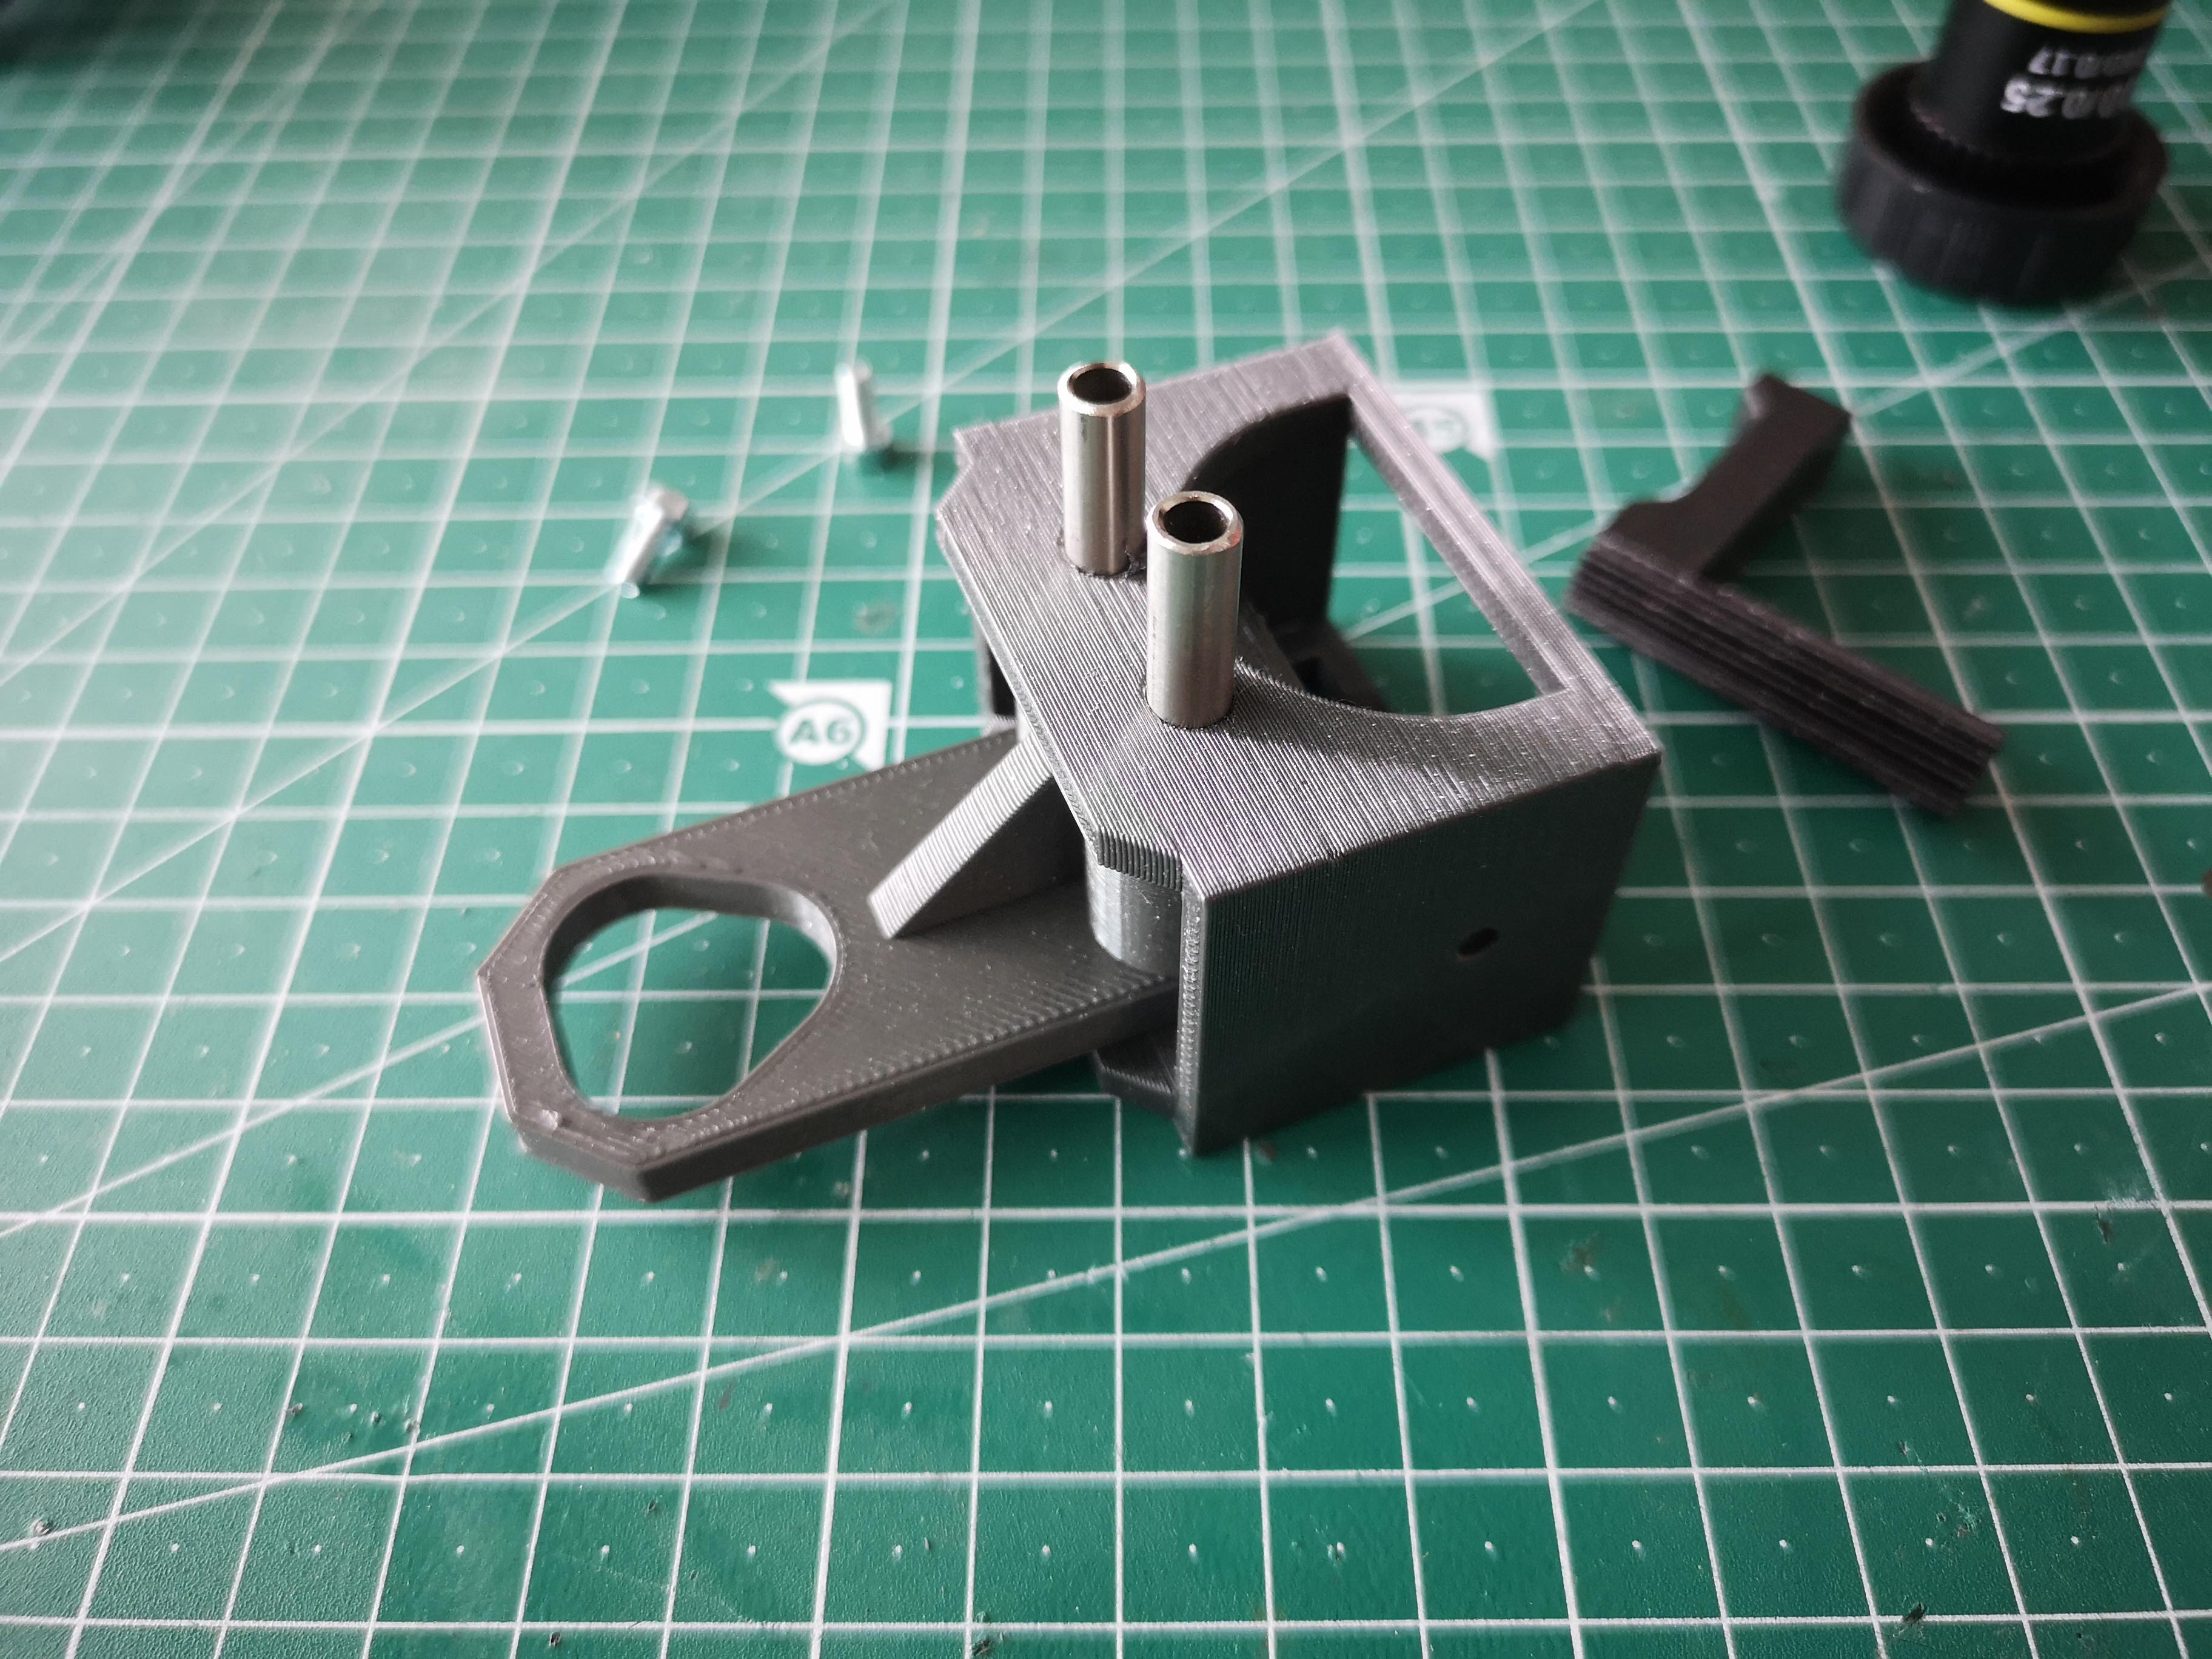
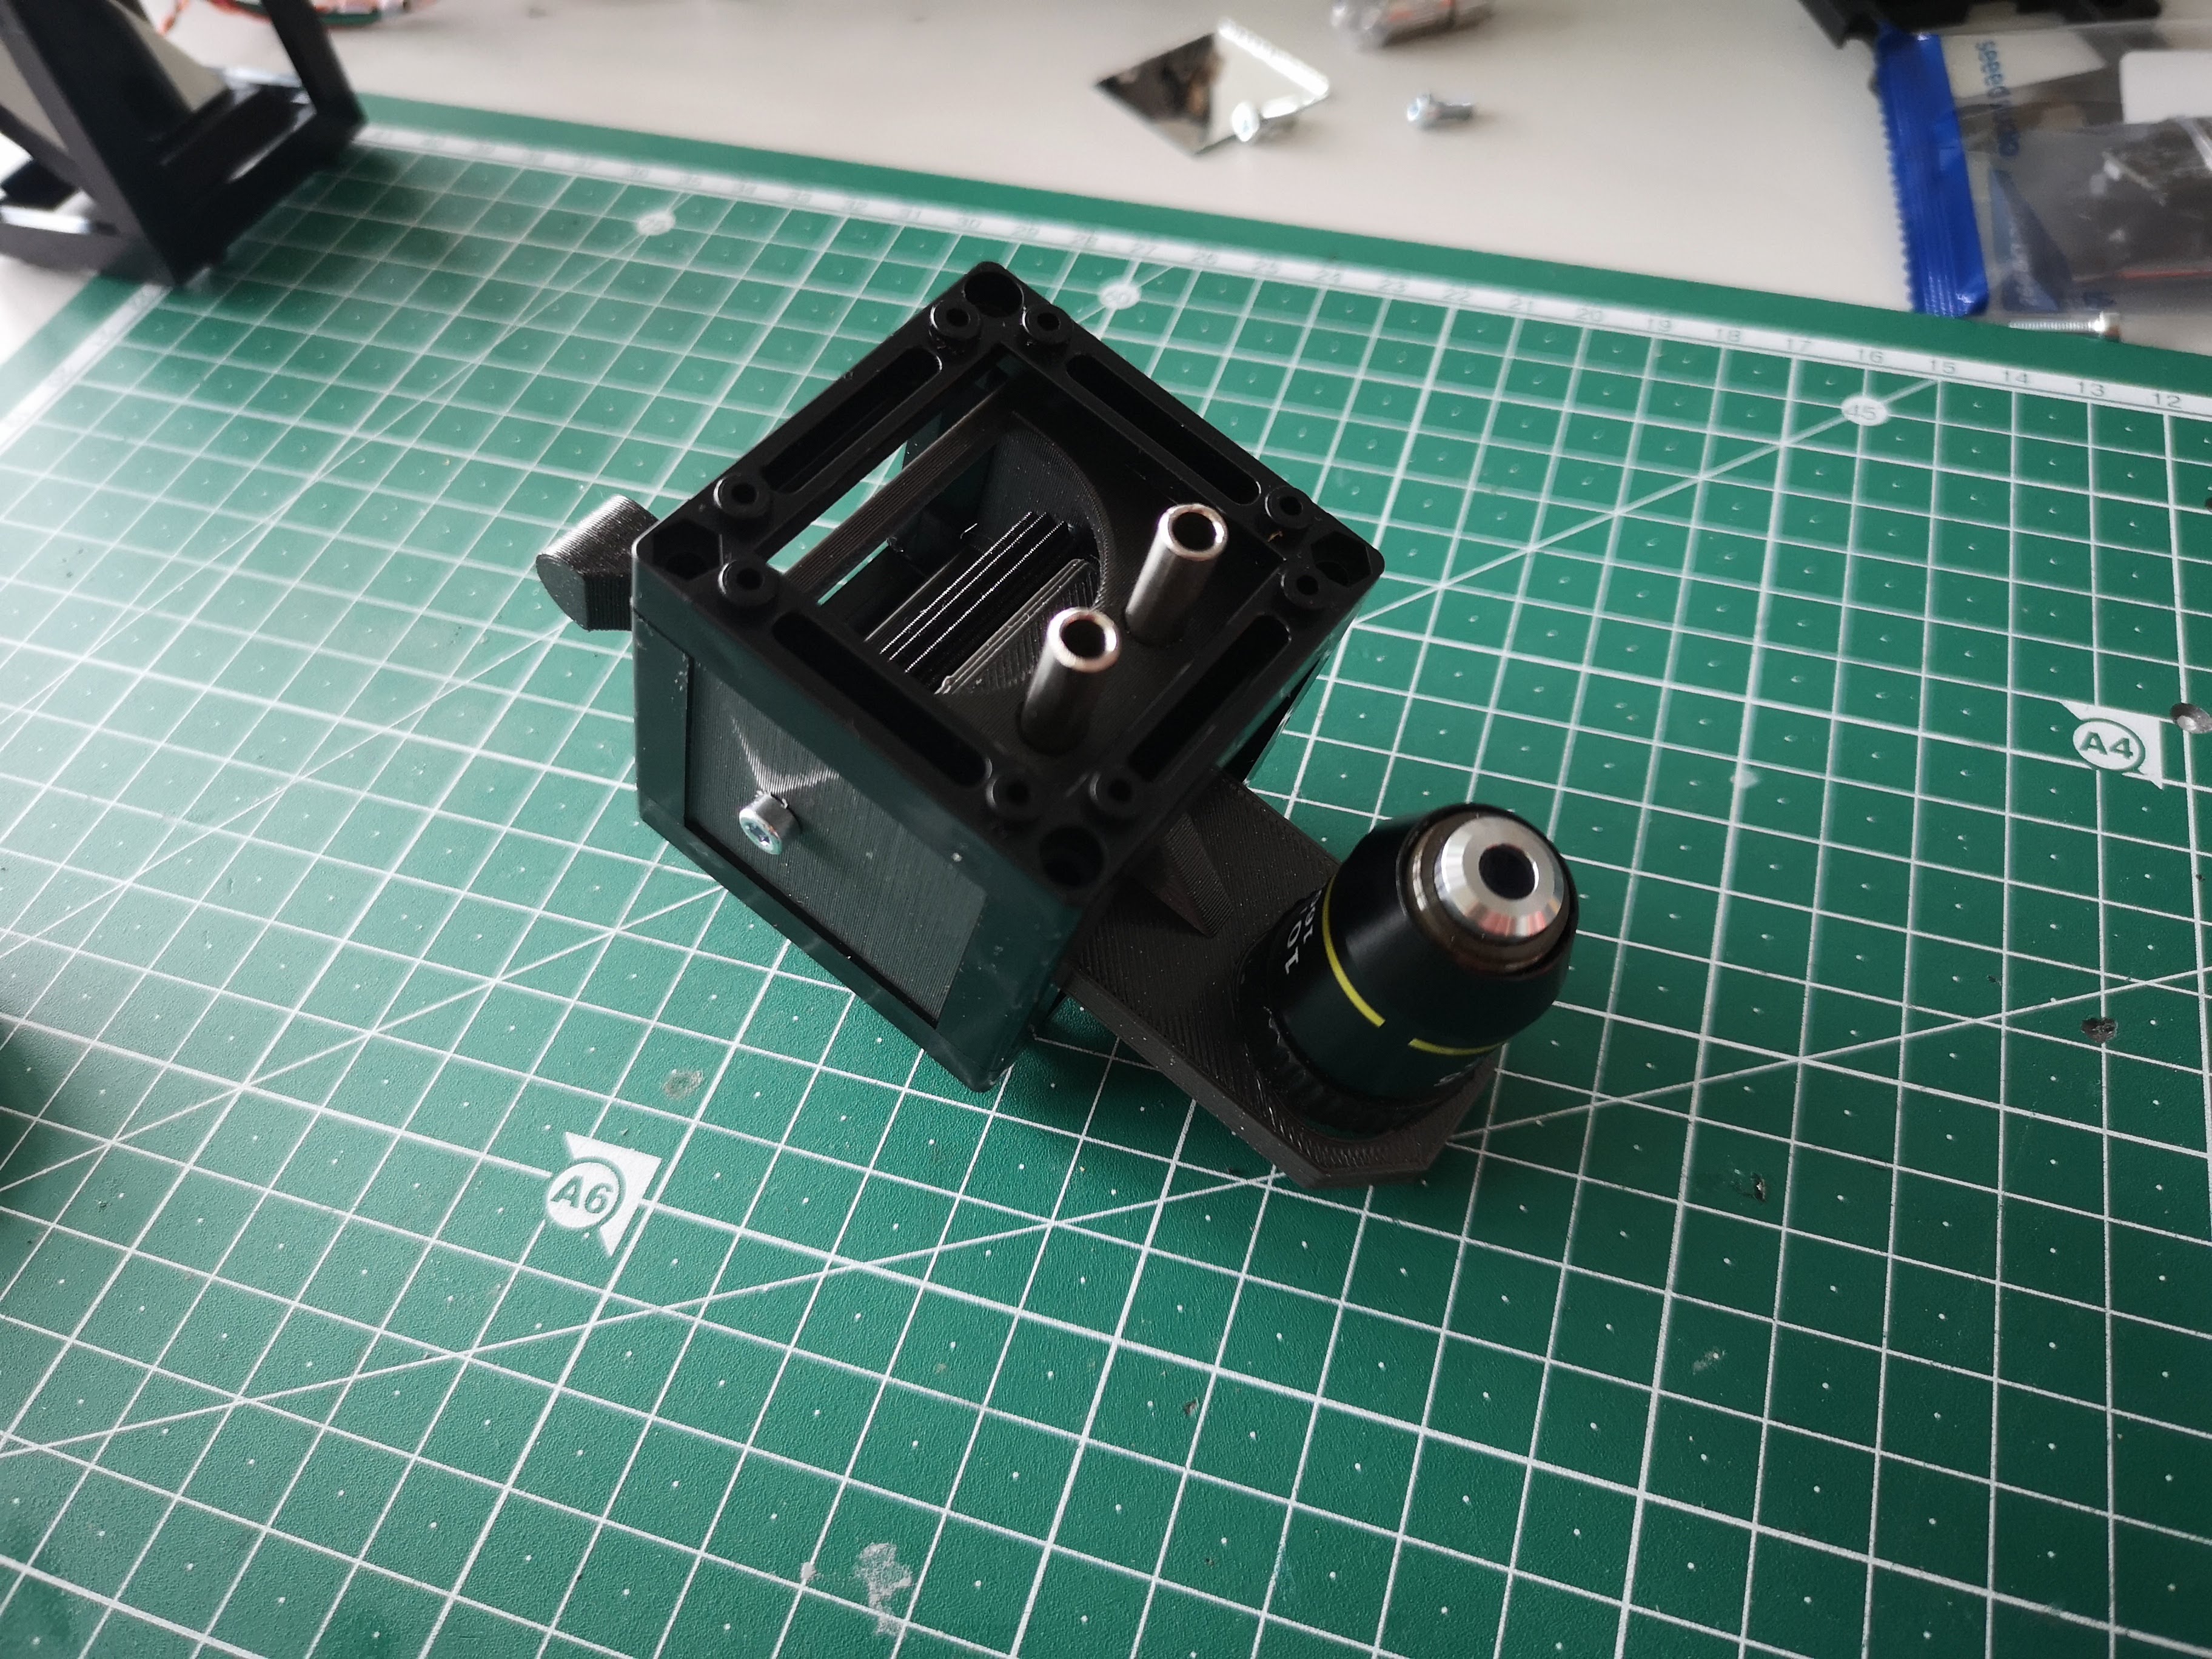
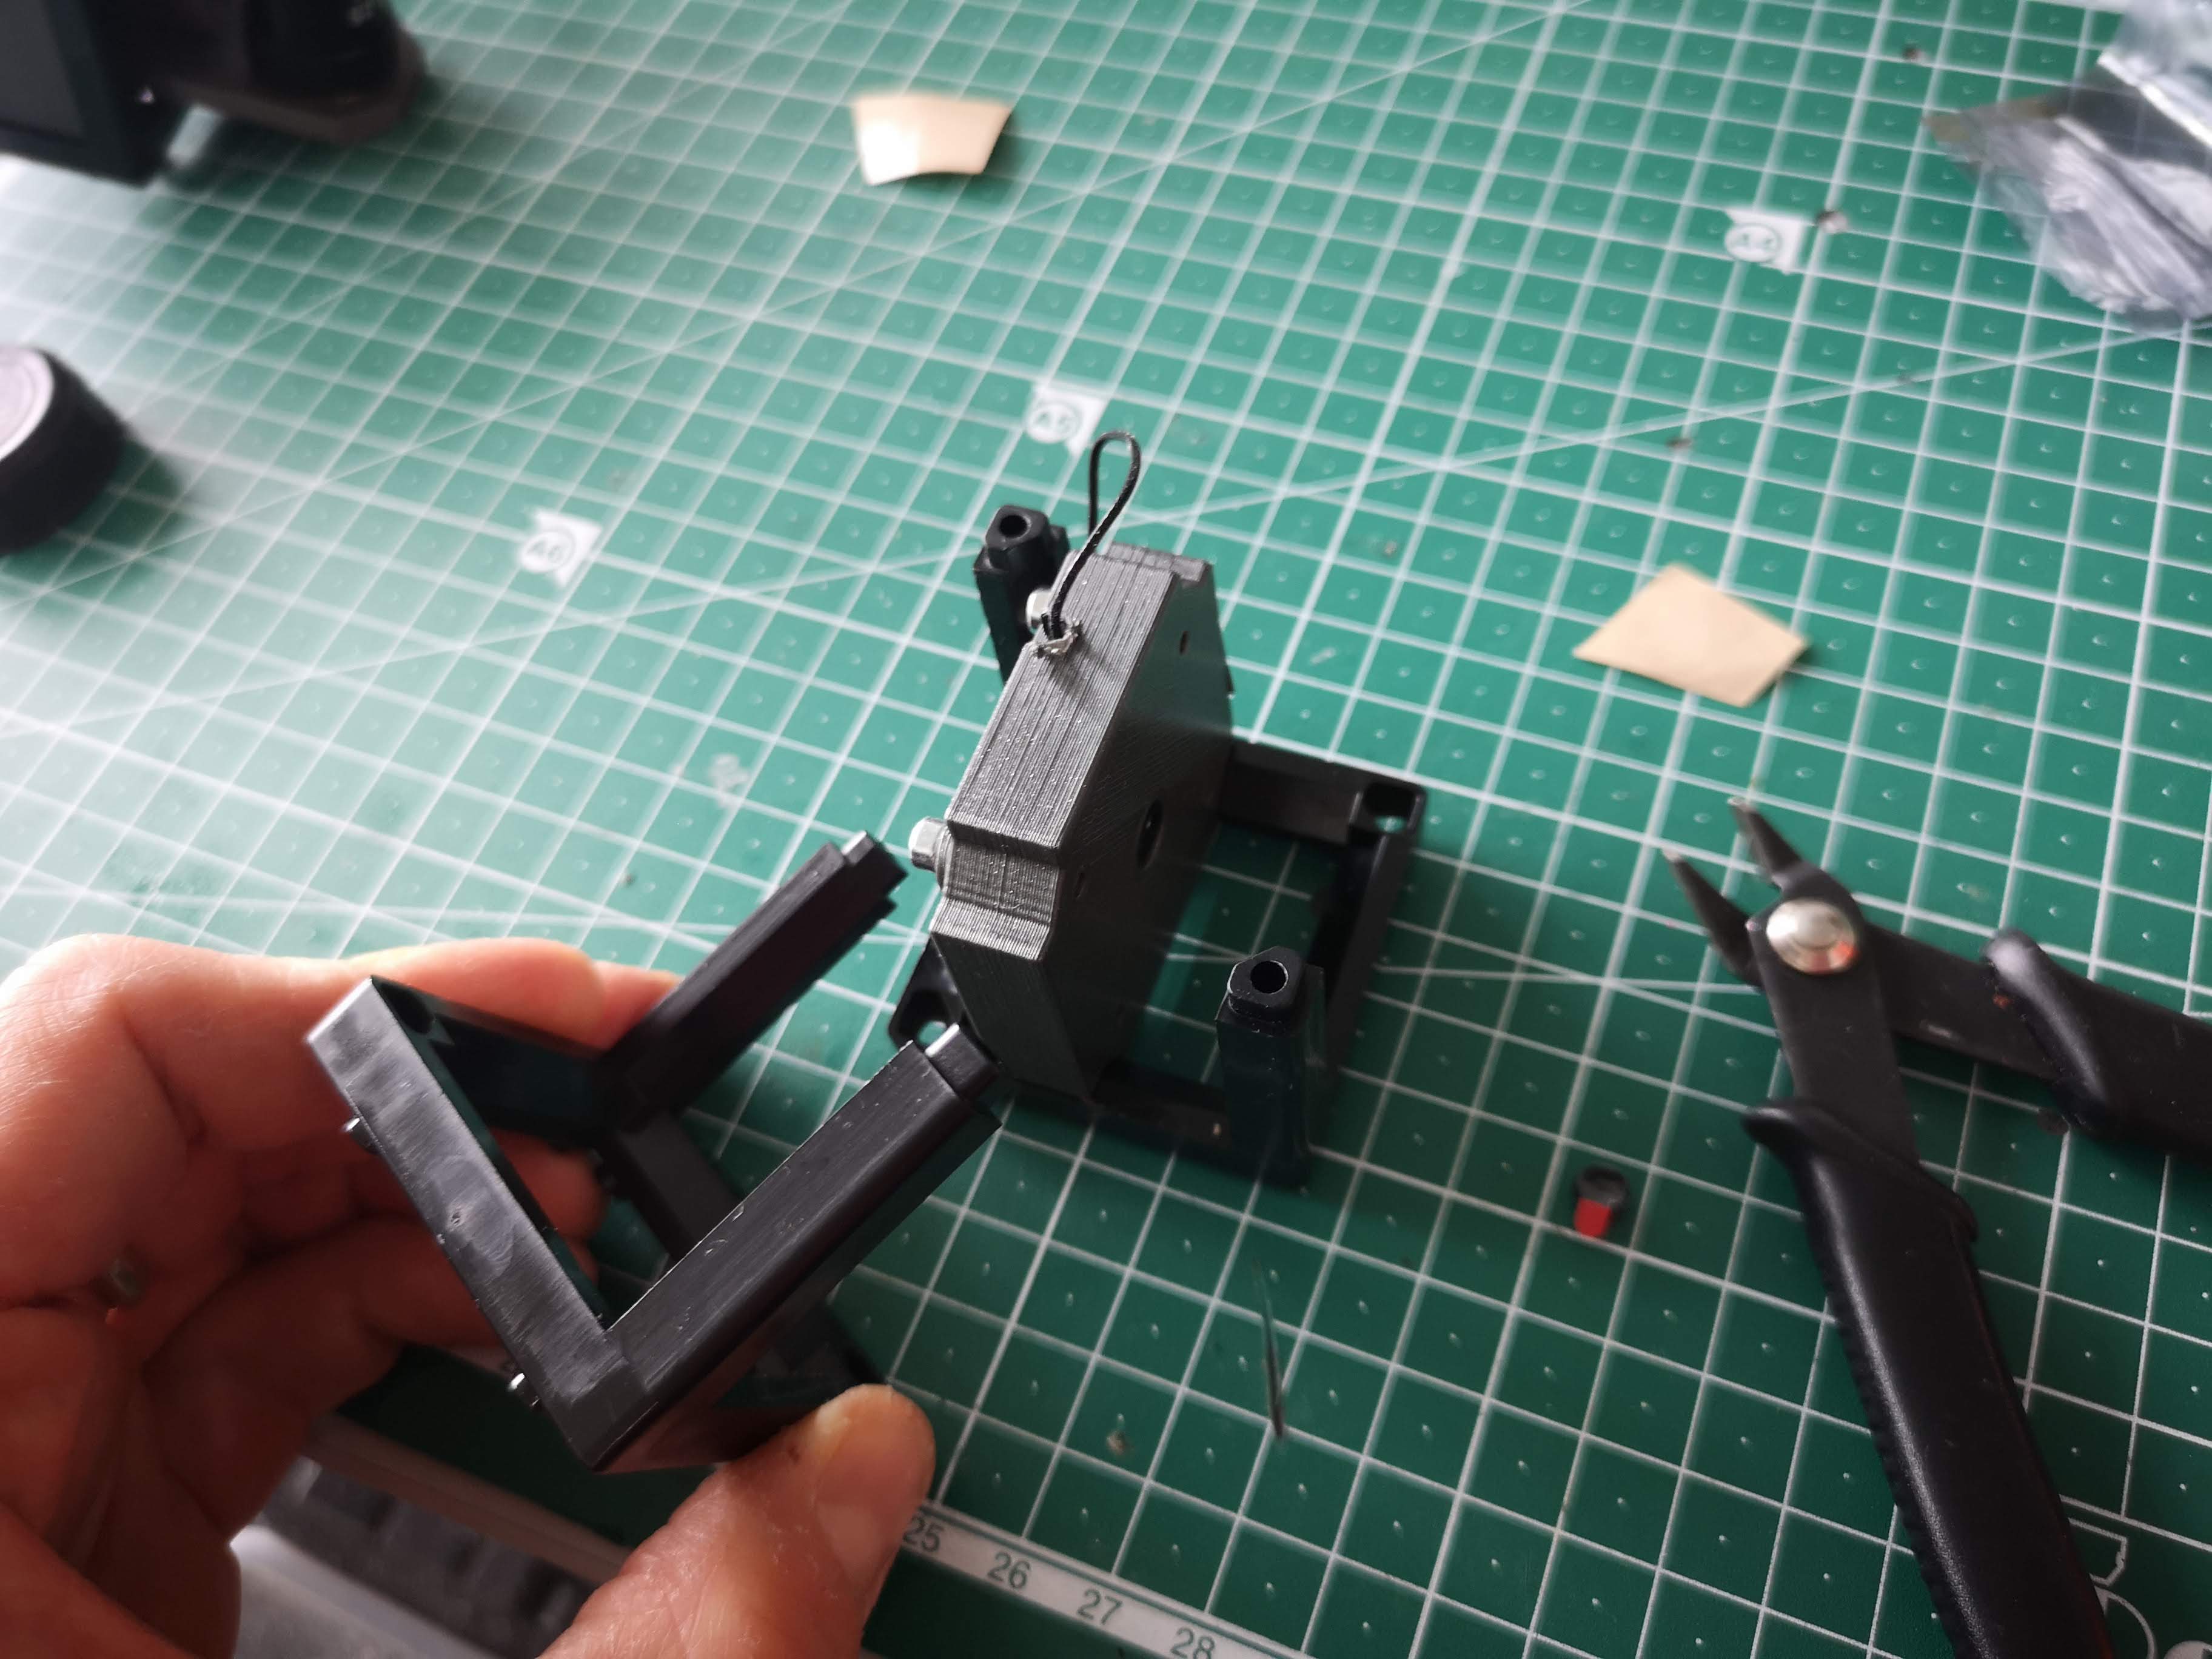
Manual Z-stage
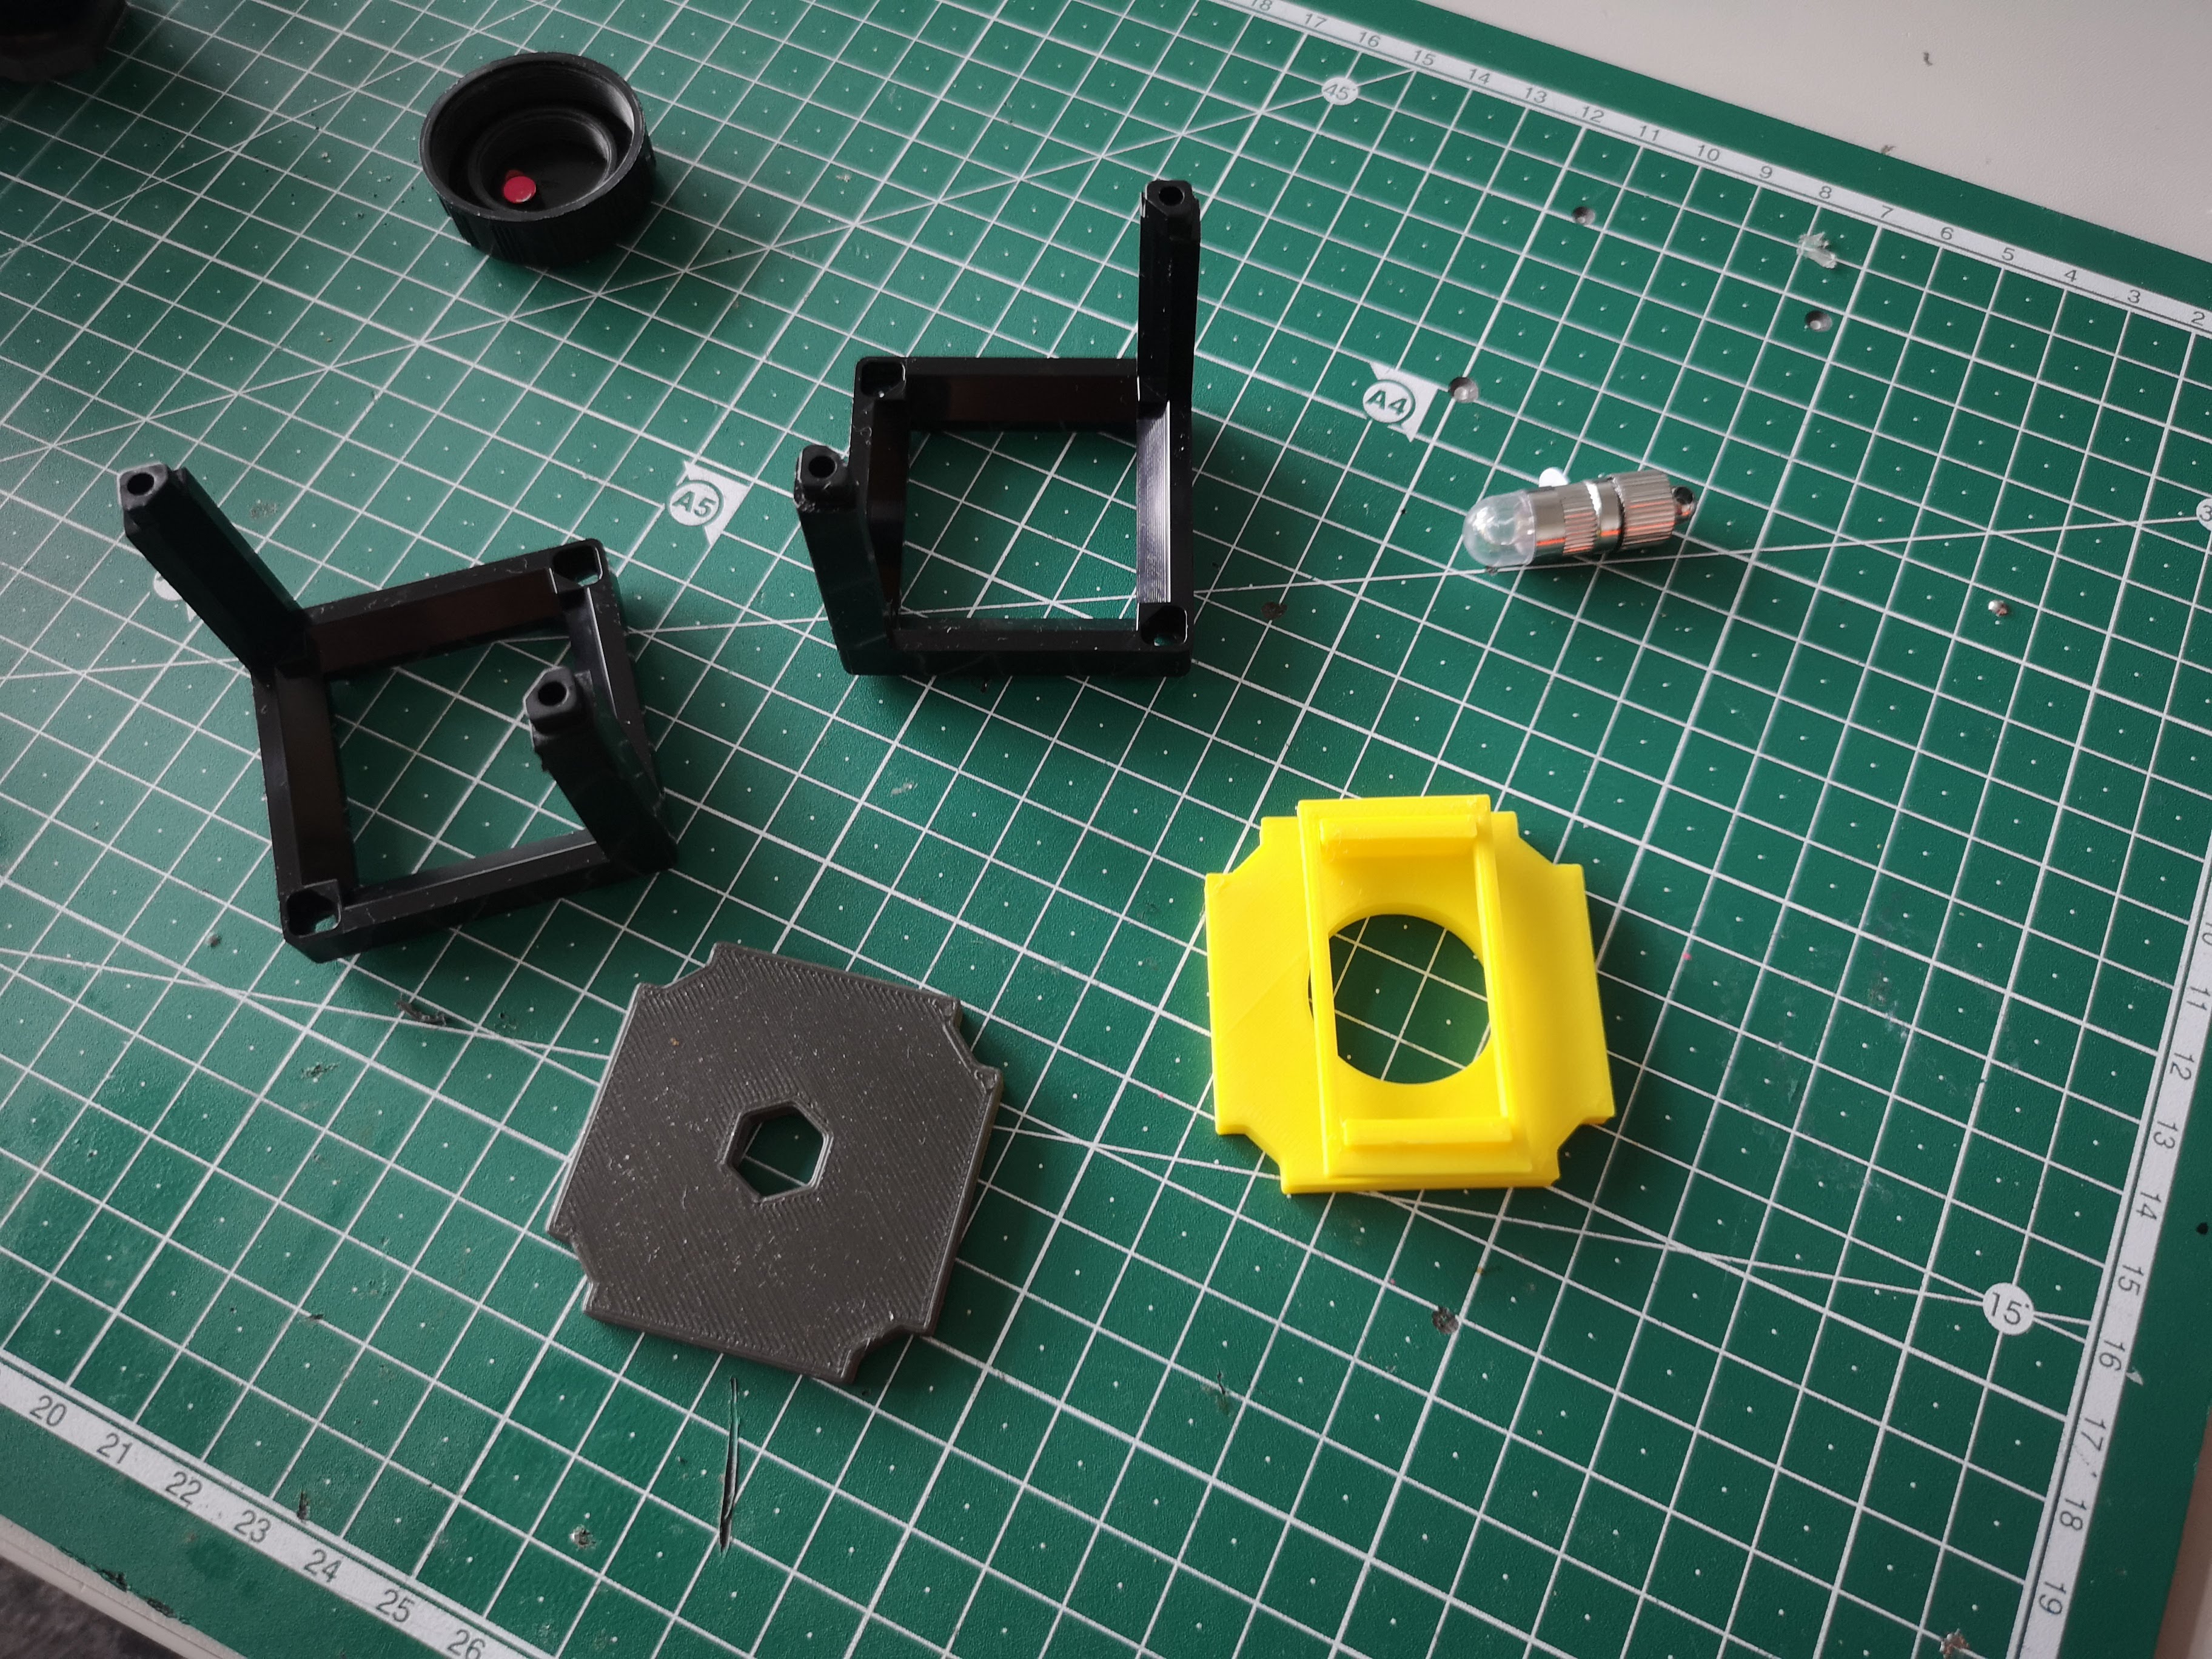
All necessary parts
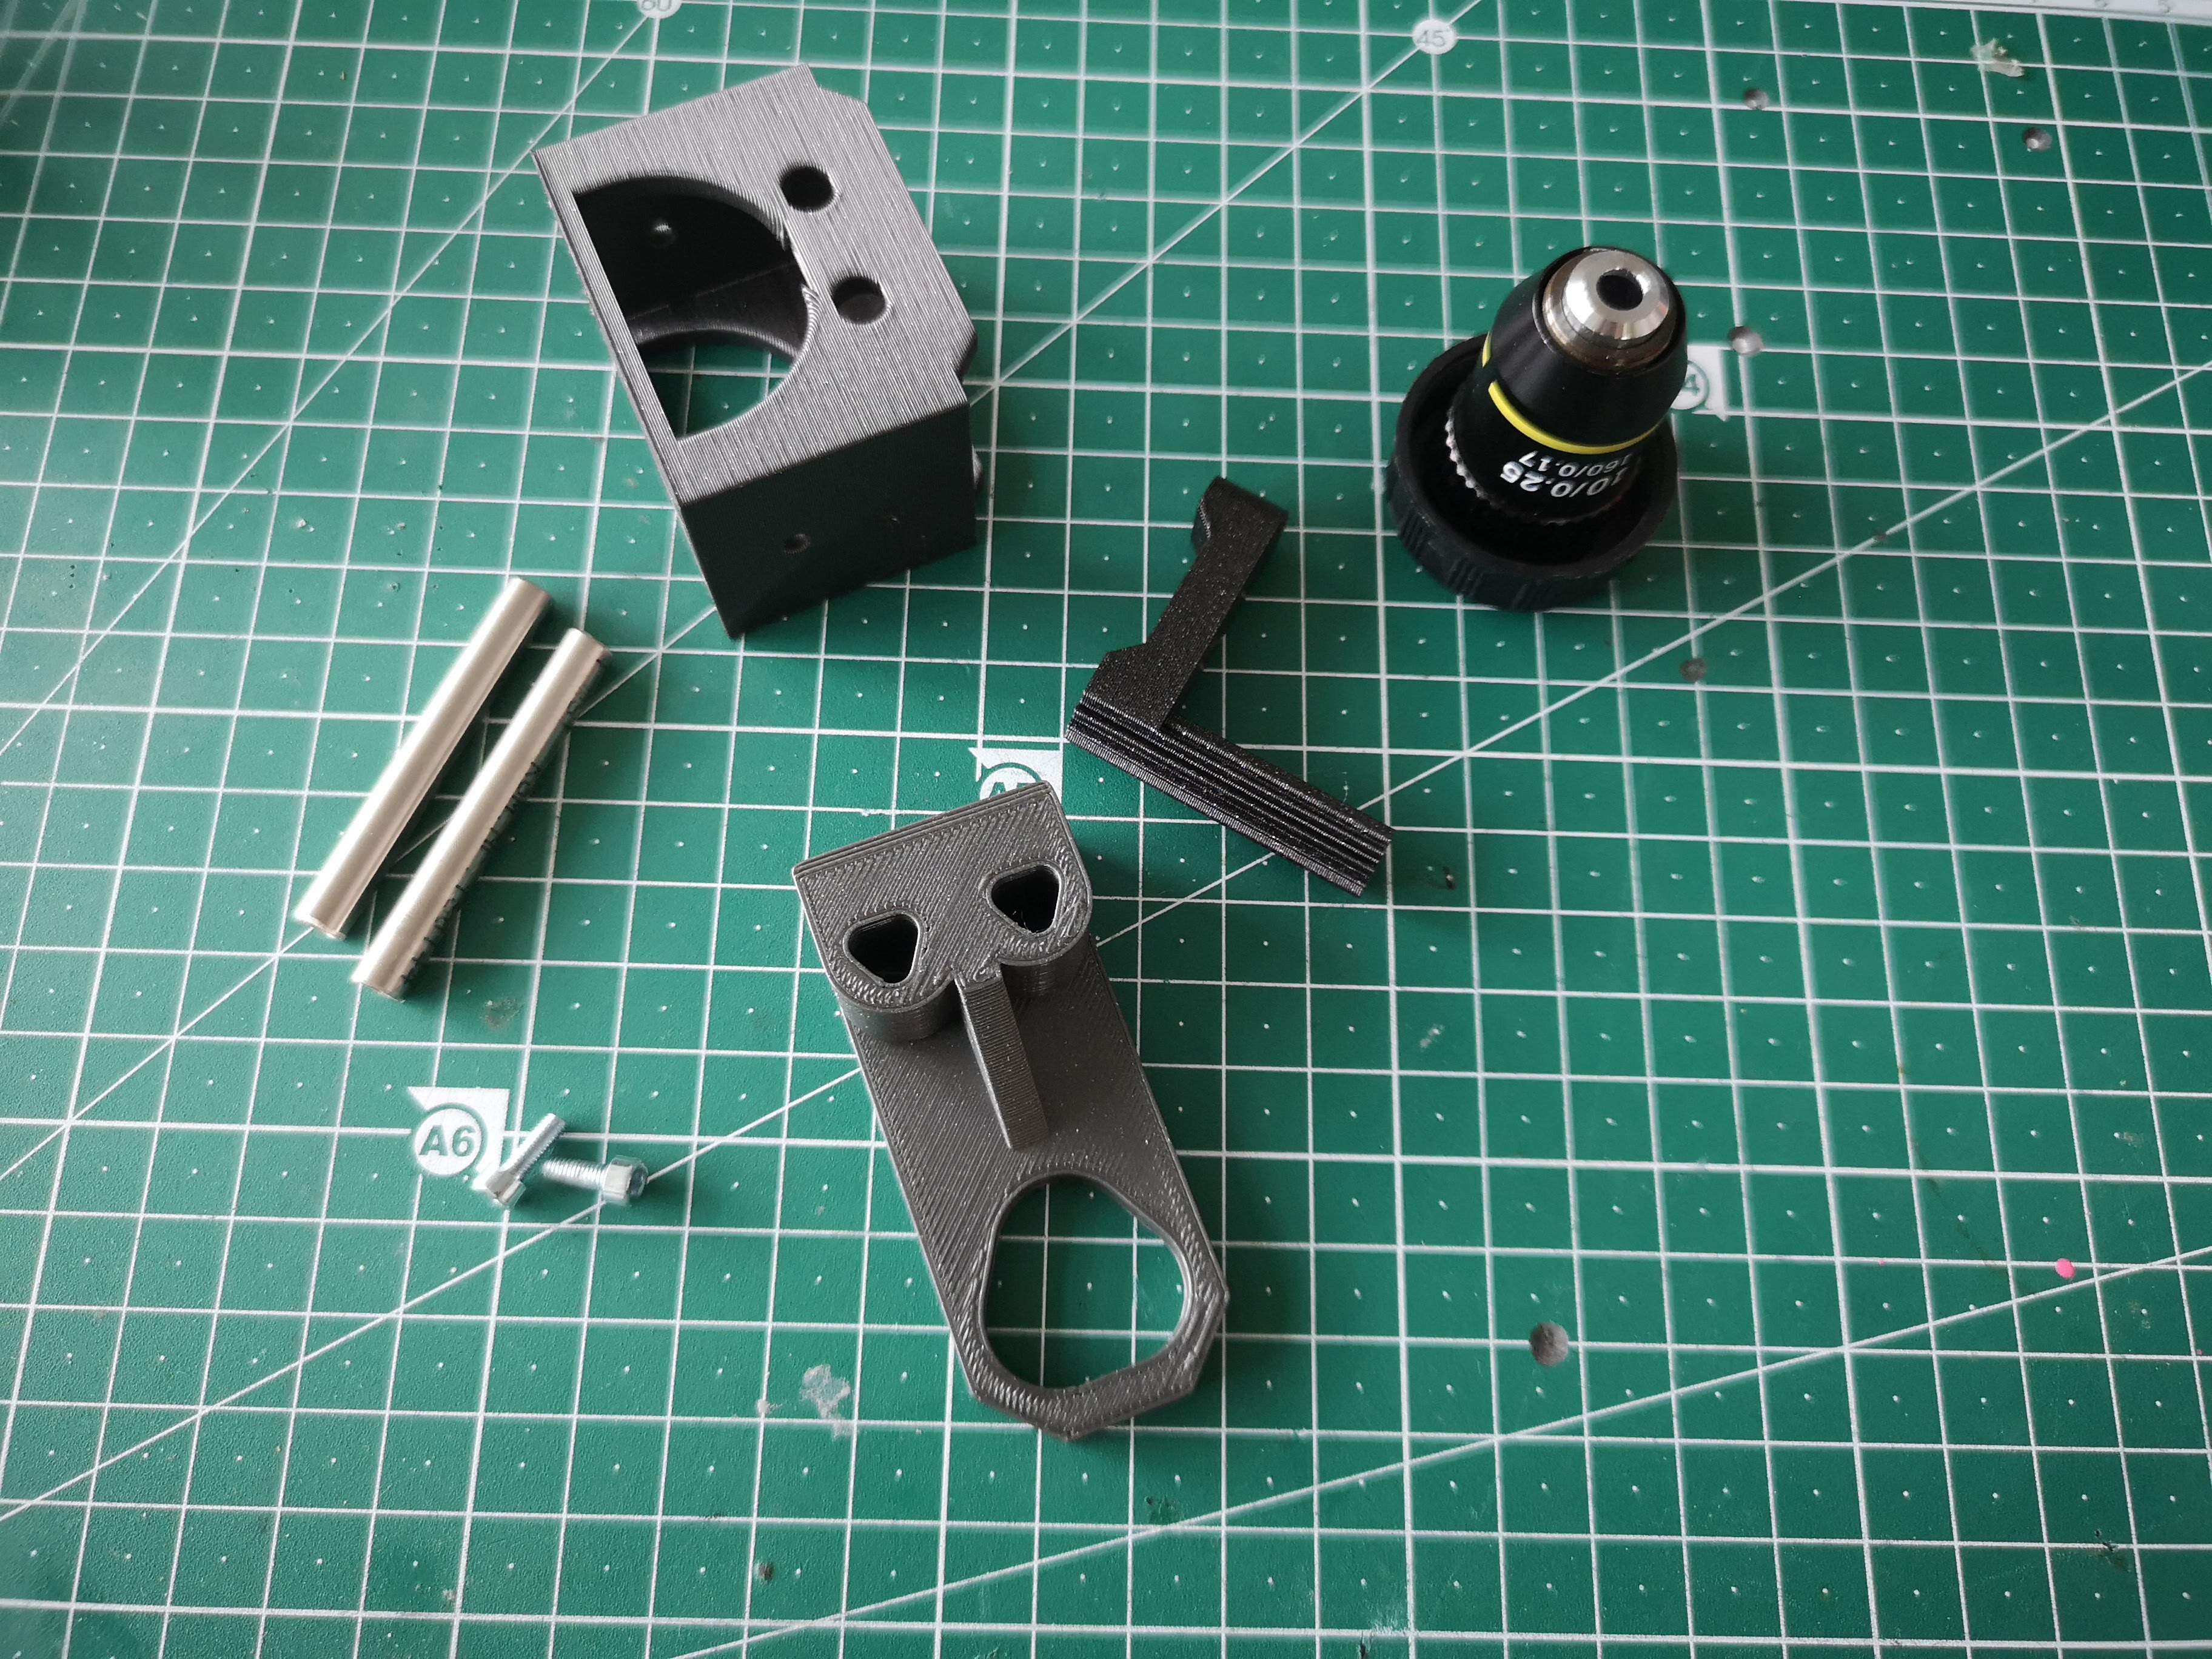
Add 5mm rods to base (tricky part since the holes are just large enough to hold the rods, be careful not to destroy the base)
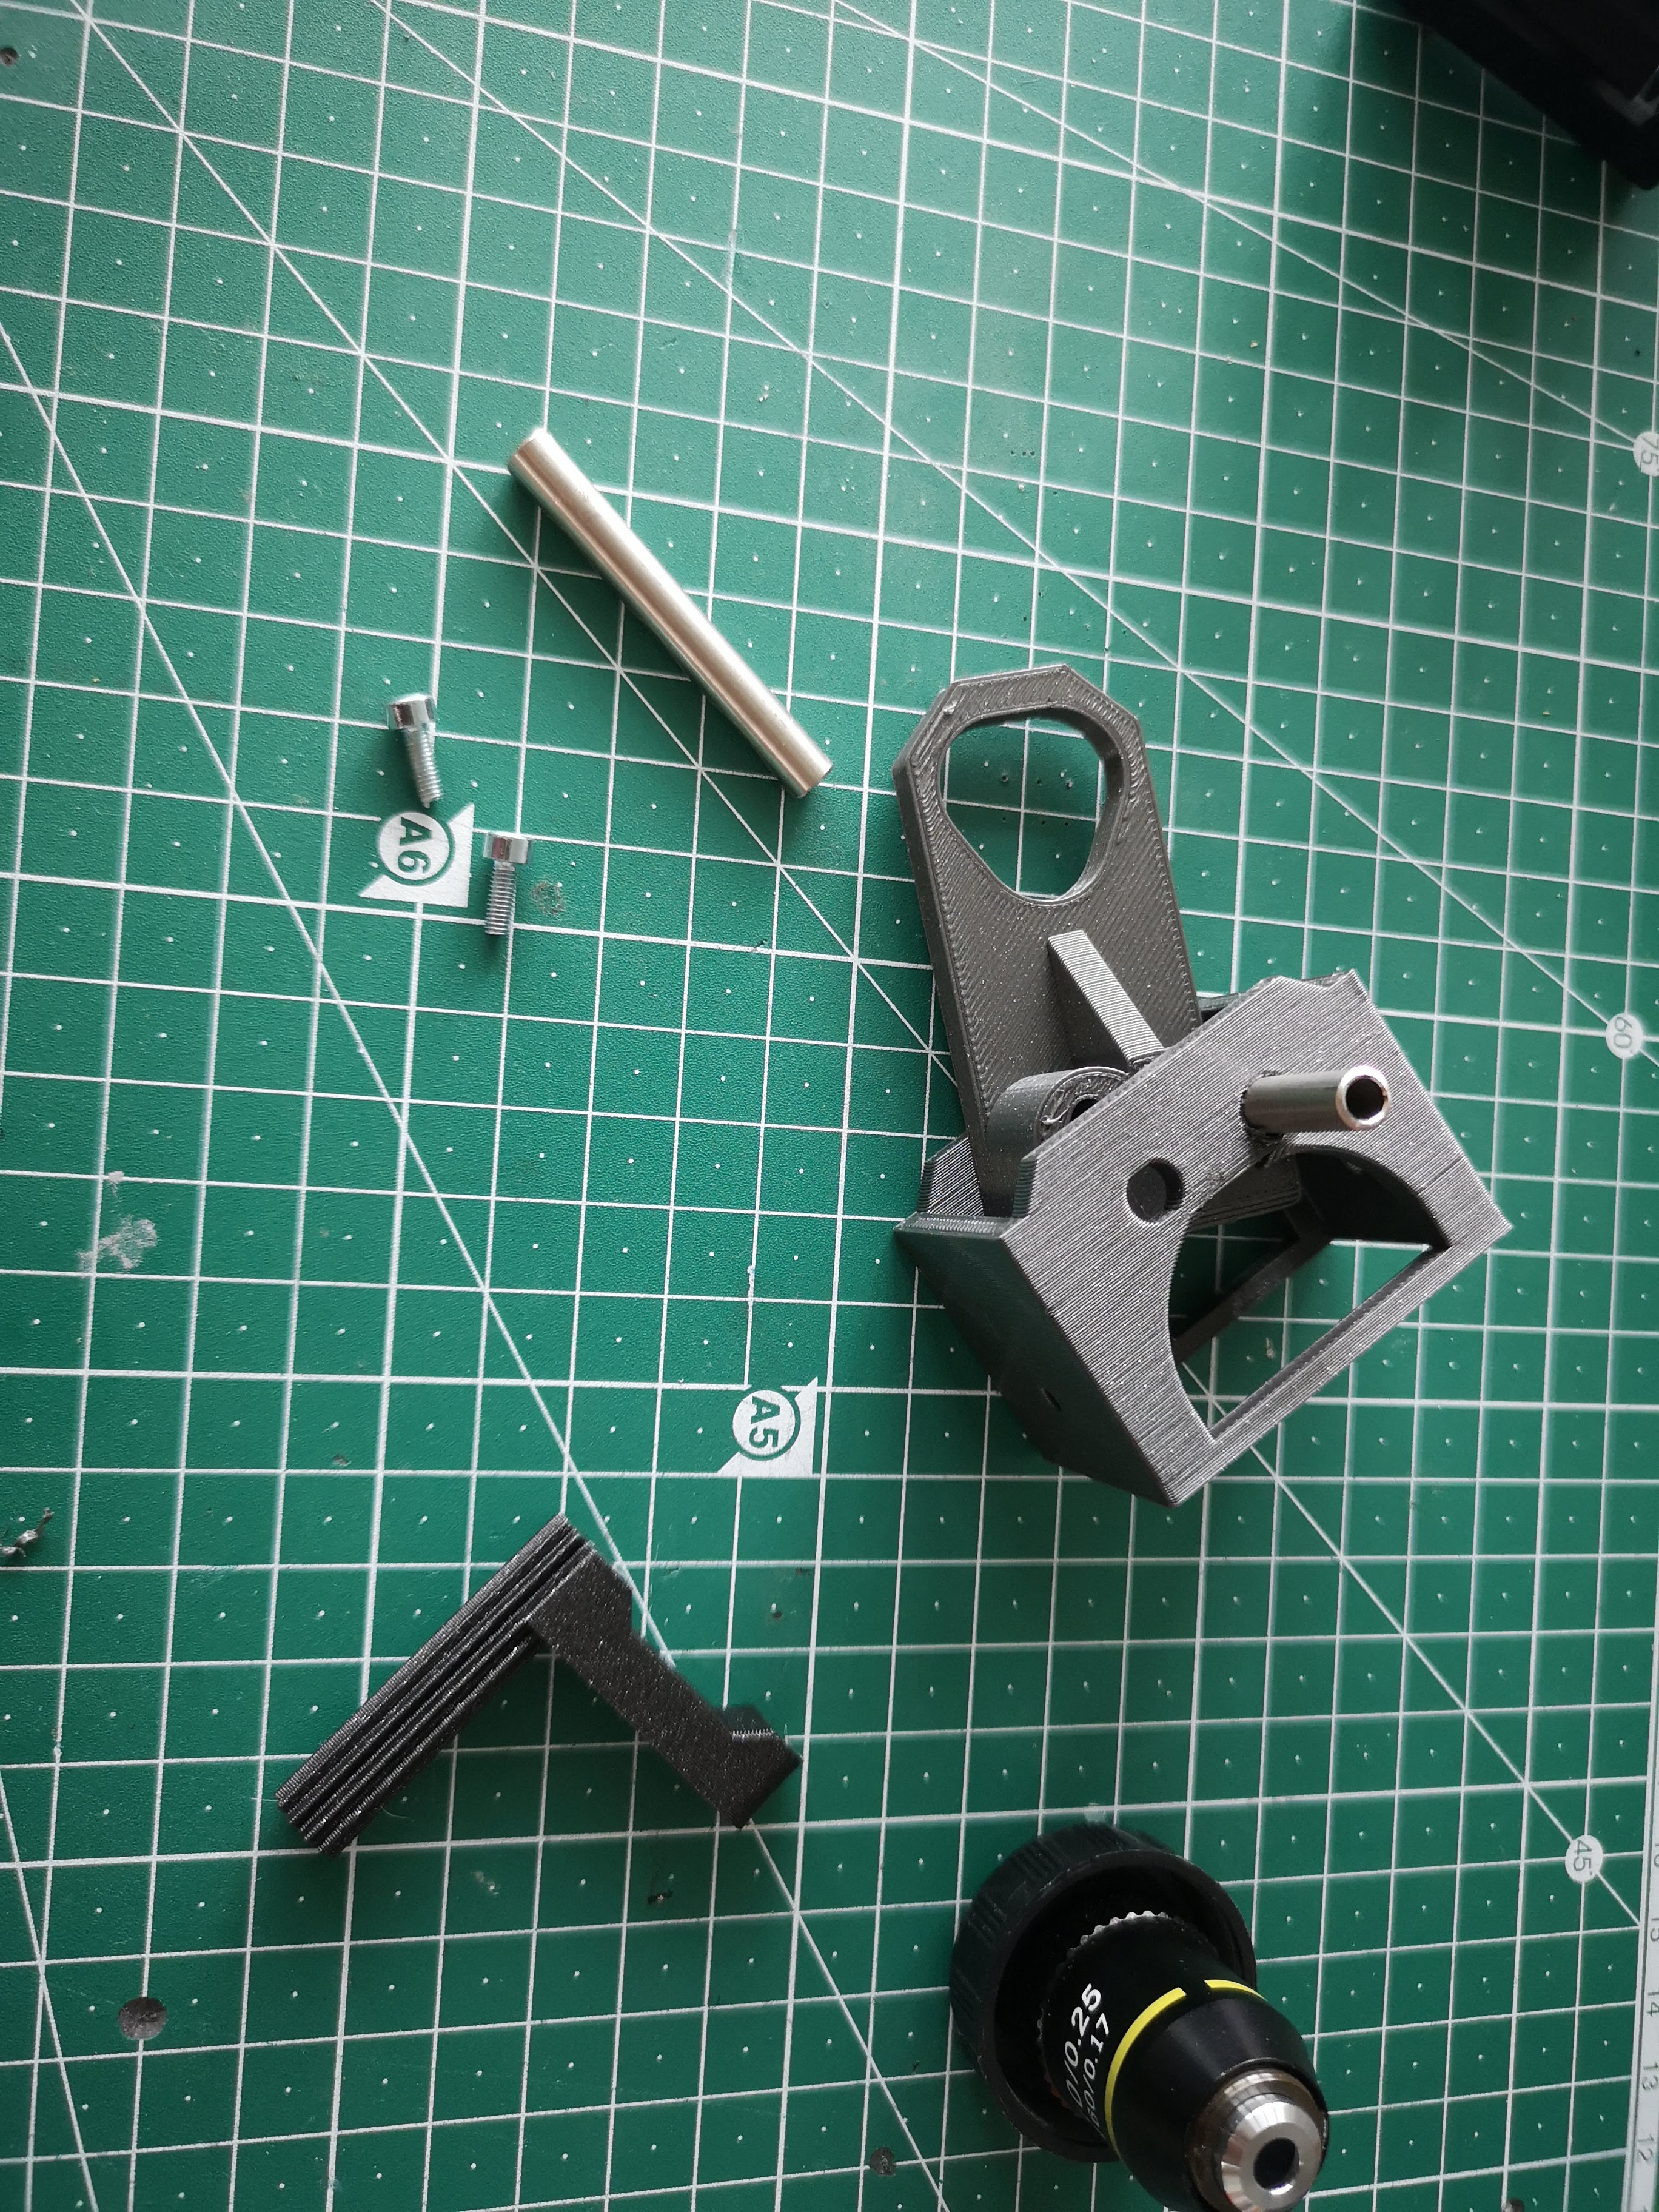
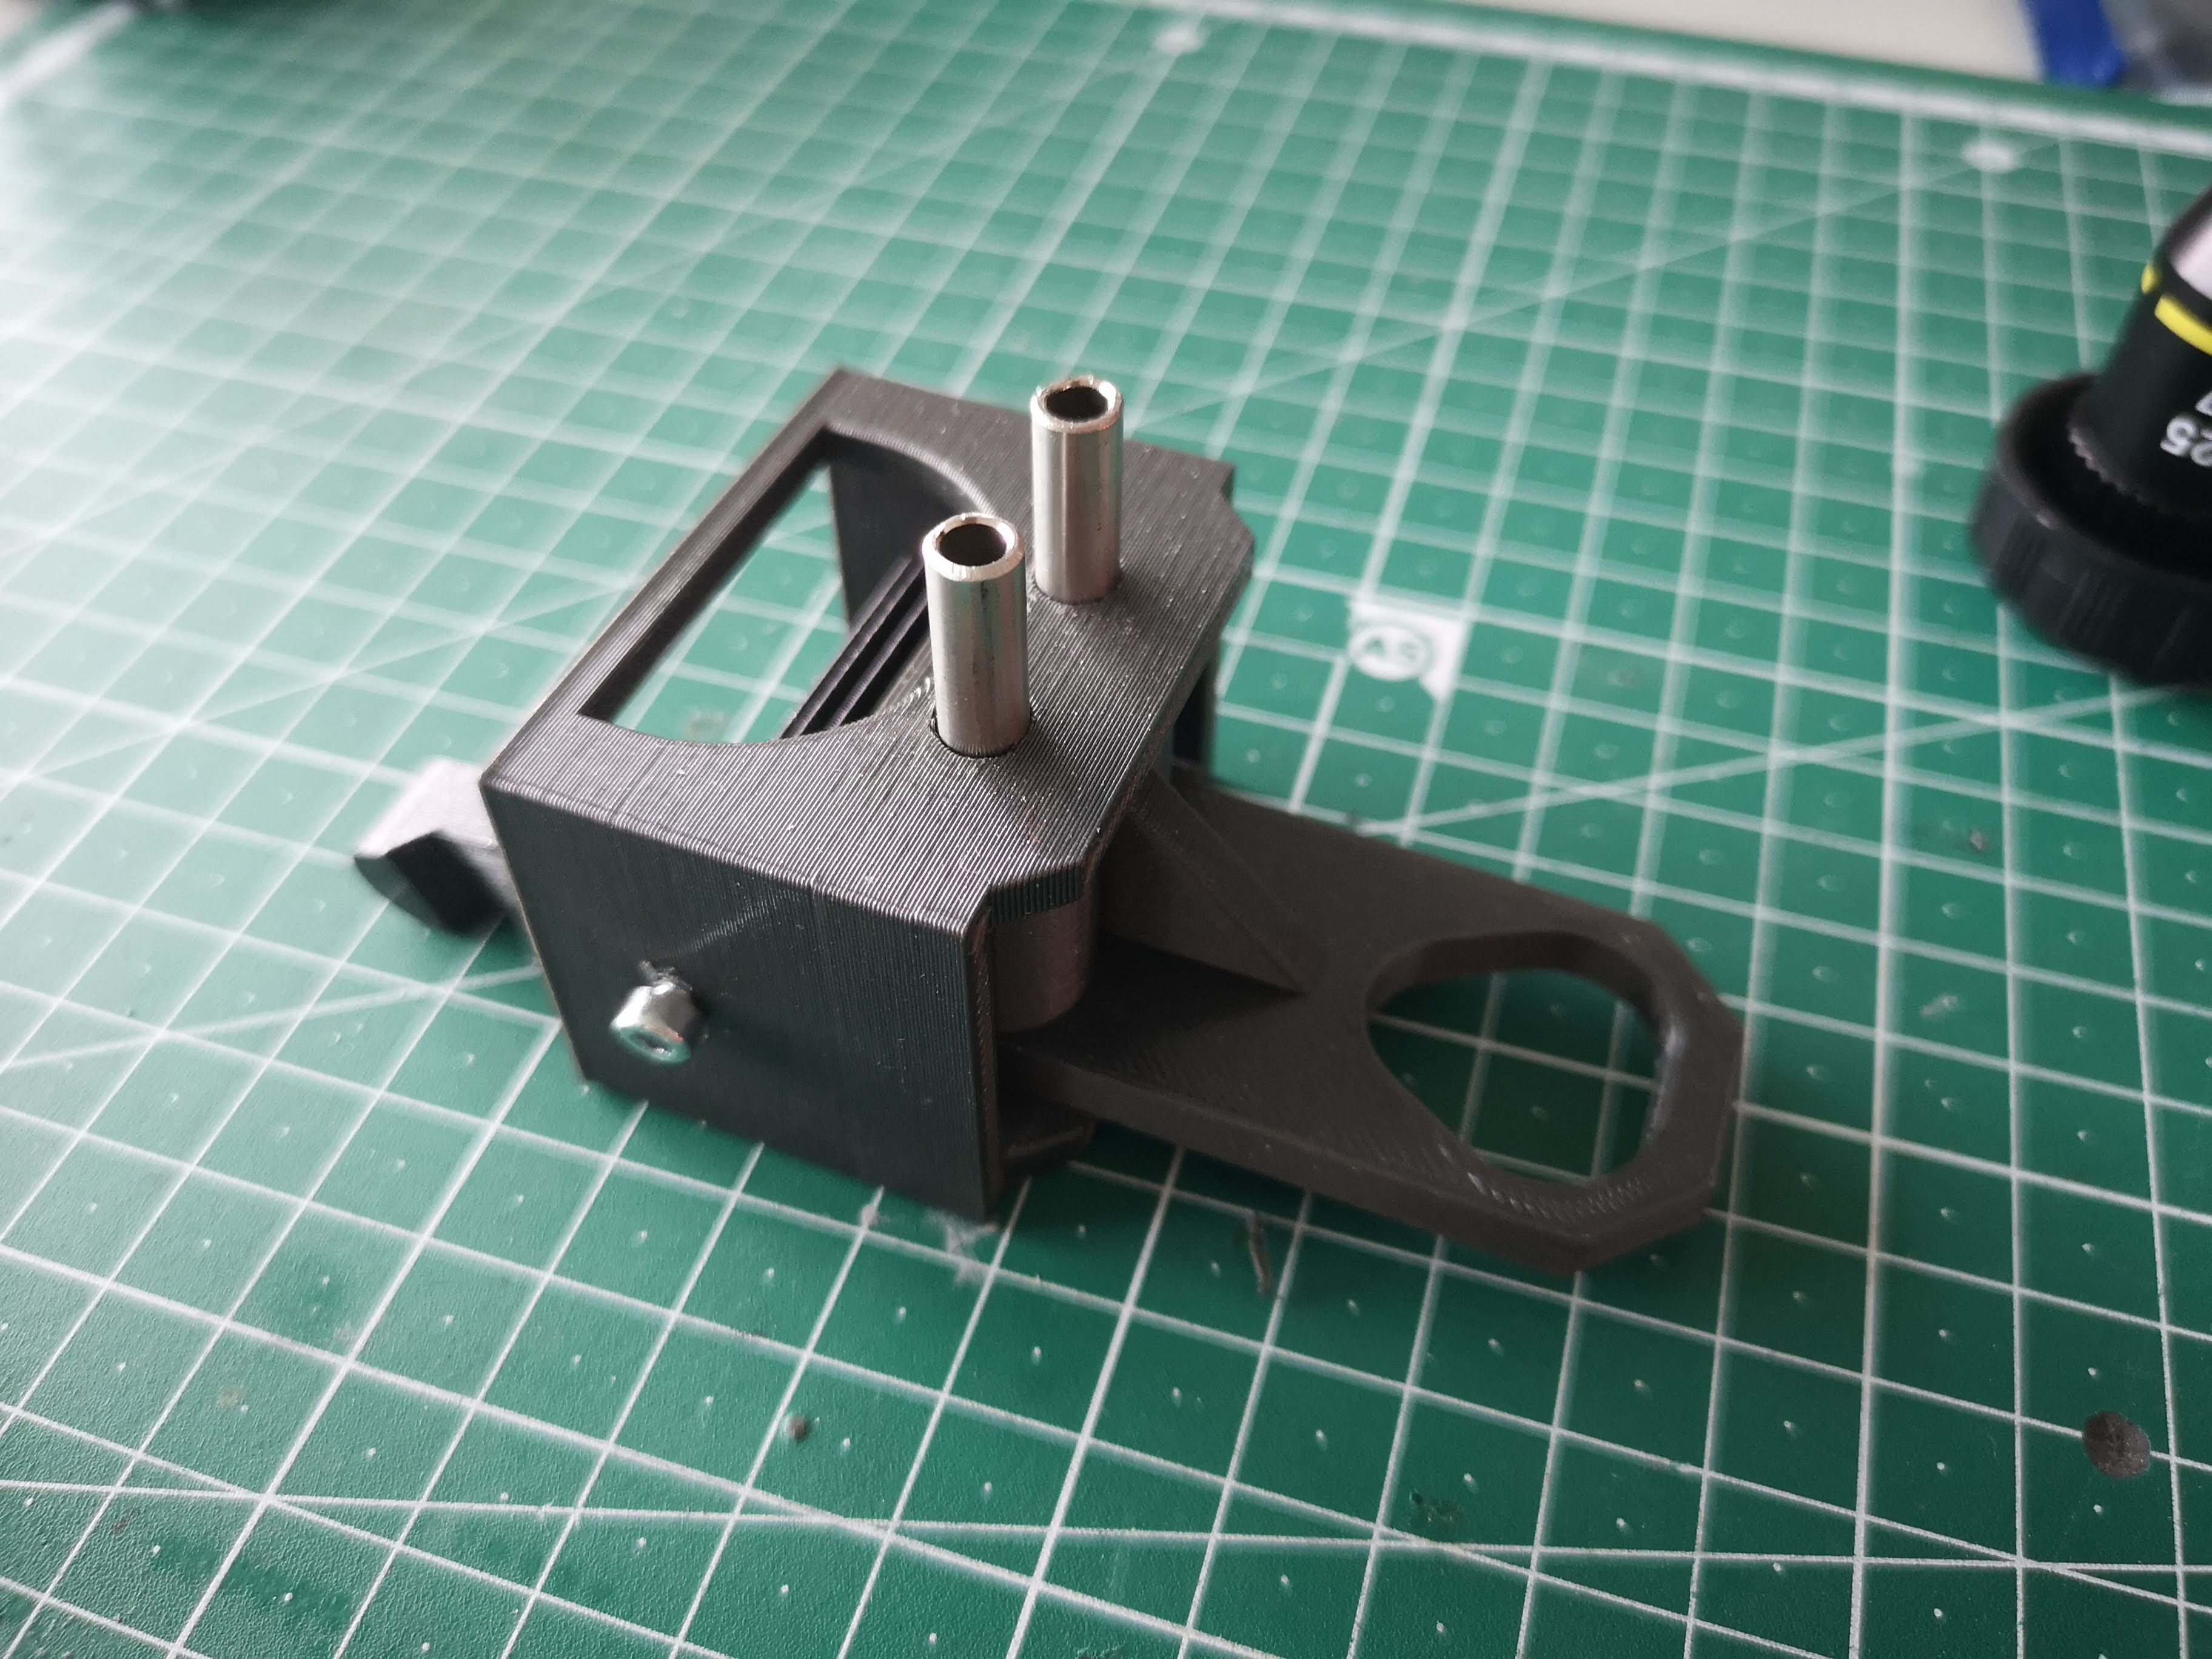
Add slide and second rod and close base
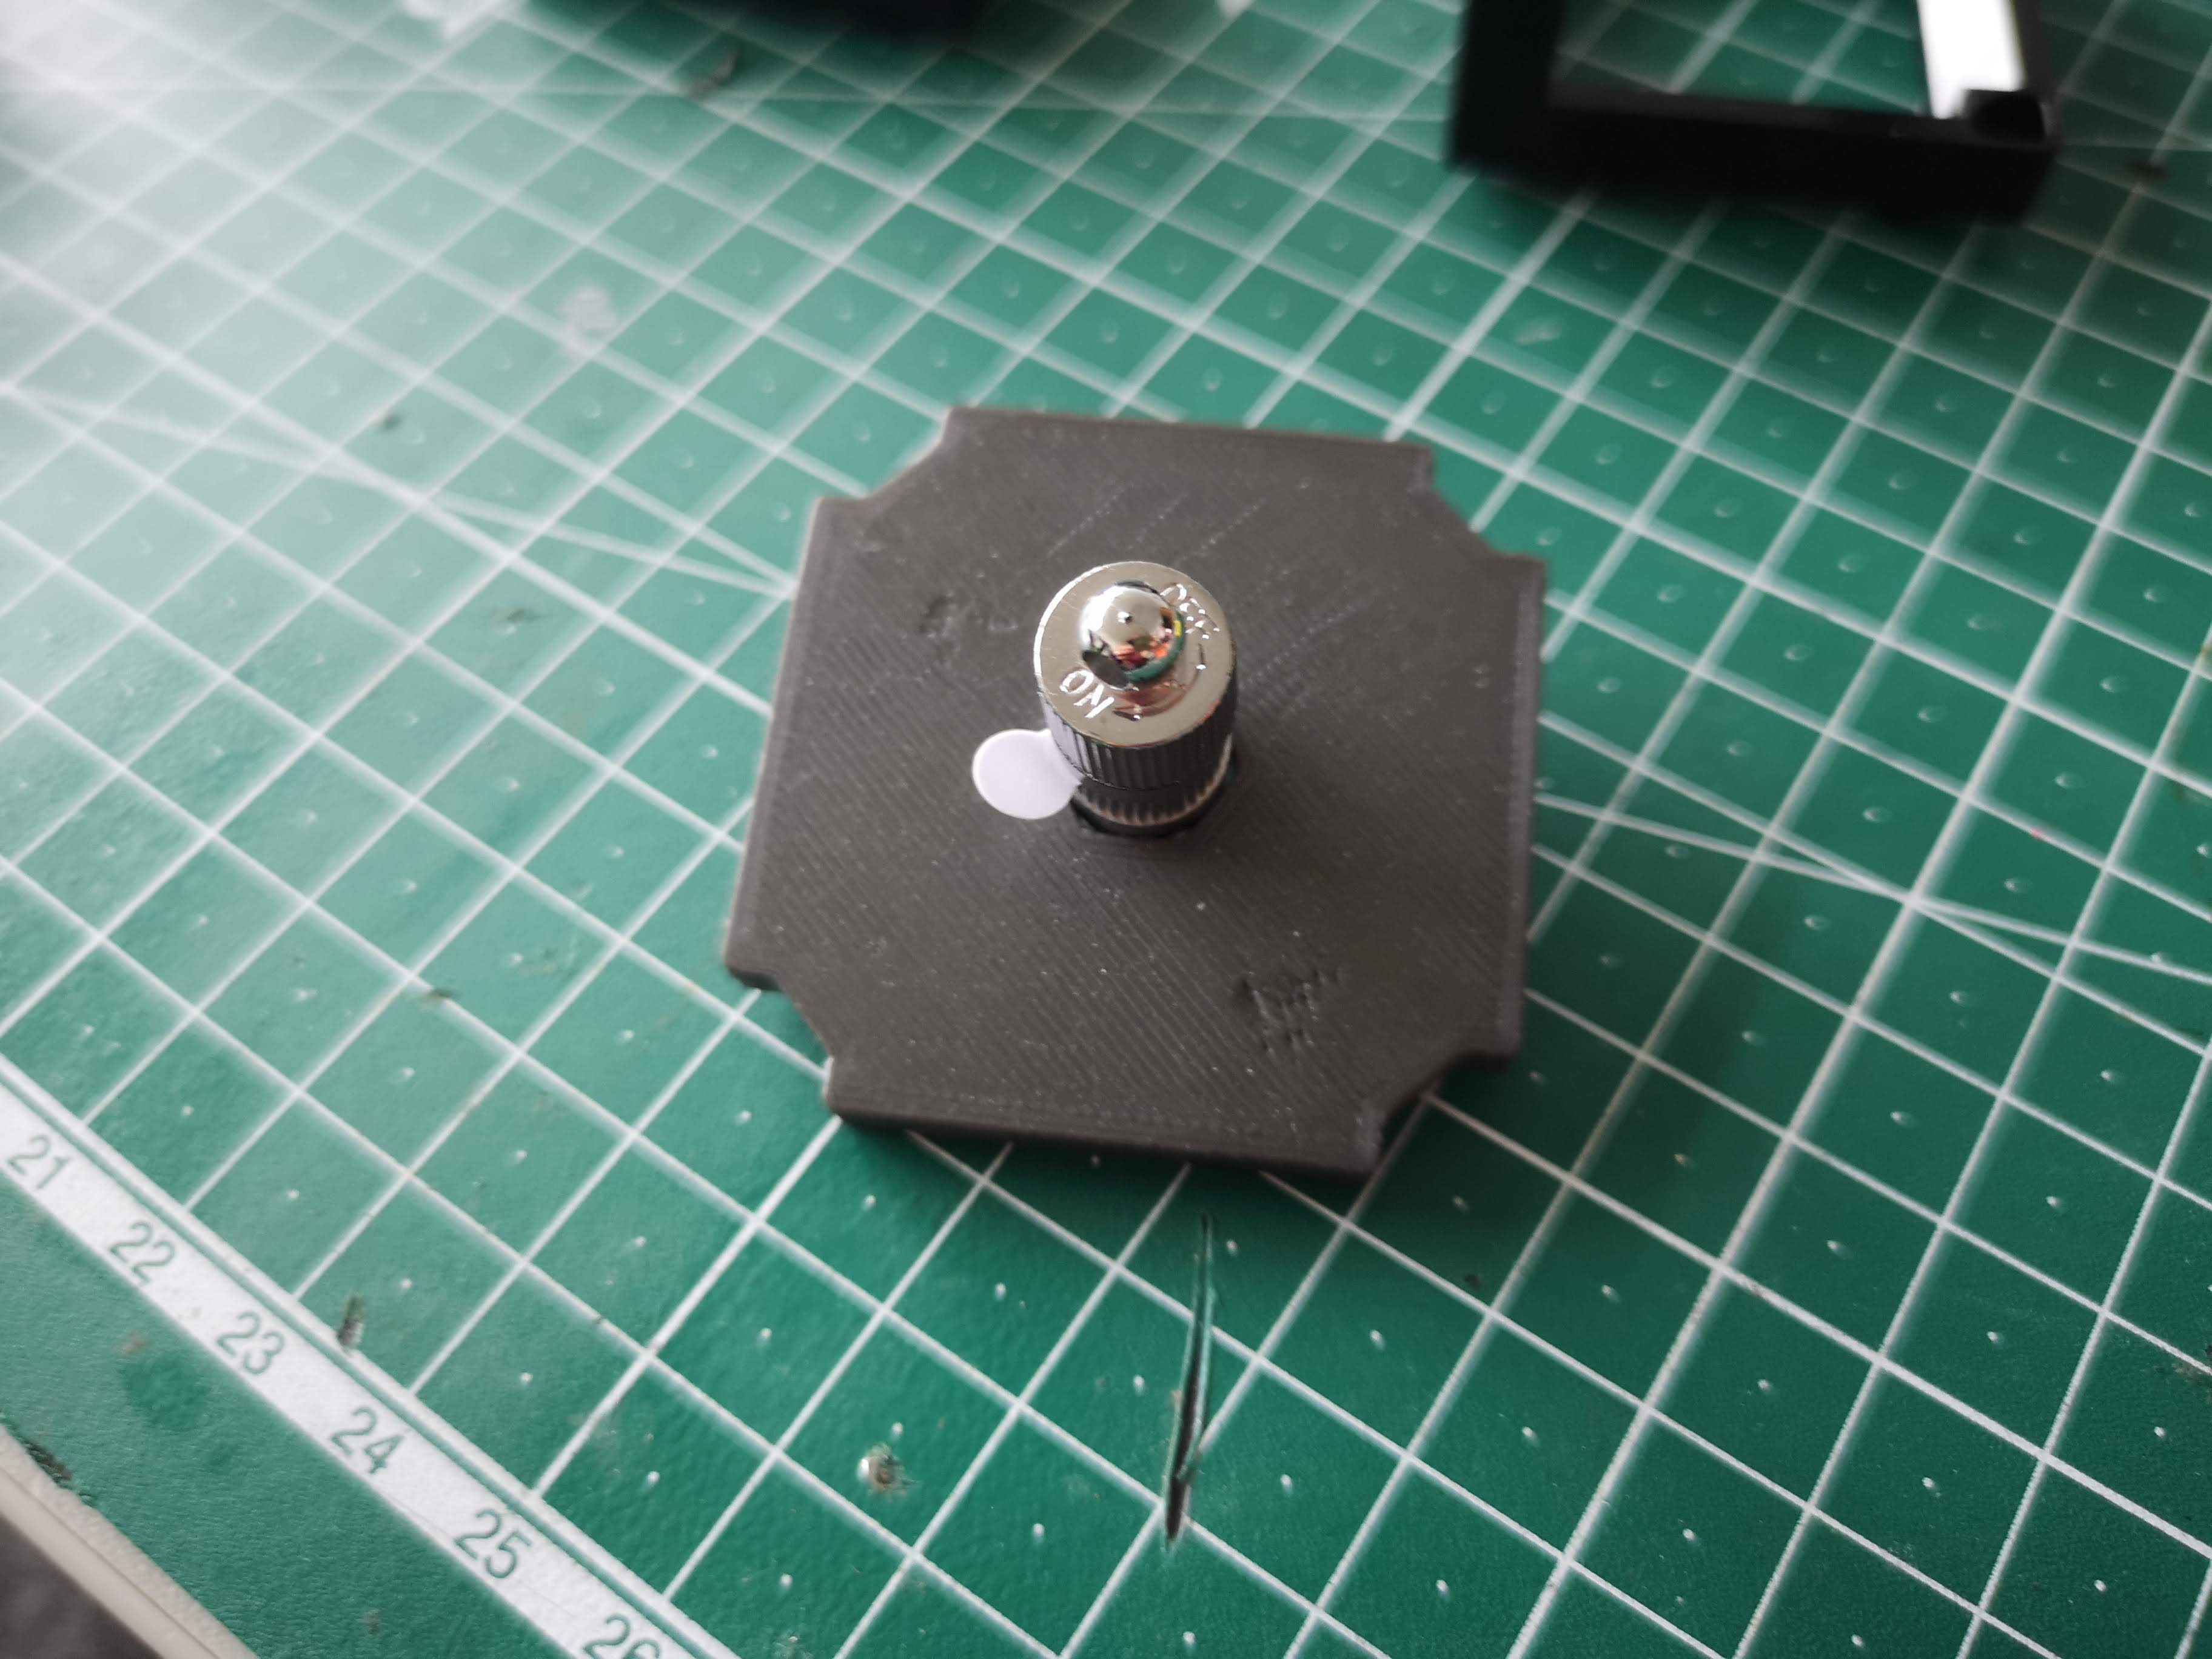
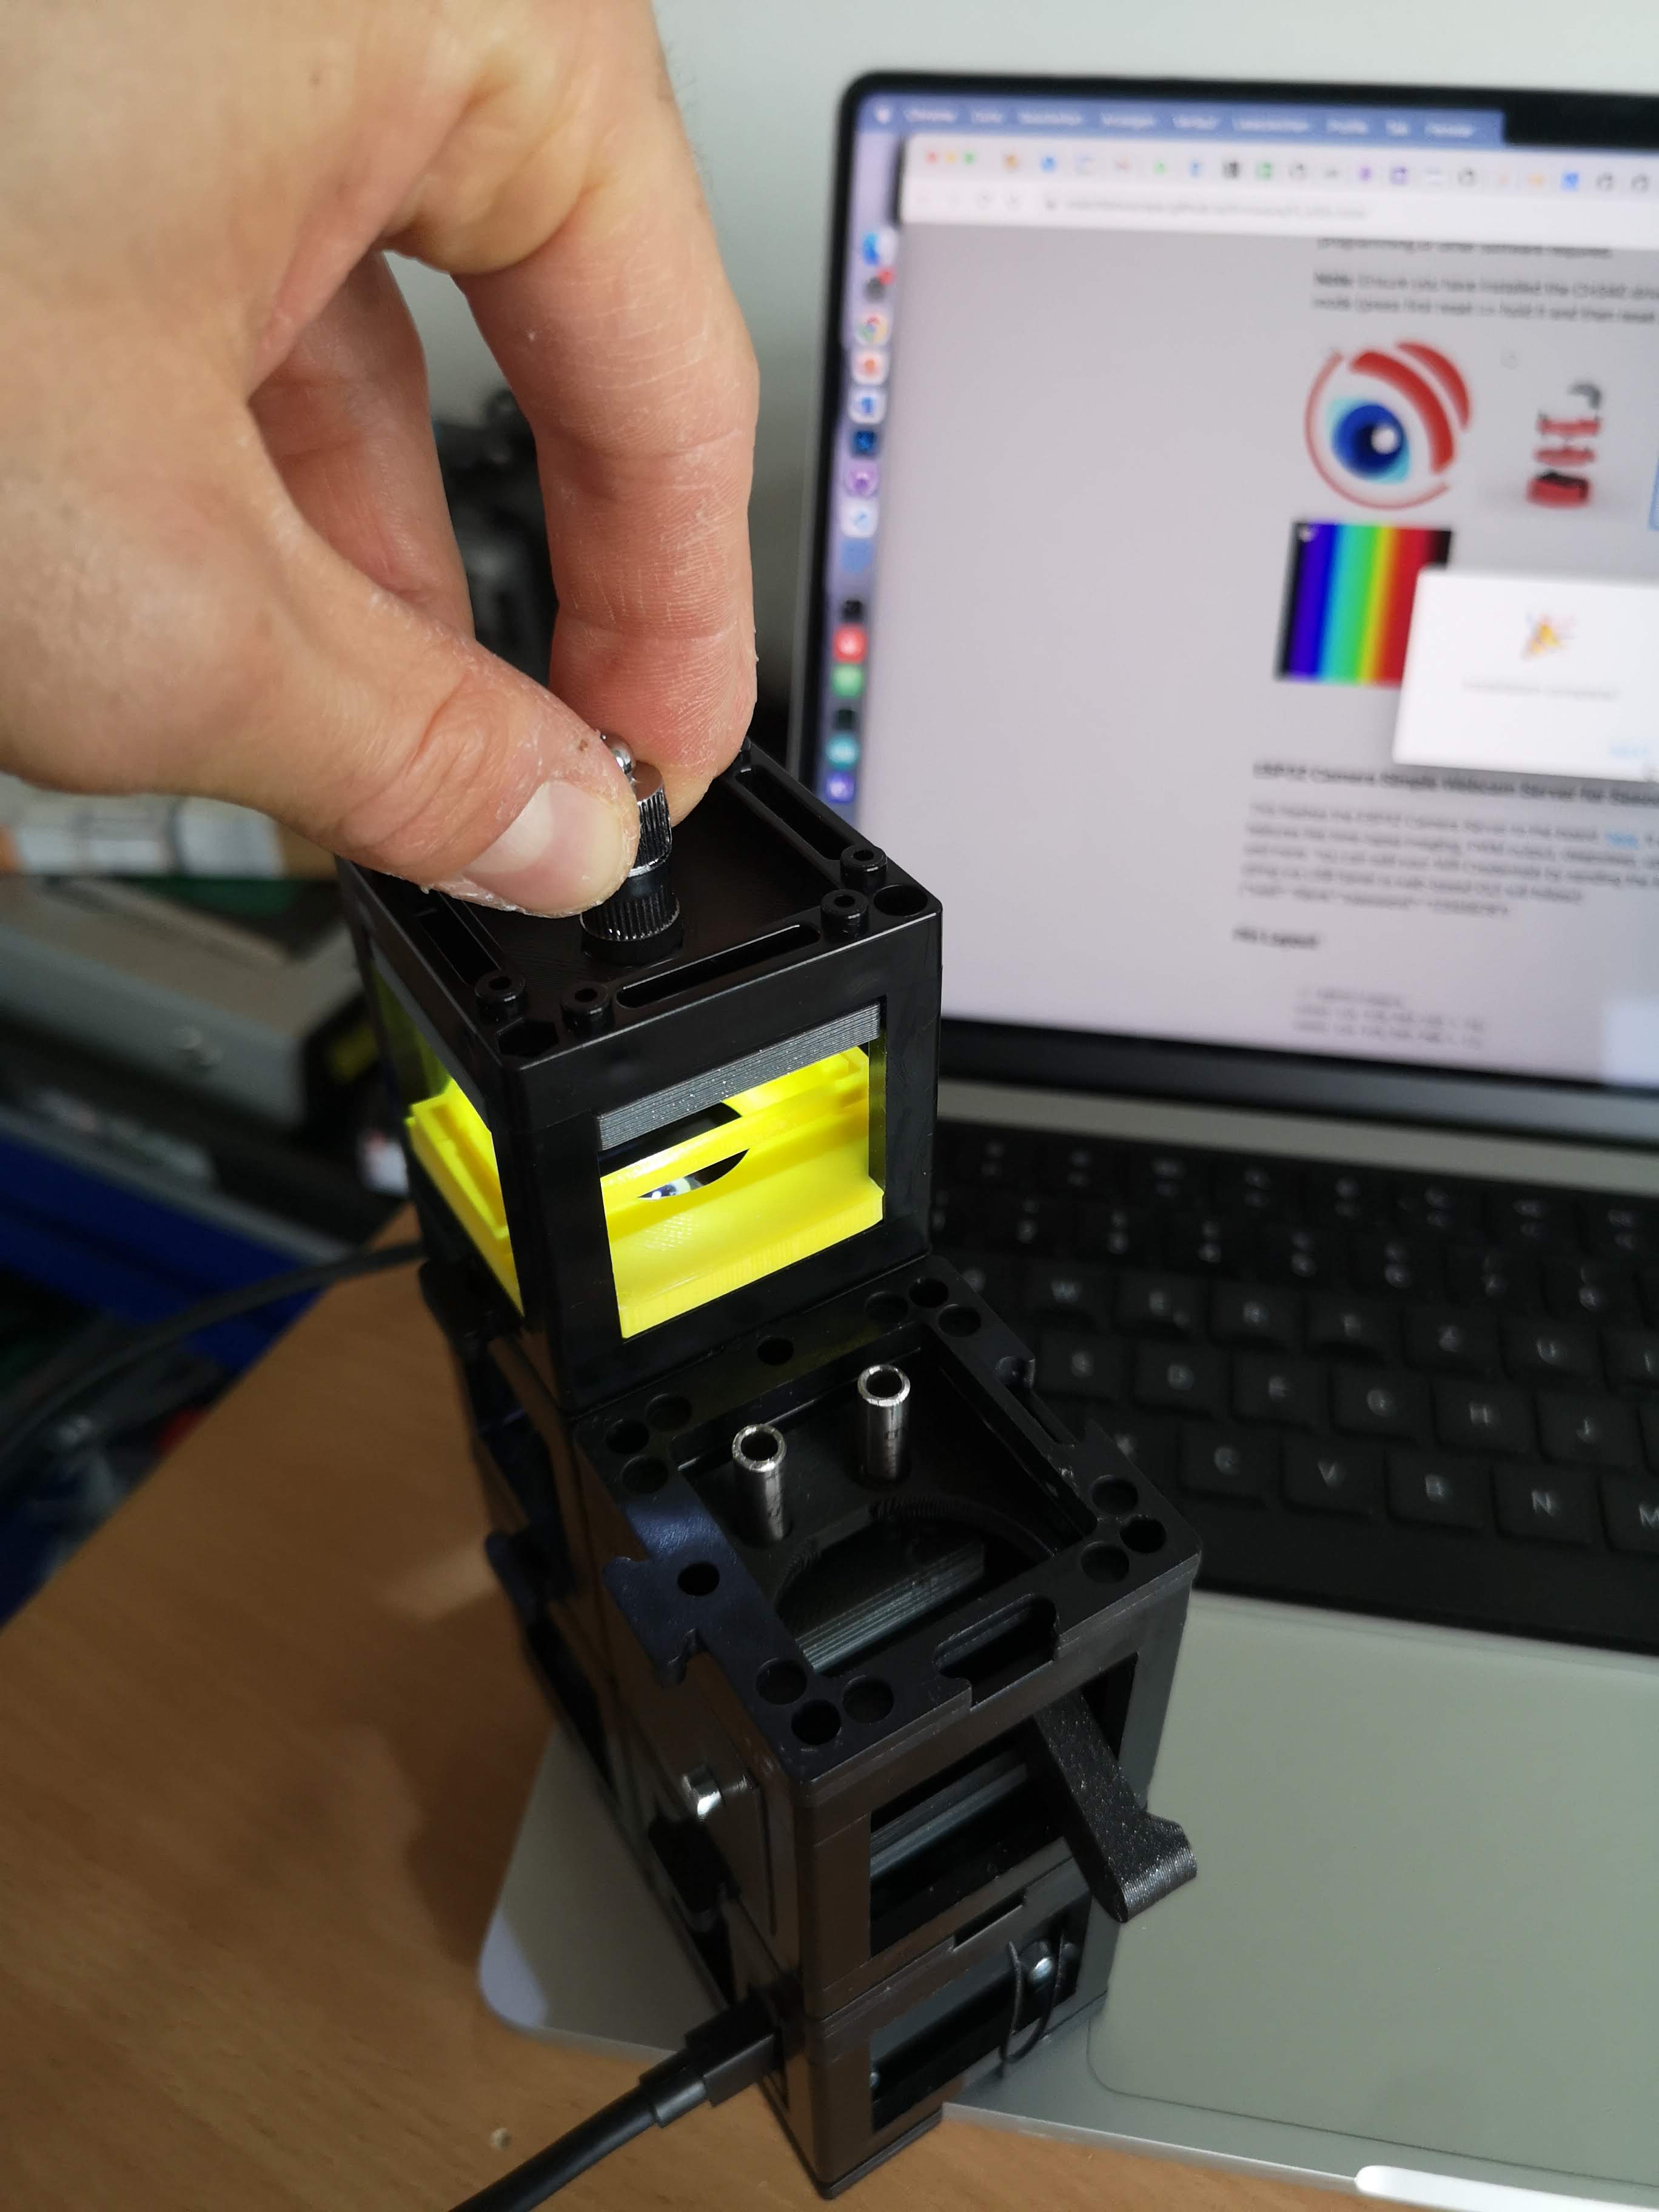
Add knob with one screw
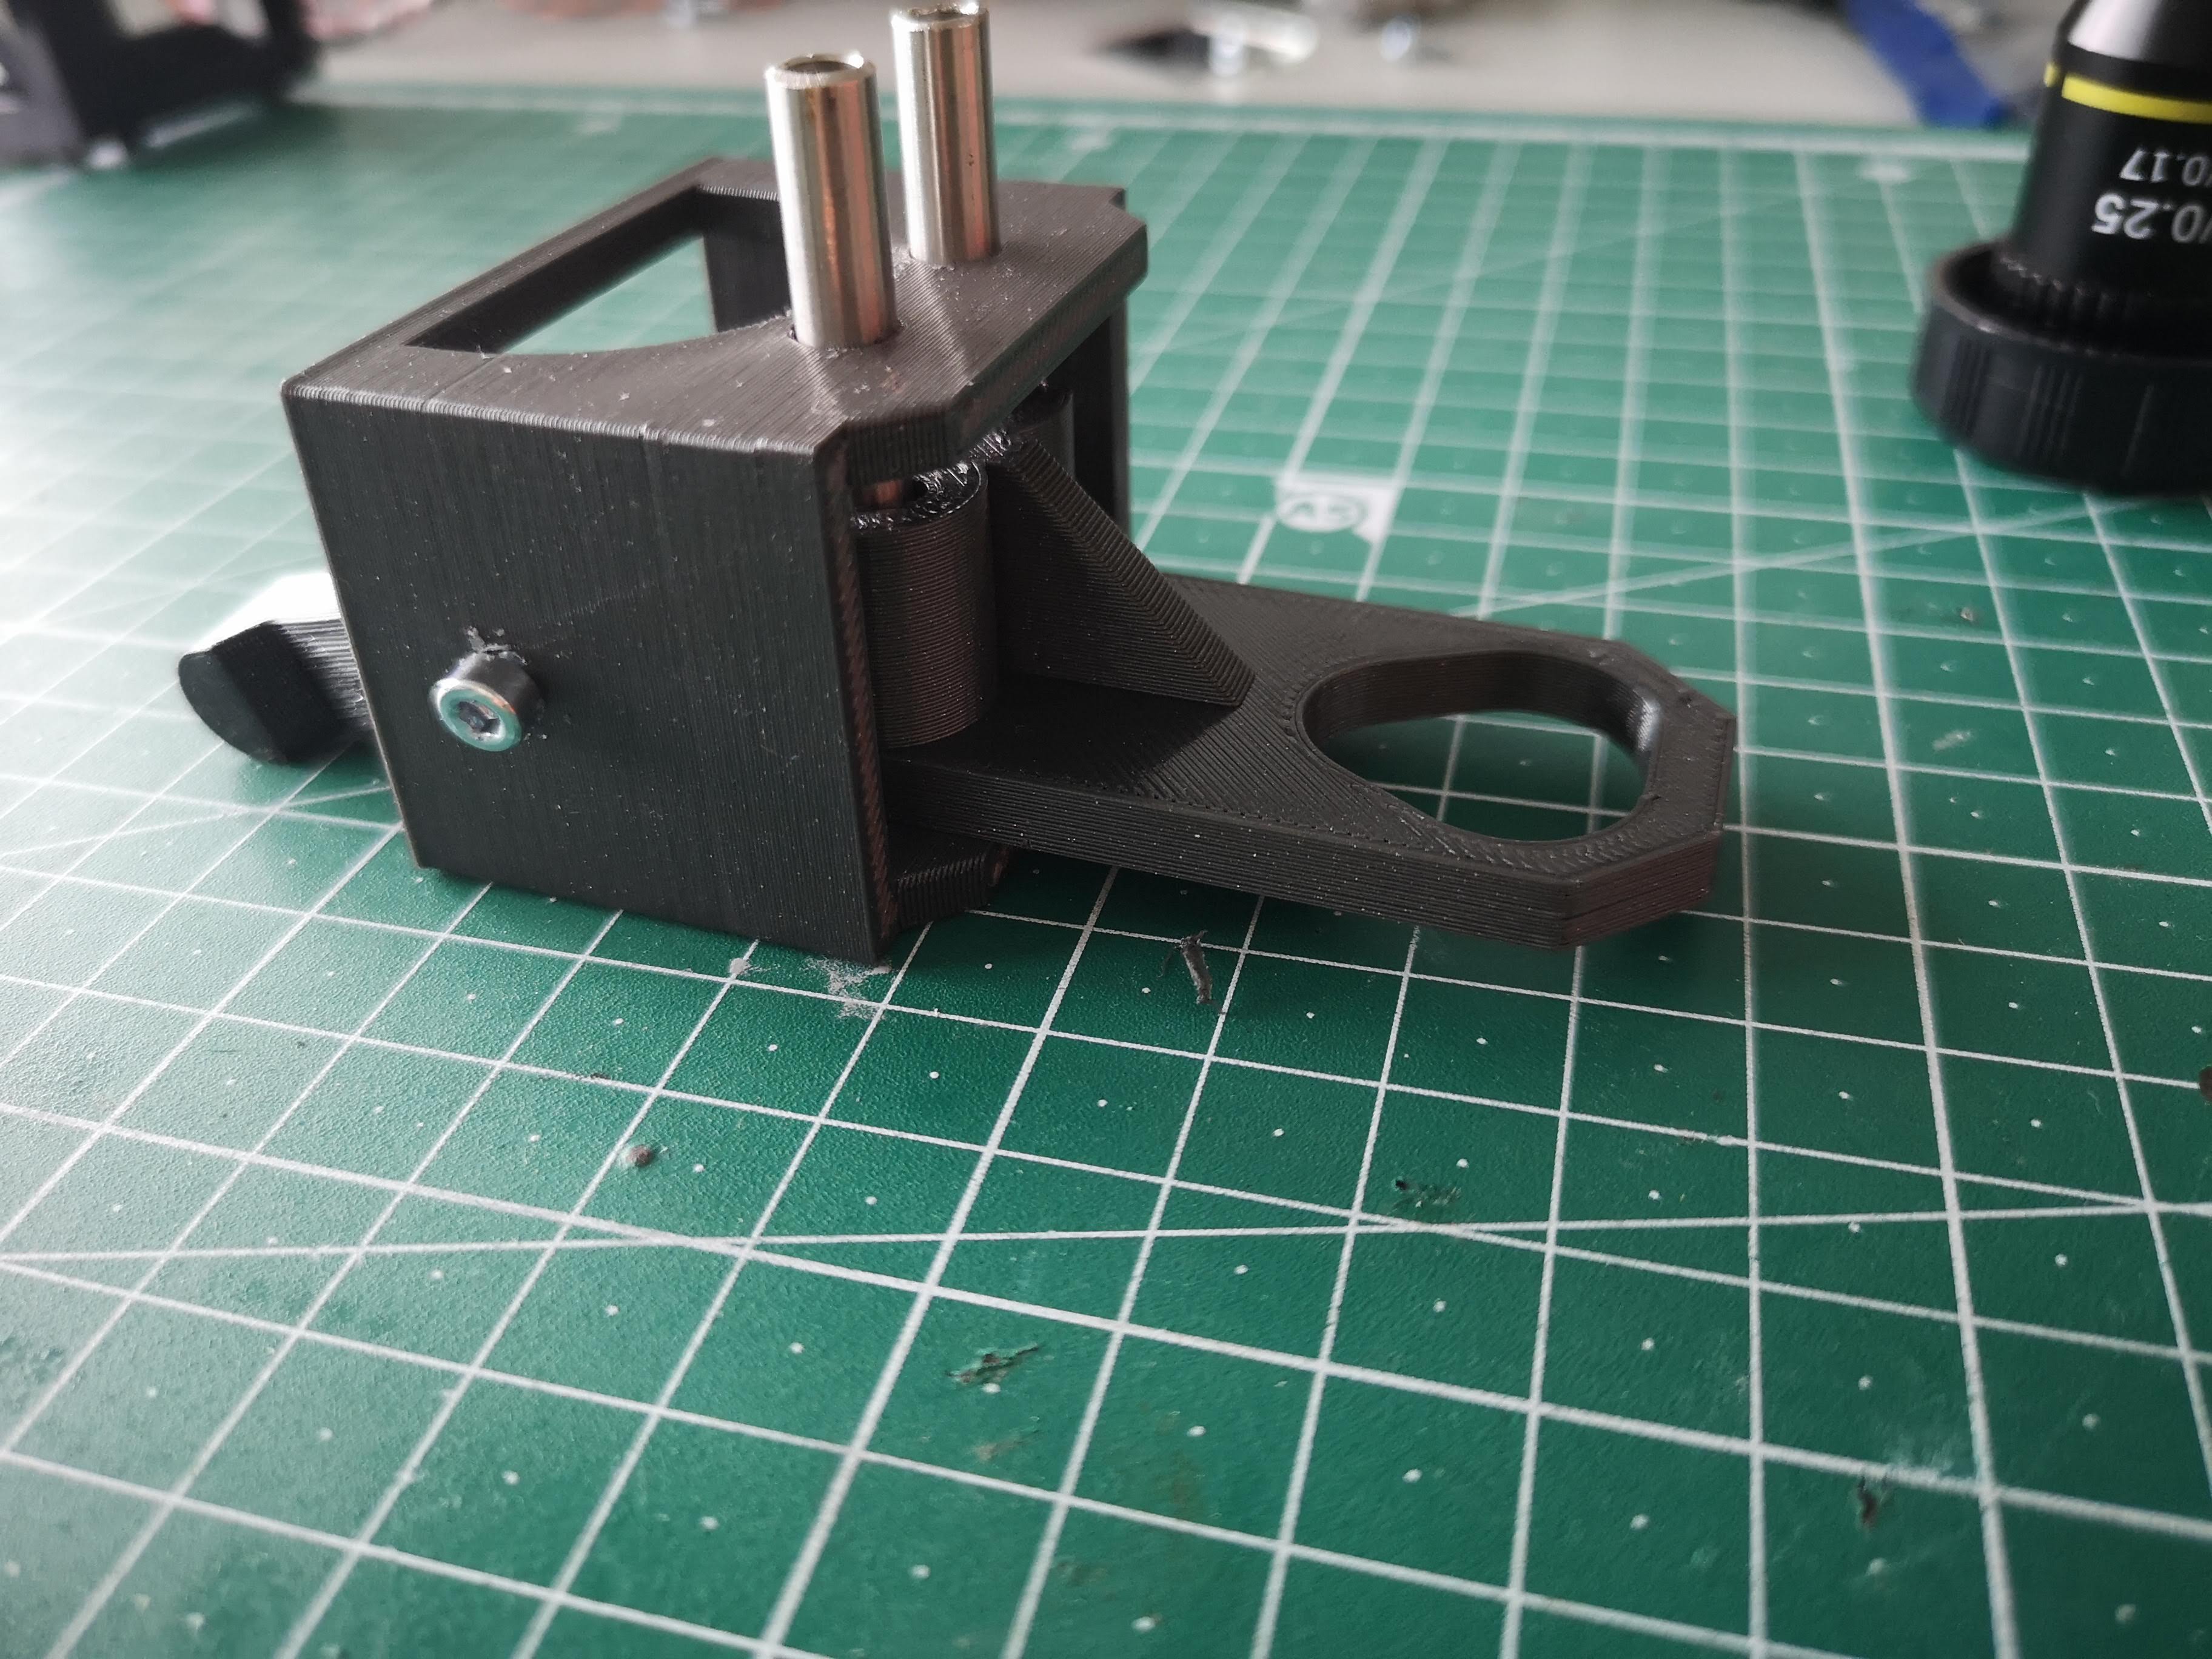
When adding second screw make sure you have slide and knob down so that you can move the slide along the z-axis freely
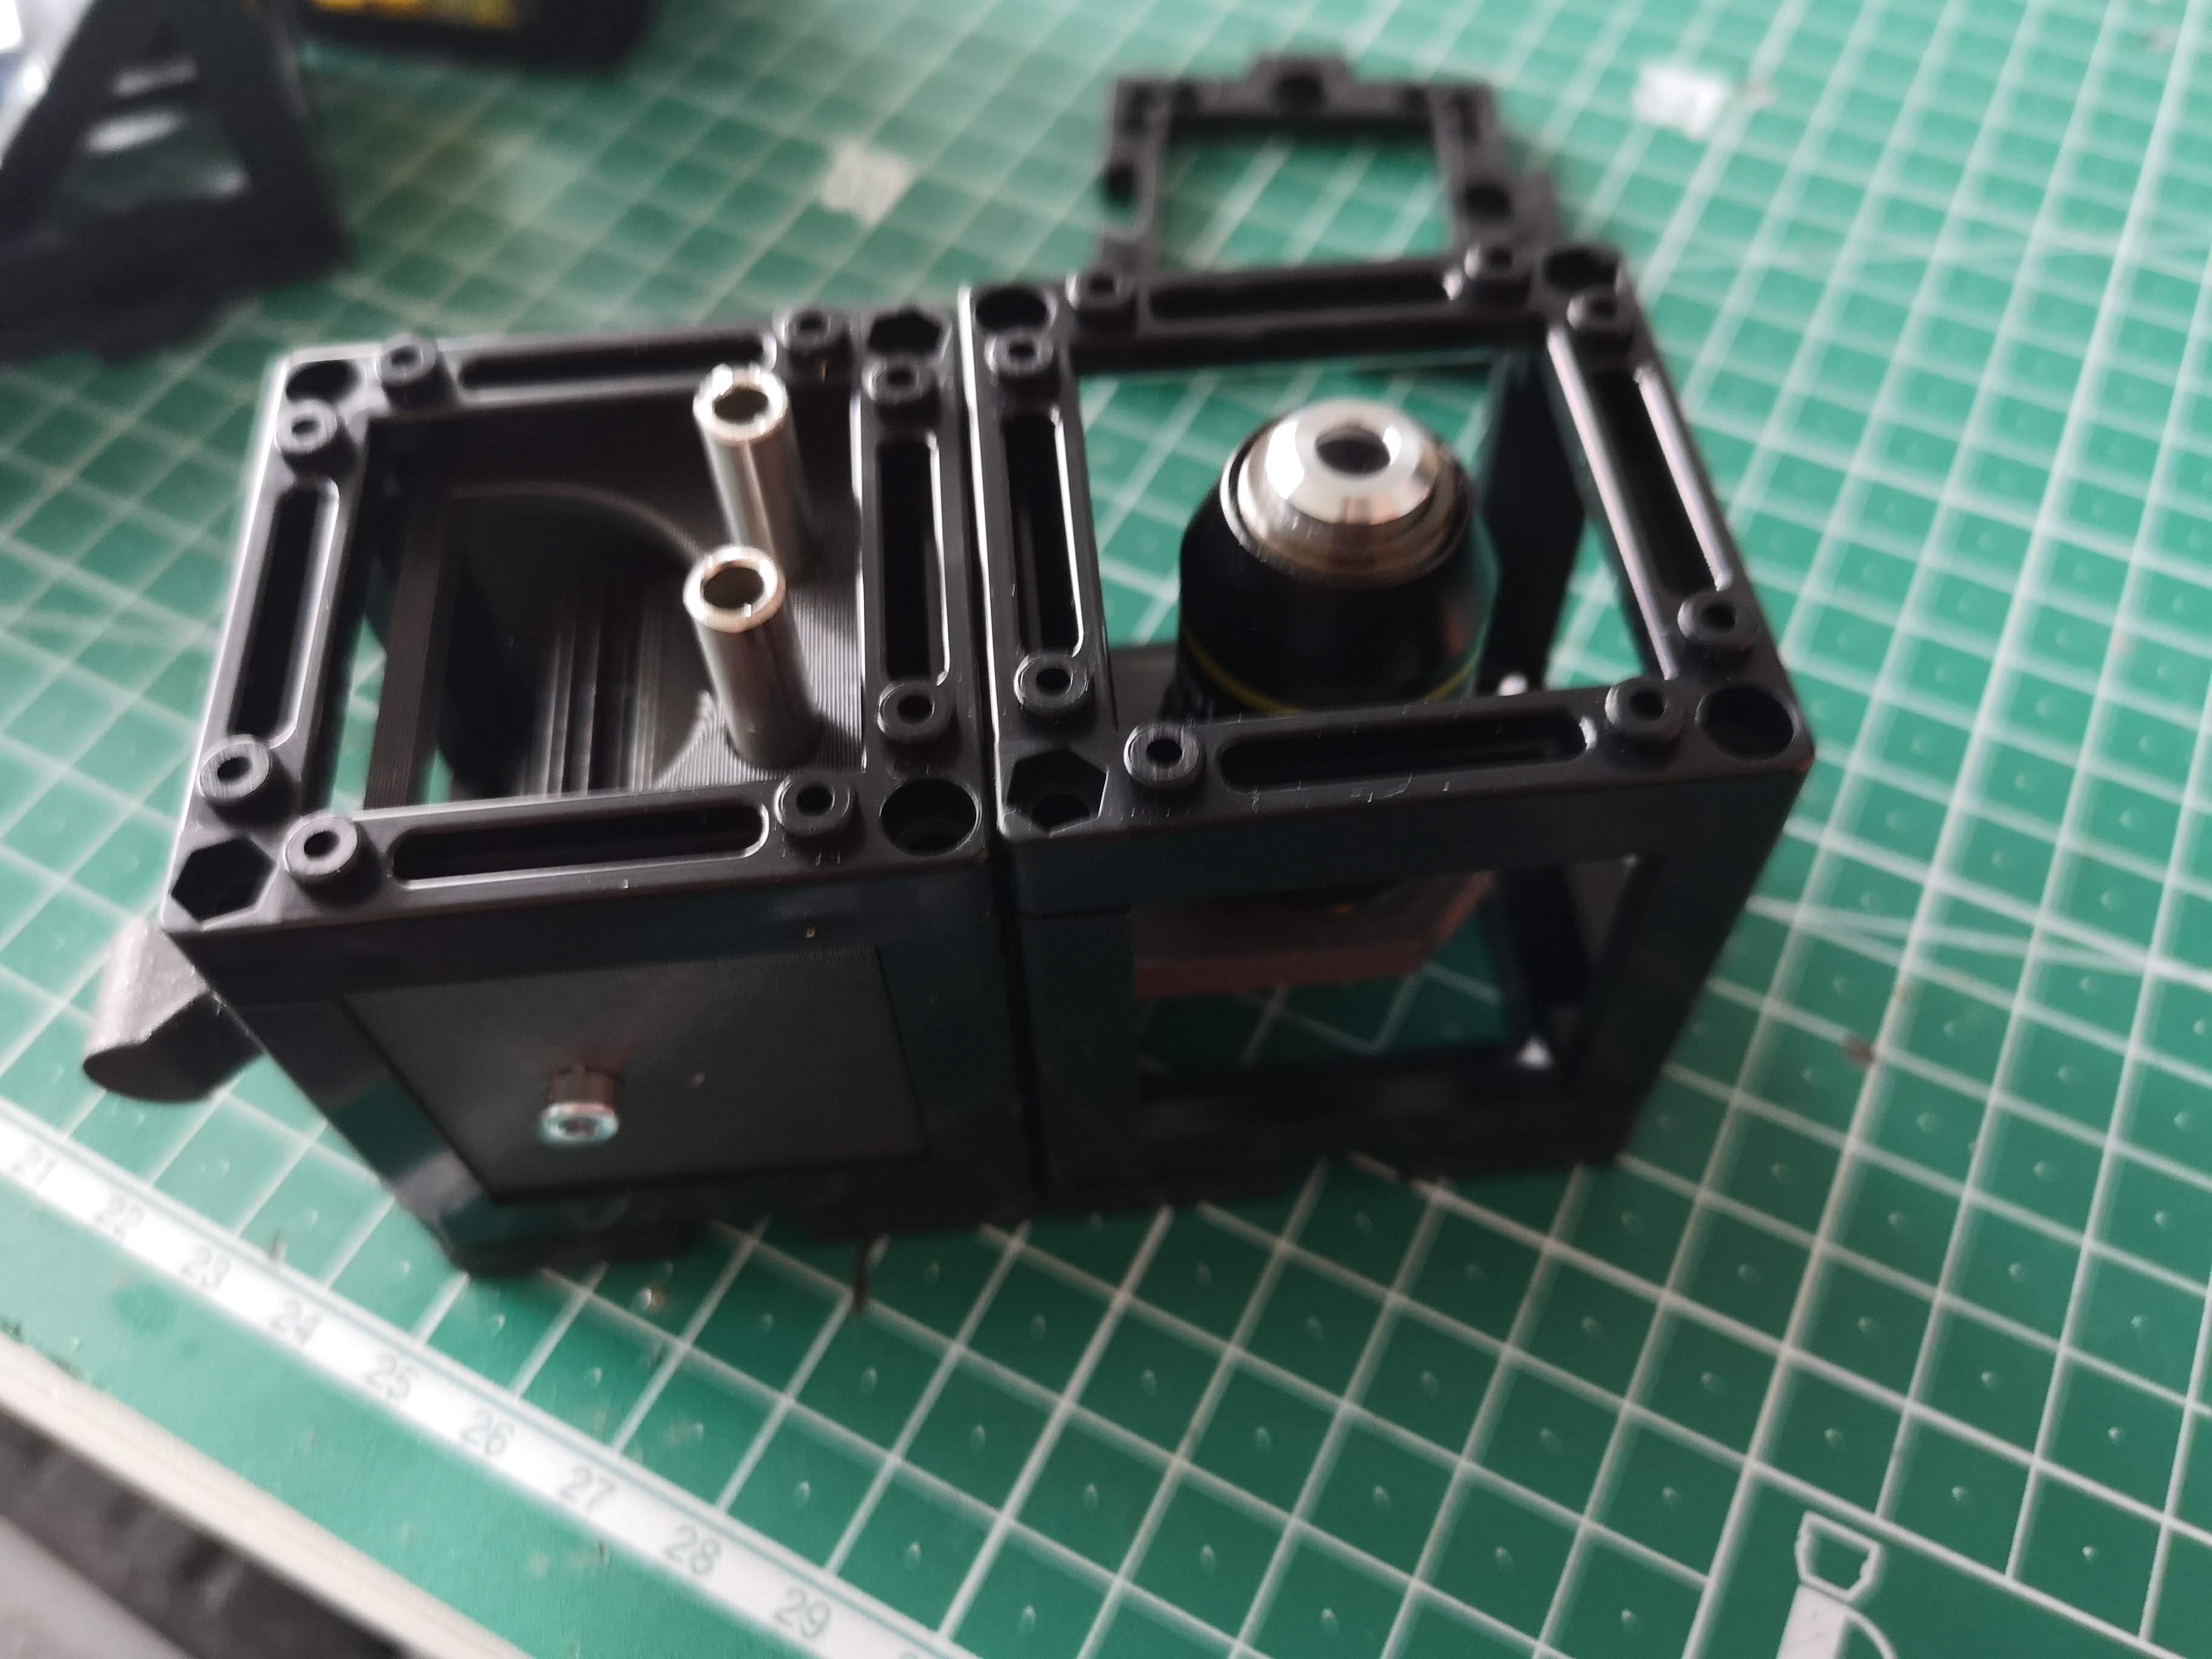
Add objective (Attention: mount the objective not on the side of the rib!!)
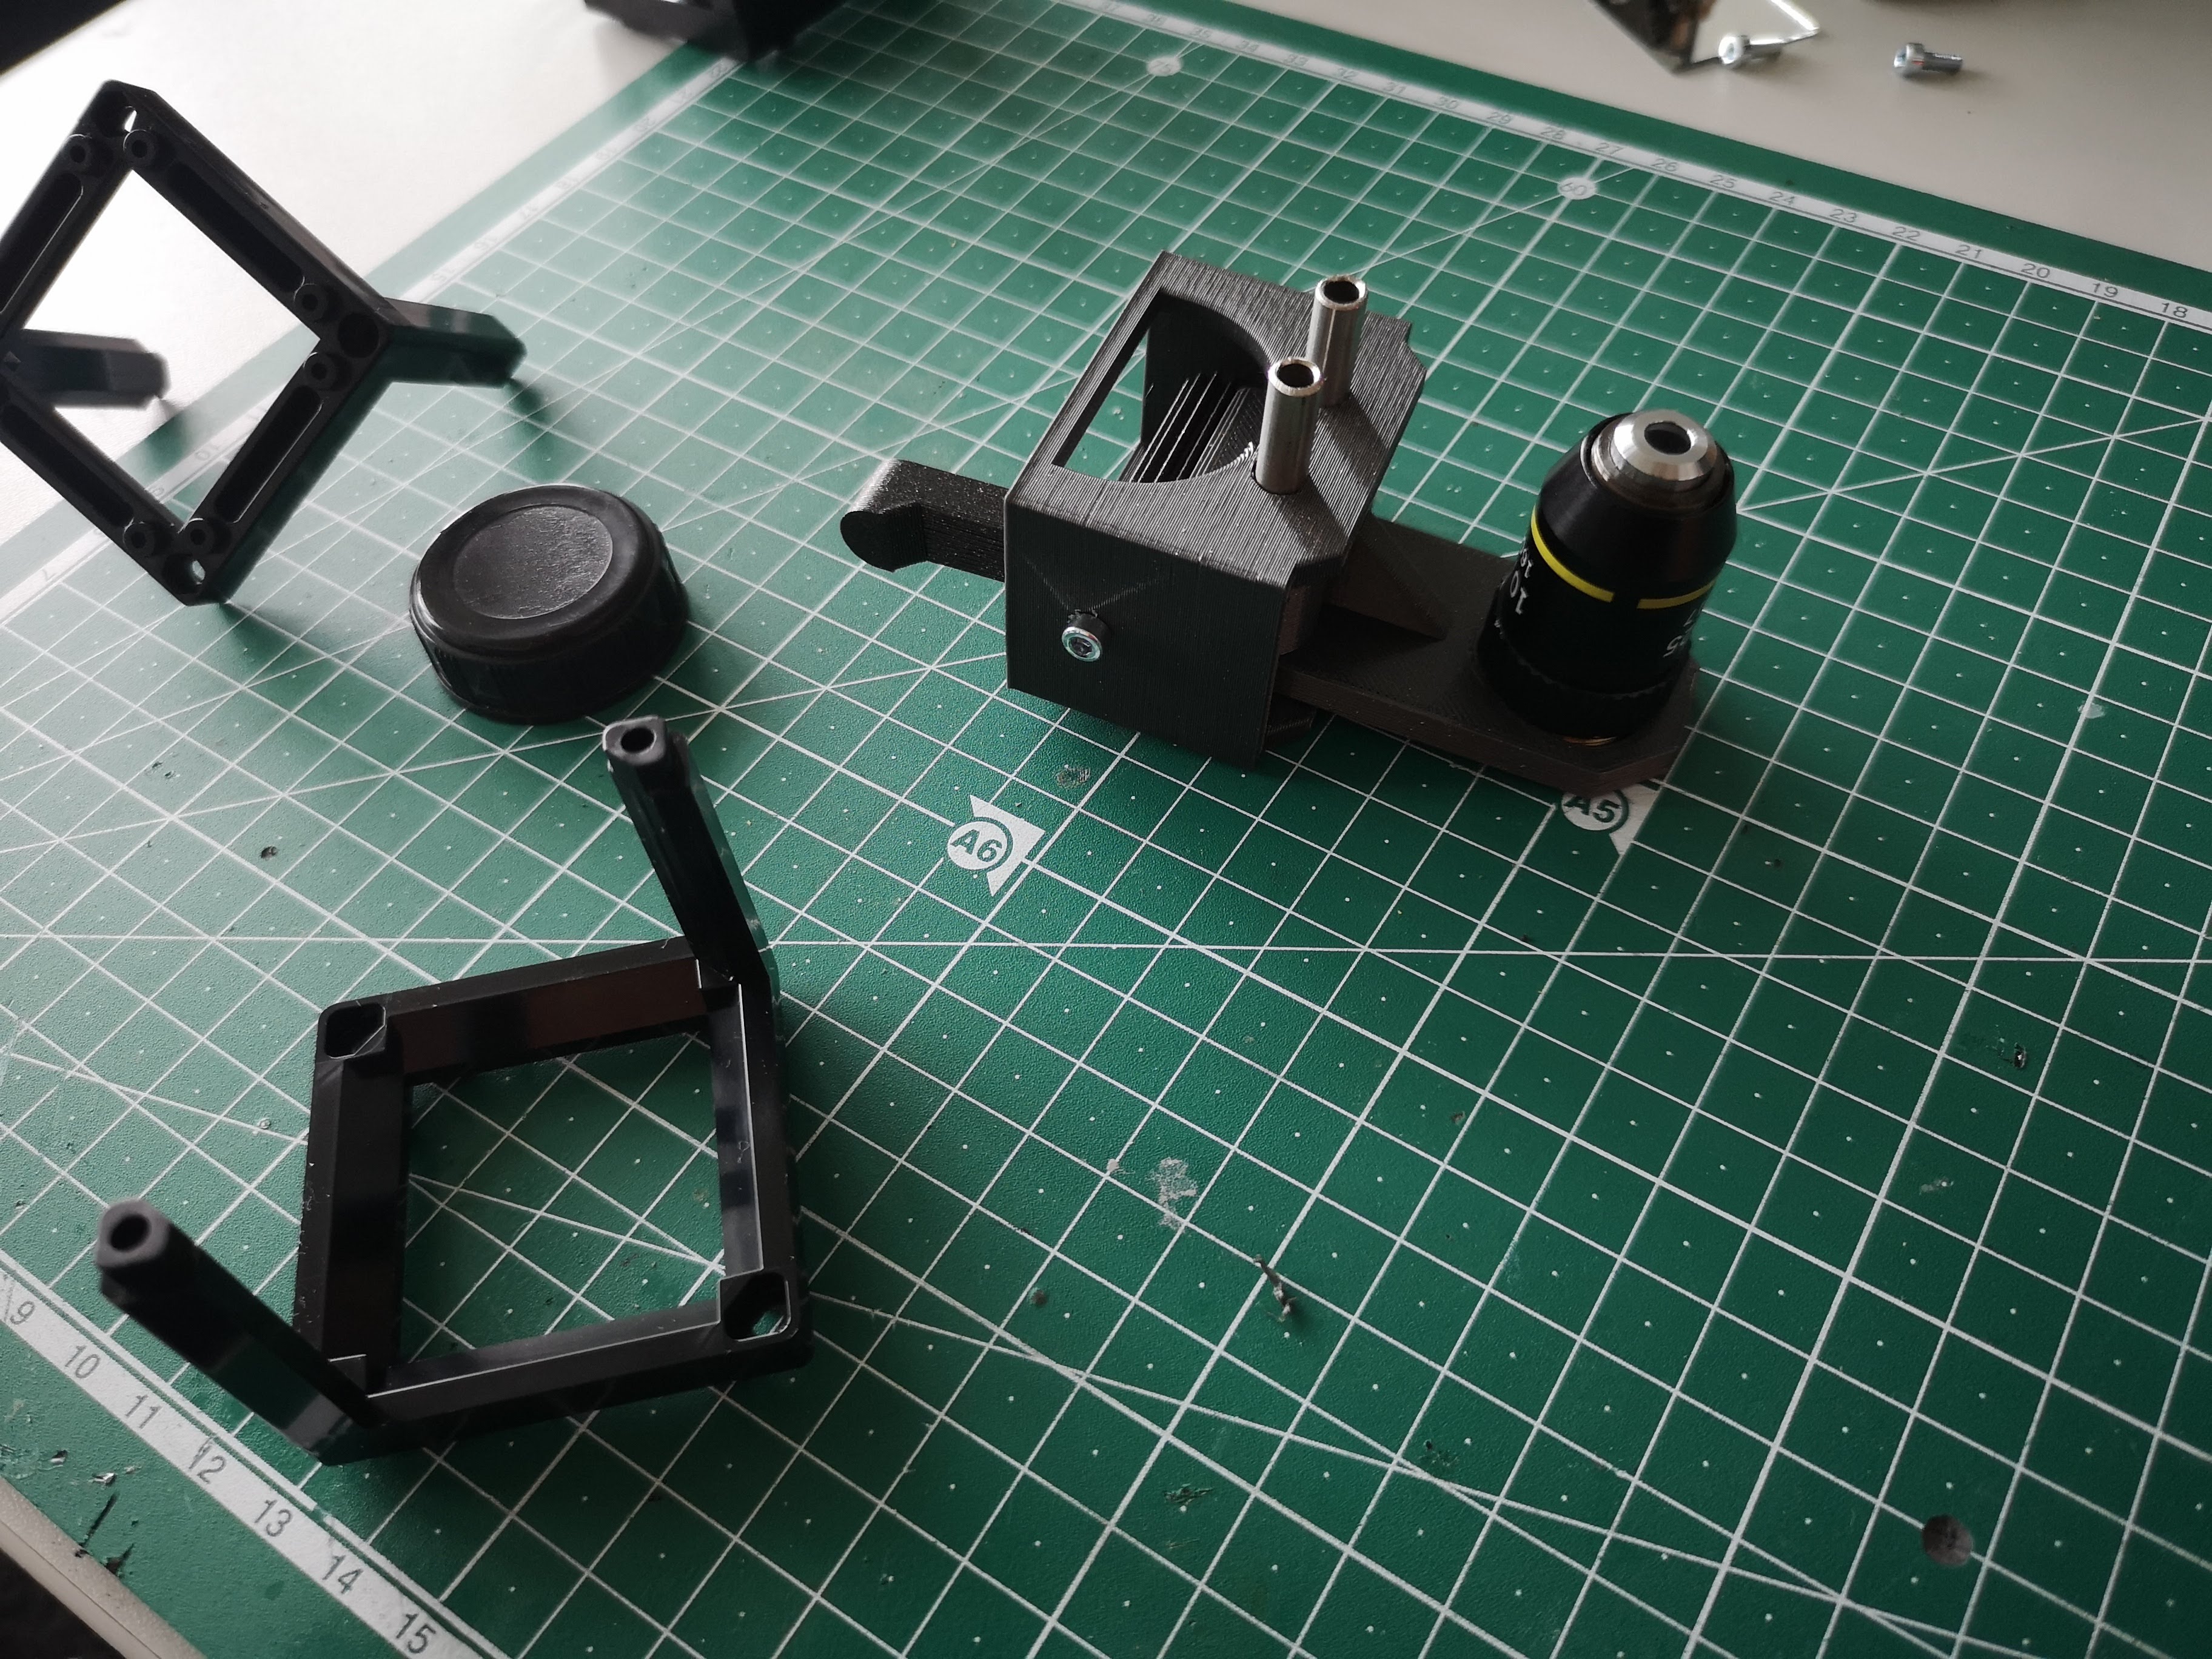
Add module to cube
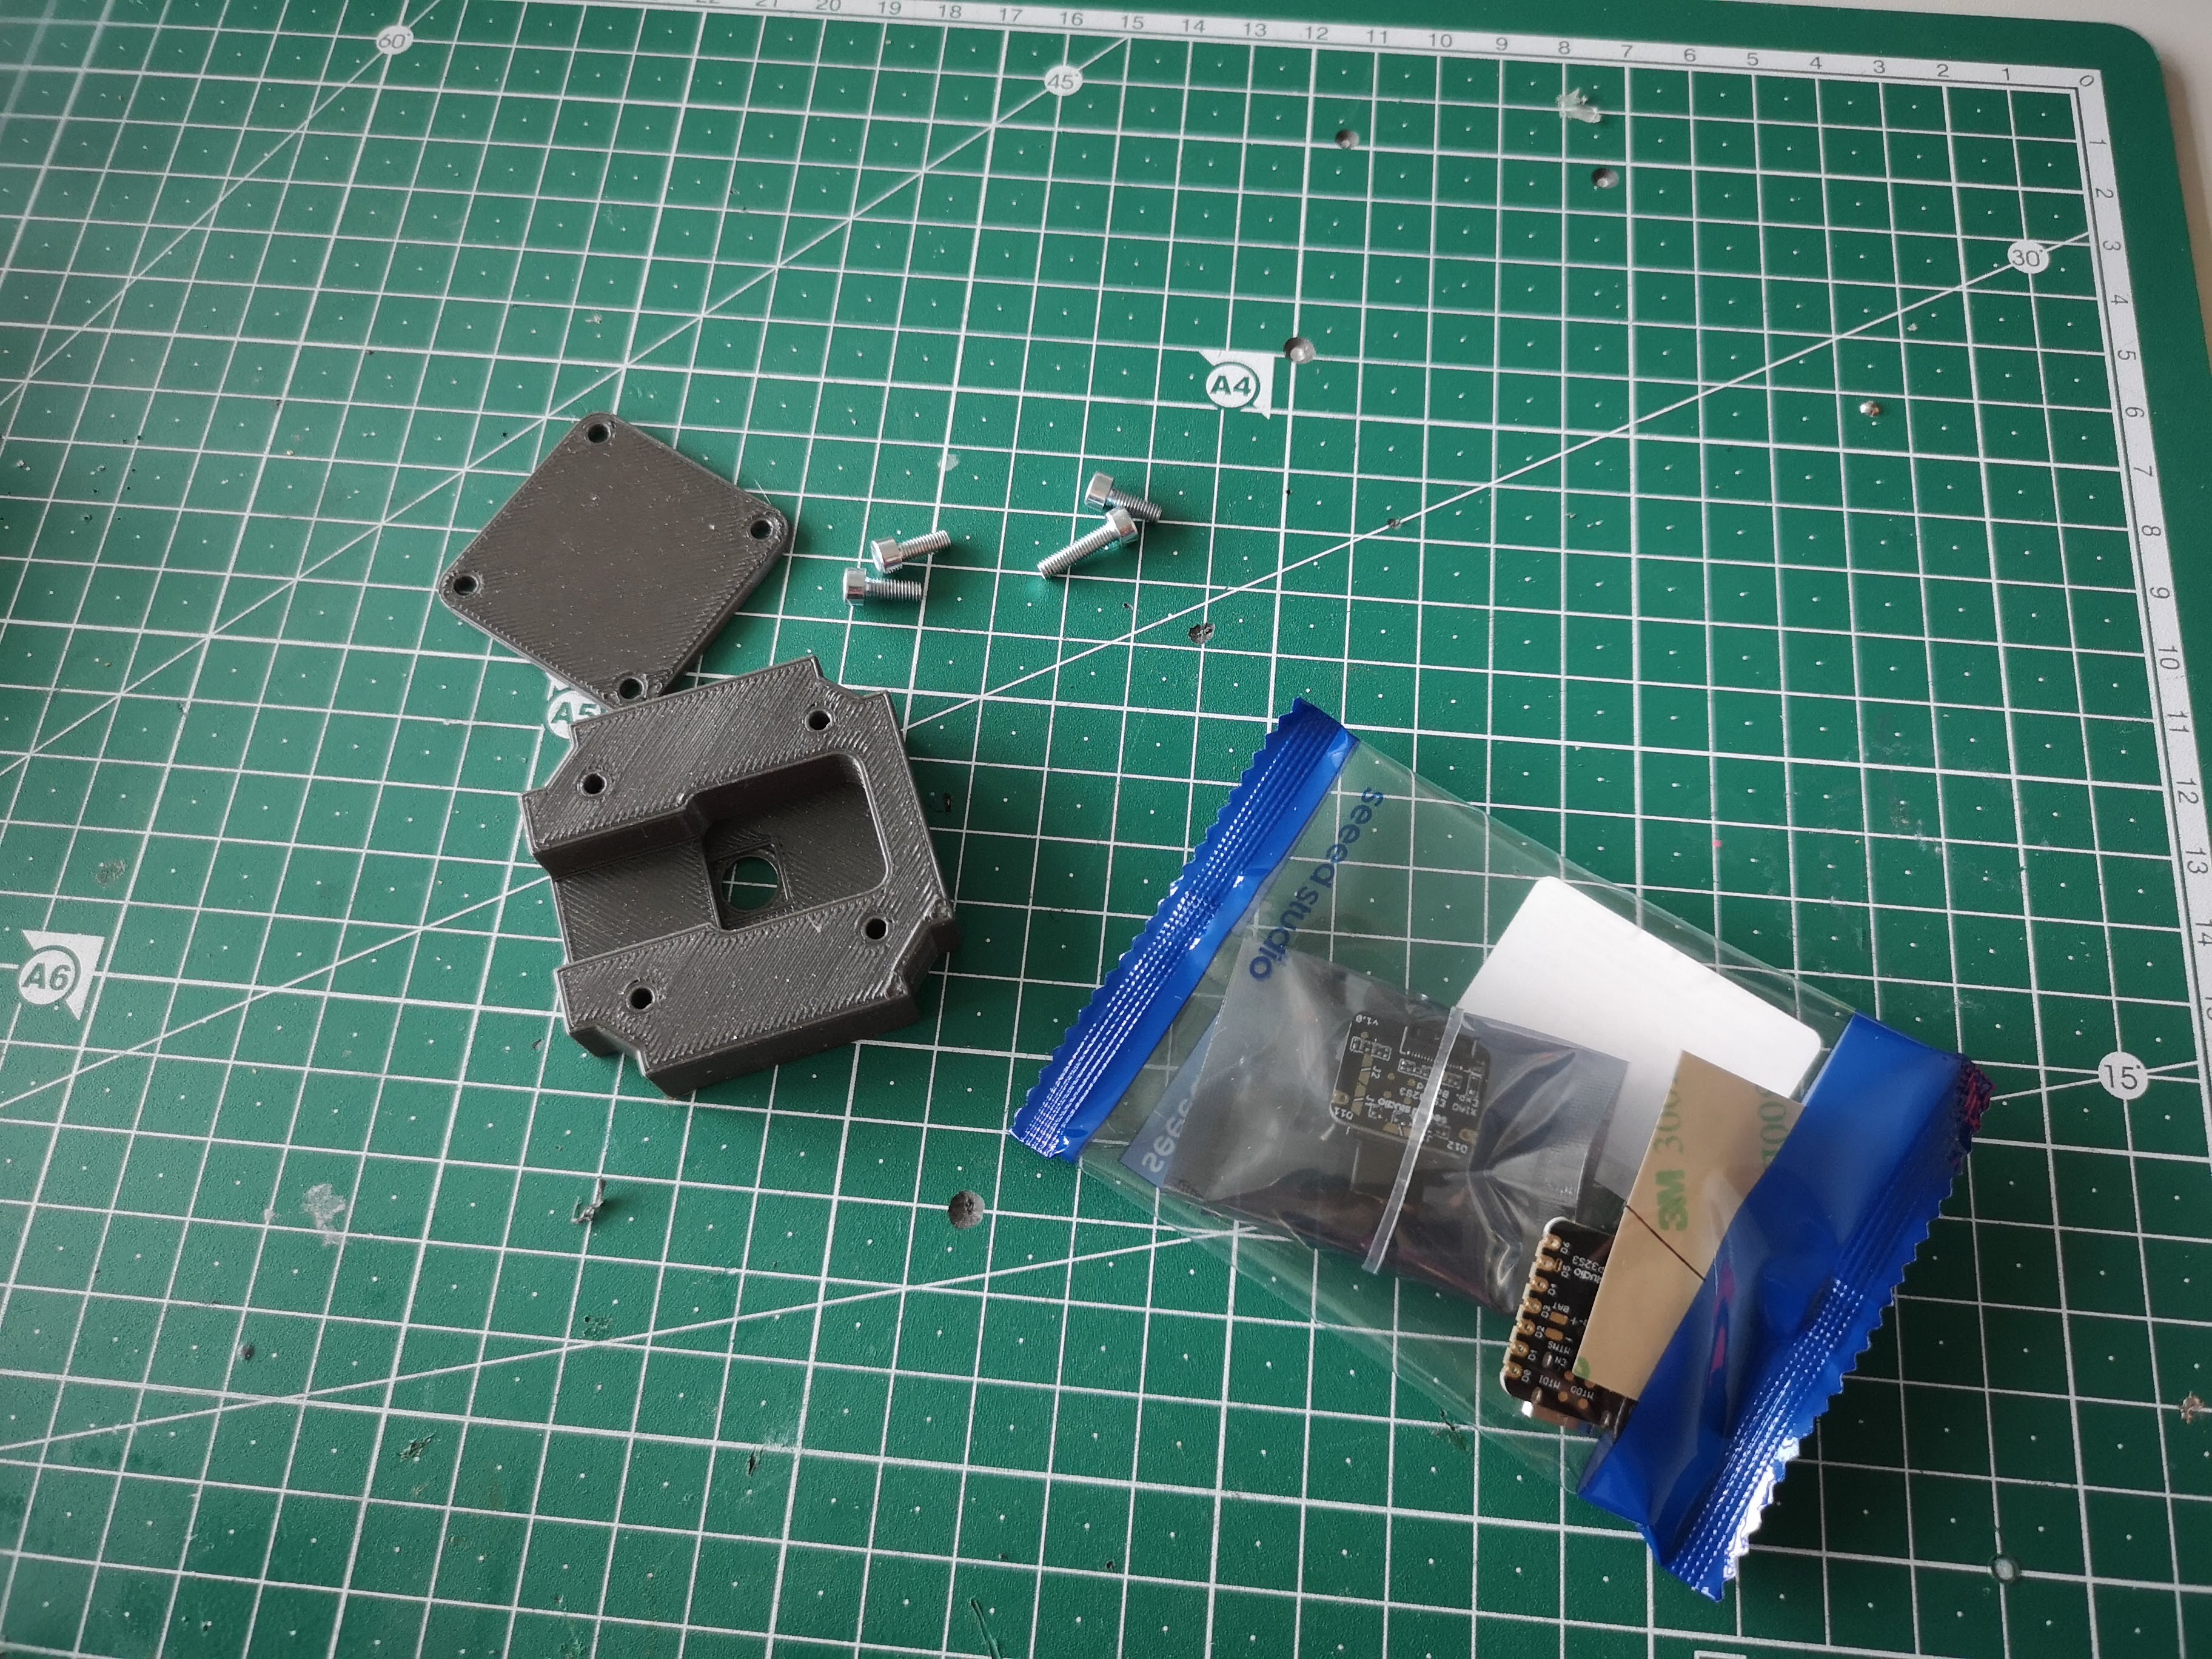
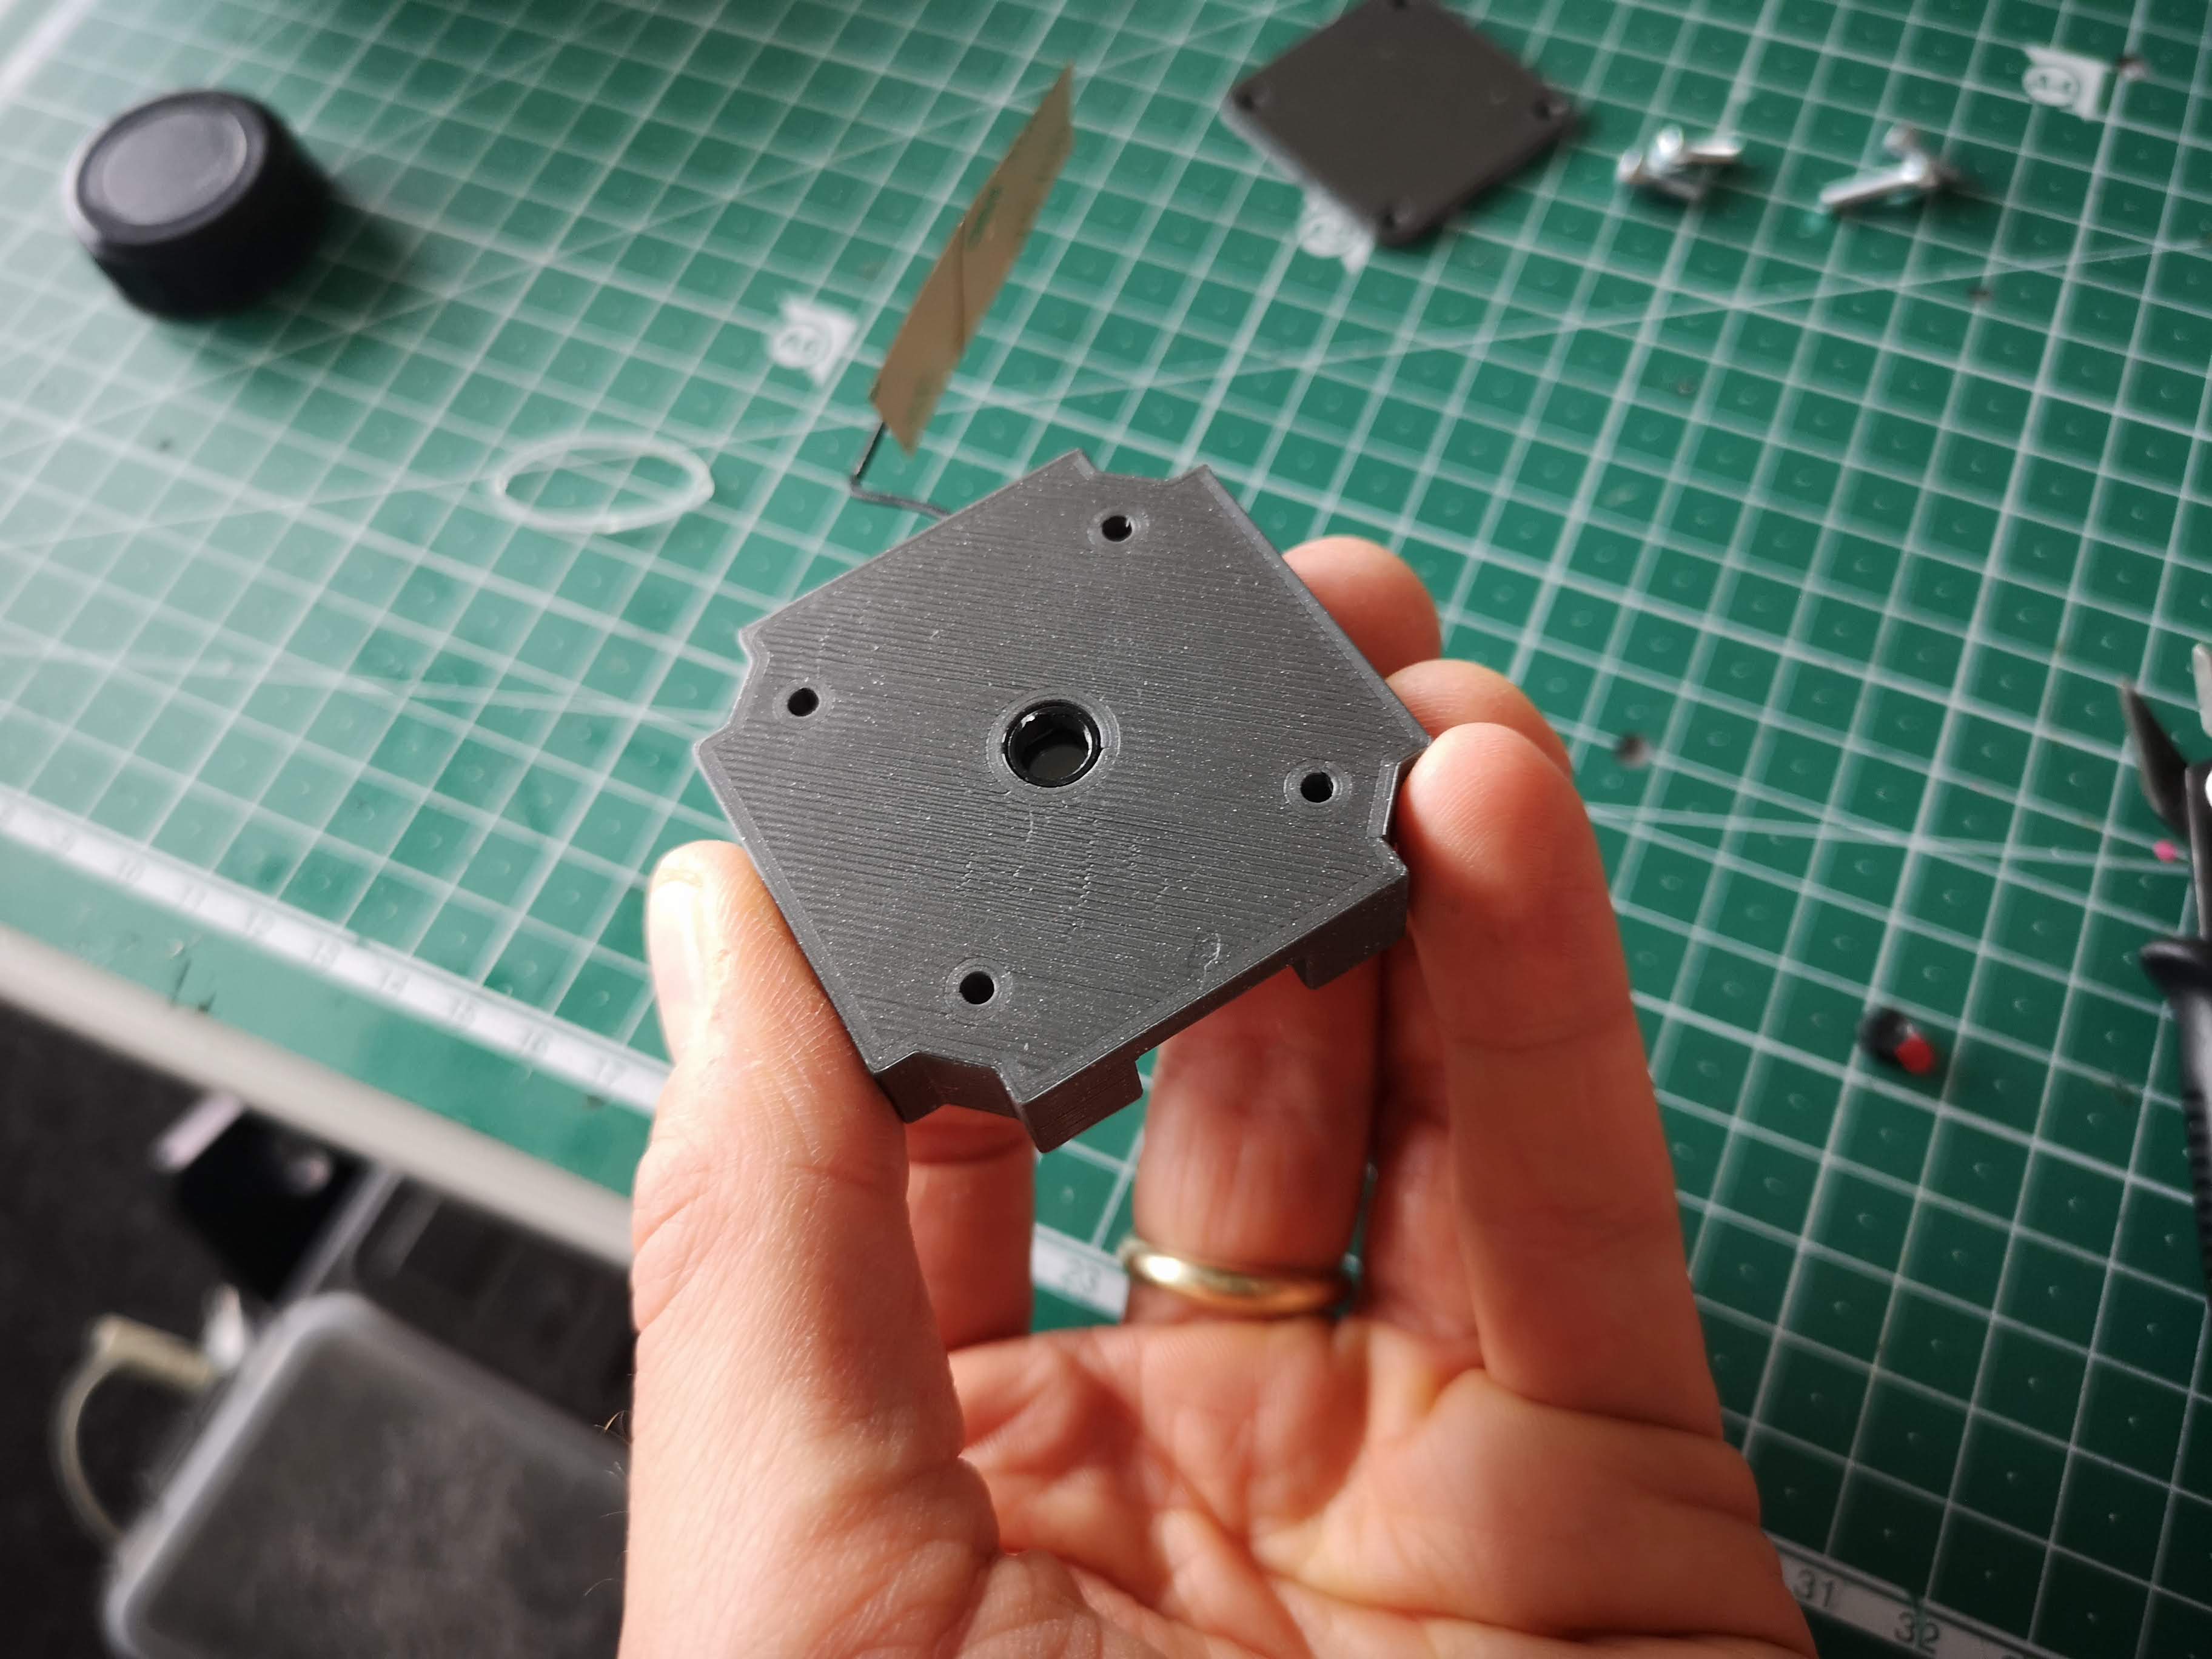
Seeed Xiao Sense Camera Cube
All necessary parts
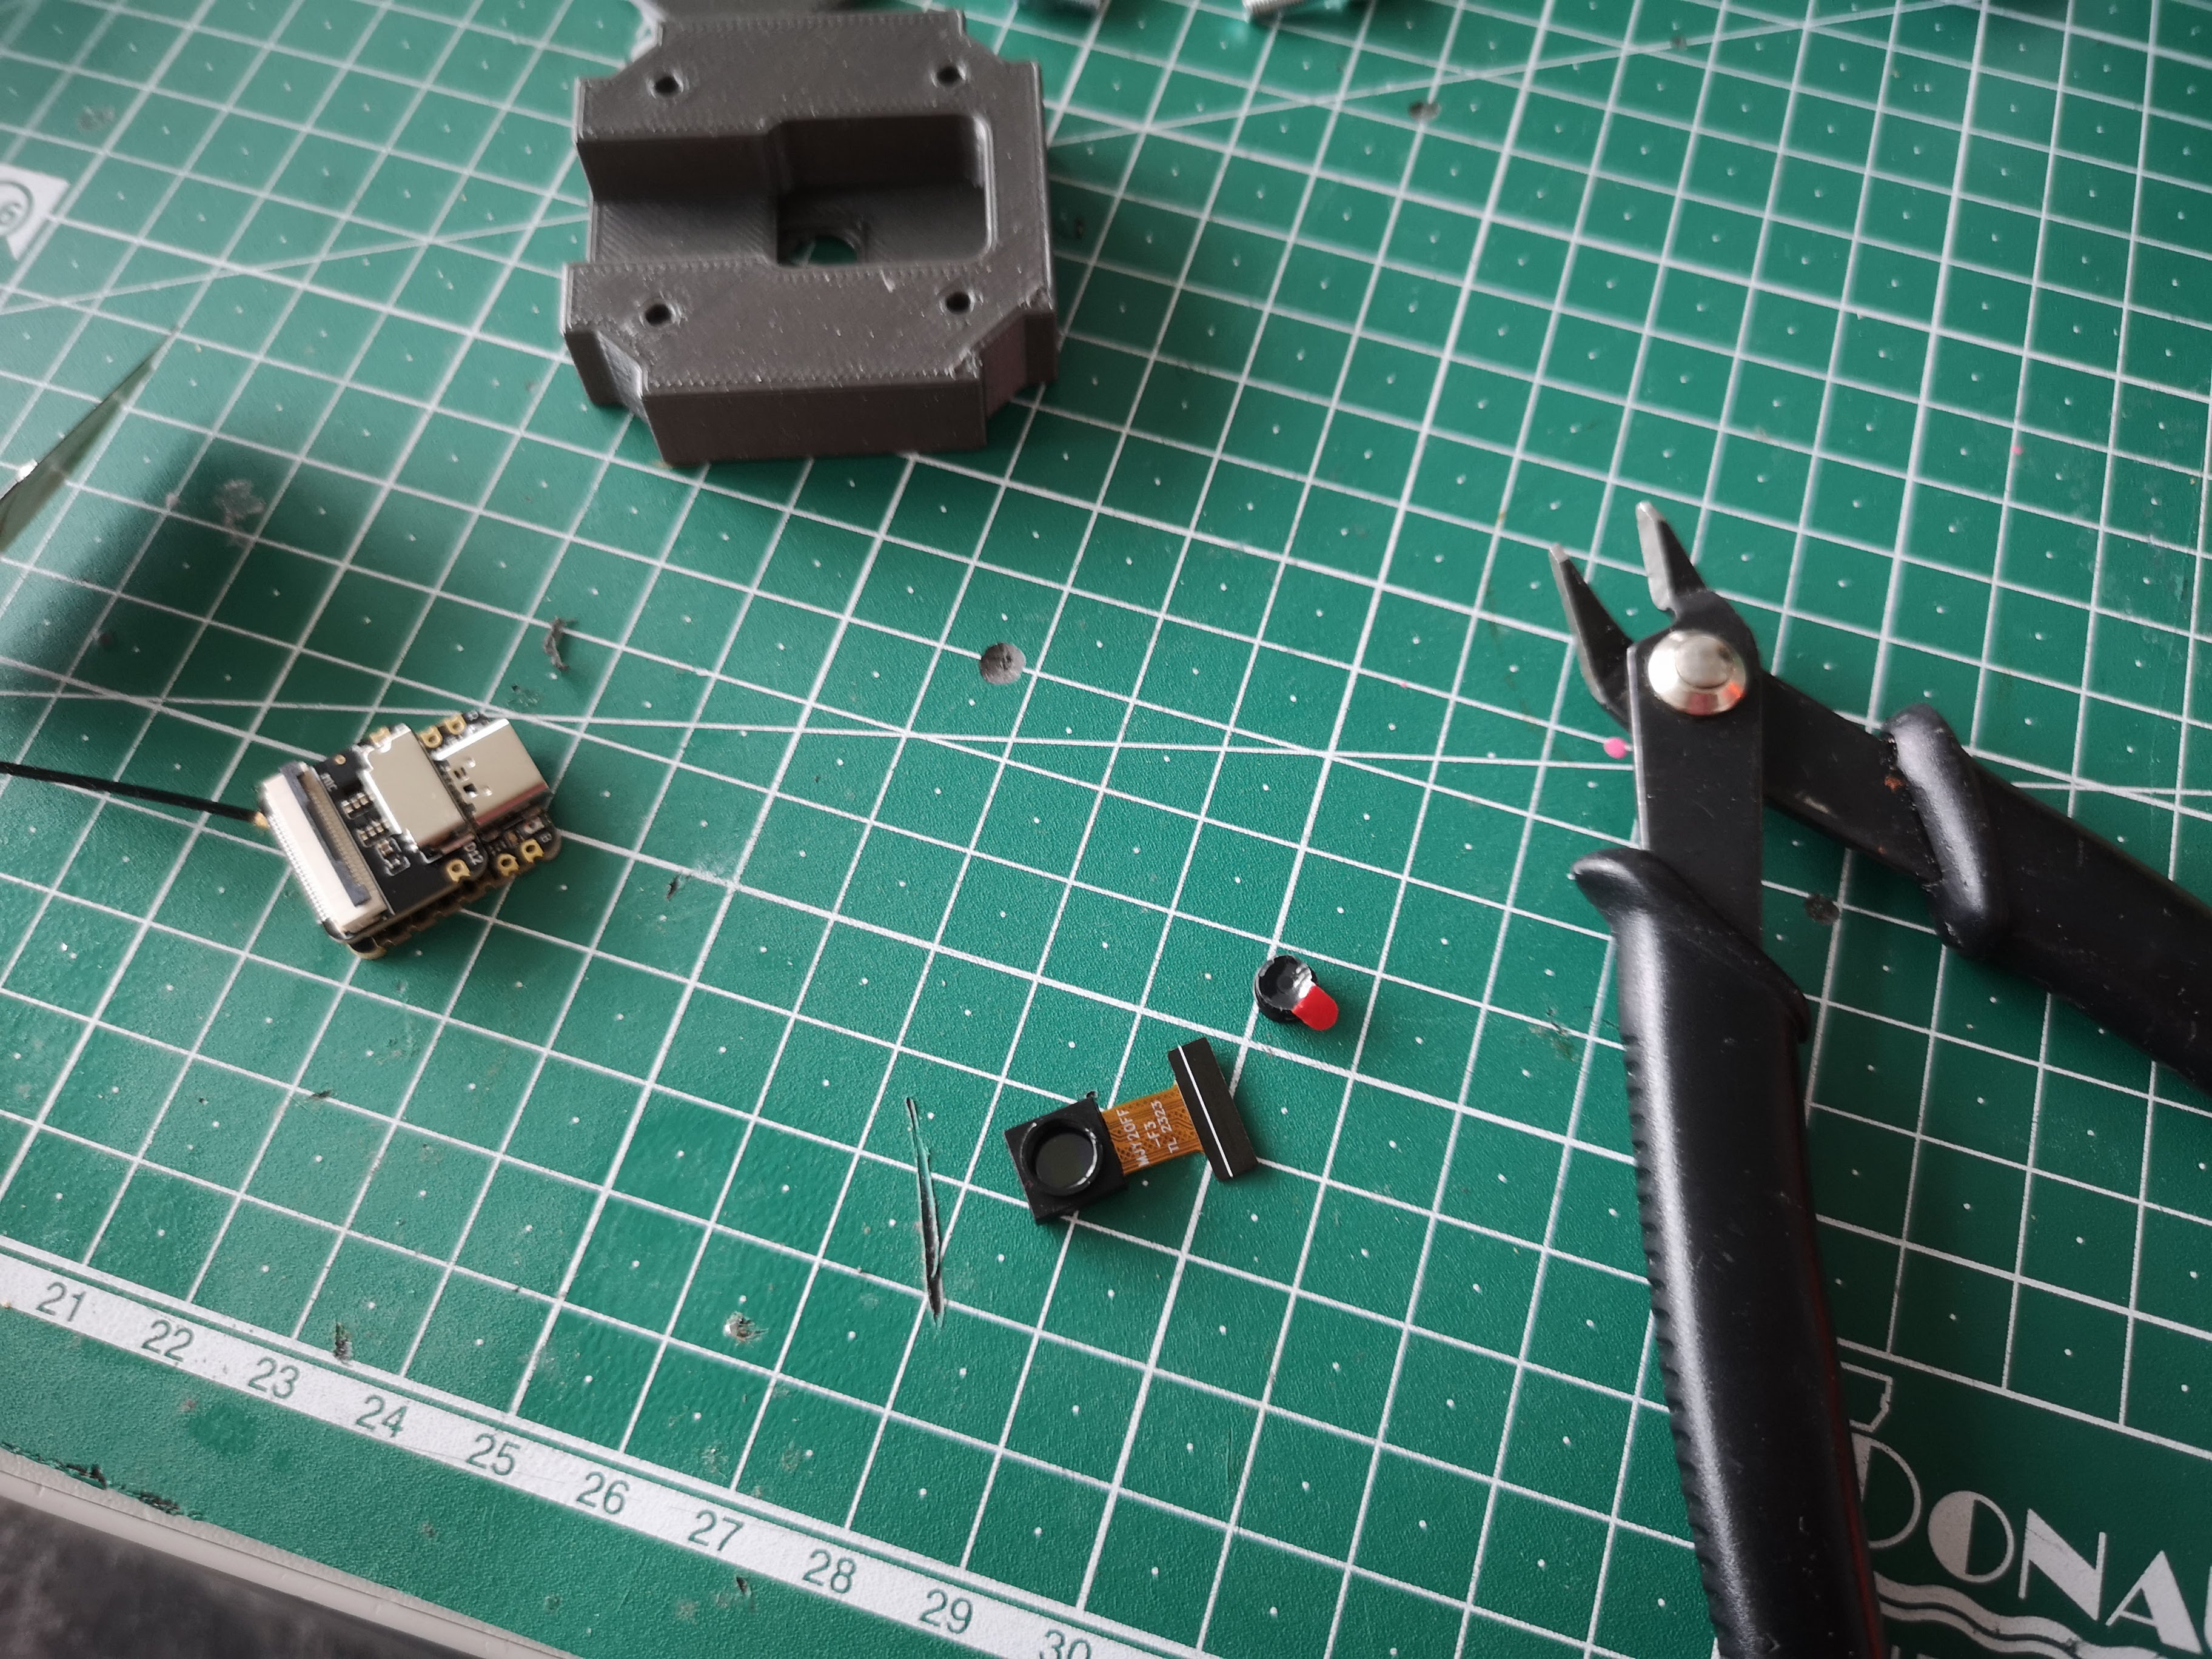
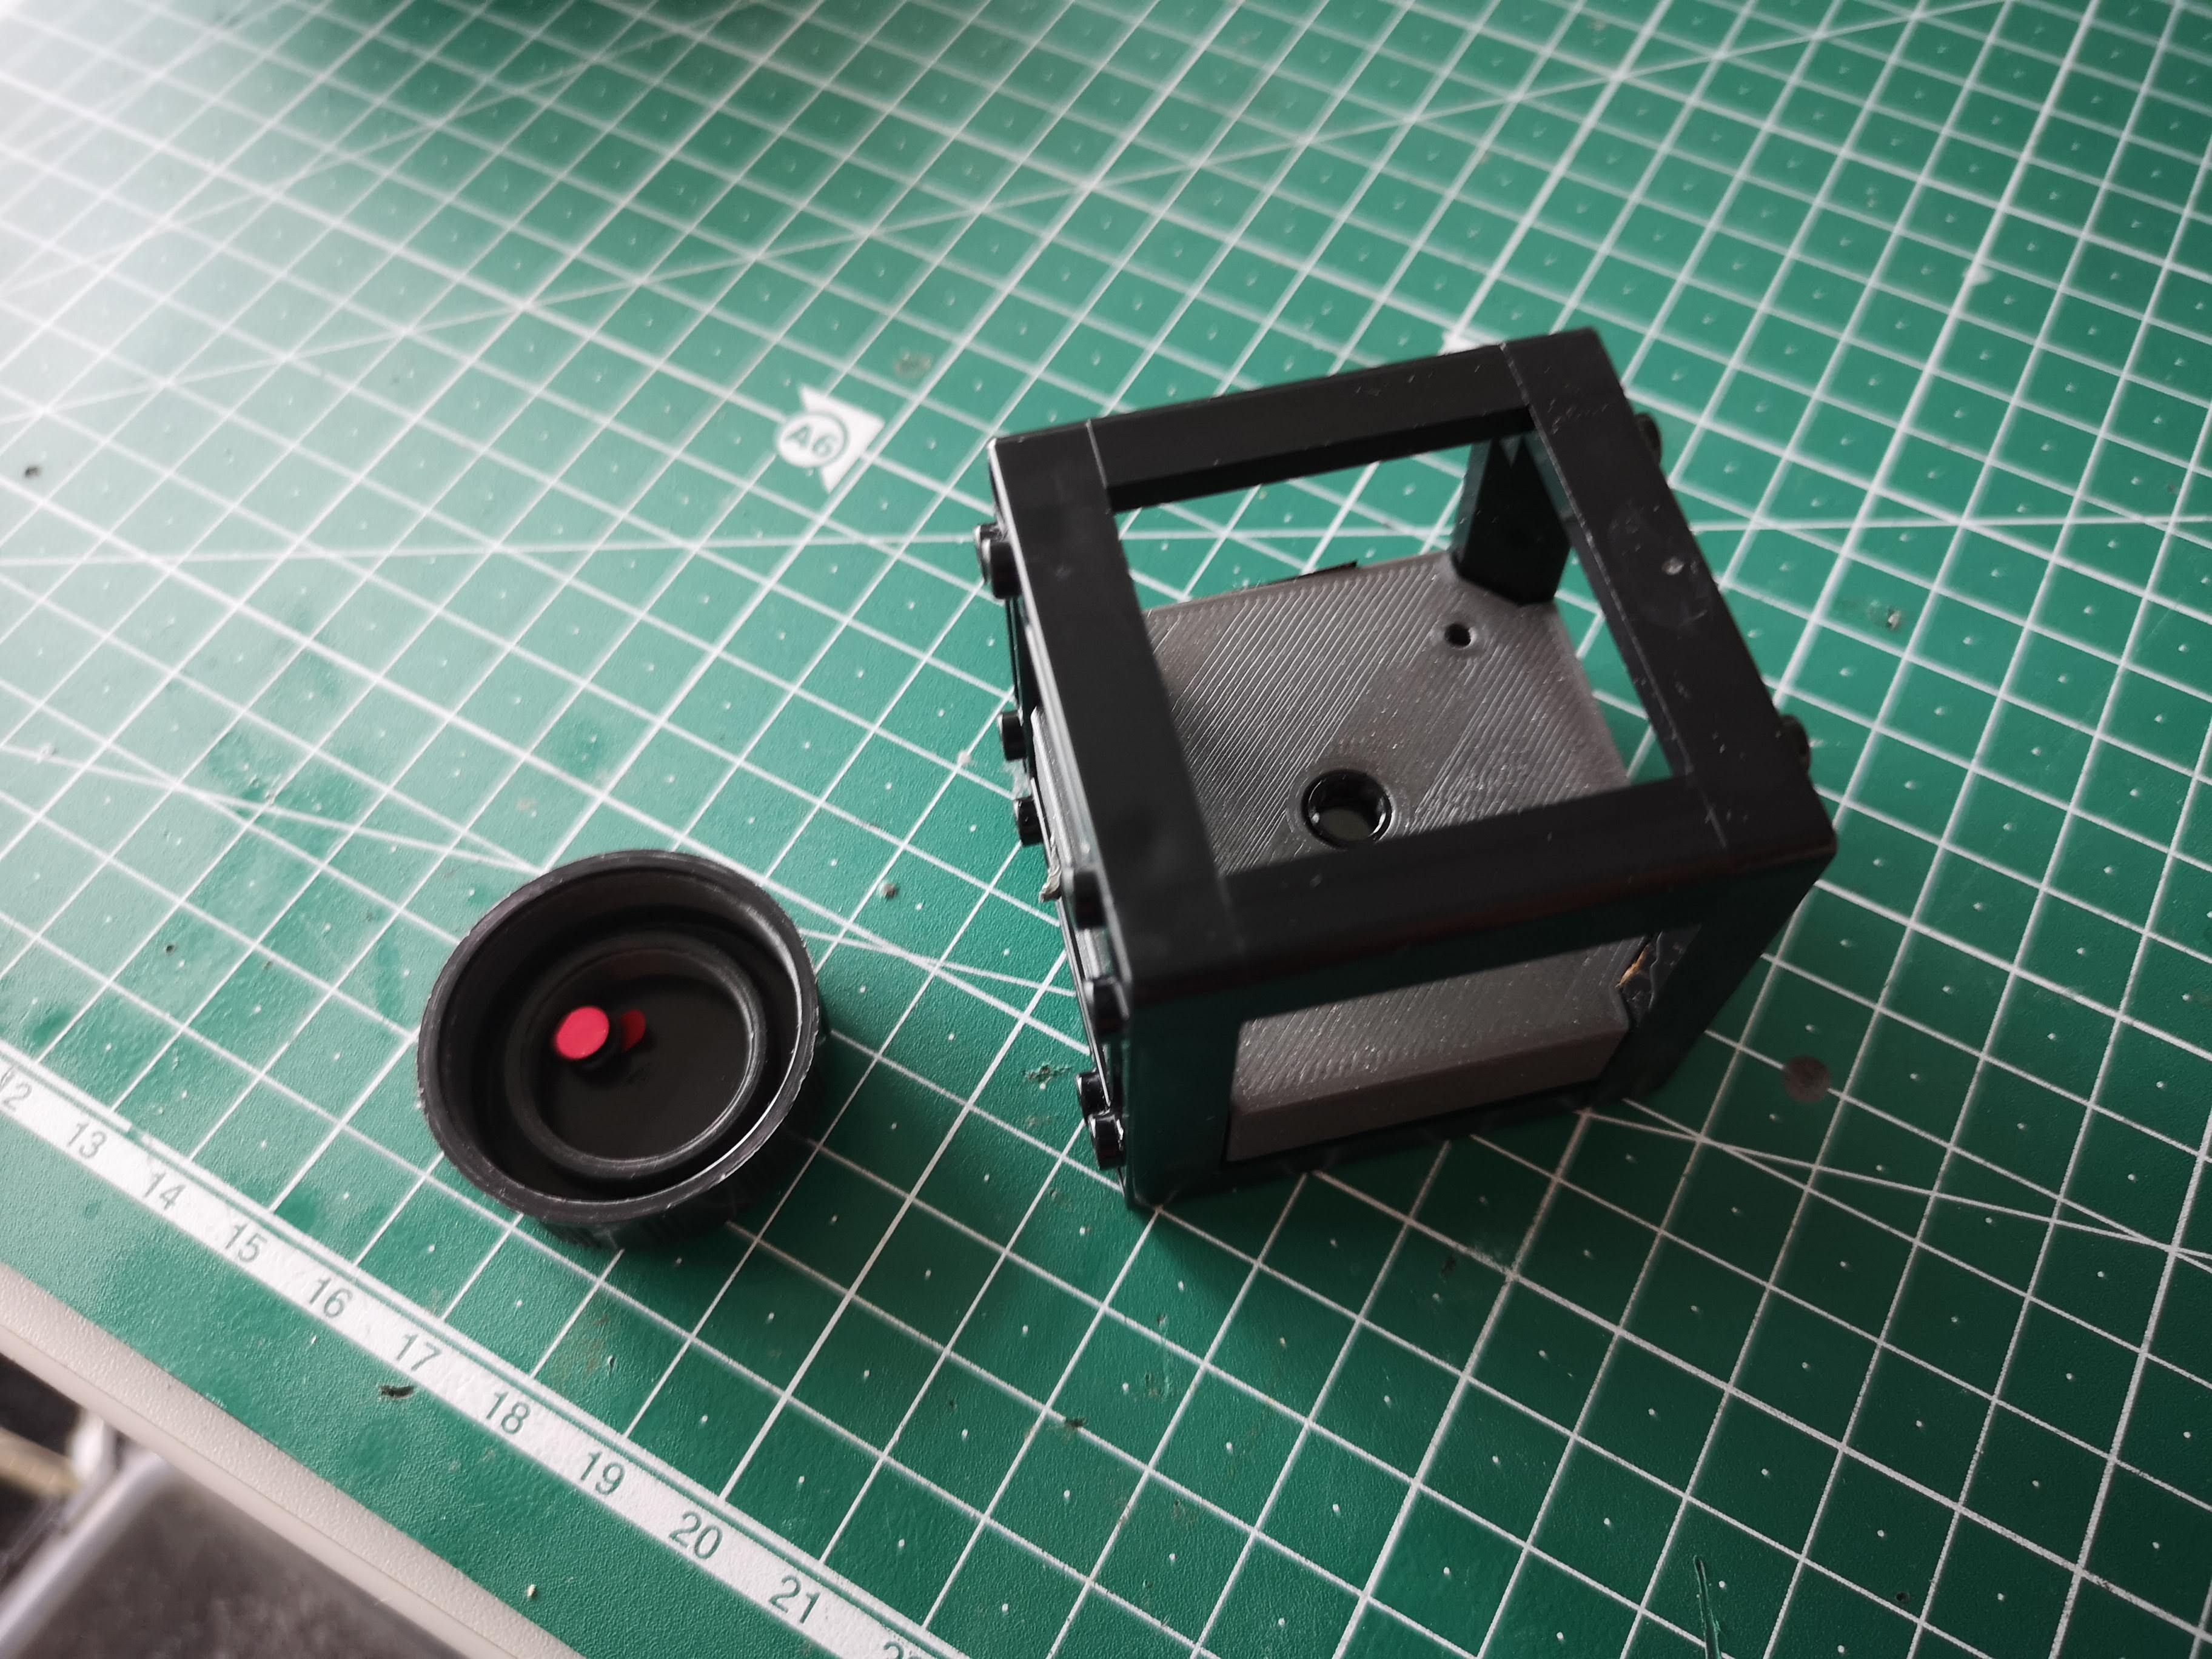
Unpack Camera
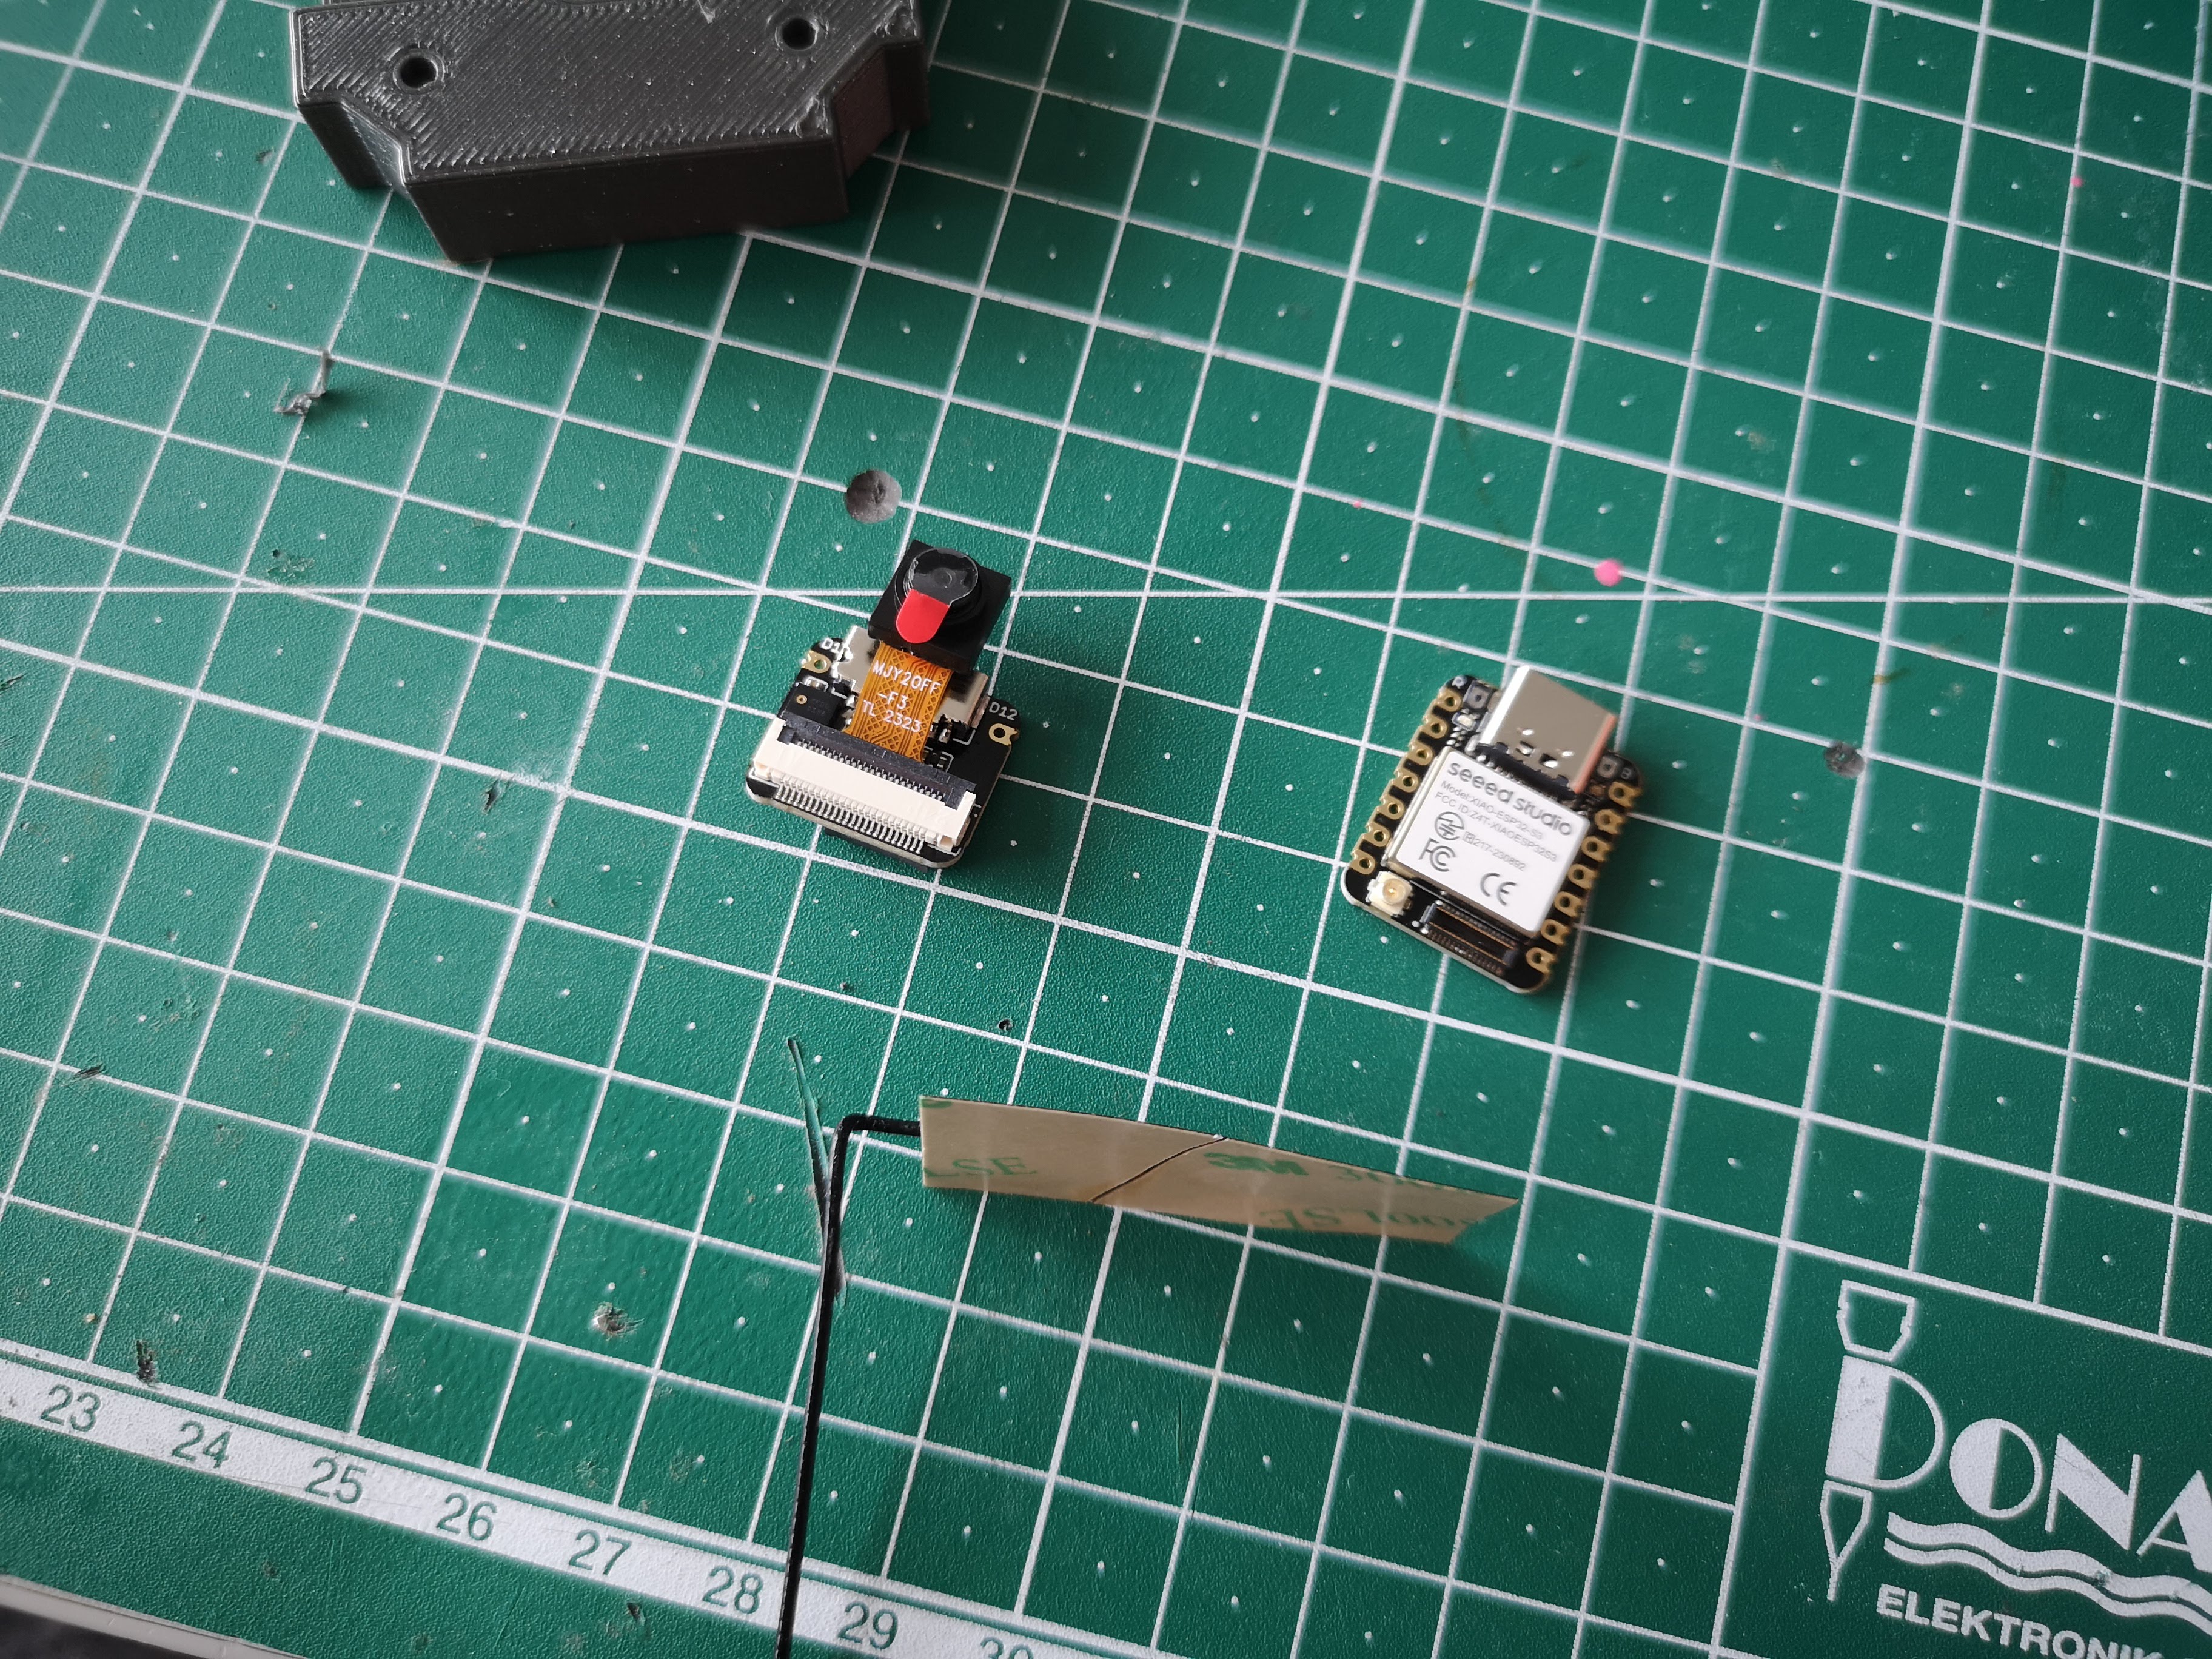
Assemble Camera
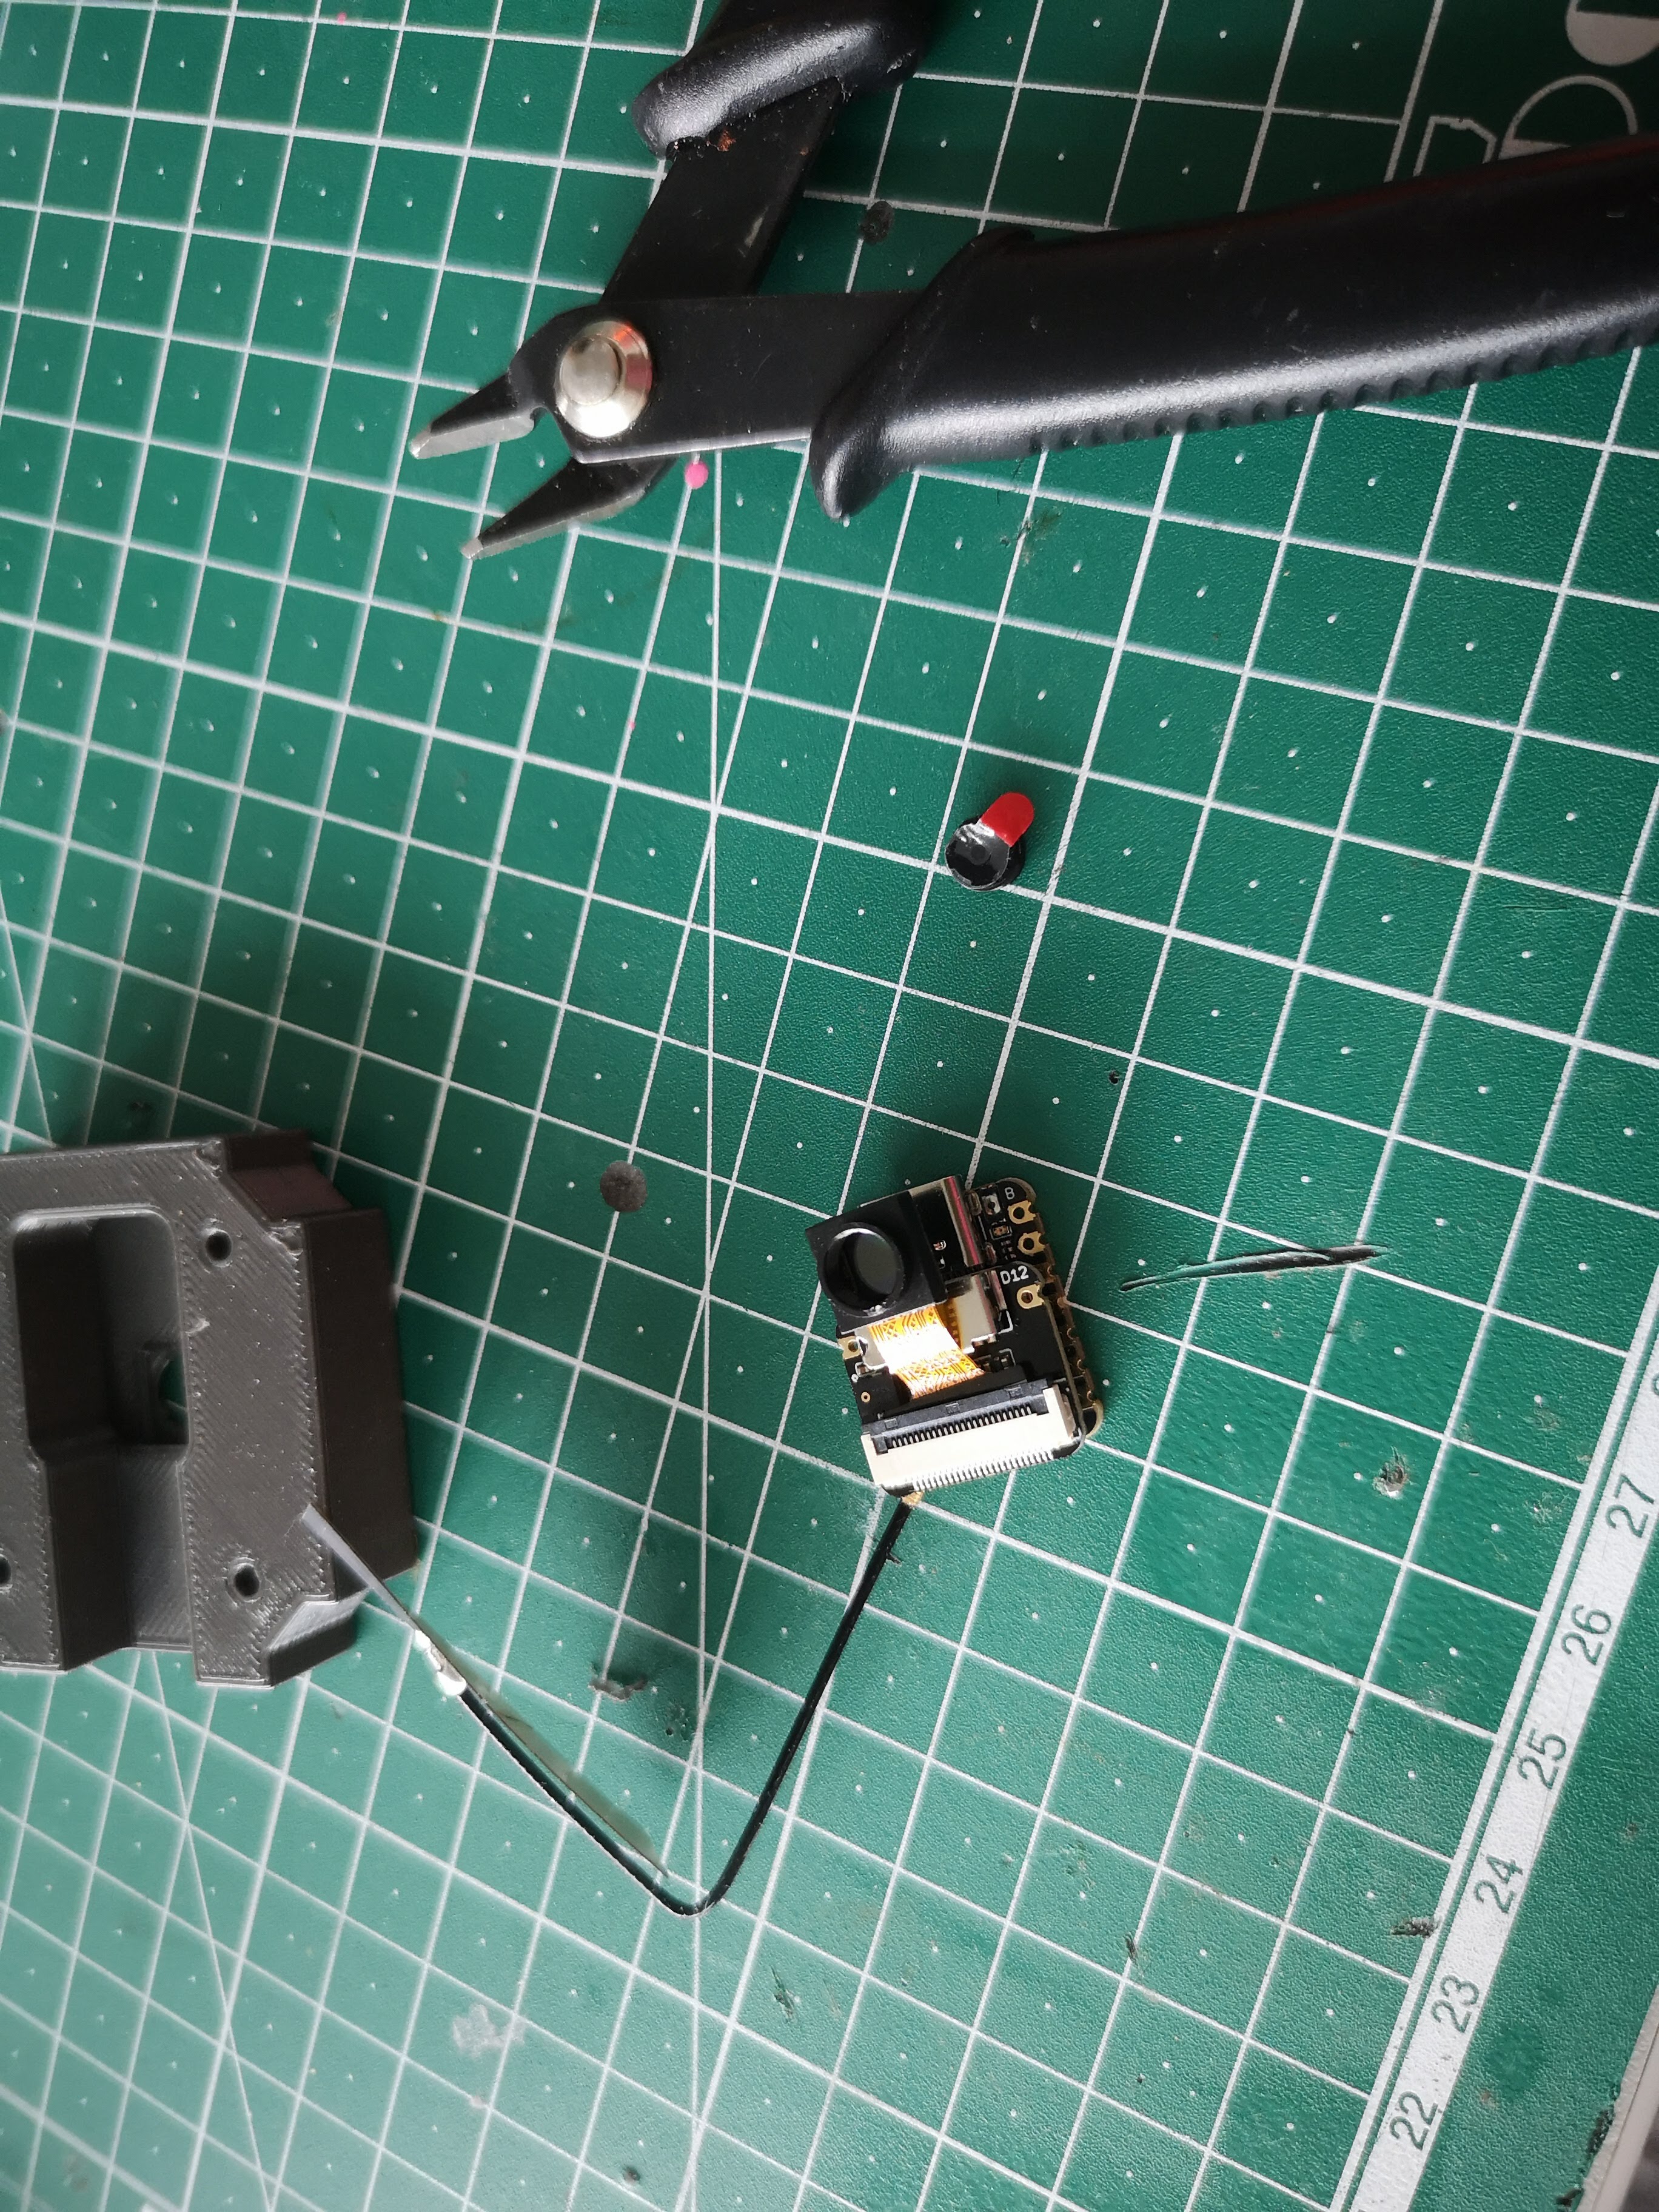
Remove lens from camera sensor (Be careful!!) by unscrewing it using pliers
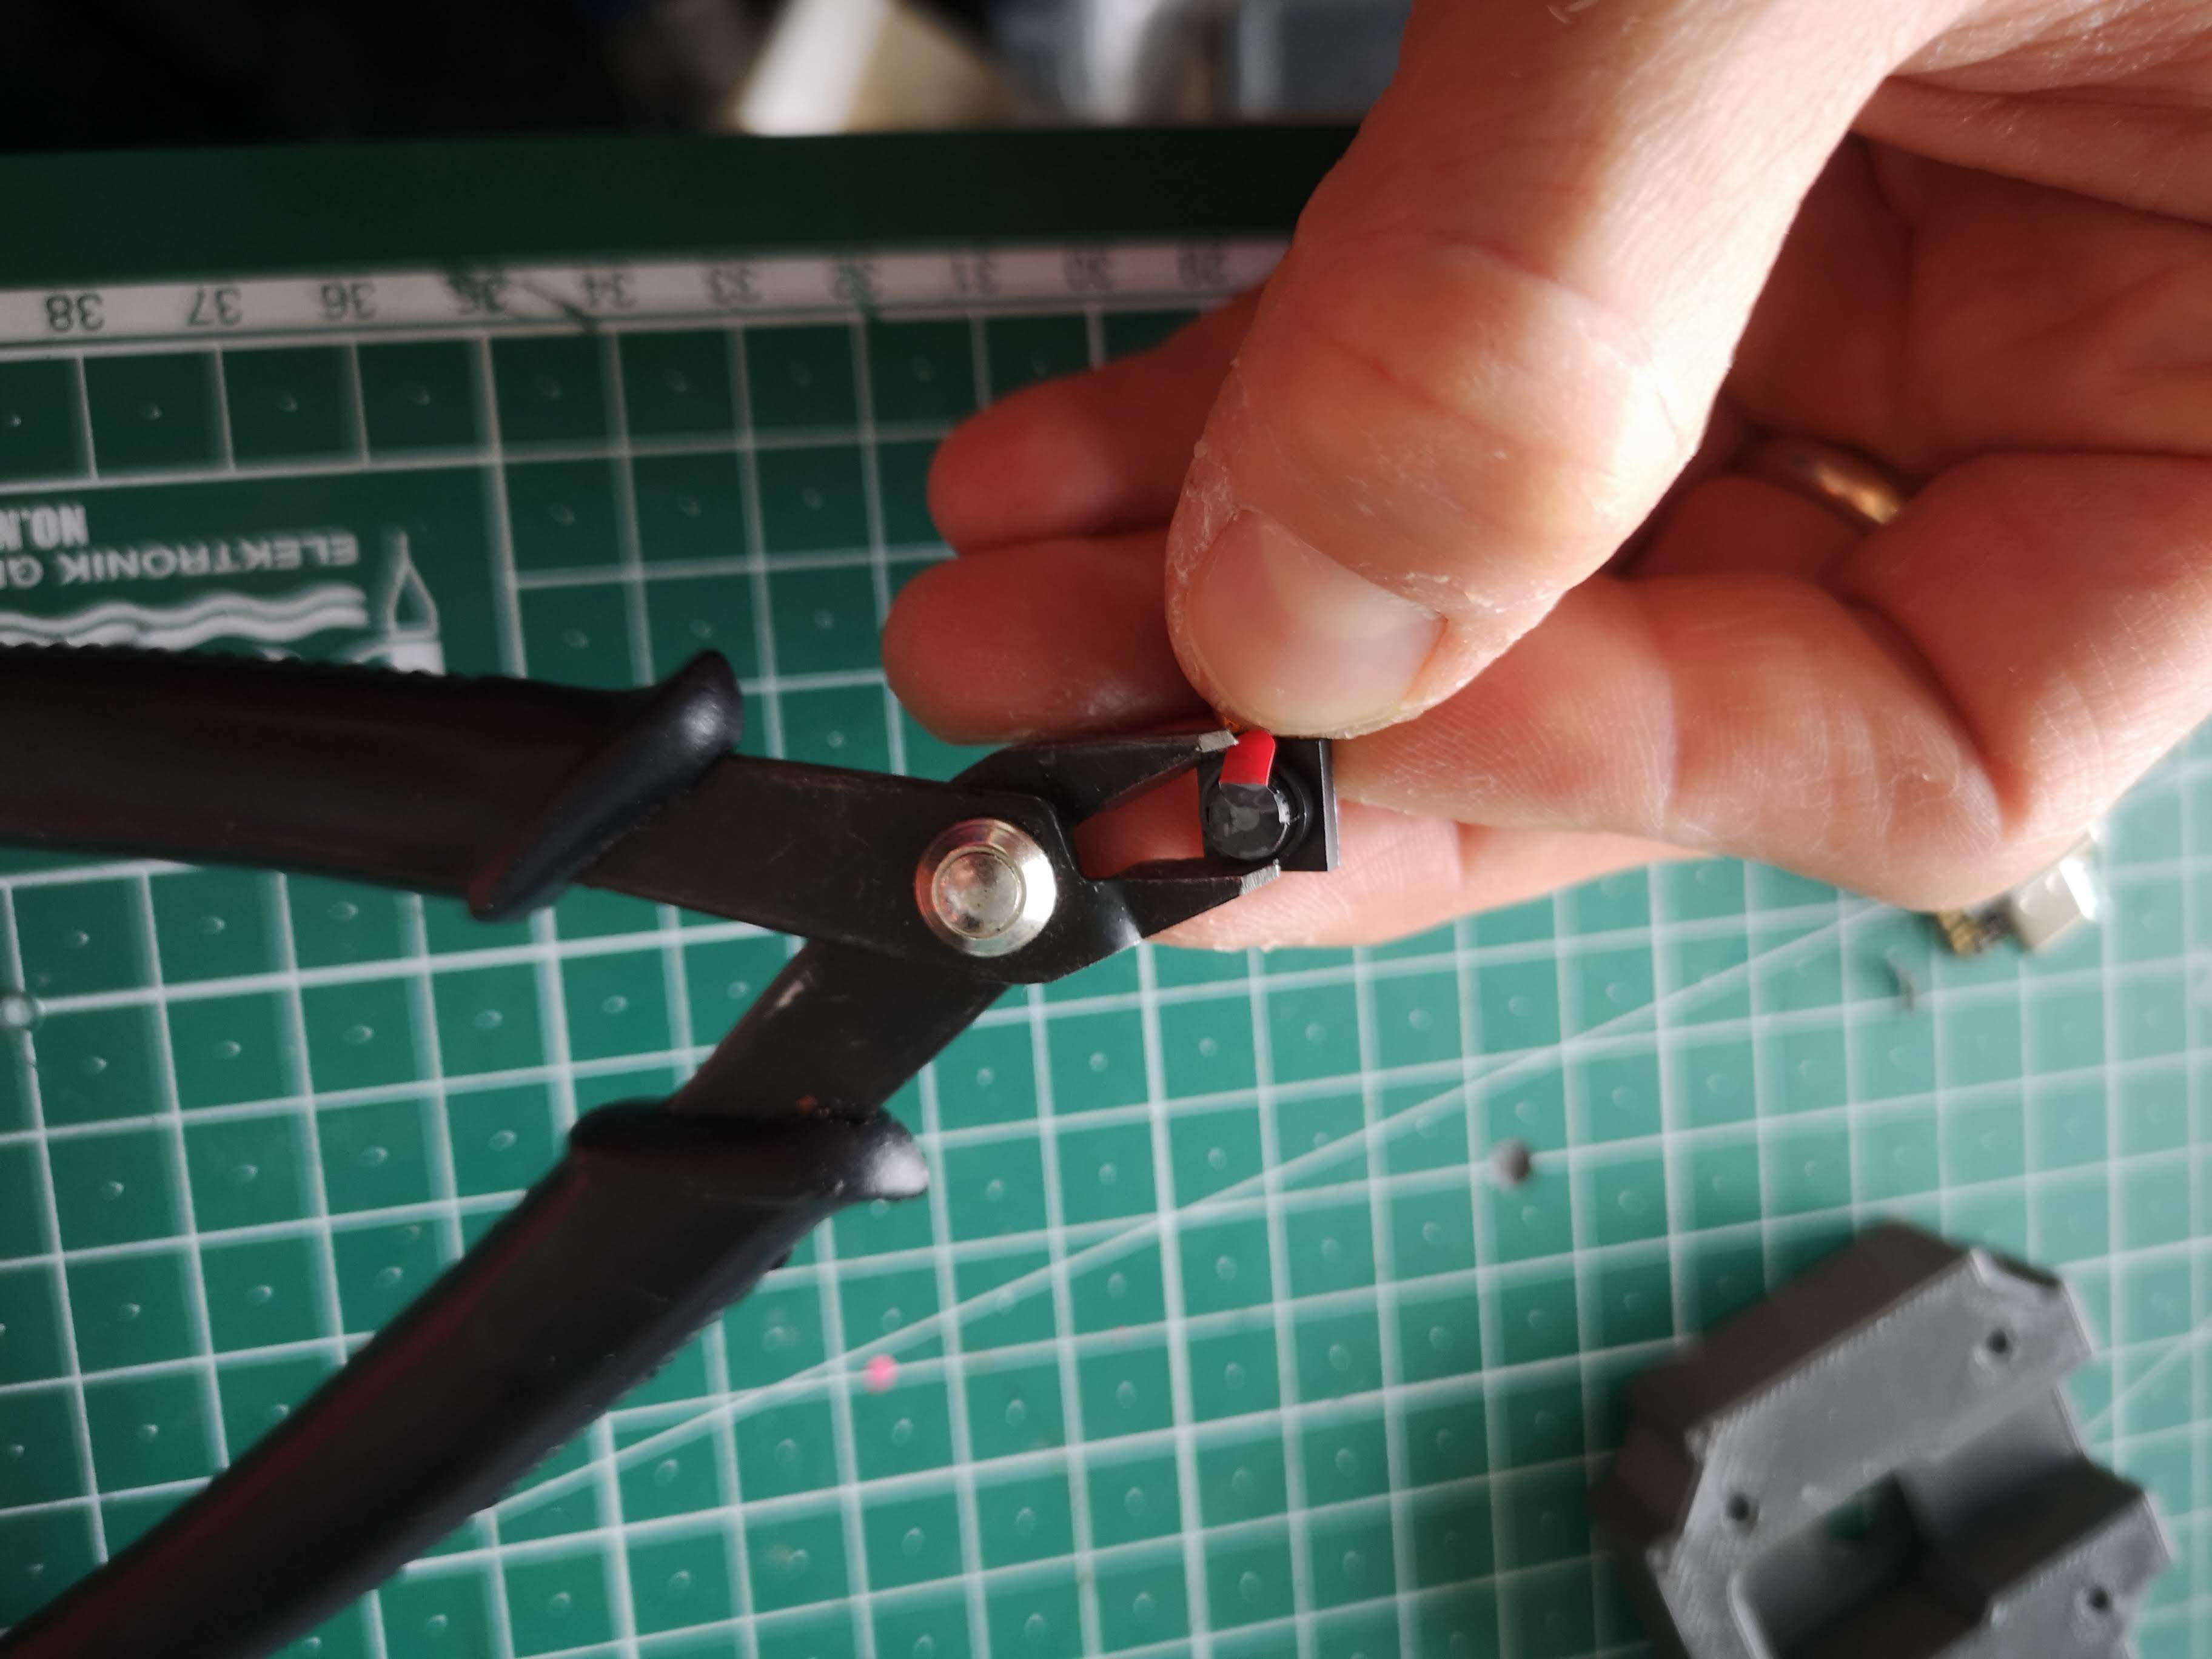
Have Camera seperate makes it easier to unscrew the lens
Add camera back to the xiao module
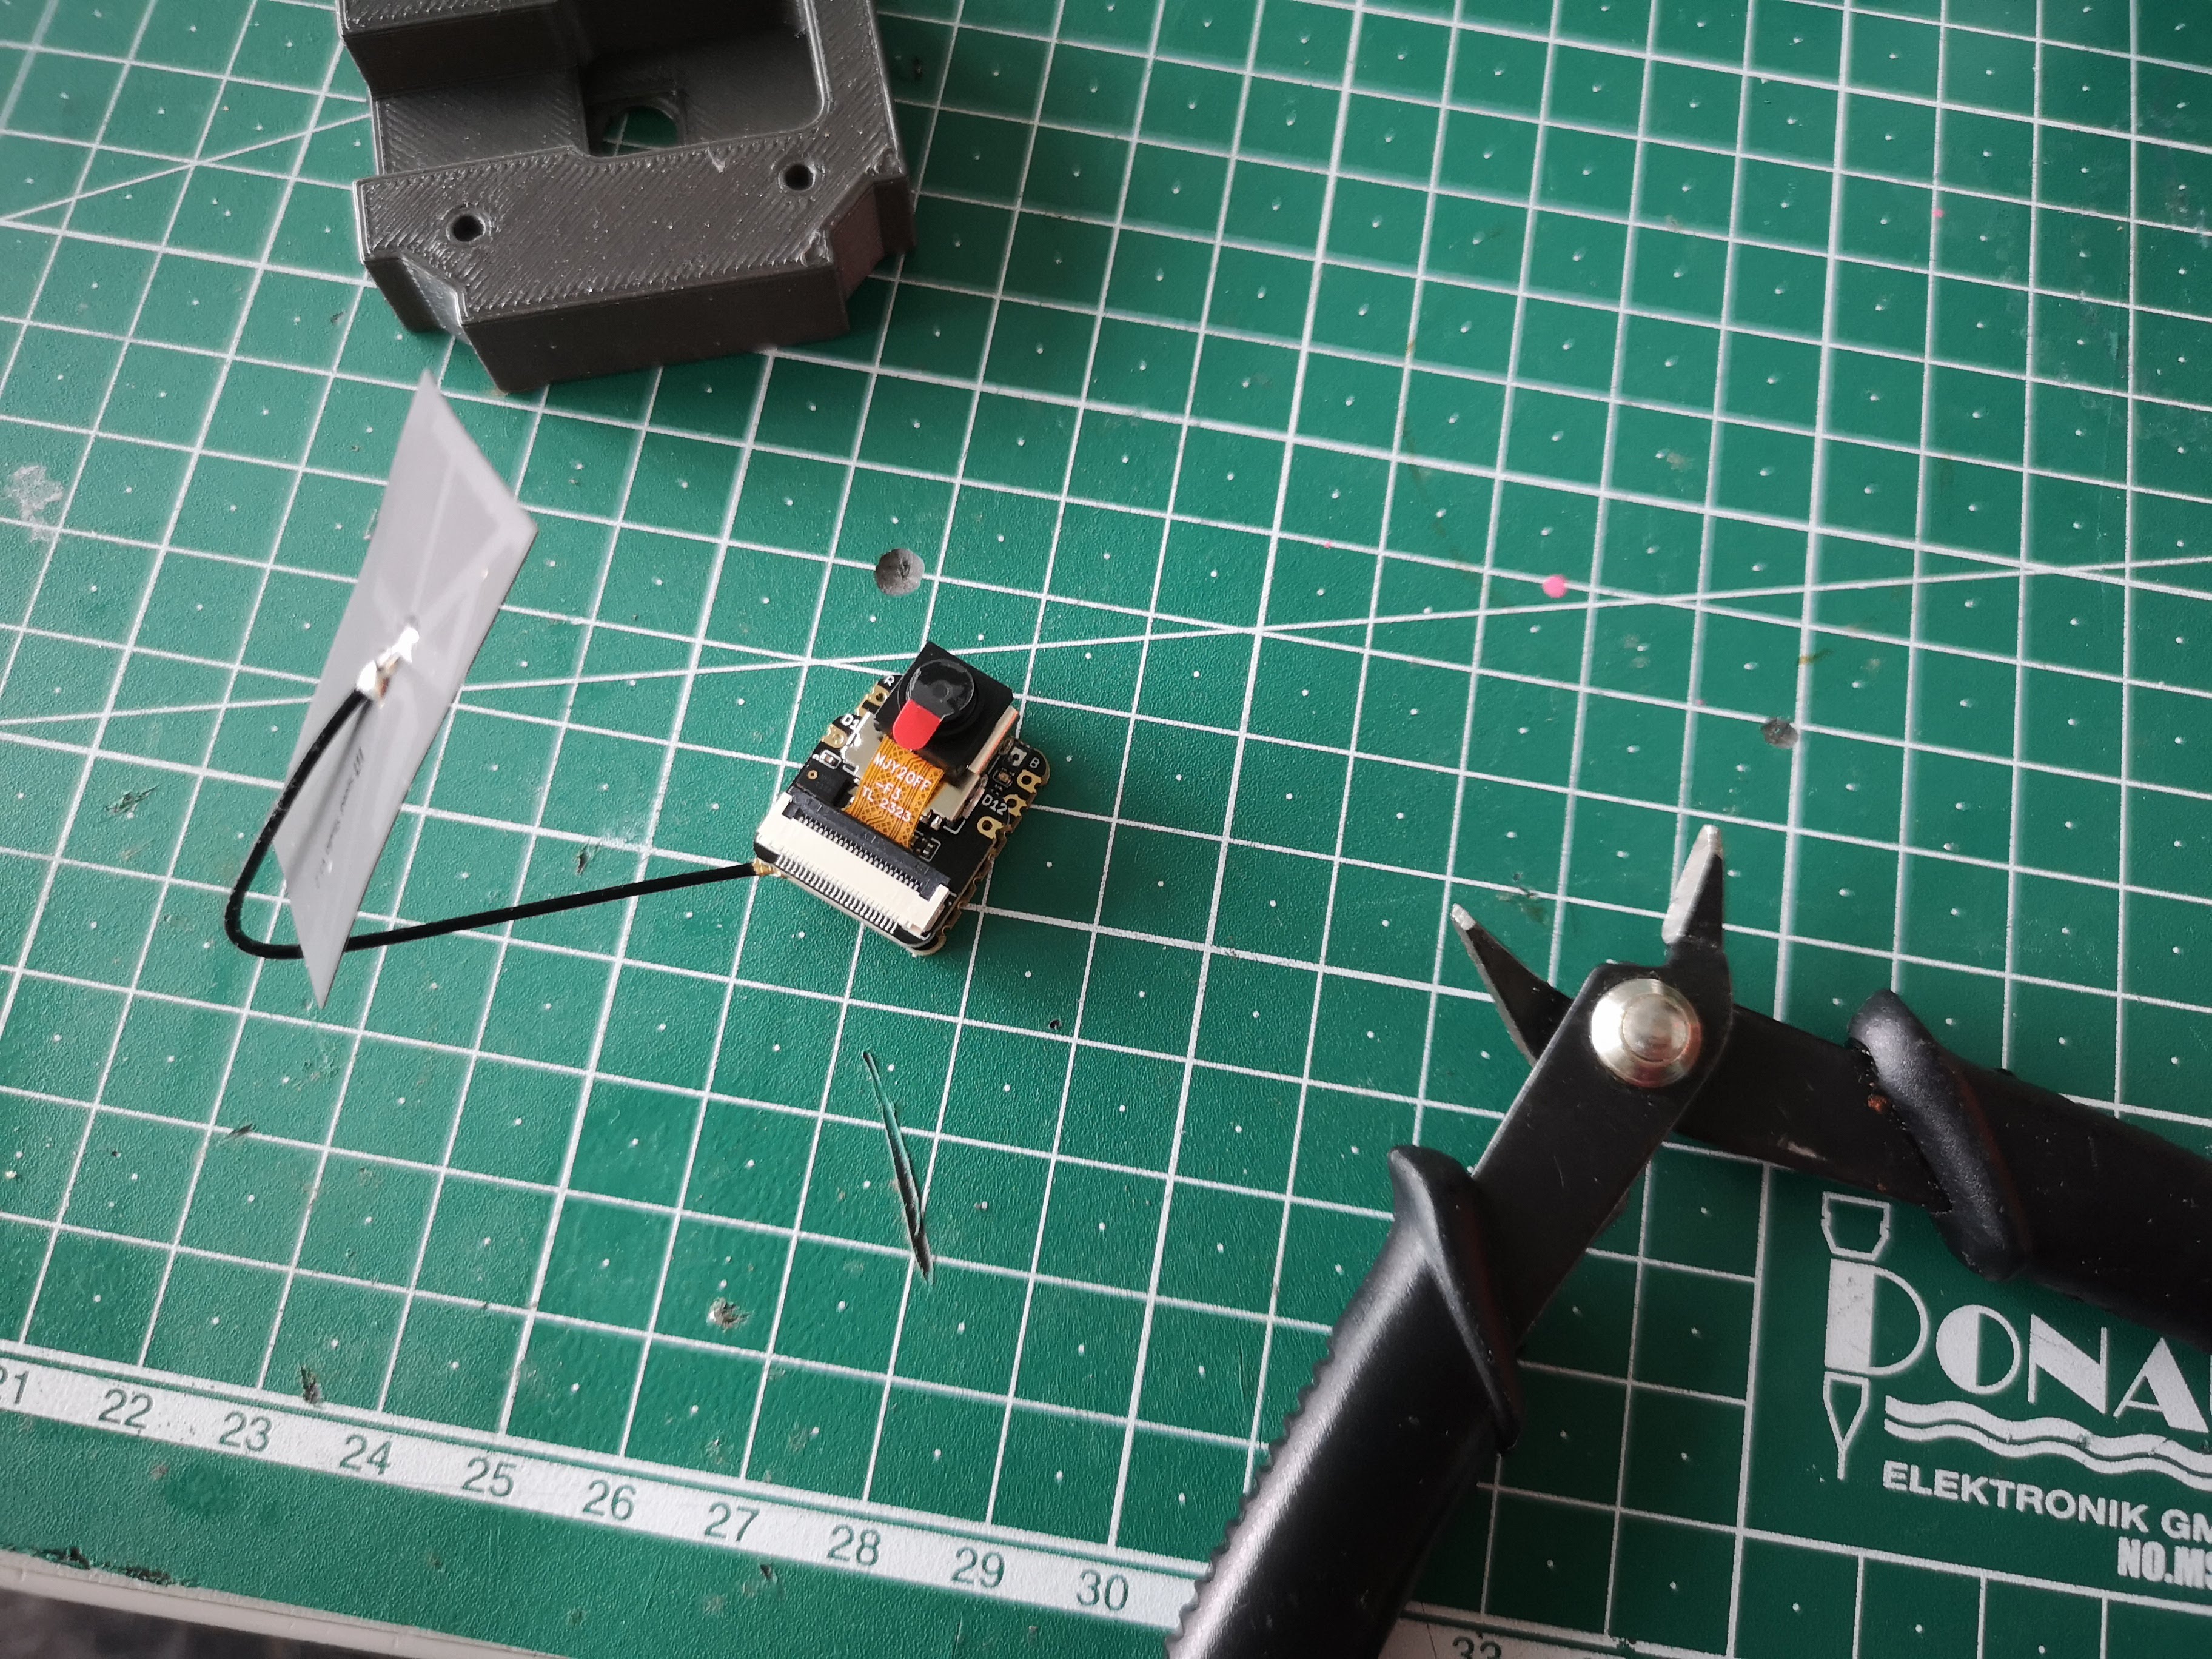
Place camera in cube insert
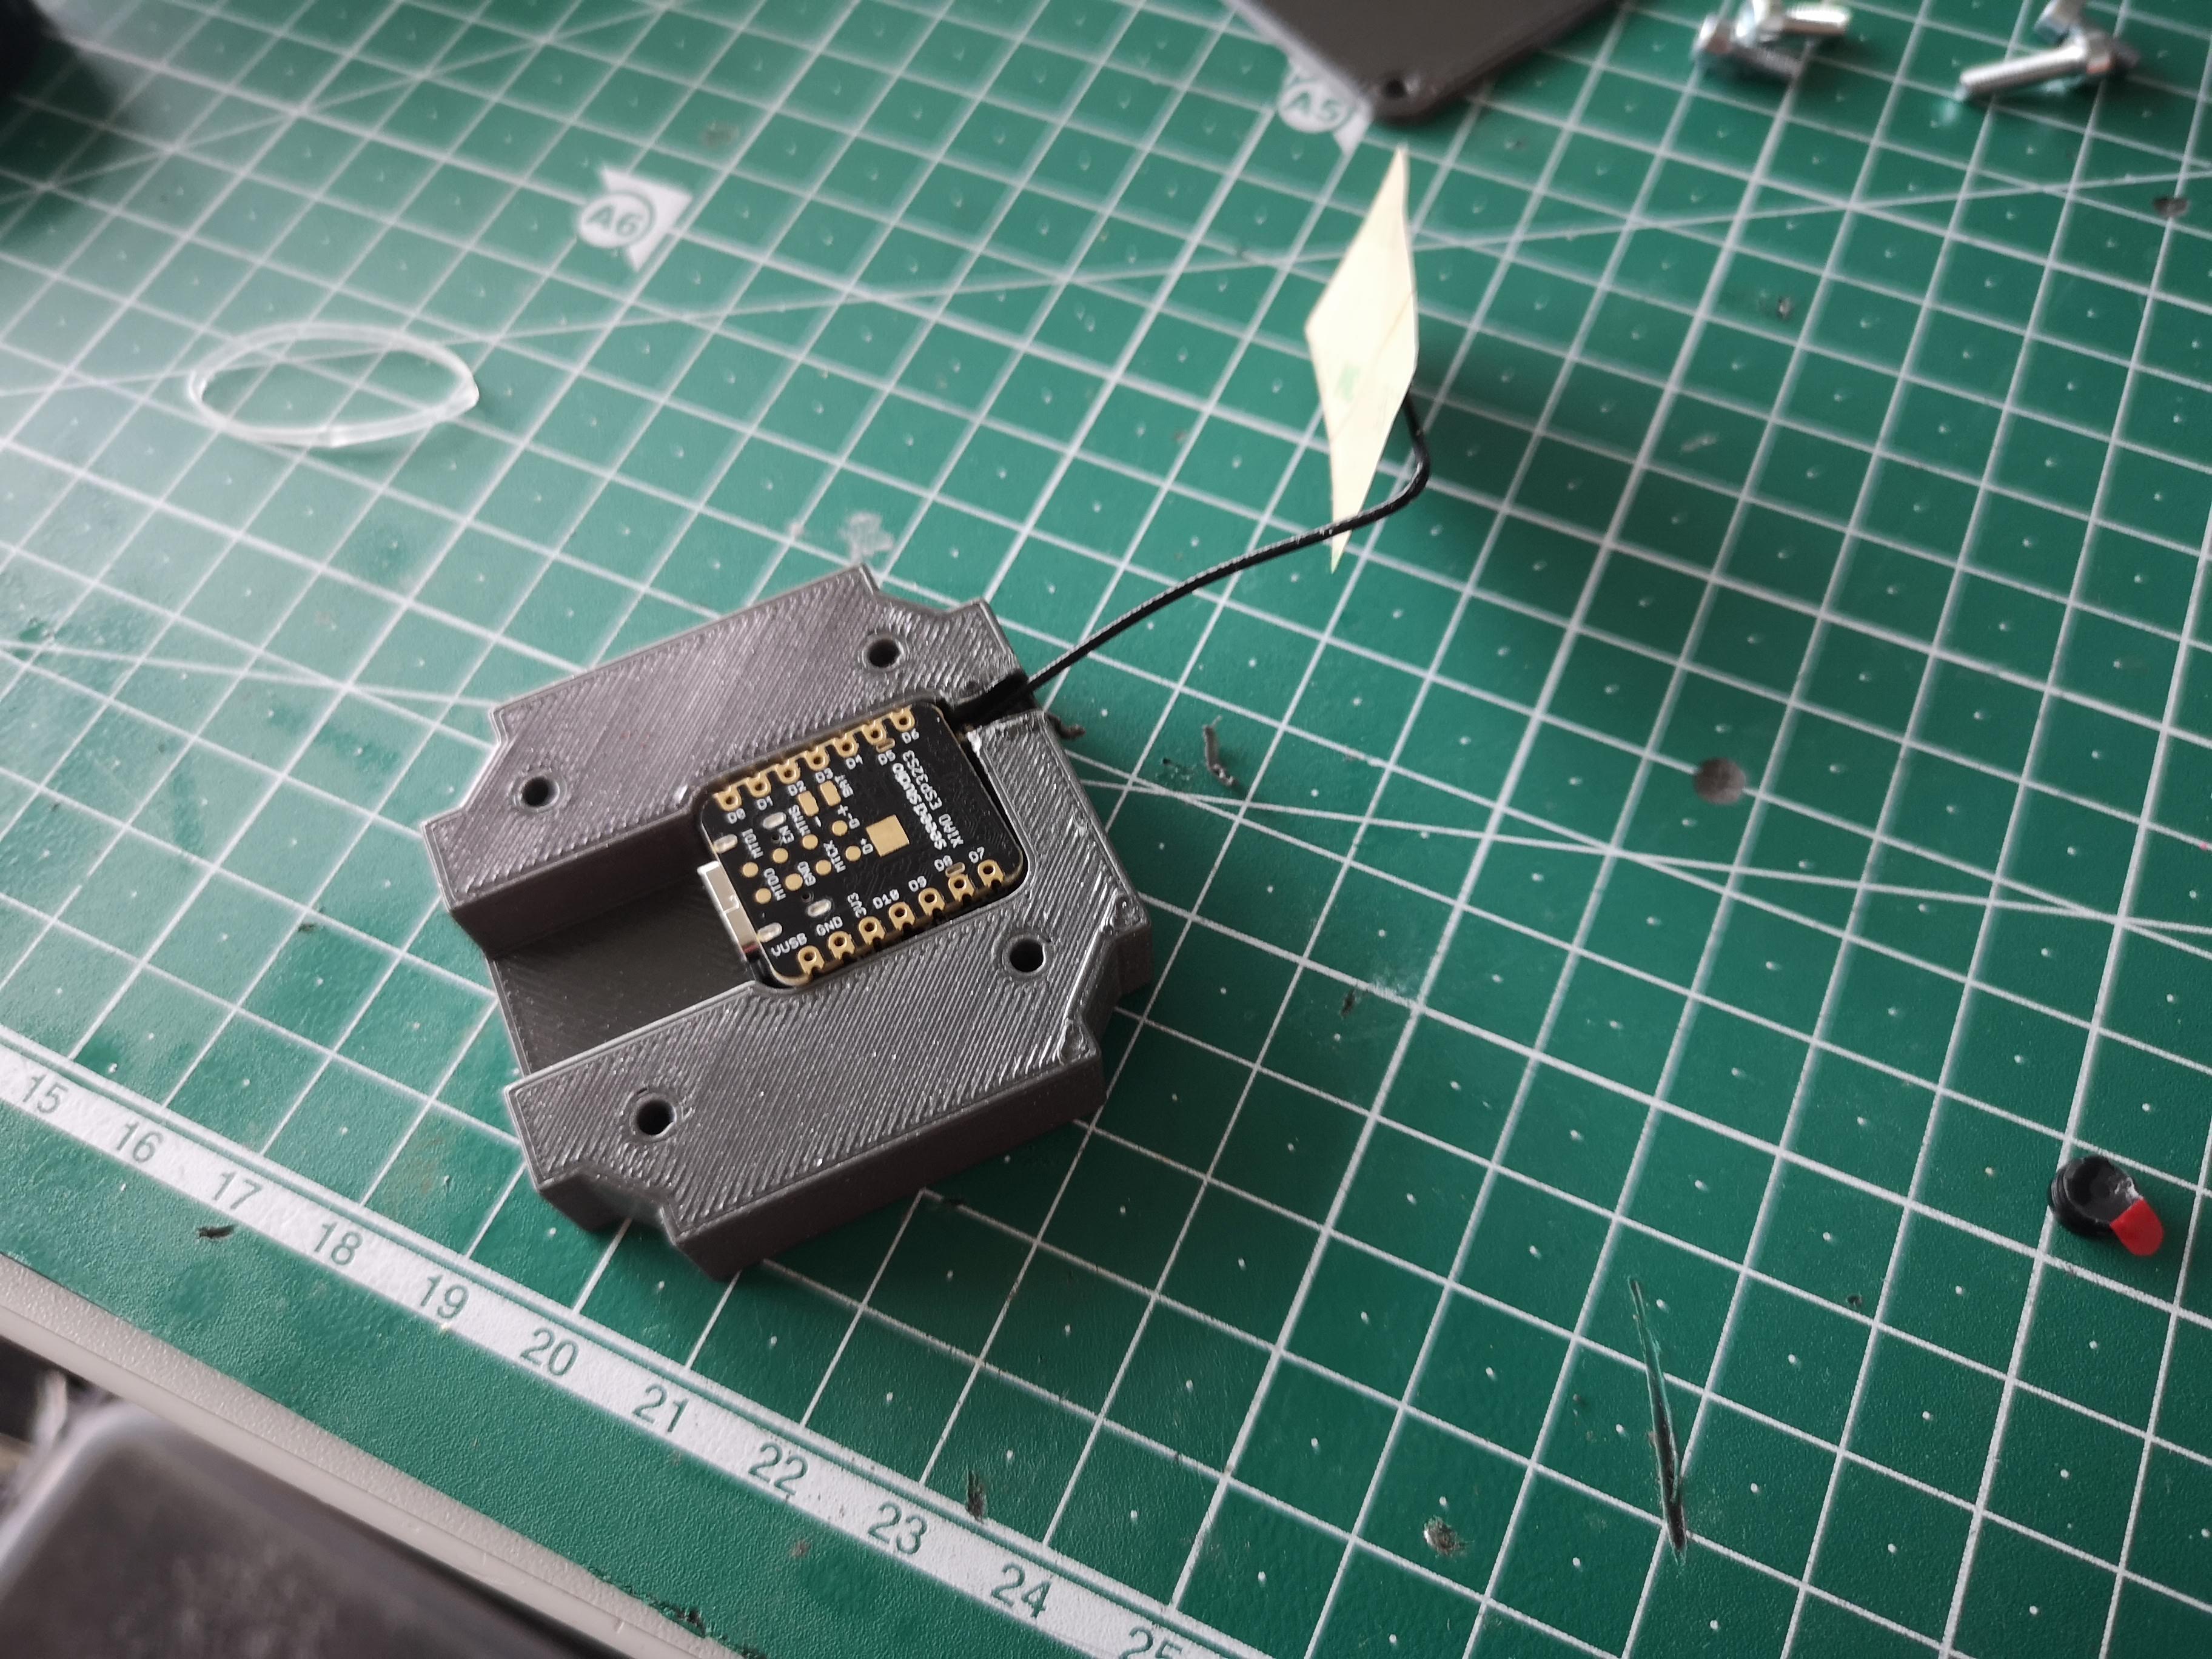
Make sure camera lurkes through the hole
Add lid with screws
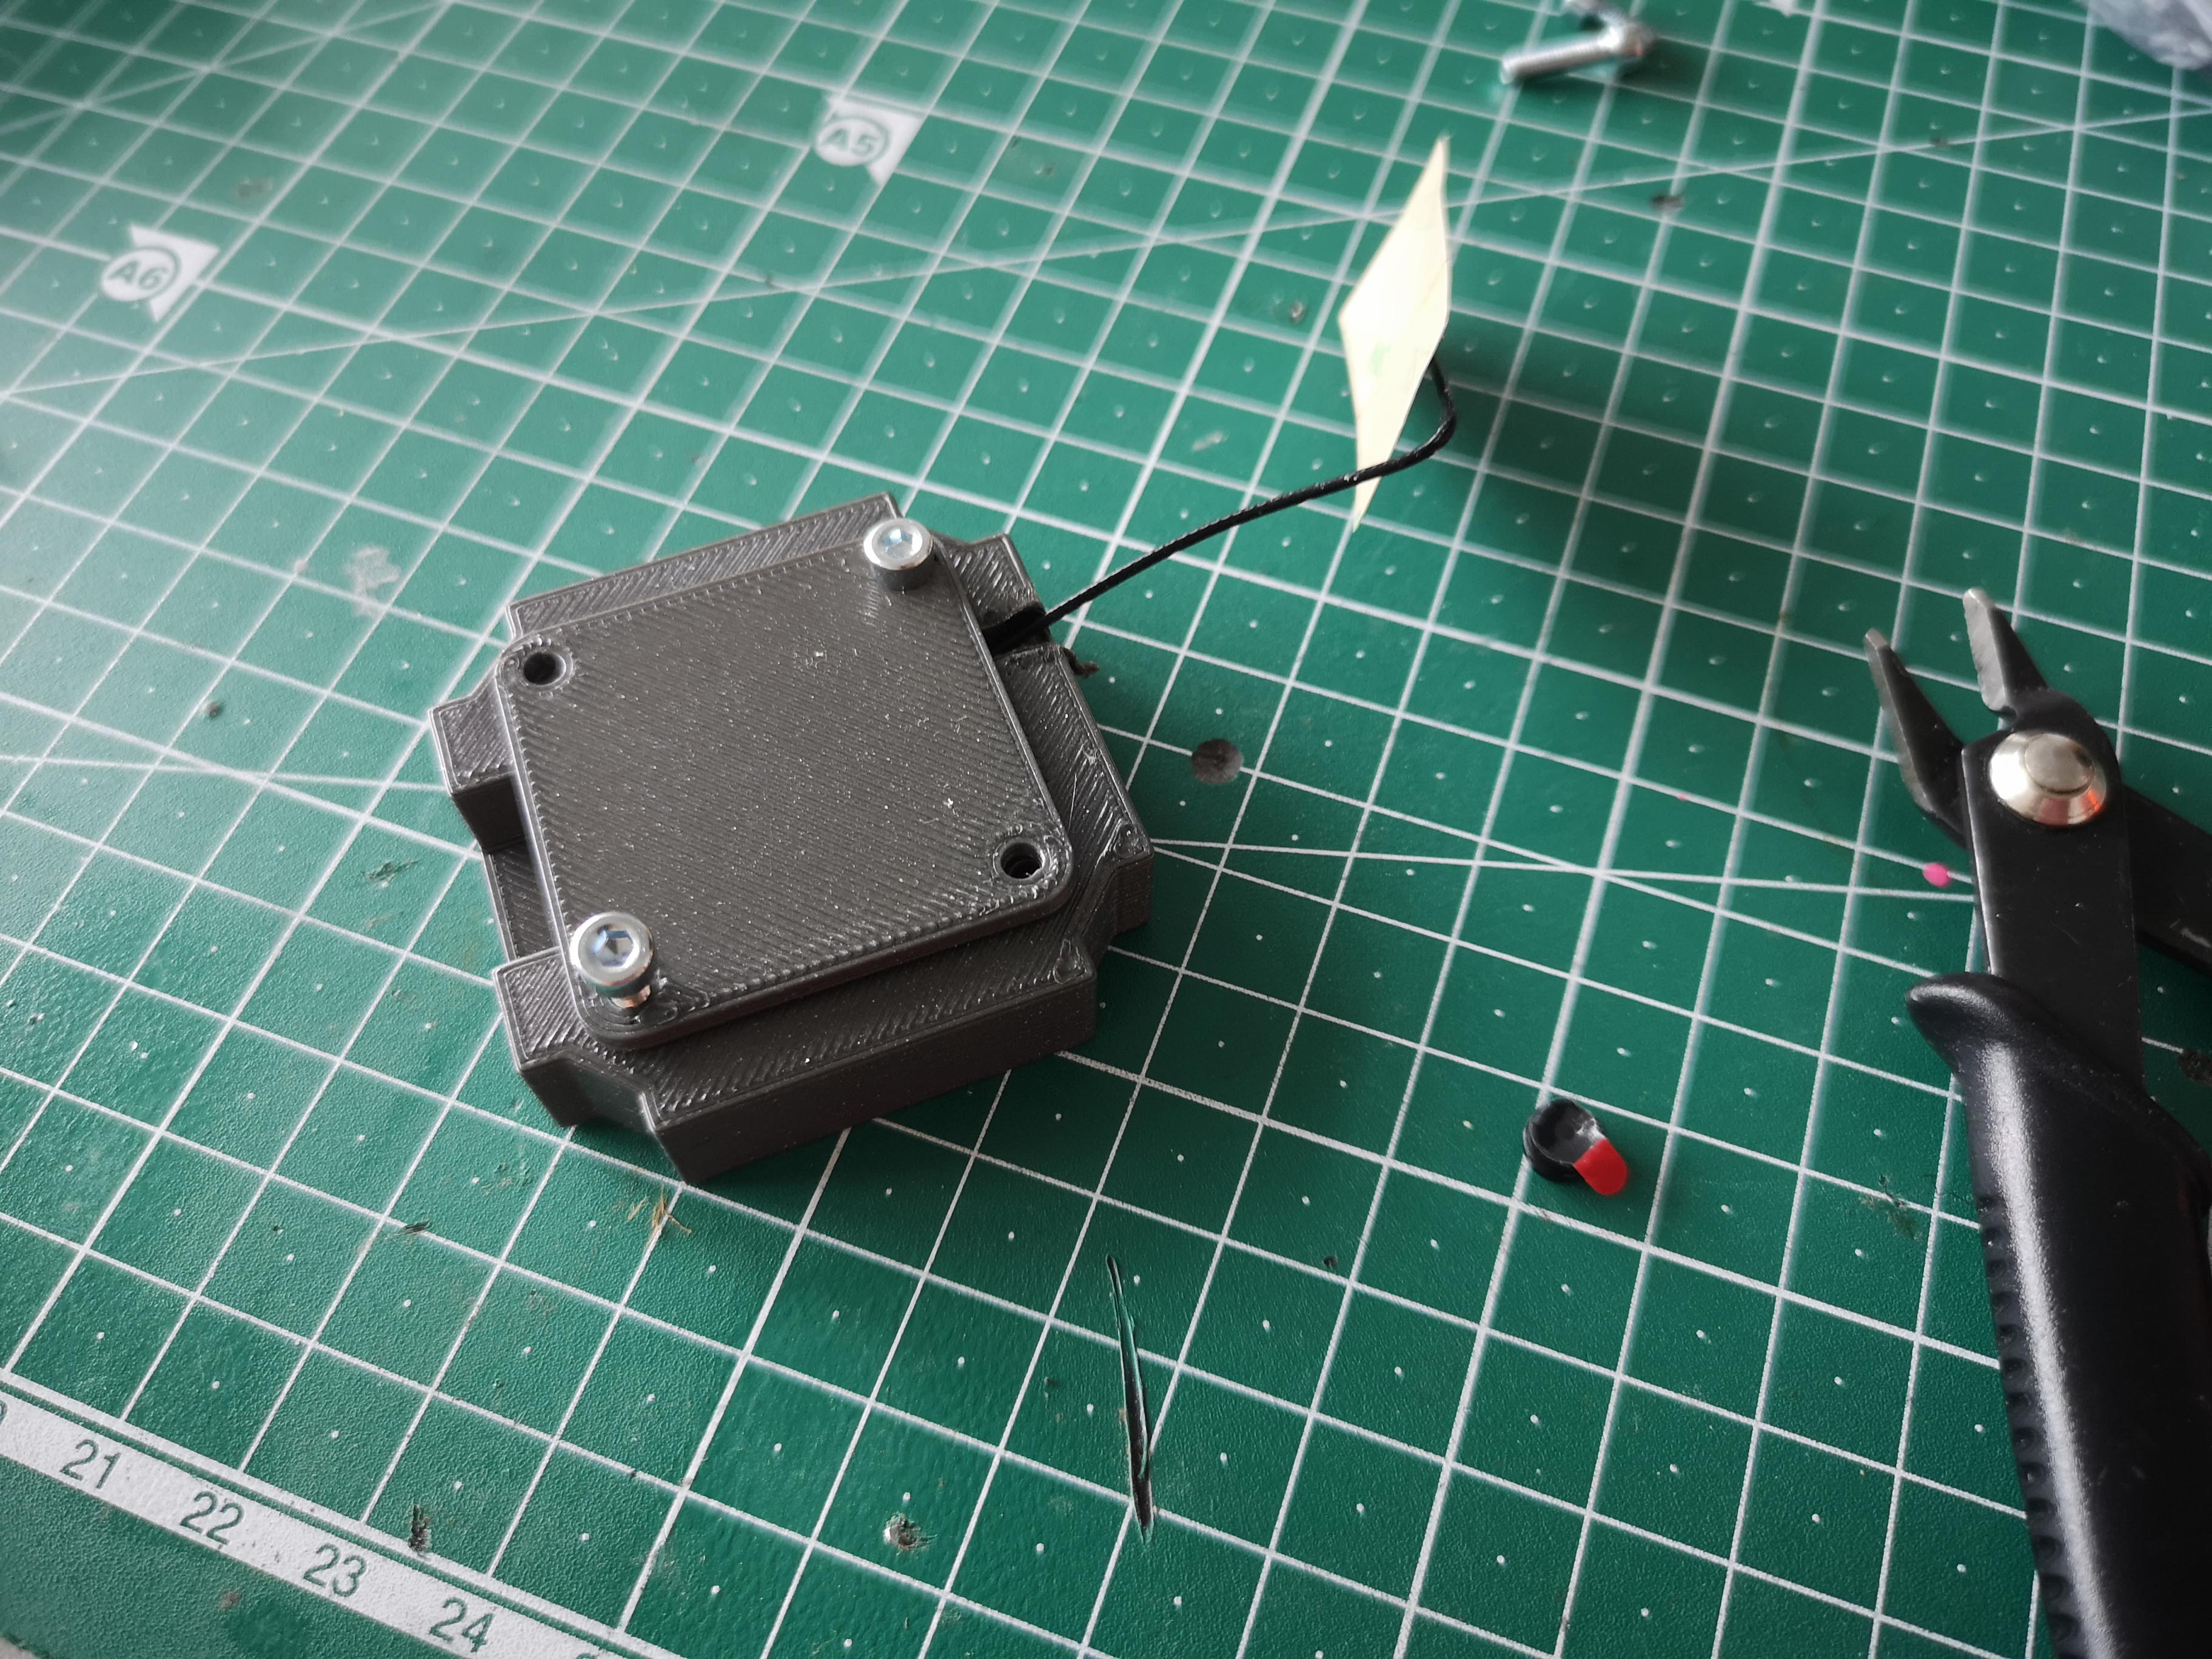
Stick wifi antenna round the edge
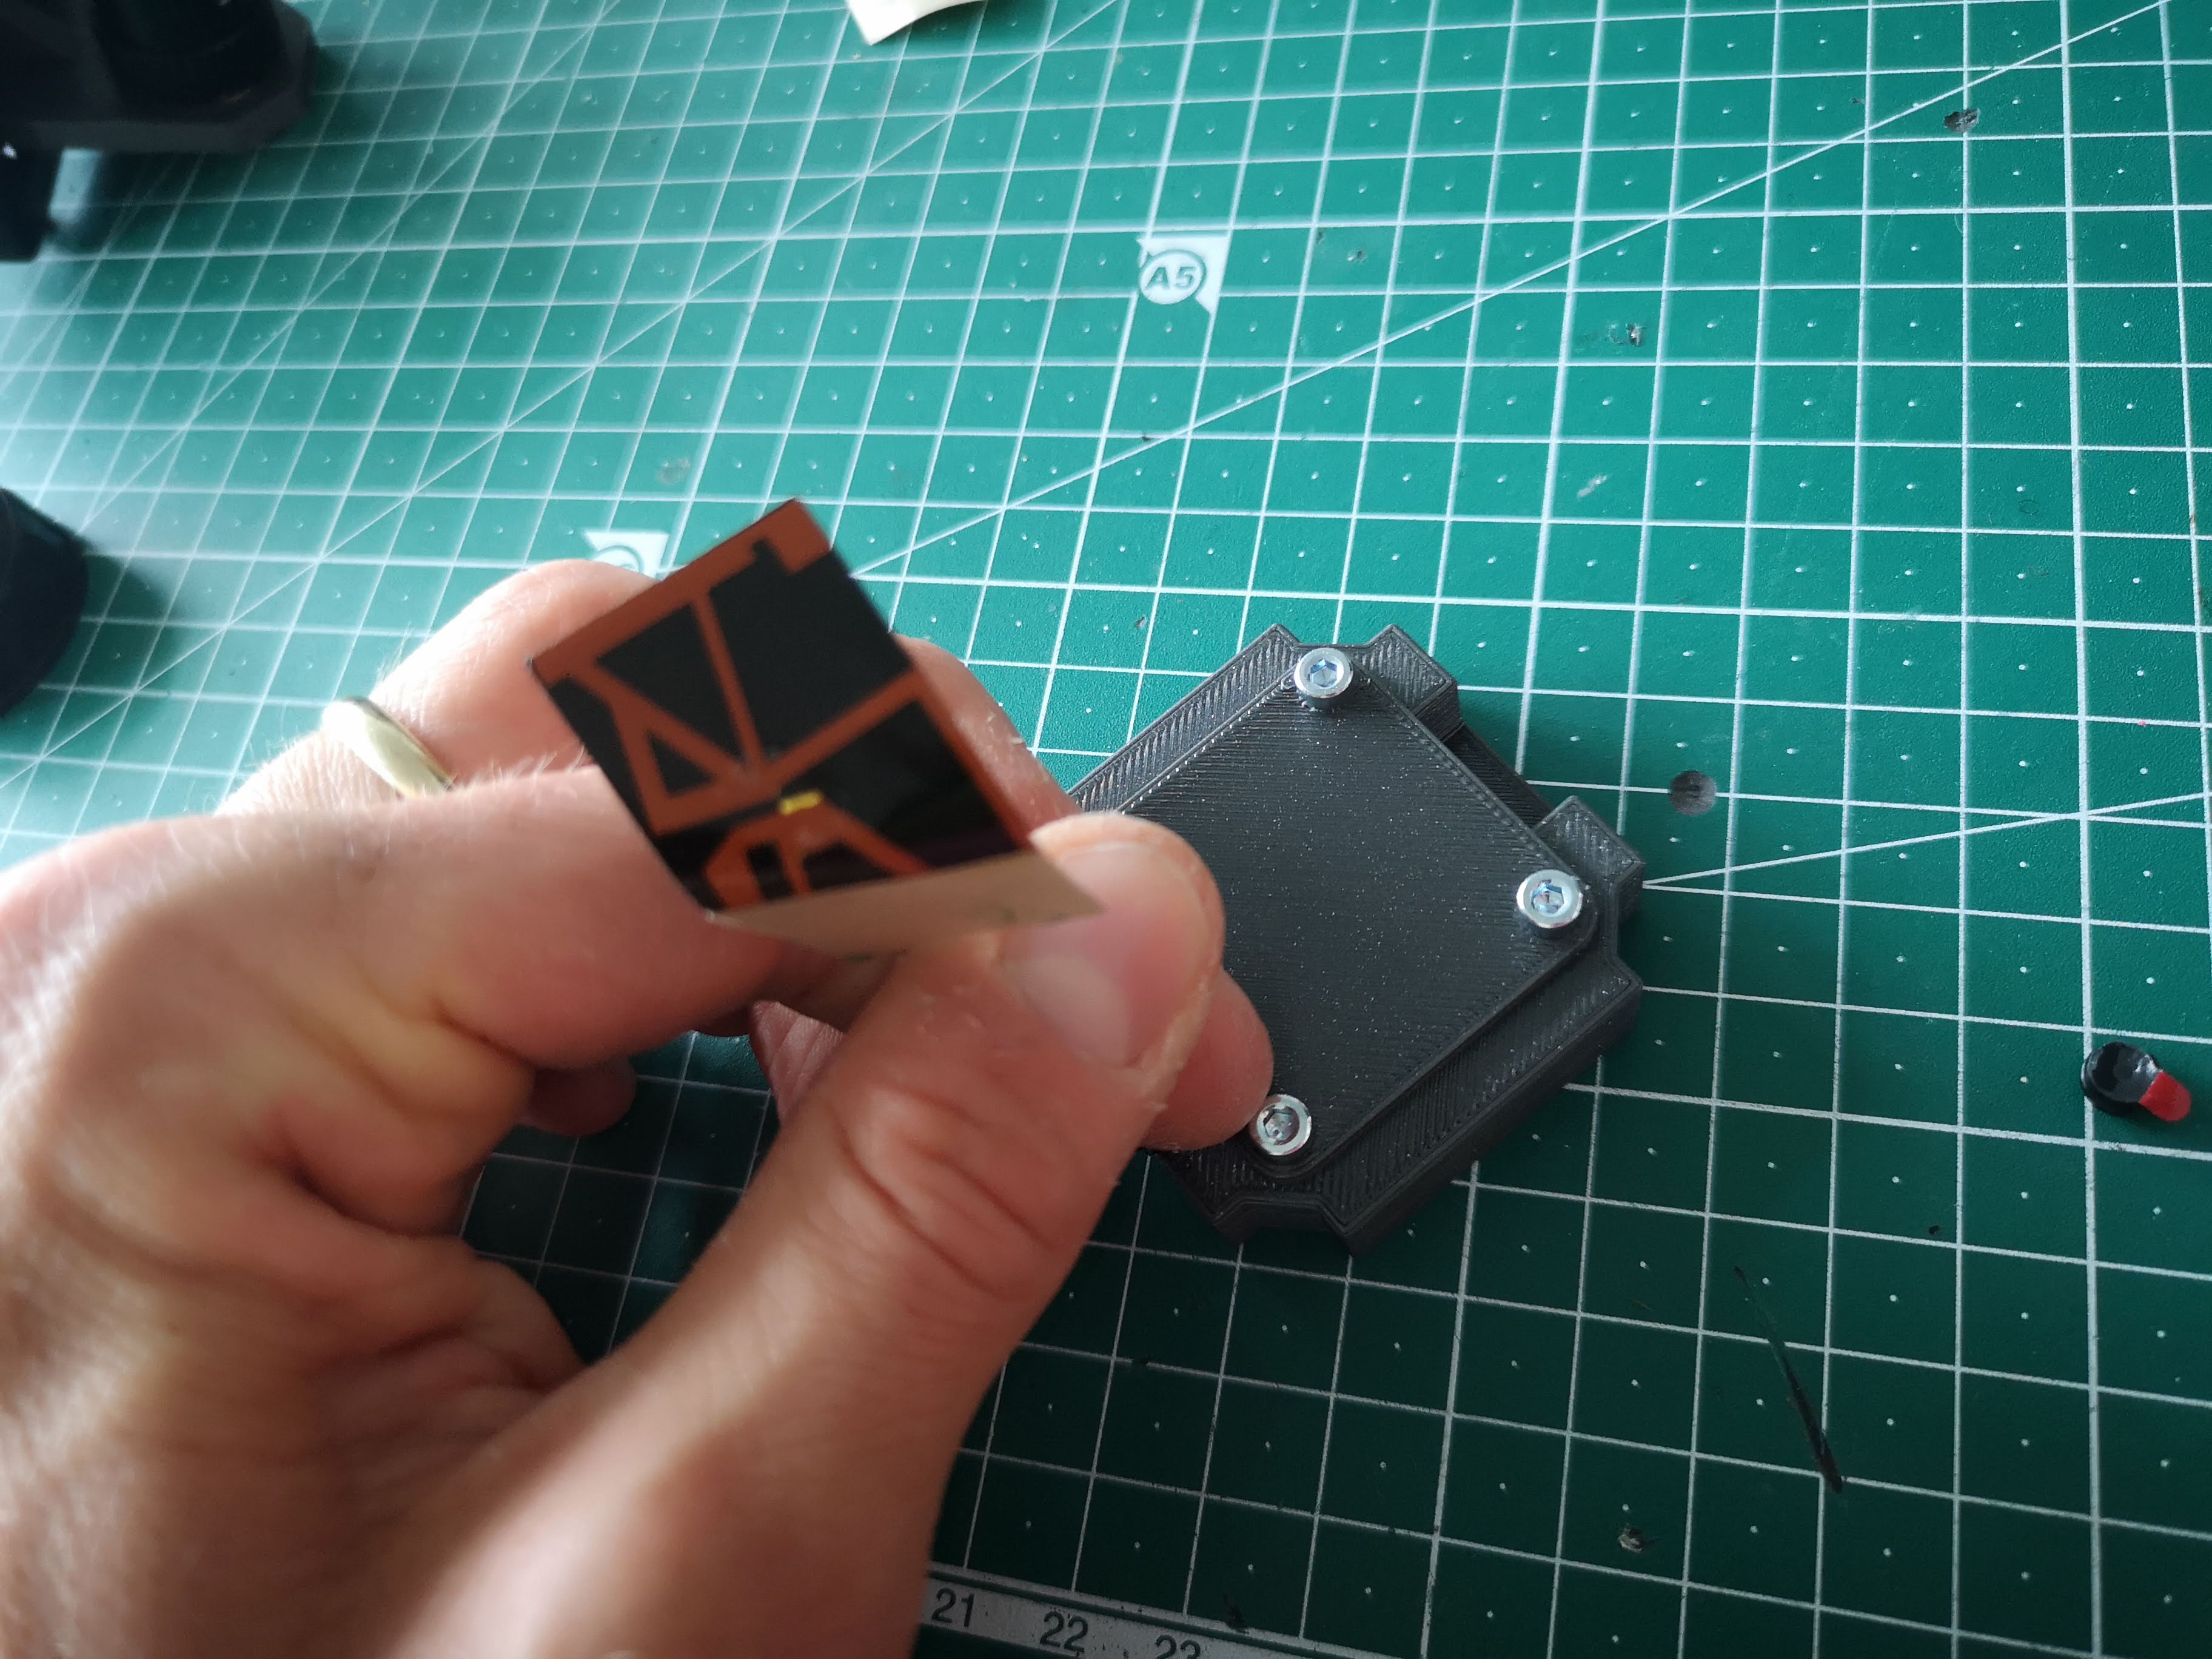
Place inside cube
Make sure USB entry is facing to one side without the pins
Sample and Light Cube
All necessary parts
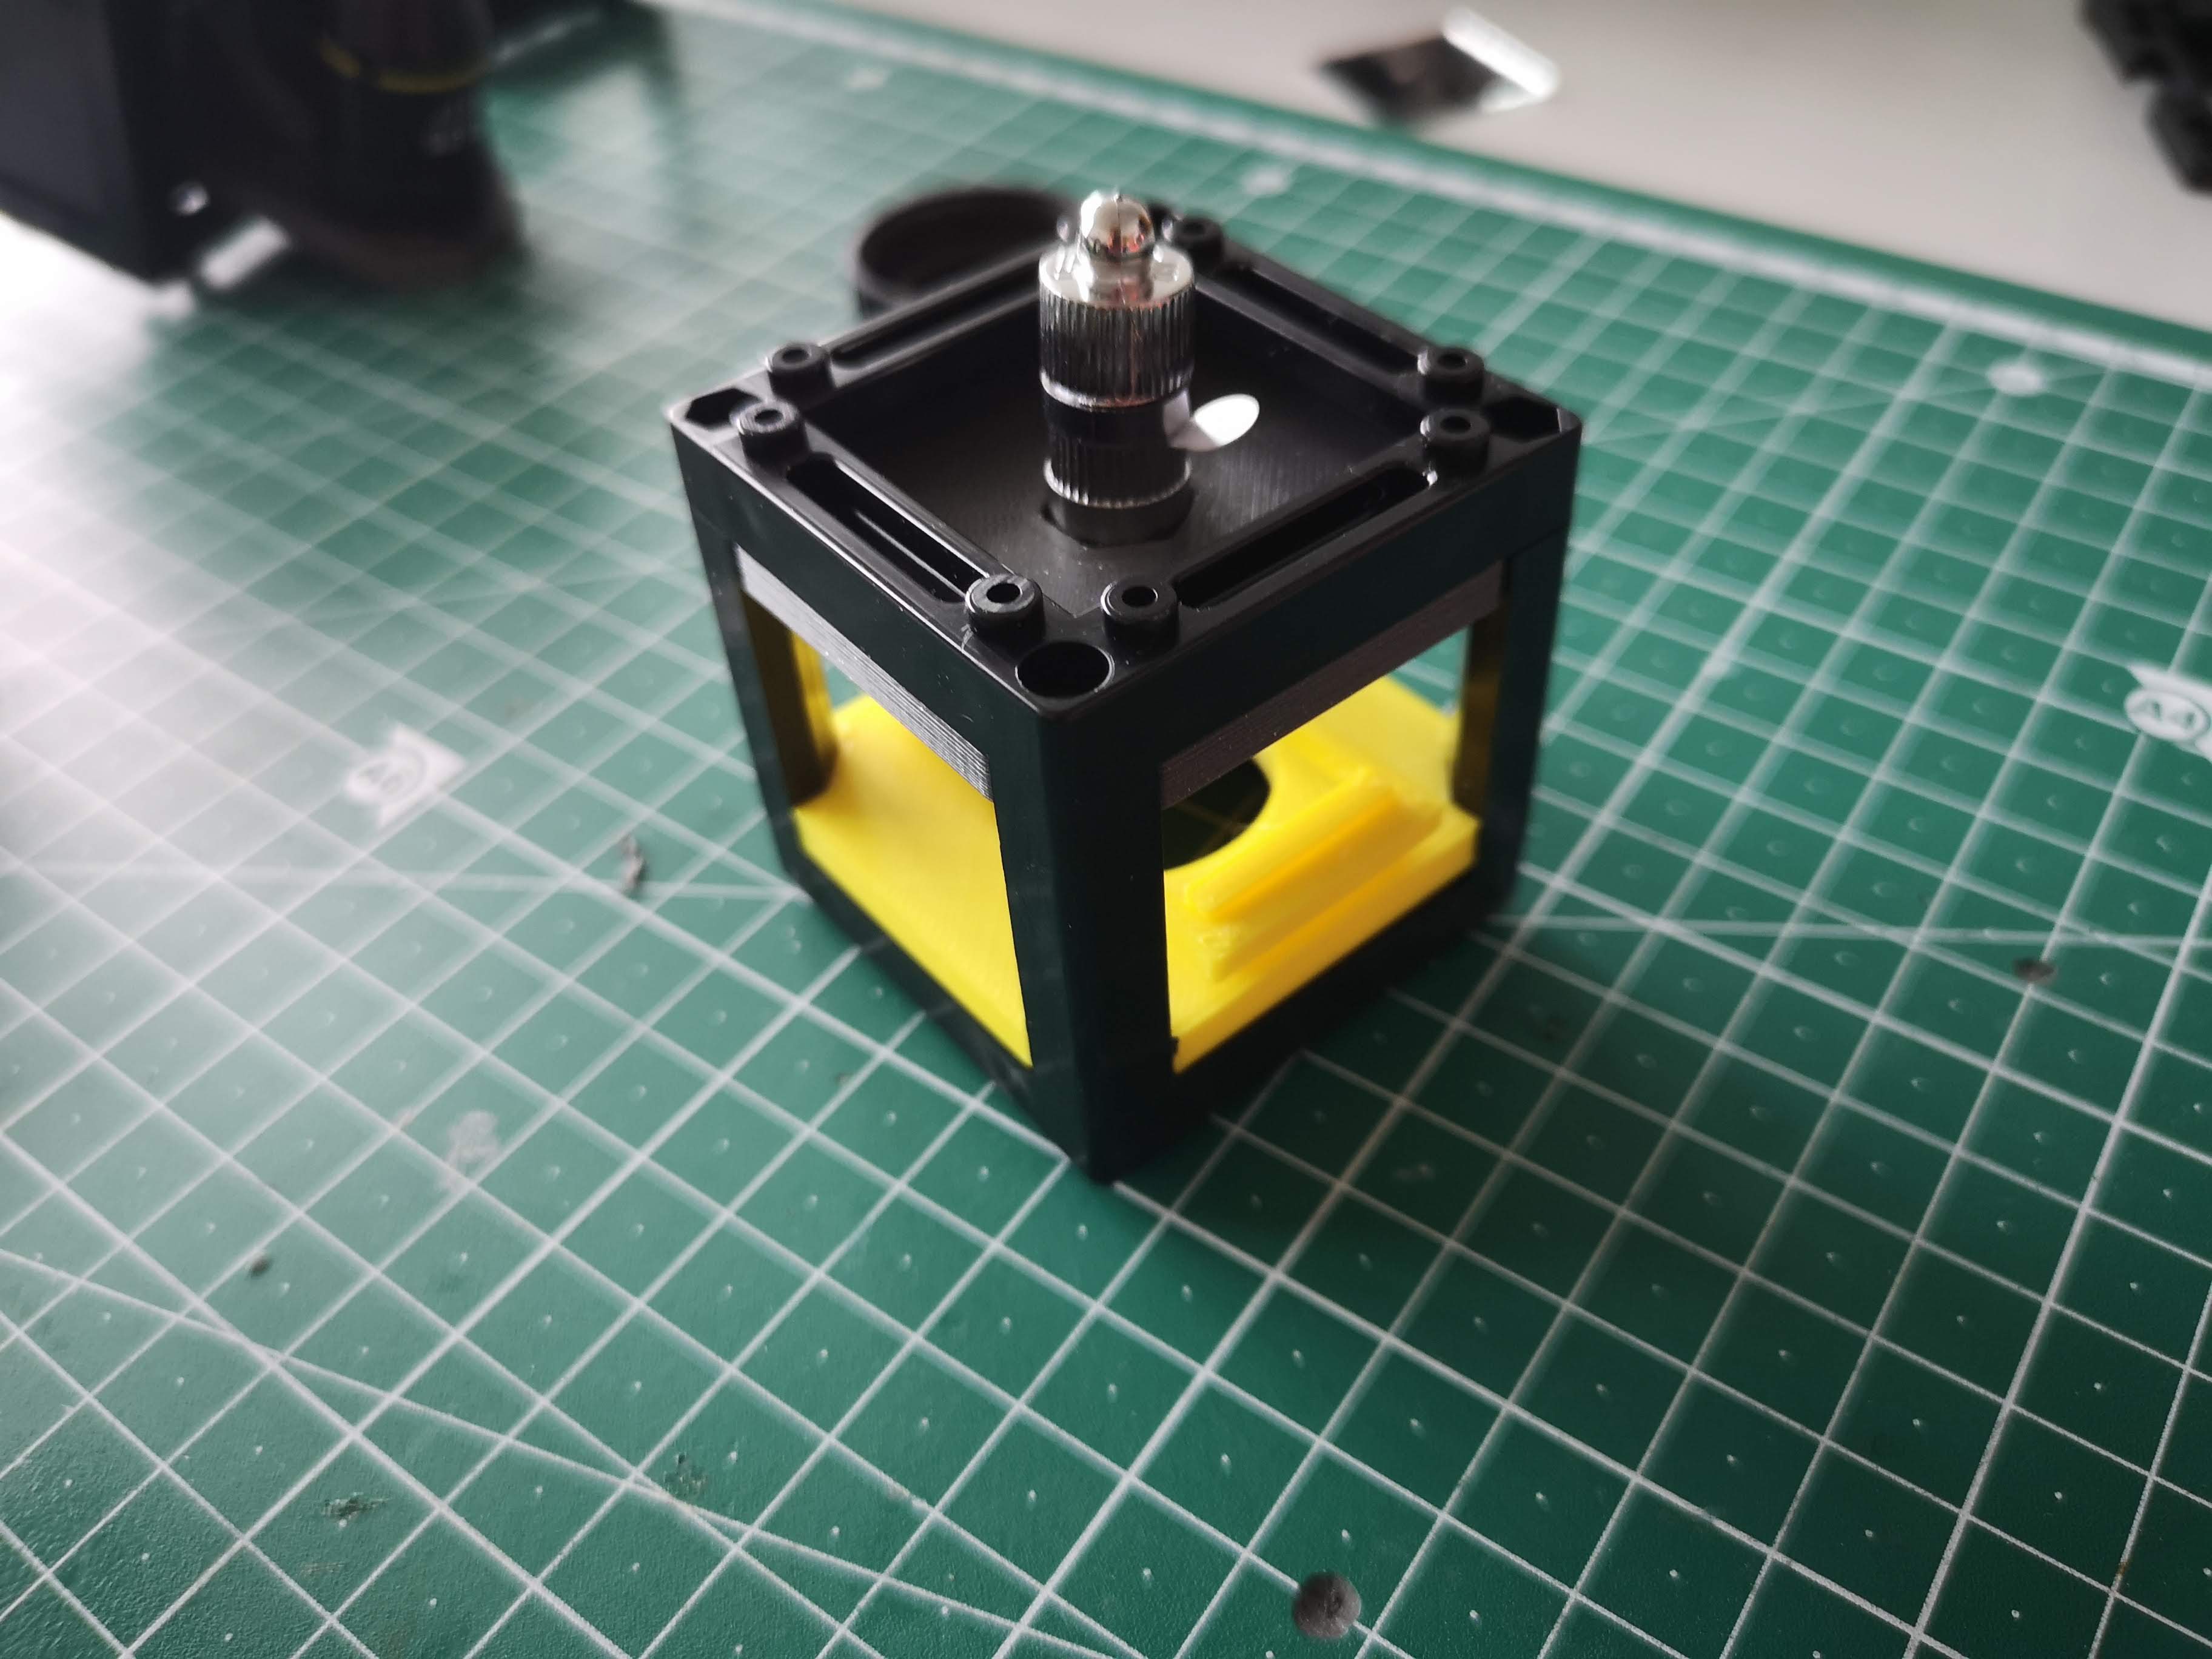
ADd light to insert
Add sample mount to cube and close it
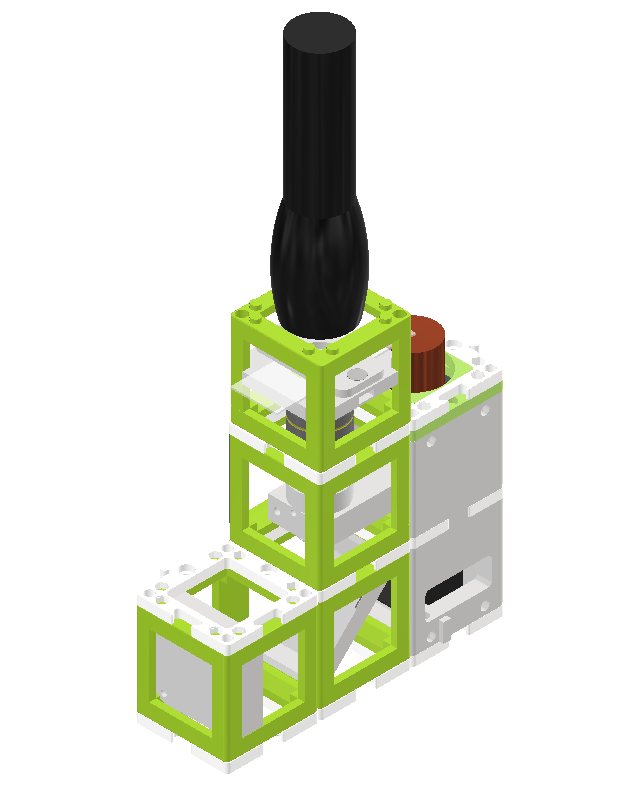
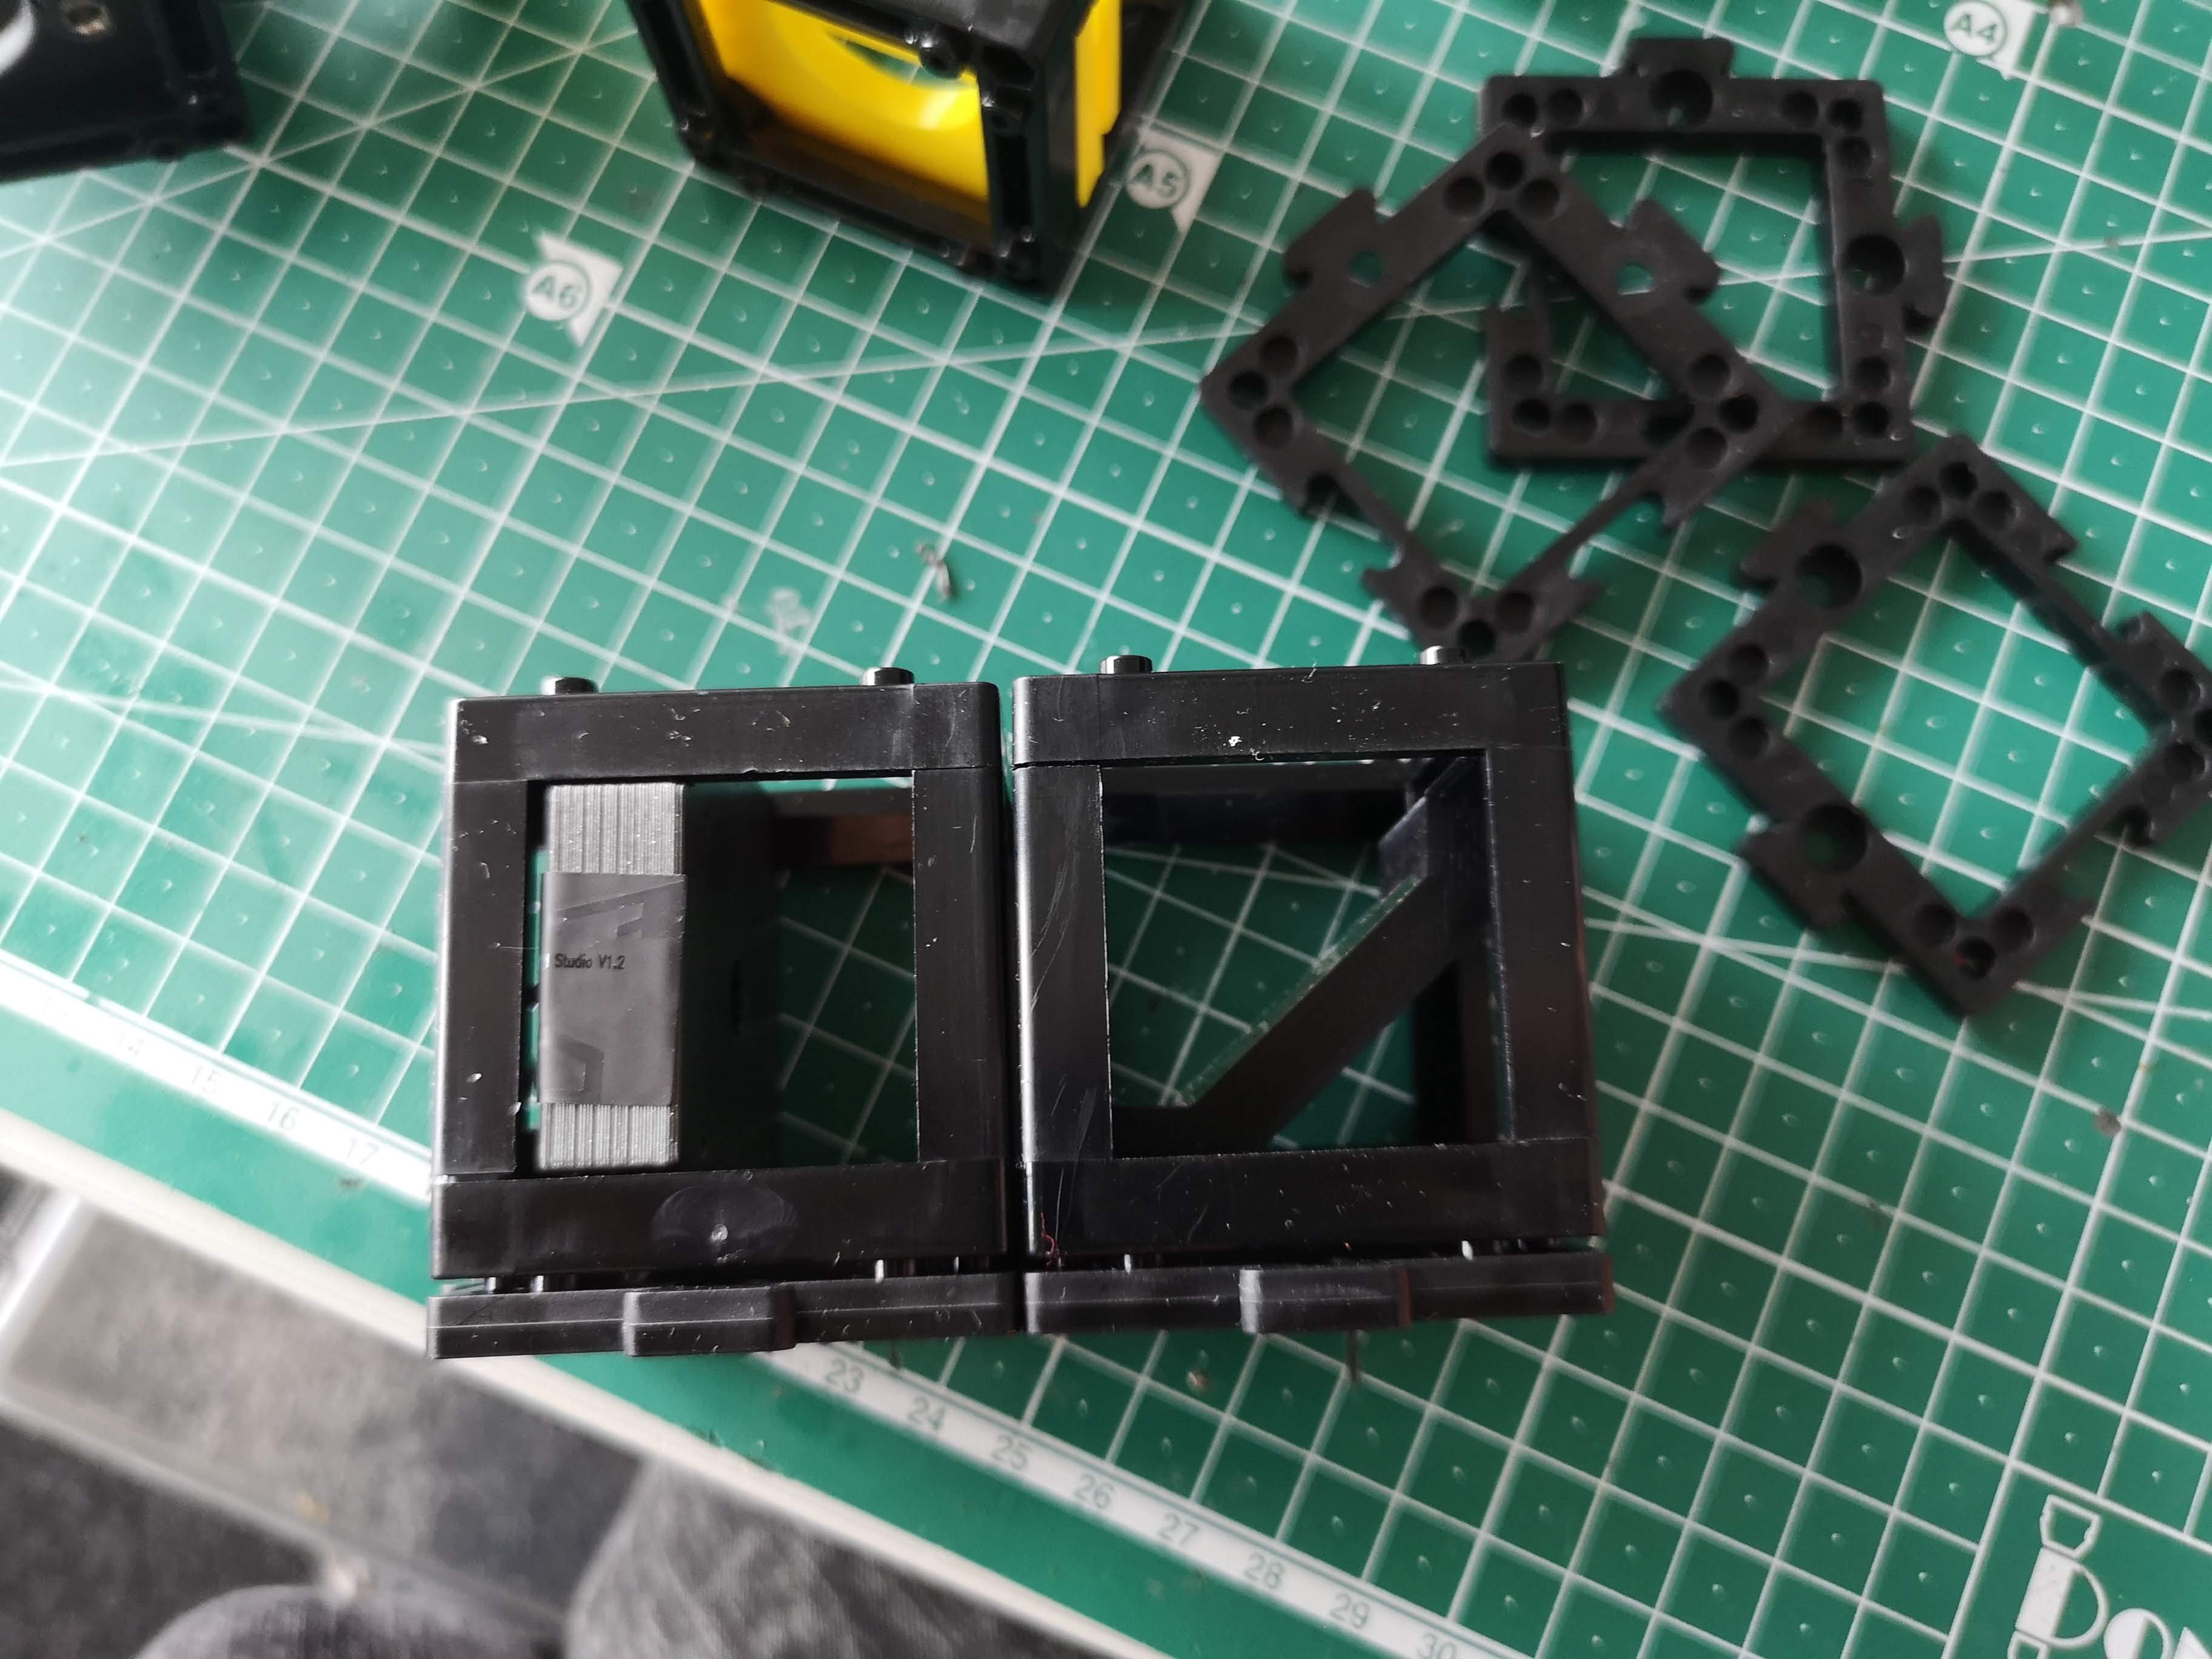
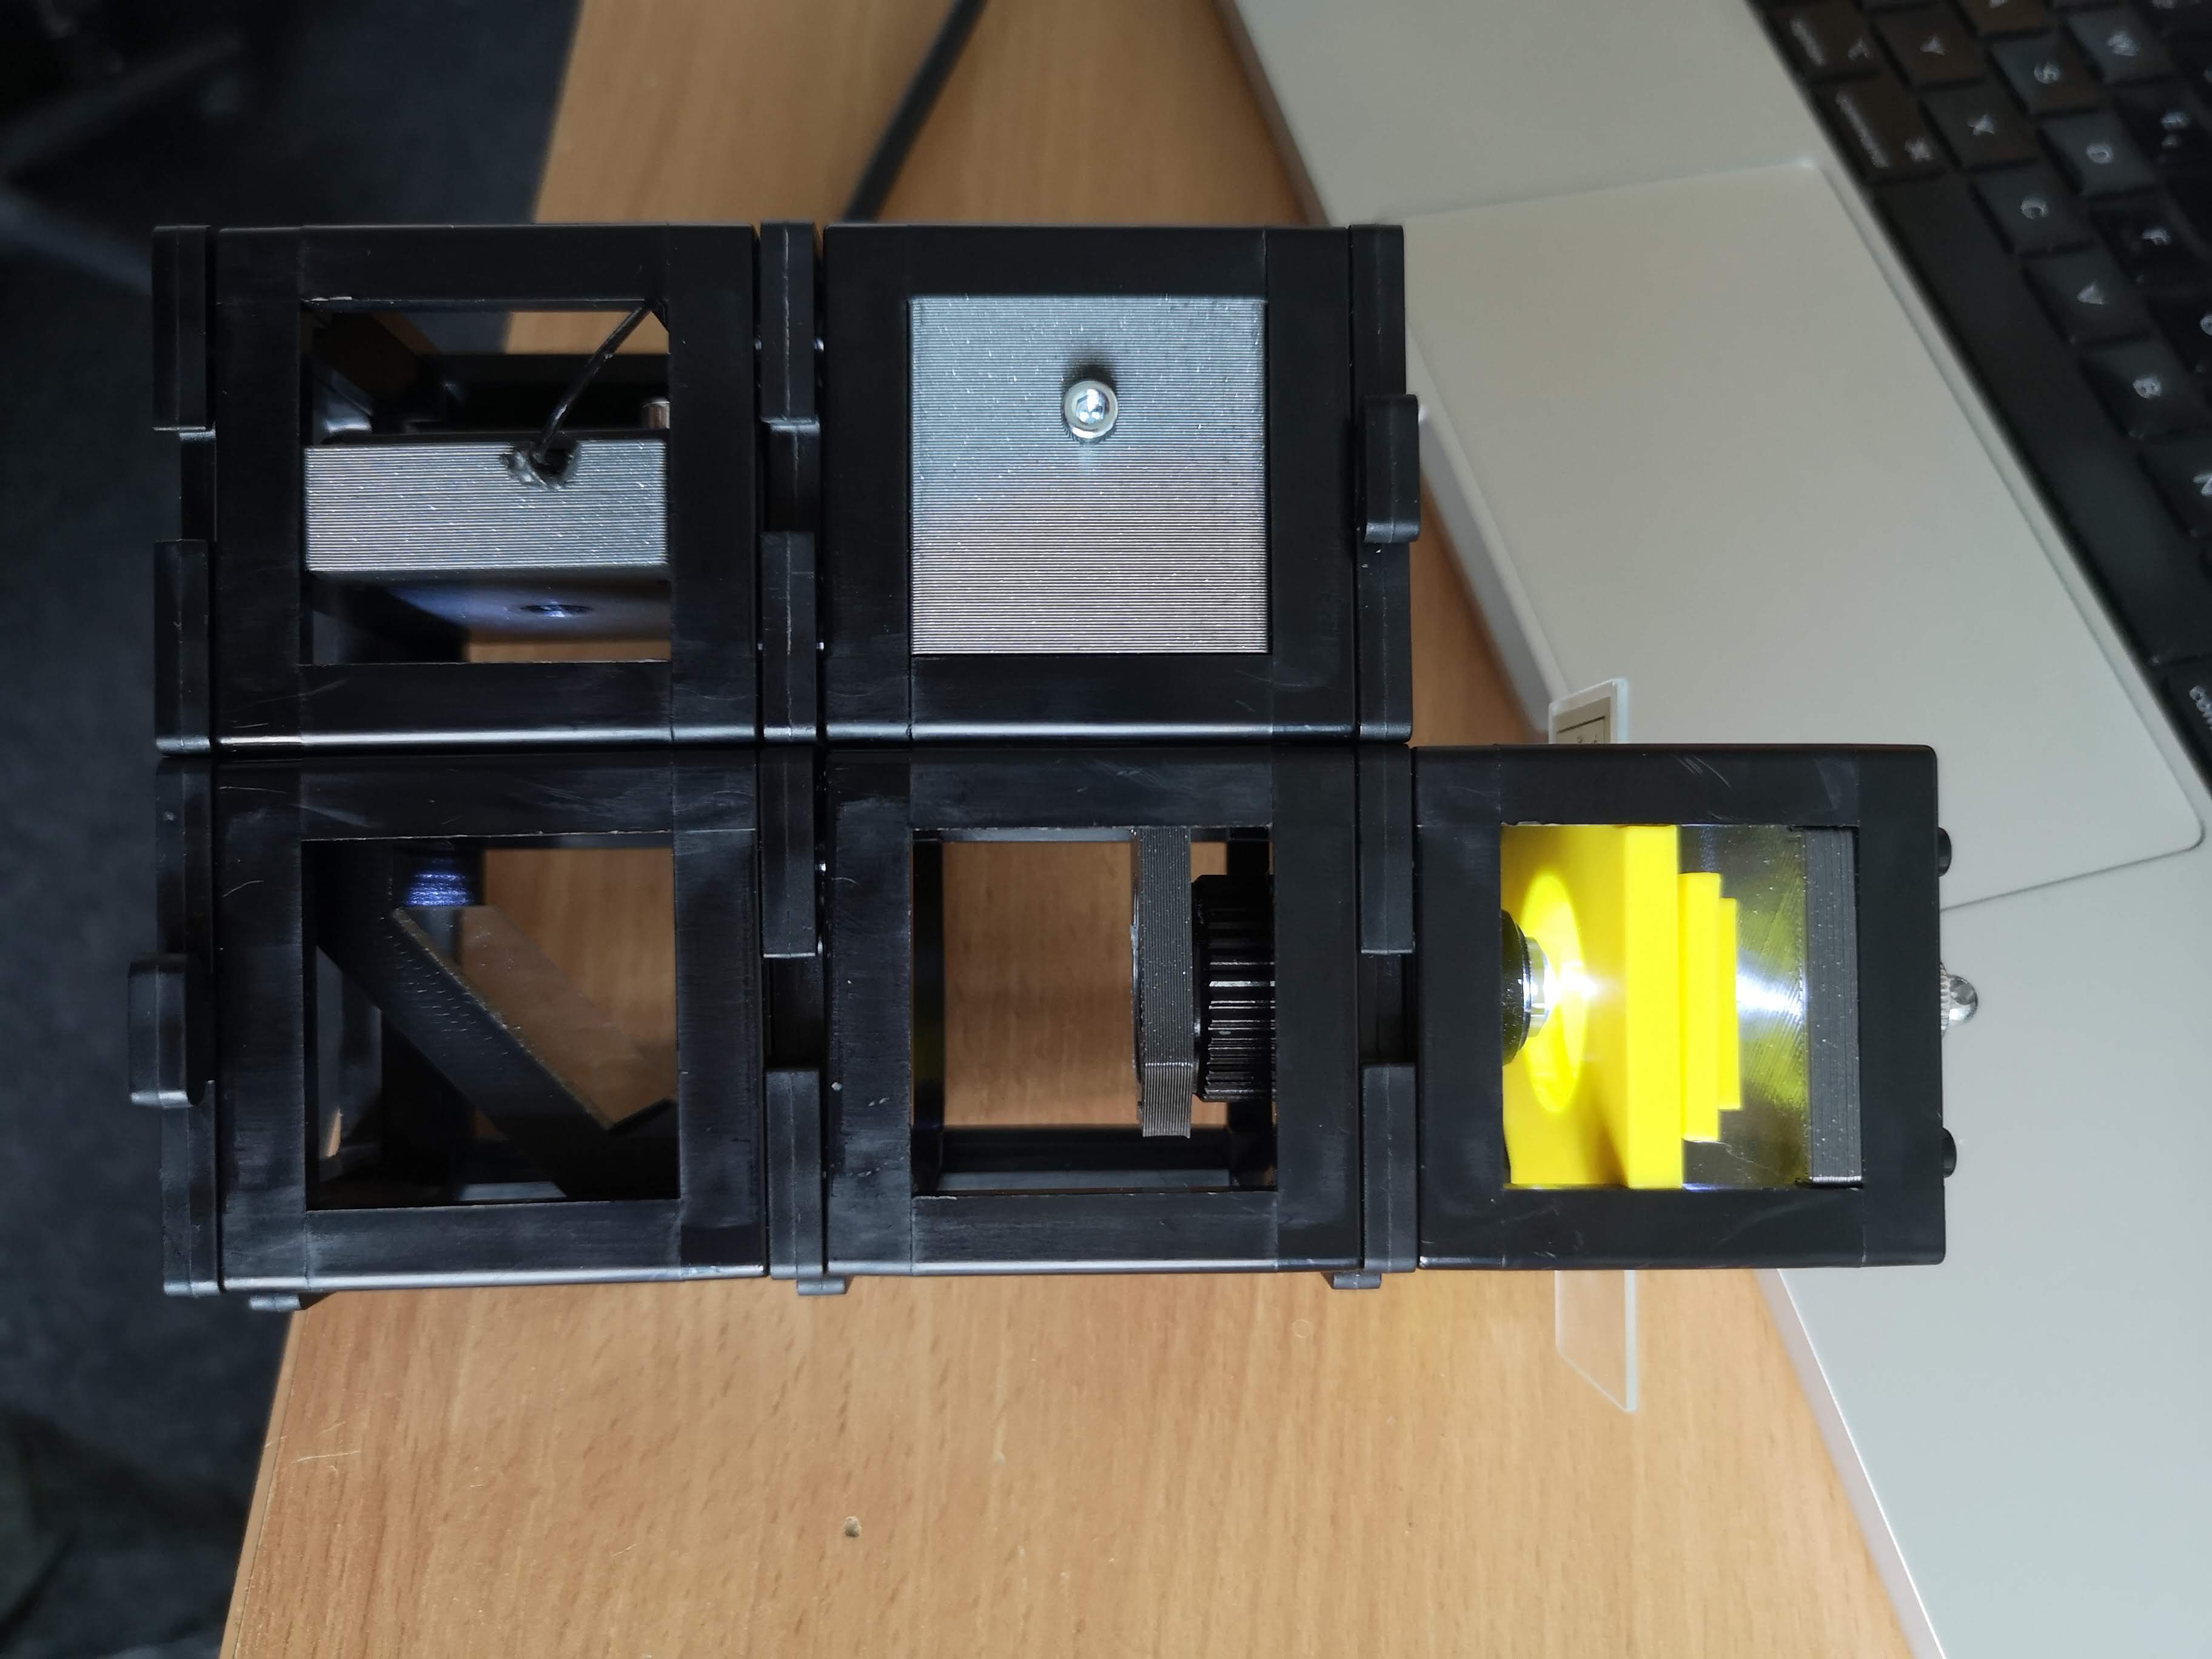
Final assembly of all cubes
All cubes
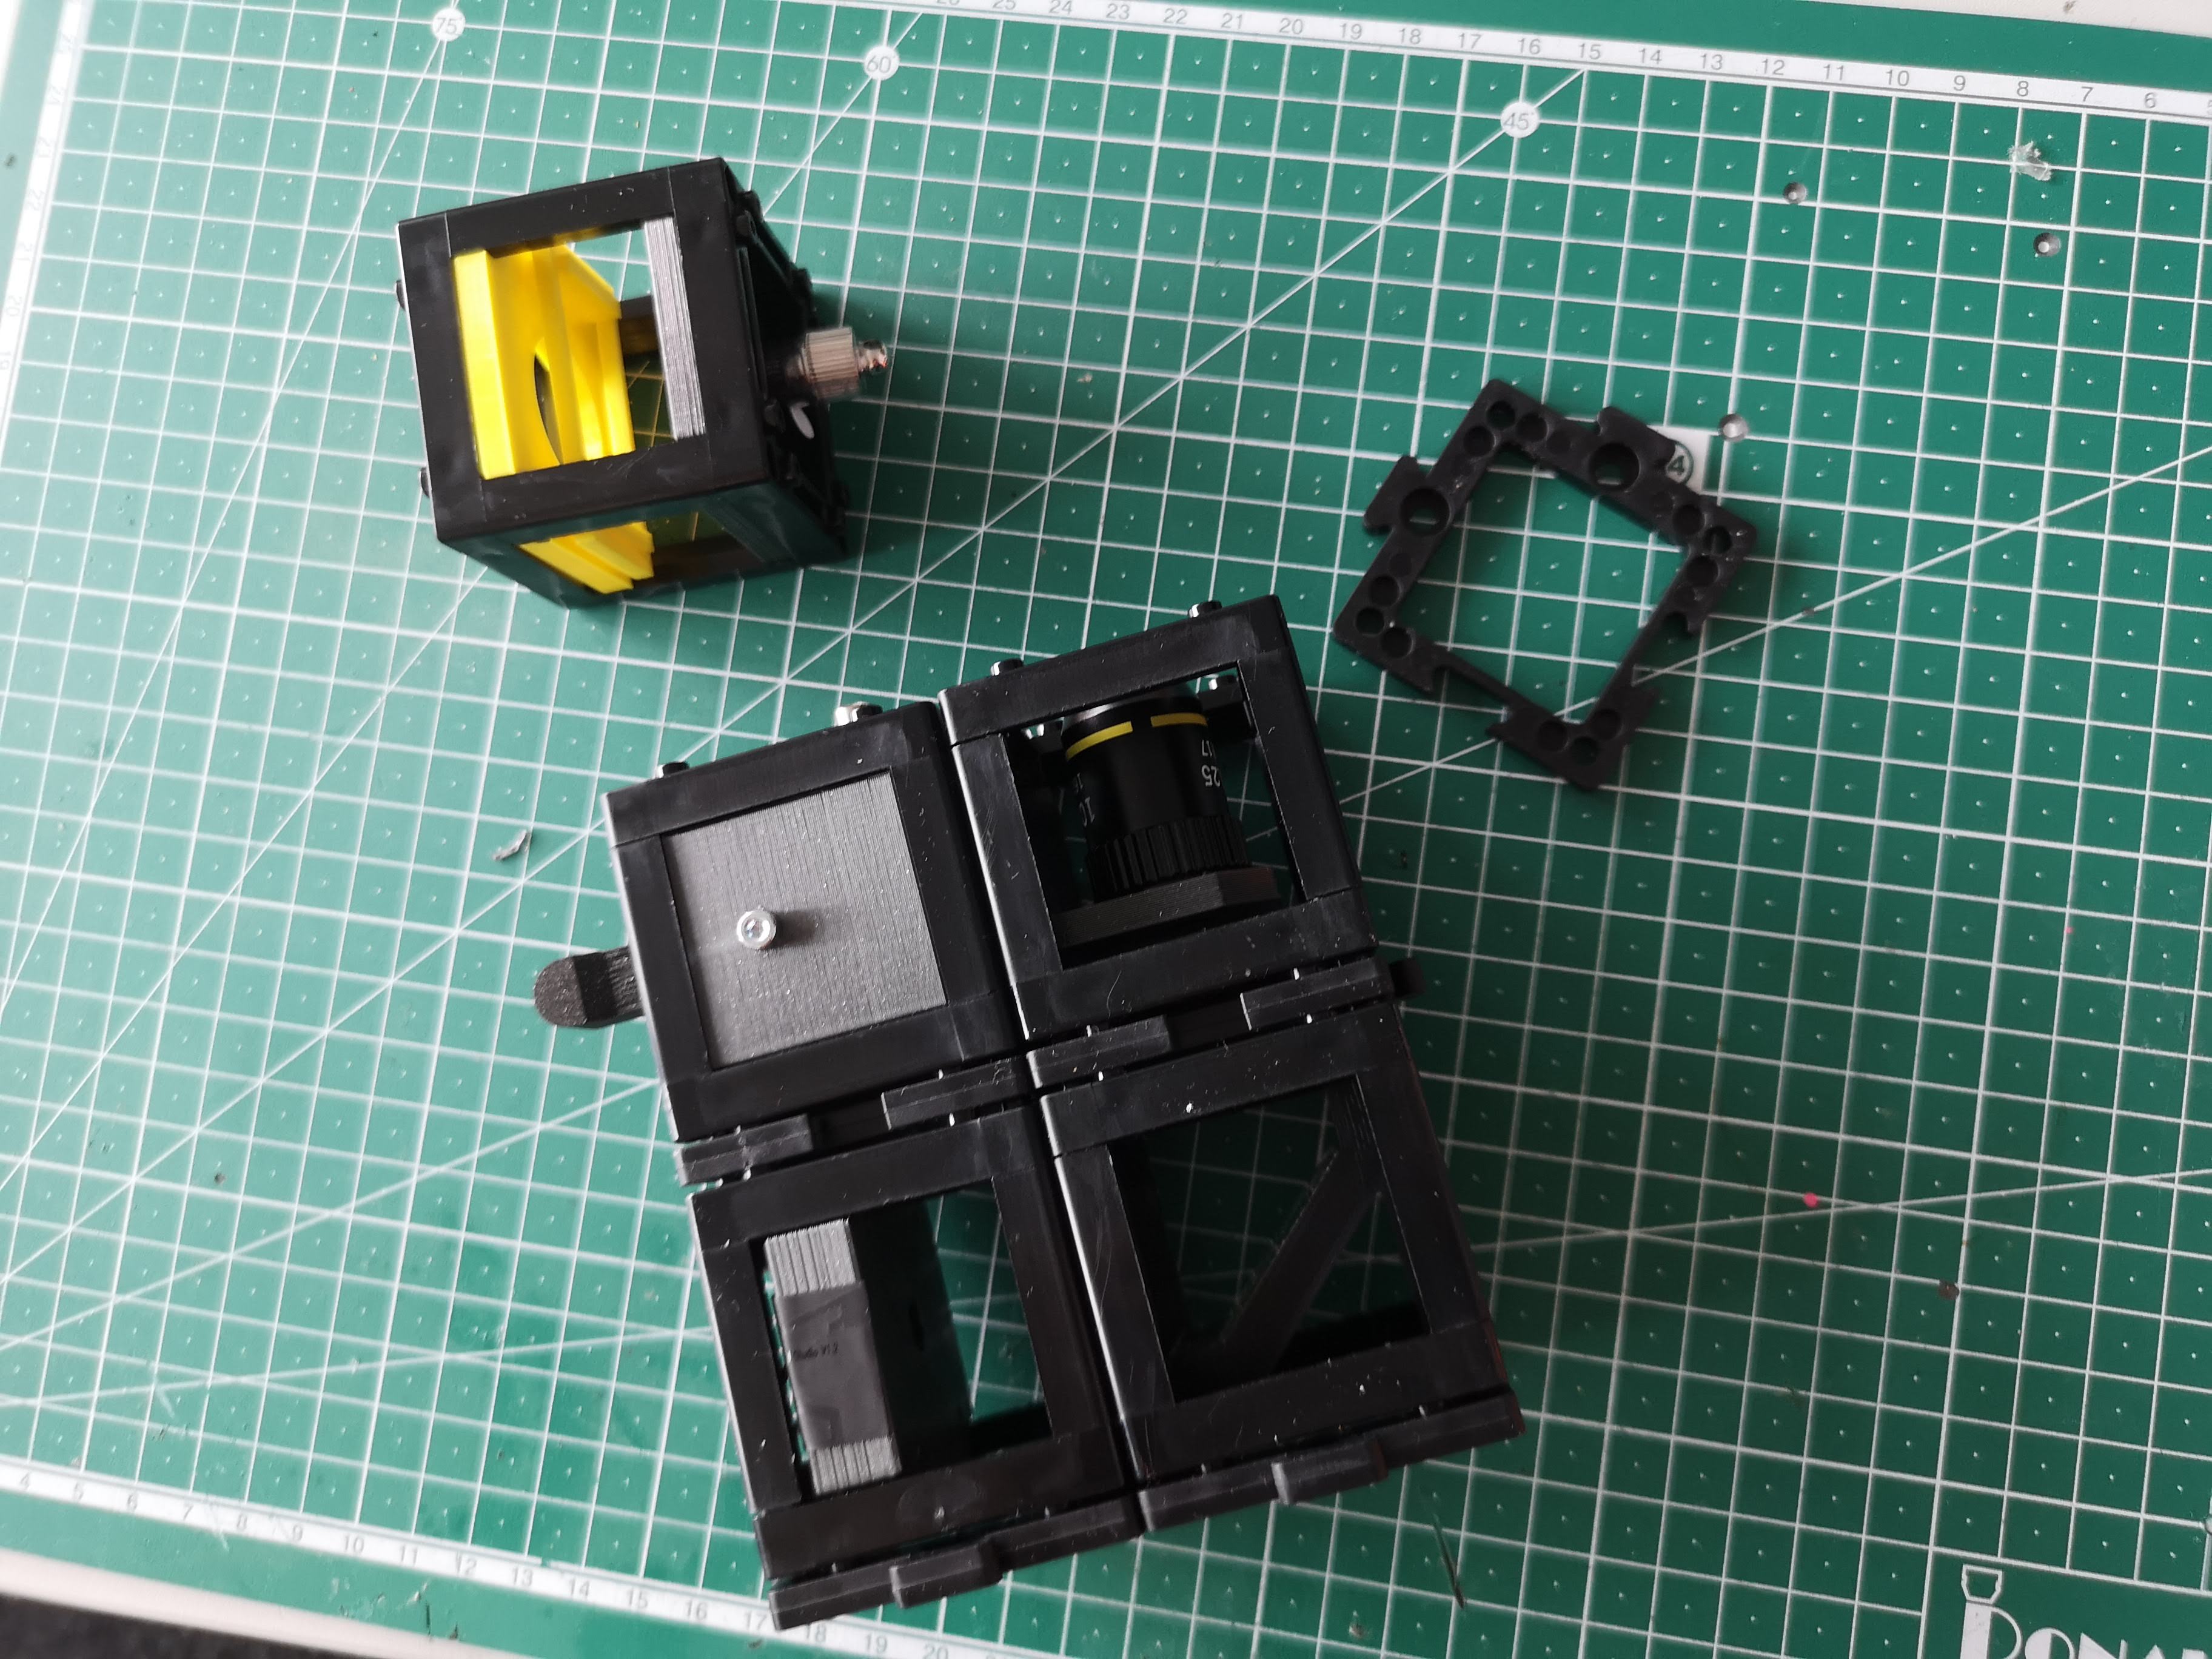
First layer: Have to puzzle pieces and add camera and mirror cube
Second layer: Have to puzzle pieces and add z-stage and empty cube

Merge first and second layer
Add two more puzzle pieces and add sample/light cube
Flashing software
Go to https://matchboxscope.github.io/firmware/FLASH.html and select XIAO and connect to the board
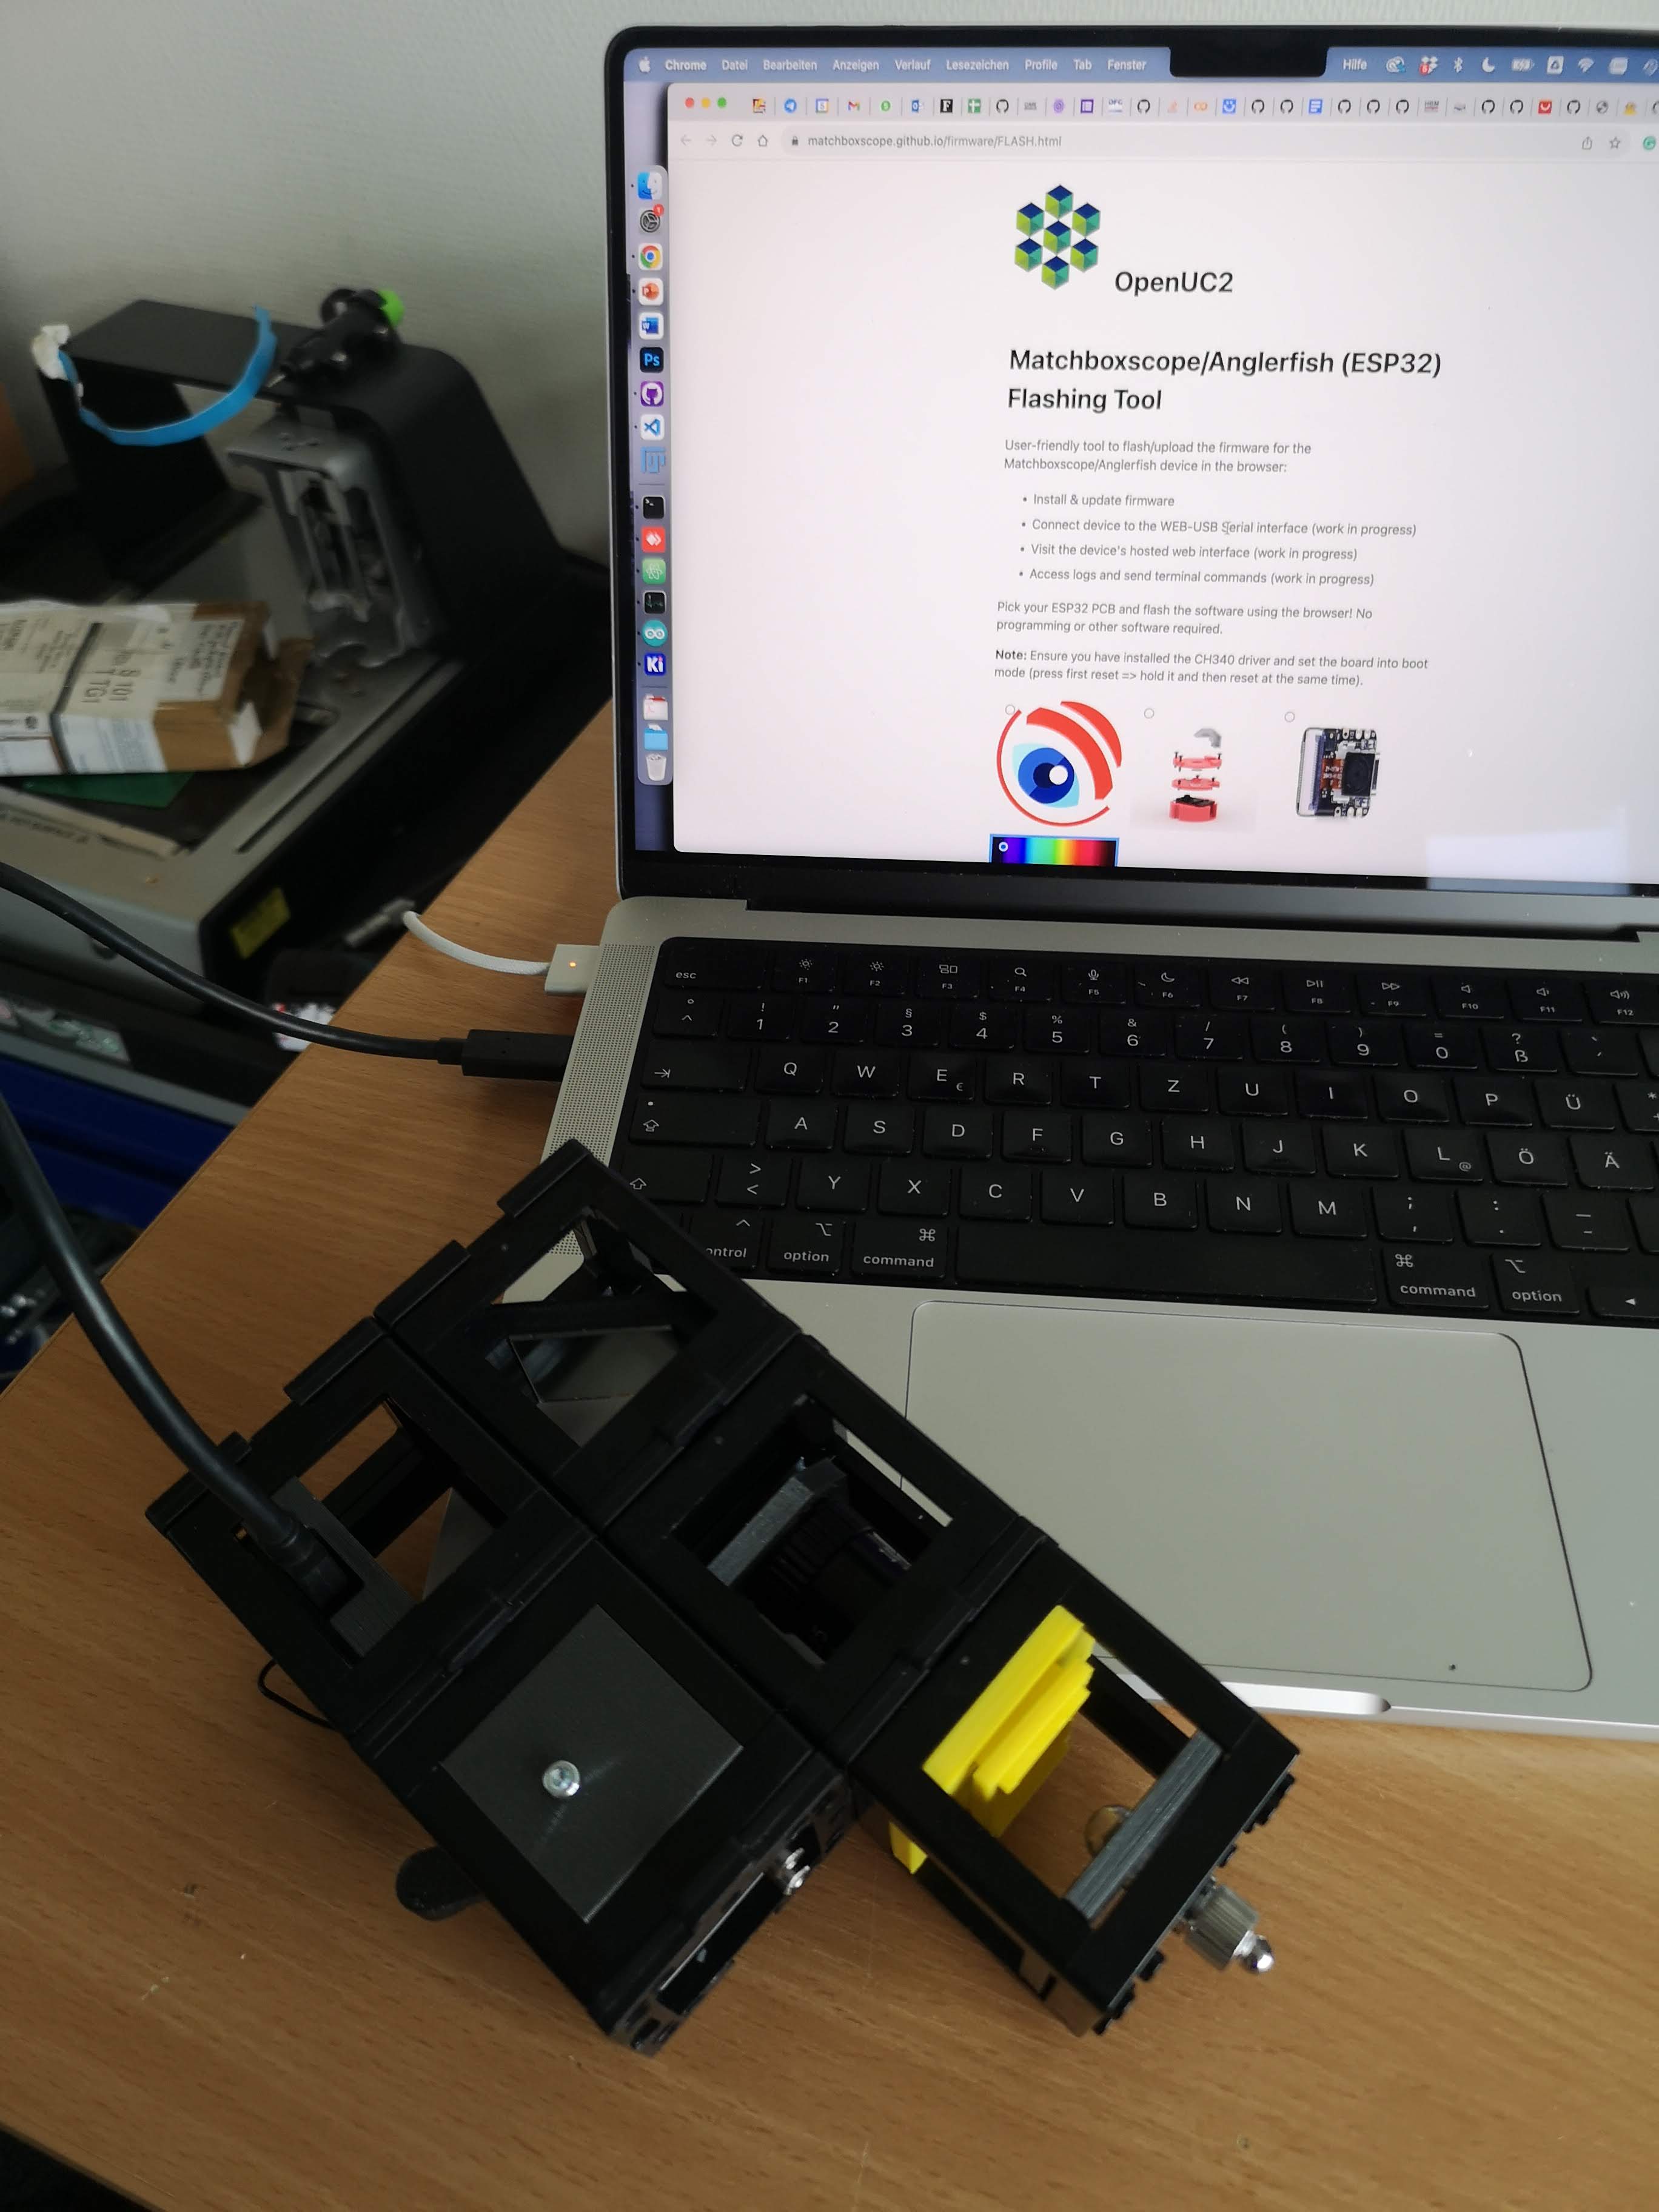
Select the port and connect (Chrome only!)
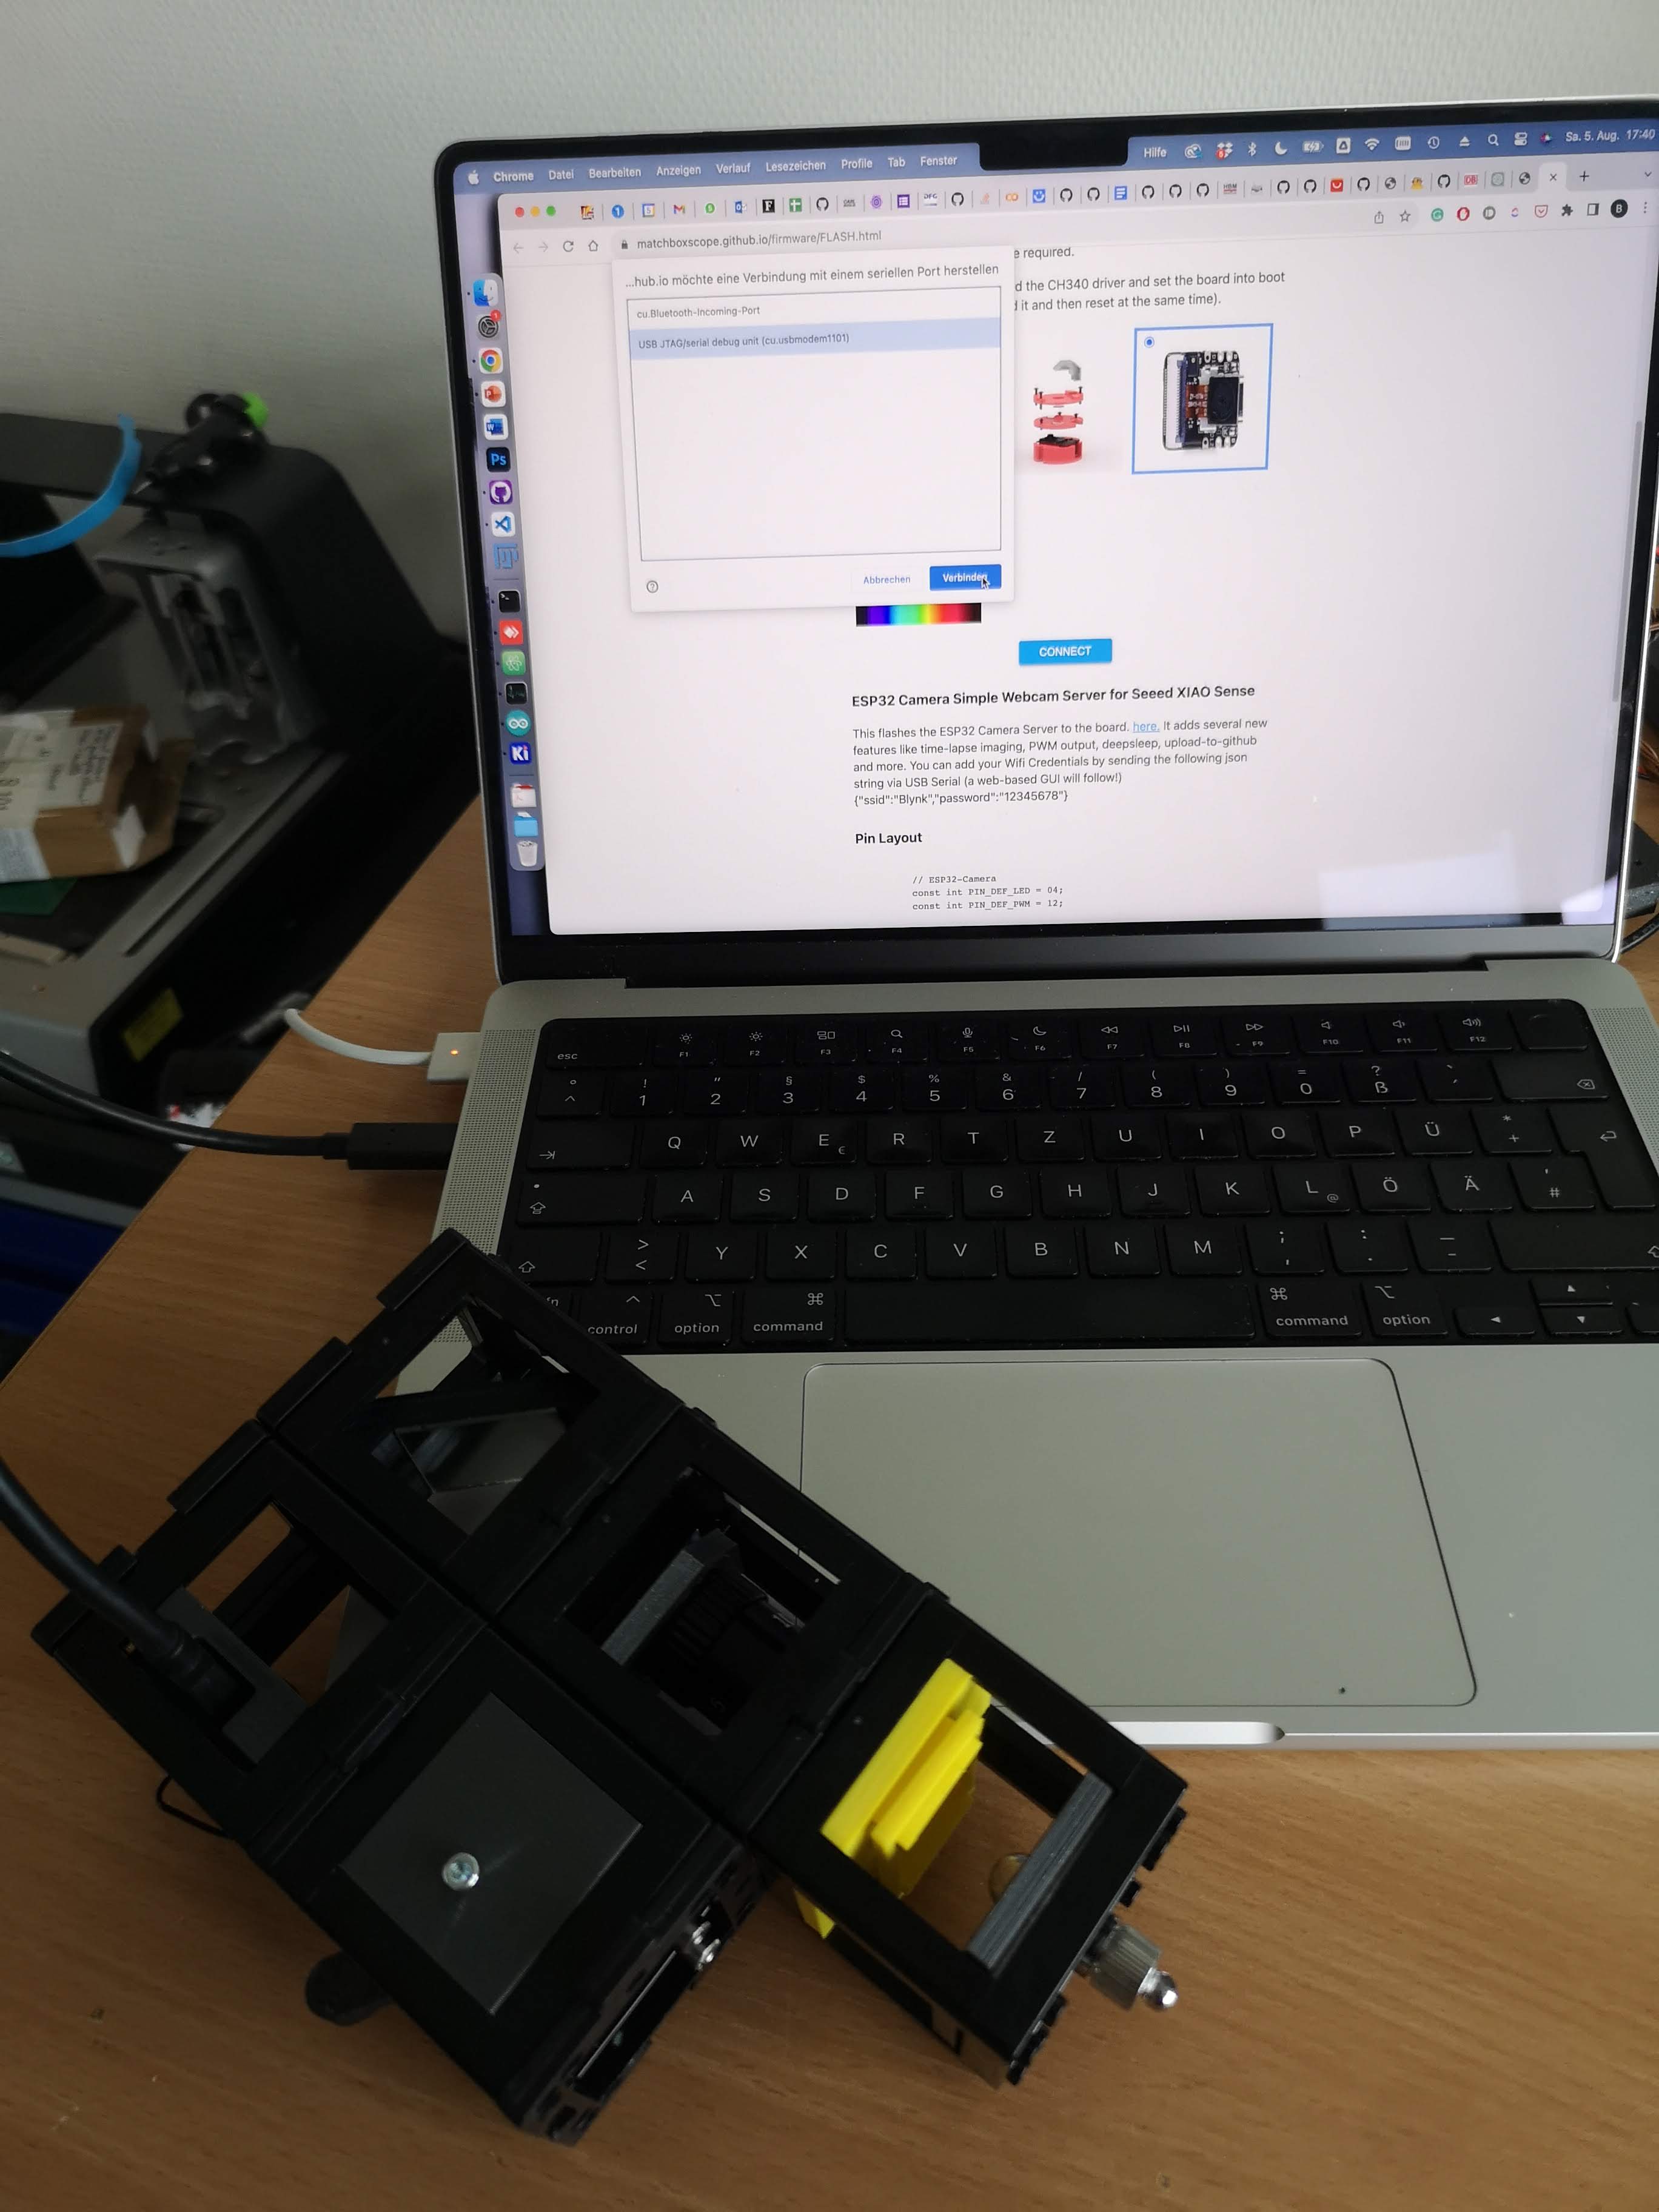
Flash the firmware and wait until done

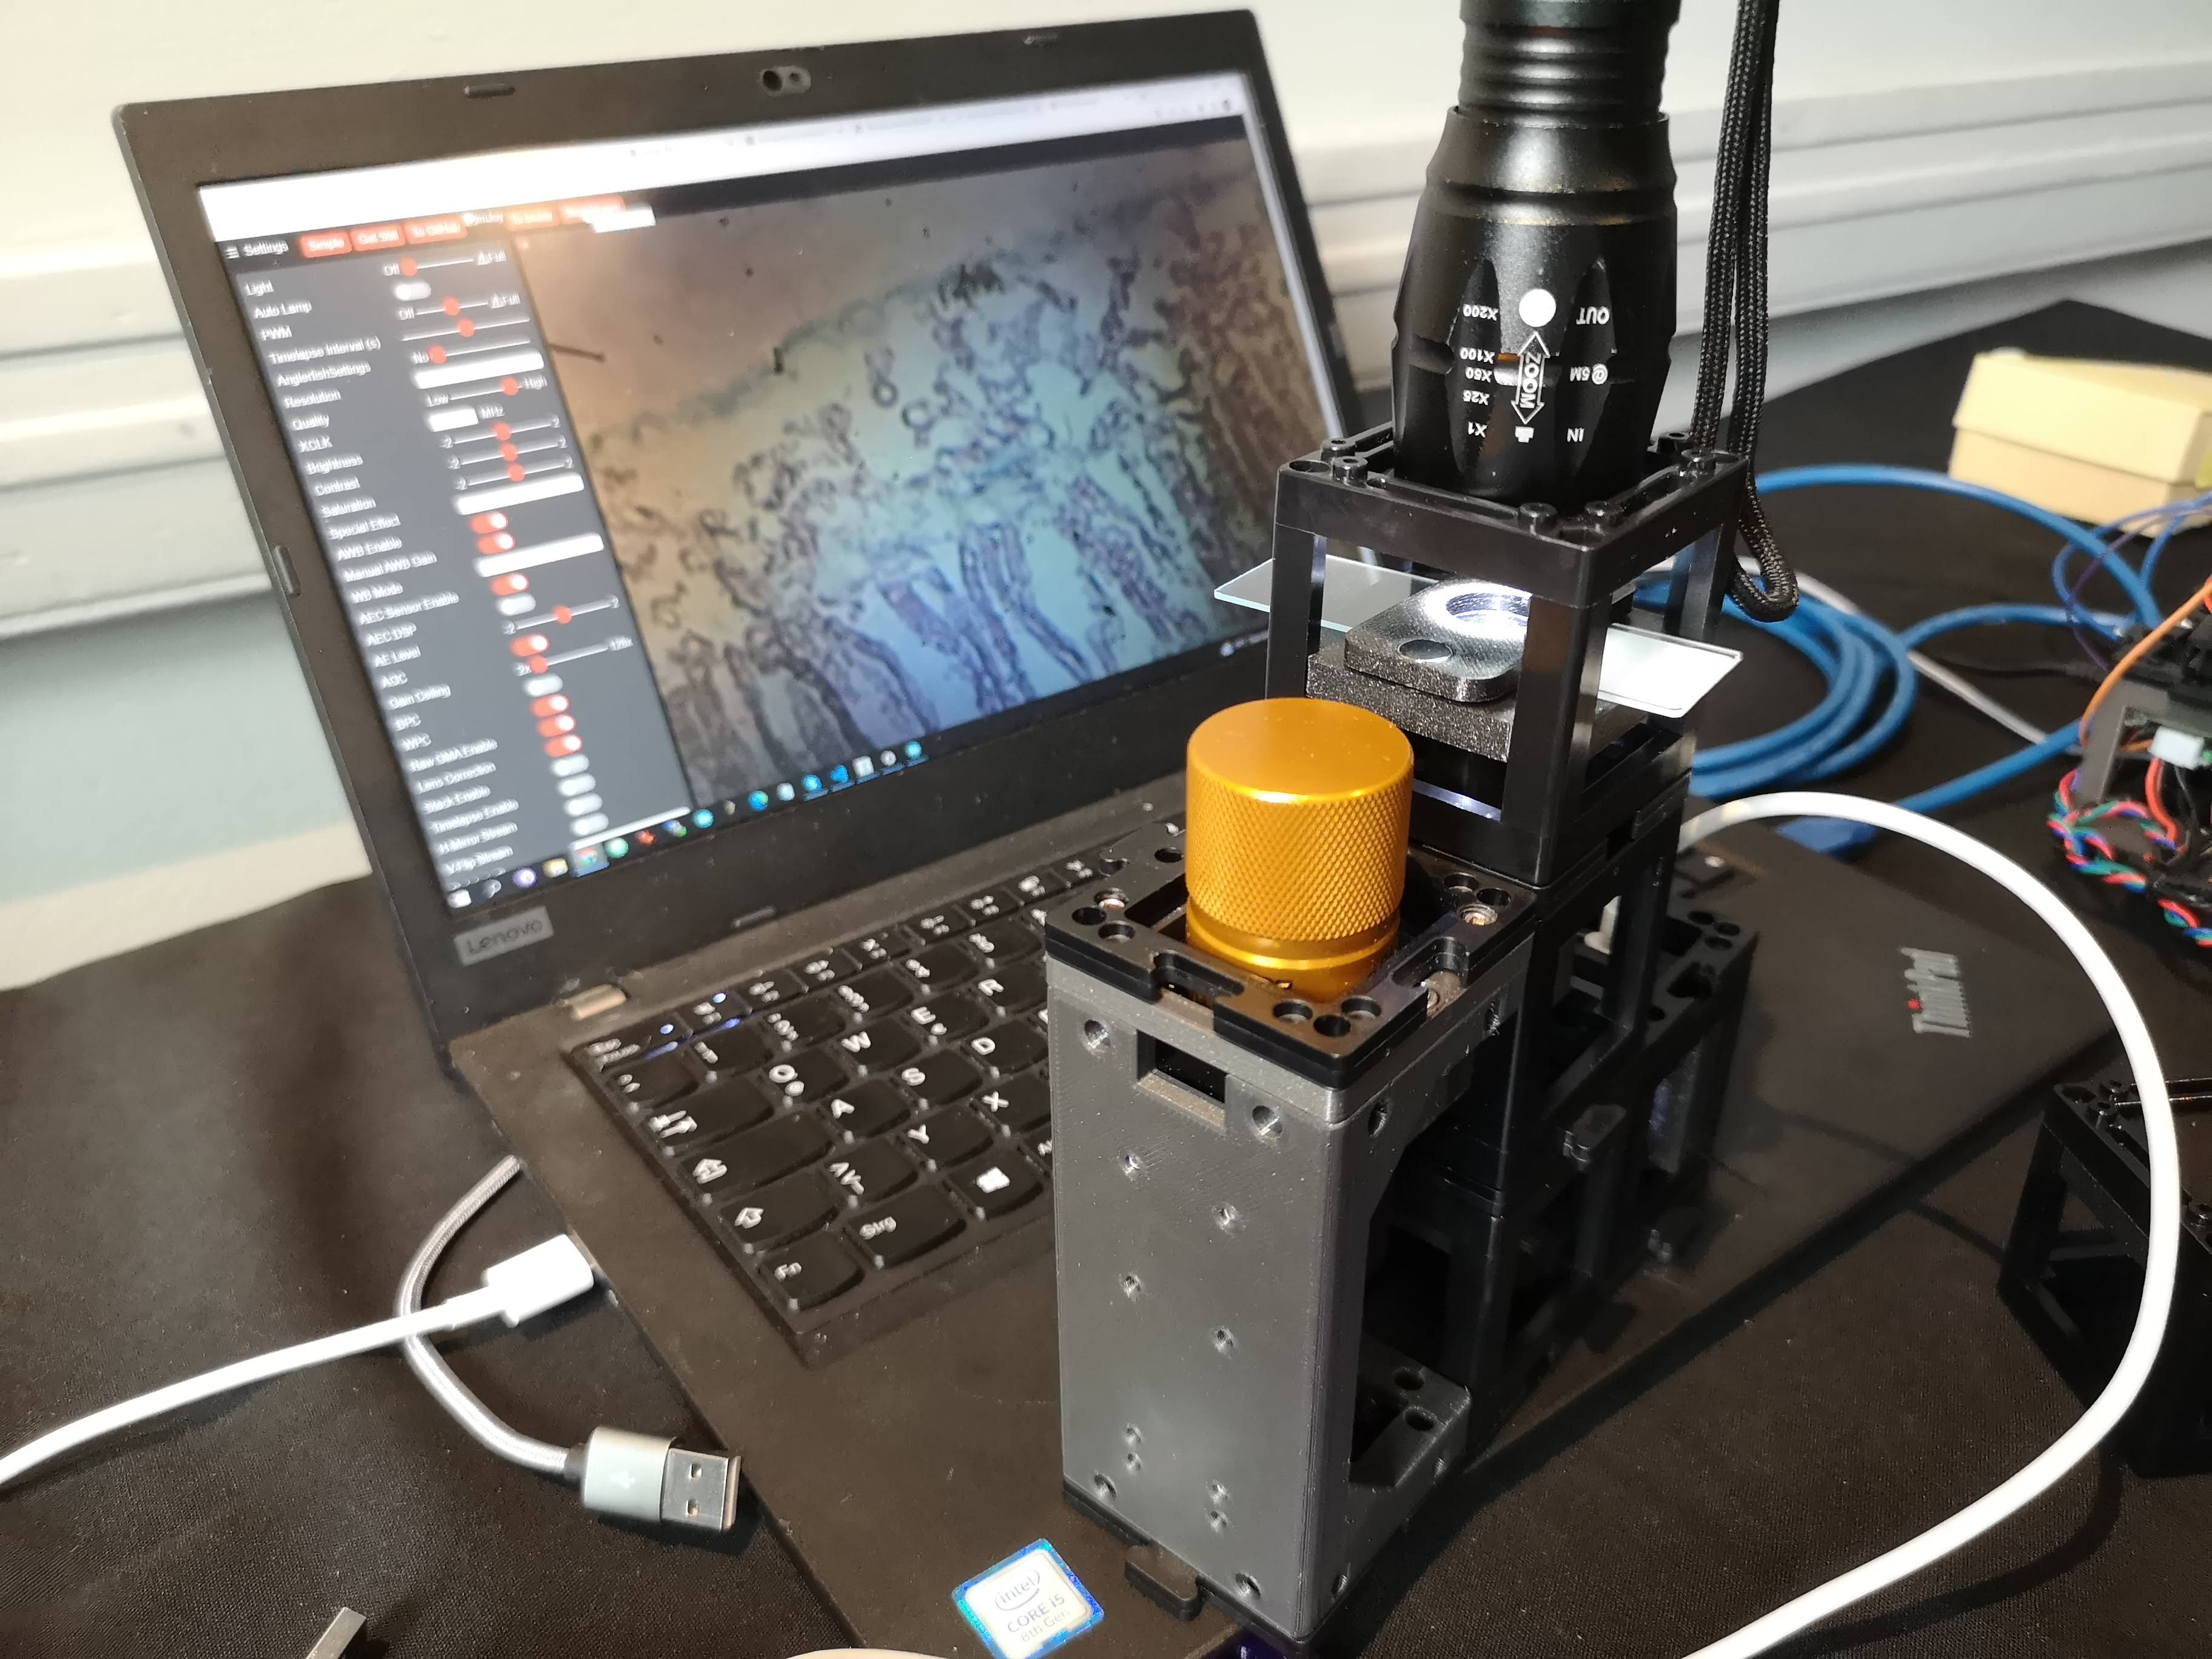
Turn on the light
Search for Wifi Matchboxscope-XXX and connect, go to http://192.168.4.1
Turn on Stream and find sample in focus
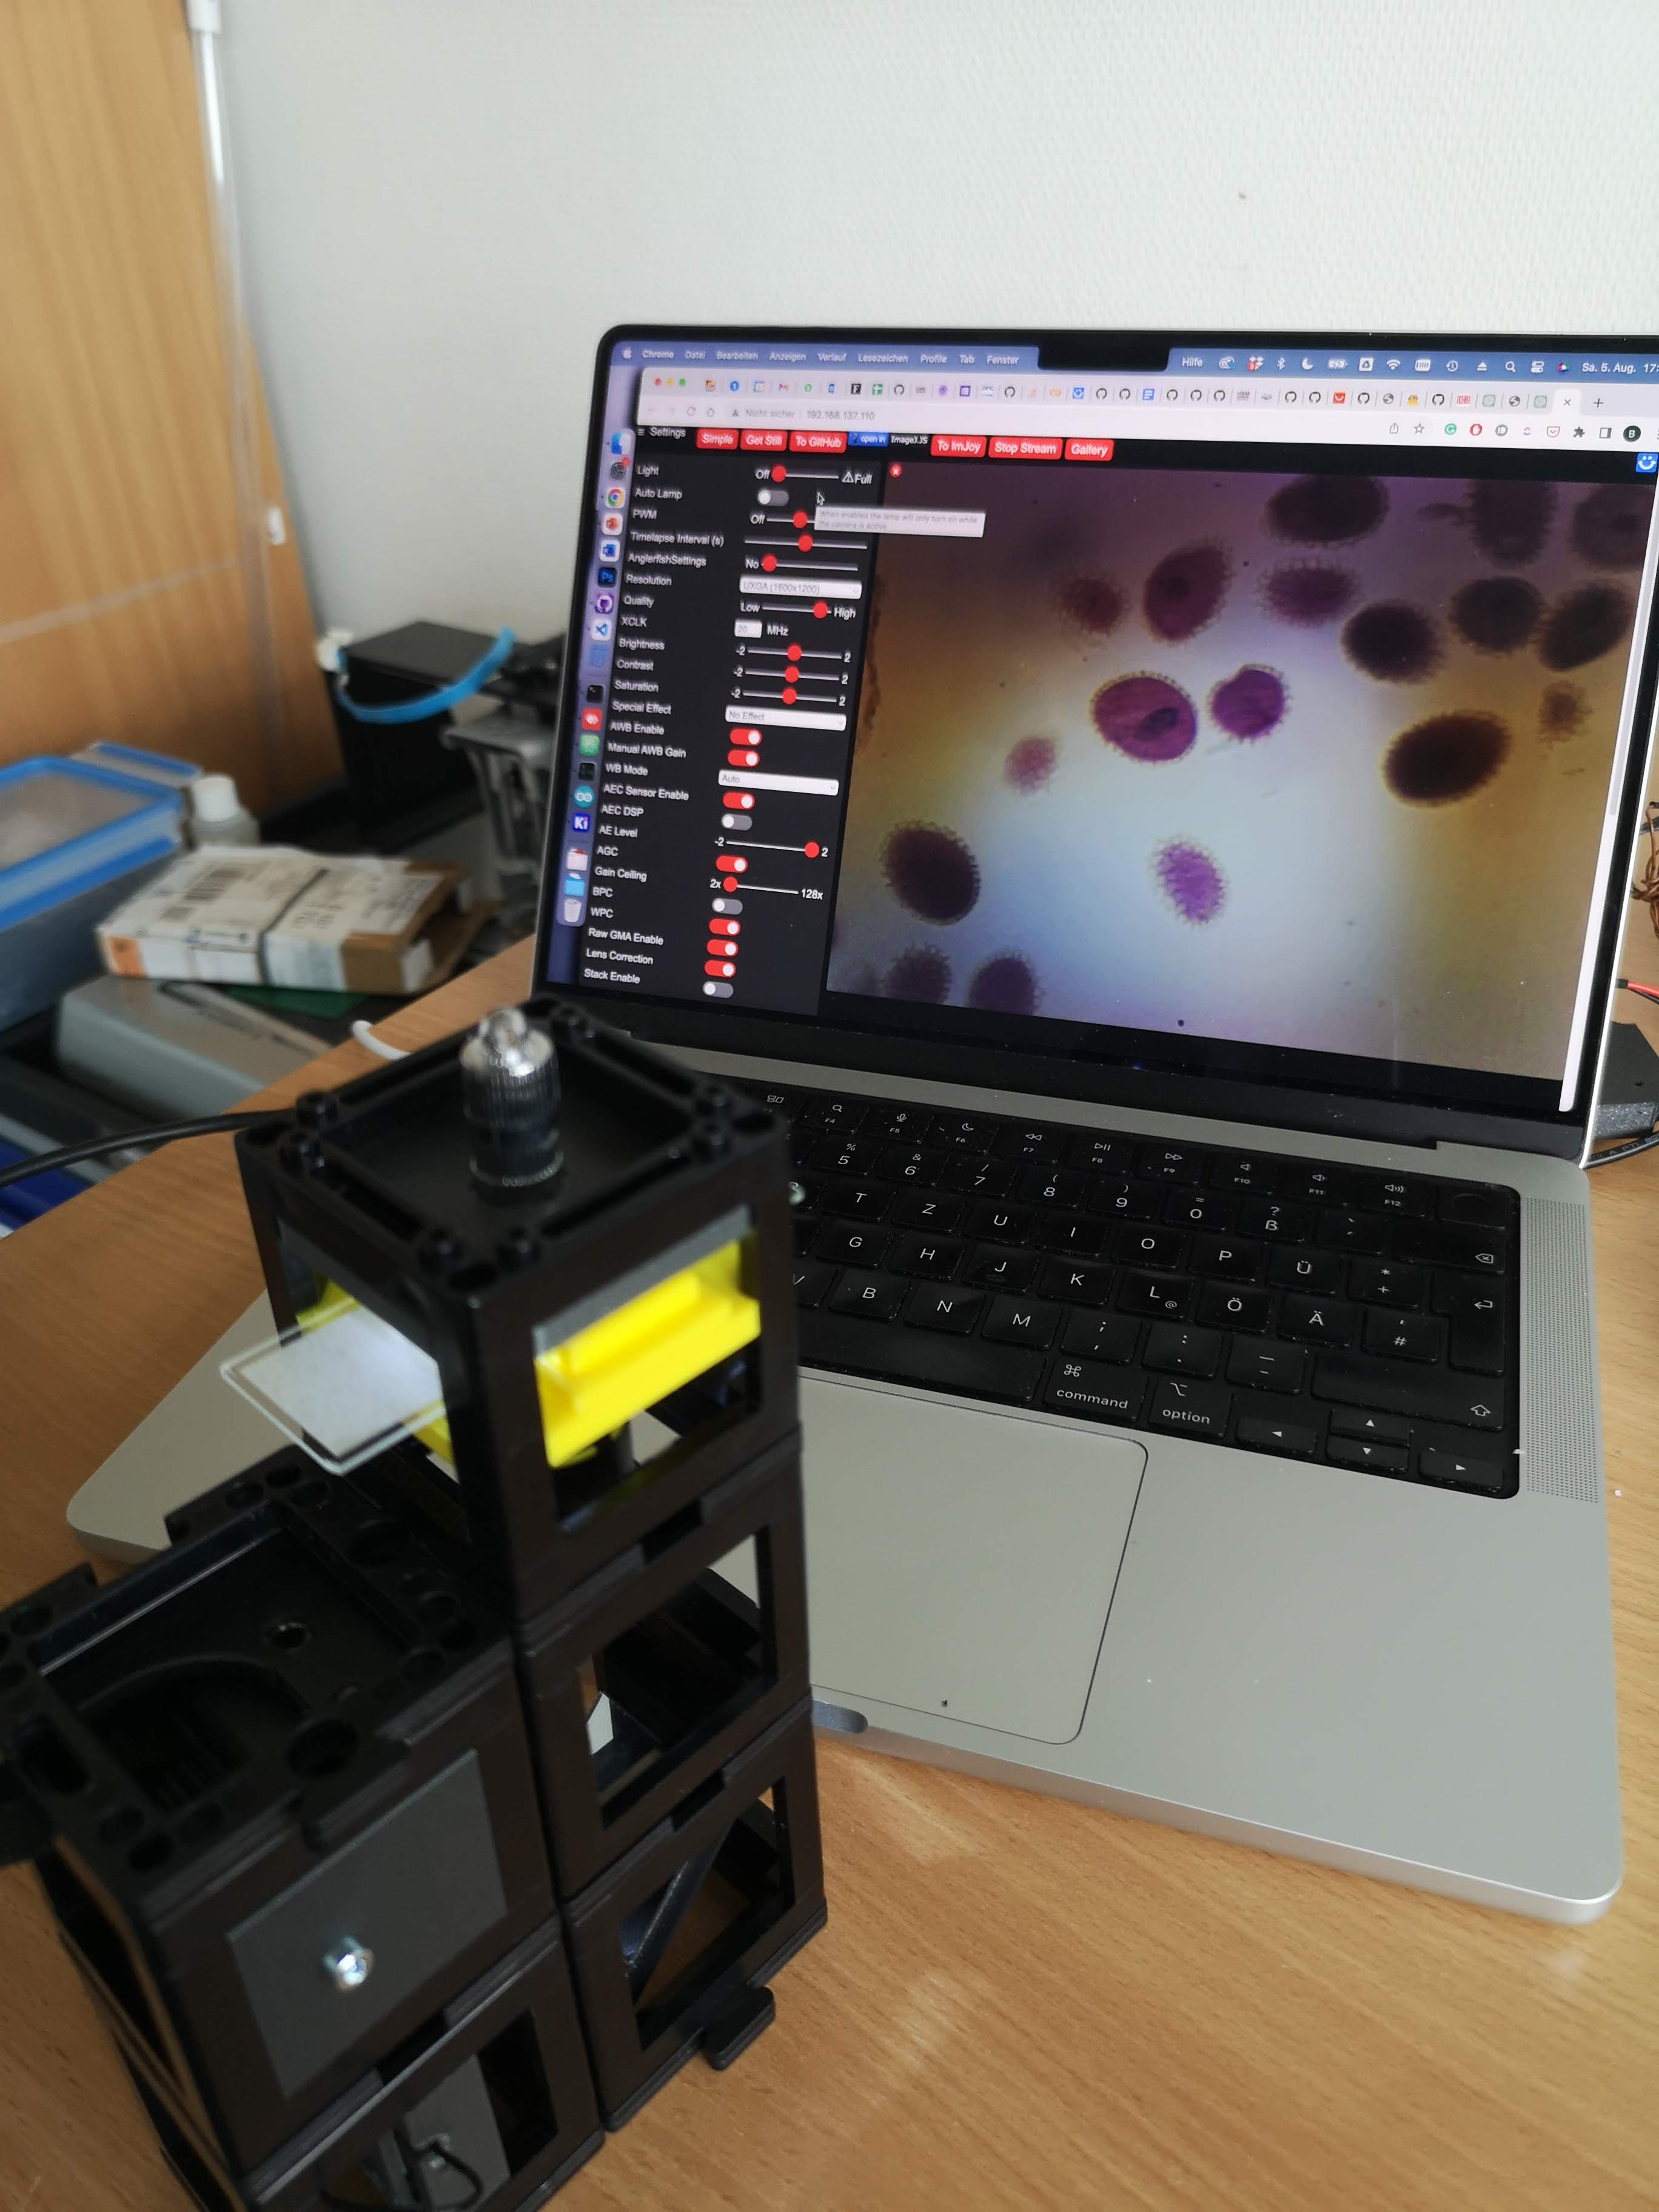
Focus sample with manual focusing stage
Using an Android APP
For Android users, plesae have a look here: https://matchboxscope.github.io/docs/APP
This app will help you connect and capture images using this microscope.
Conclusion
Congratulations! You have successfully assembled your modular microscope. With this microscope, you can now observe various samples and capture images using the camera connected to your smartphone or computer. This modular design allows for easy customization and experimentation, making it a versatile tool for exploring the microscopic world.
Remember, the performance of the microscope might be affected by the modifications made to the objective lens, so adjust your expectations accordingly. Enjoy exploring and discovering the hidden wonders of the microcosmos!