Building The CourseBOX - outdated
This is a guide for building the CourseBOX. If you were looking for another BOX version, click here.
This guide currently describes how to build both the finite-corrected version and the infinity version of the CourseBOX.
Content of each section
- Shopping
- 3D printing
- Tools
- Assembly
Infinity Optics
- Total price: 300 € without a Raspberry Pi (190 €) (assuming only material costs and printing everything yourself)
- Printing time including preparation: 4 days
- Assembly time: 1 day
 Shopping
What to buy
| Link - name of part | Amount | Comment | Price |
|---|---|---|---|
| 3D printing material | ~580 g | Choose material that works with your 3D printer. If unsure, have a look at the guide in 3D printing section | 15 € |
| Lens 50 mm | 5 pieces | á 21 € | |
| Lens 100 mm | 3 pieces | Artikel 2004 | á 6 € |
| Lens for Eye Cube | 1 piece | 551.OAL | á 5 € |
| Beamsplitter | 1 piece | Artikel 2137 | á 27 € |
| Flashlight | 1 piece | Light source for microscope. | á 7 € |
| Laser Pointer | 1 piece | Light source for the Abbe experiment. With this very one you don't even need the flashlight. More information below. | á 5 € |
| Magnets | 64 pieces | When using 3DP Cubes and baseplates. Ball magnets, diameter 5 mm. | total 20 € |
| Screws | 7 pieces | M2×16 - 6 pieces; M2 nut - 6 pieces; M3×18 - 4 pieces | total ~2 € |
| Screws | 112 pieces | For 3DP Cubes extra: (Art.-Nr. 00843 12) M3×12, galvanized steel - 64 pieces; (Art.-Nr. 00843 8) M3×8, galvanized steel - 64 pieces (or 128 pieces of M3×12) - BUT for this setup it isn't necessary to have screws on both sides ; (Art.-Nr. 025505 8) M5×8, galvanized steel - 96 pieces (half if one-sided) | total ~4 € |
| Raspberry Pi with accessories | Have a look in our Bill-of-Materials for a complete list and links. | 190 € | |
| Chocolate | 1 bar | Use it as a reward when you're done. |
2 in 1 light source
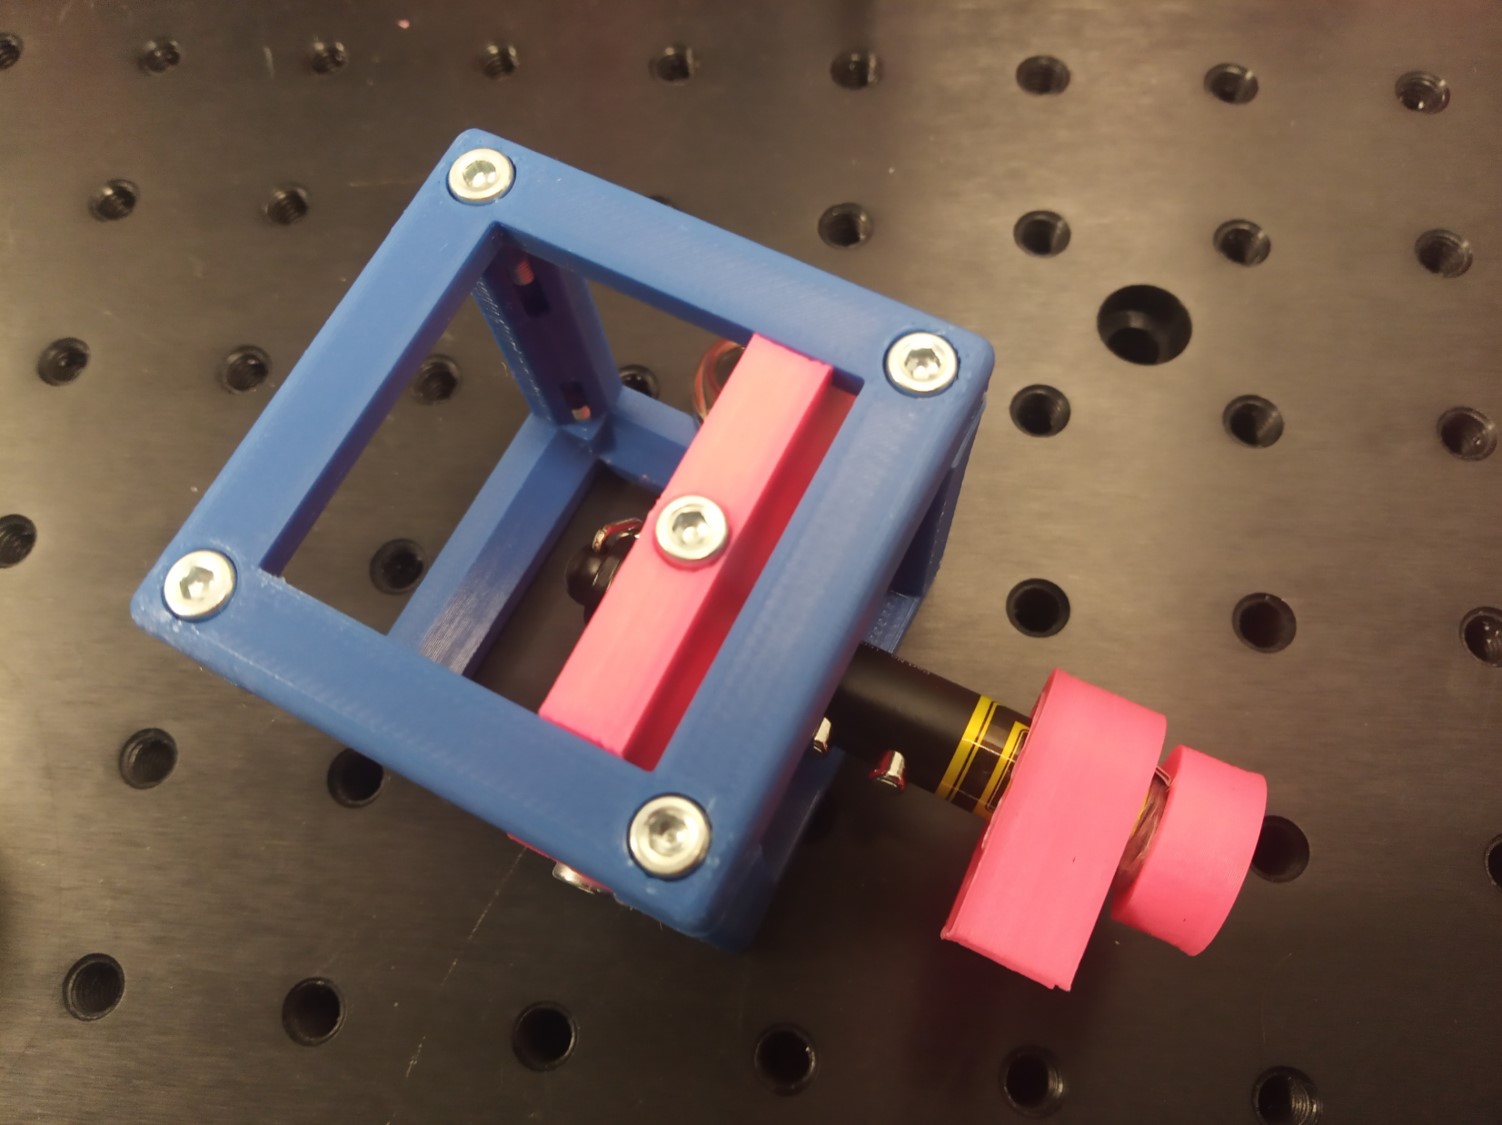
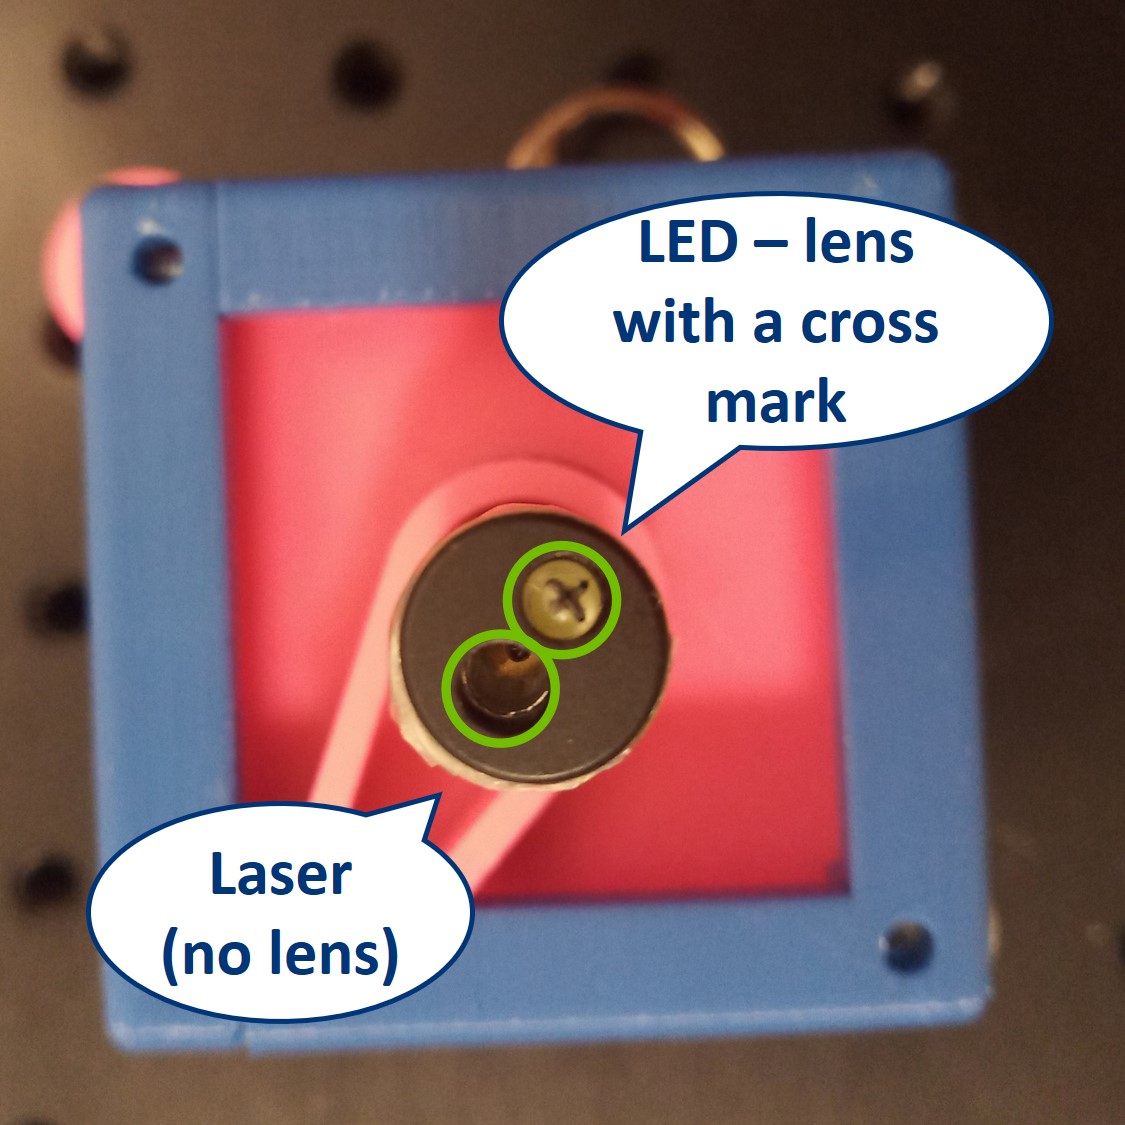
We propose the use of this Laser Pointer, because it also has a white LED. But we need to smartly adapt this for our experiments.
- For beam expansion of the laser light, print a laser cap from the STL folder and put in it the RasPi lens that you removed from the camera
- The LED here has a lens which cannot be removed. To be able to find a focussed image of your light source, take a thin permanent marker and make a cross on the surface of this lens. Now you'll be able to see a focussed image of the cross in the Field set of Aperture planes

 3D Printing:
 Parts
Parts
To acquire the STL-files use the UC2-Configurator. The Boxes can be built using injection-moulded (IM) or 3D-printed (3DP) cubes.
Note on the lens holders: If you use some other lens, you can generate a holder for it using our openSCAD design. Go to the Thingiverse page of this lens holder and use their in-built customizer to change the parameters of the insert.
Completely new to 3D printing? Have a look into this beginner's guide!
Our quick printing tutorial can be found here:
We have a good experience with this printer and settings:
- Prusa i3/MK3S
- Prusament PLA 1,75 mm, for one Box: 0,58 kg = 195 m = 90 hours = 15 €
- Profile Optimal 0,15 mm, infill 20%, no support, 215/60°C
Which tools to use
| Tool | Image | Comment |
|---|---|---|
| Electric screw driver with 2,5 mm hex bit | 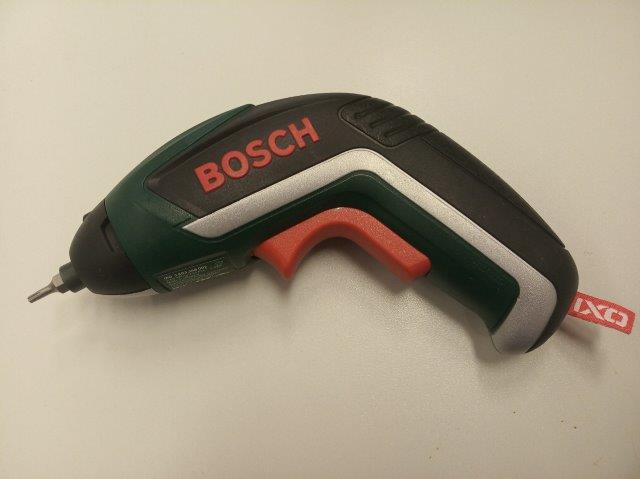 | For putting the cubes together using M3×12 and M3×8 screws. |
| 2,5 mm hex key | 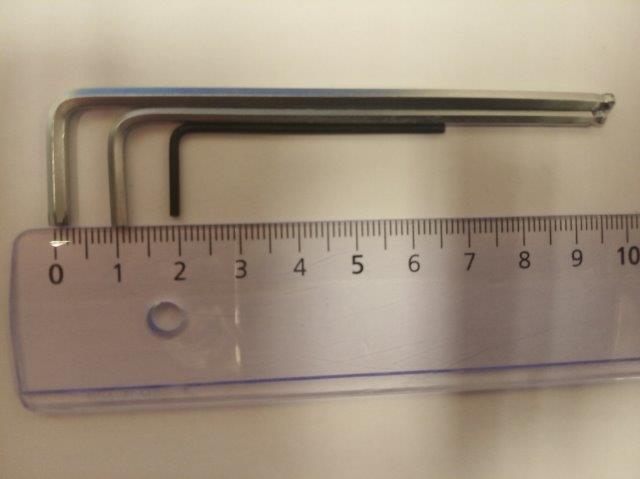 | For fine adjustment of all the M3 screws if needed. |
| Needle-nose Pliers | 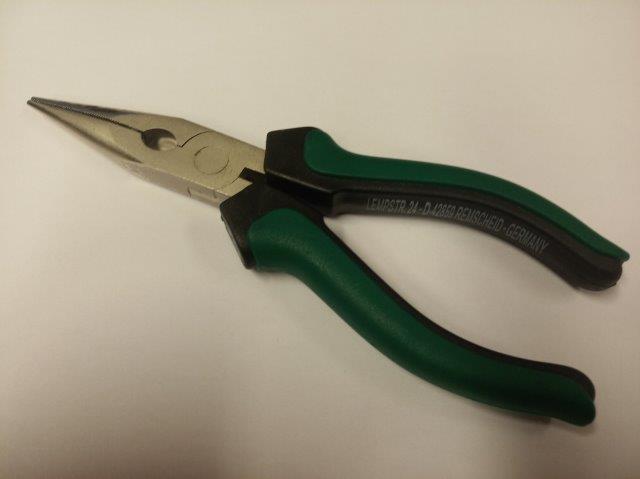 | Might come handy |
Assembly
| Part - link | Result | Comment |
|---|---|---|
| Baseplates | 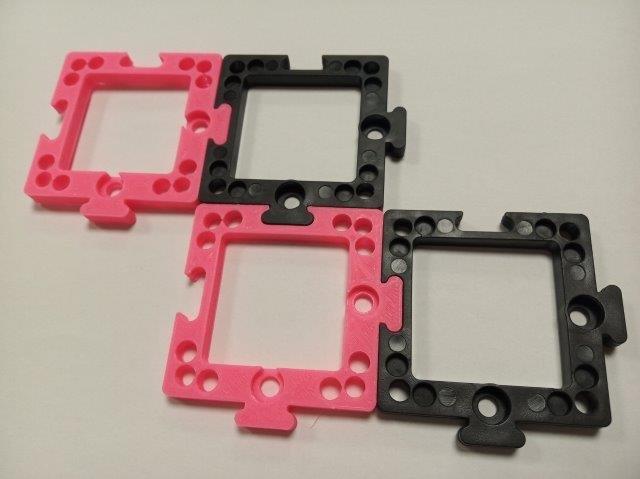 | 16× baseplate puzzle |
| Lens Cubes | 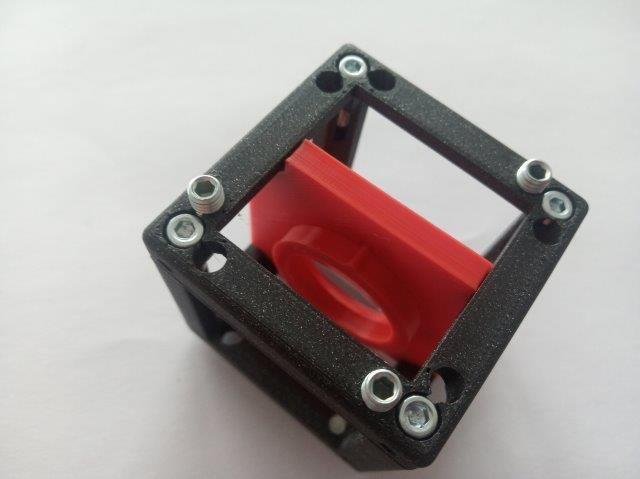 | 8× Lens Cube: 5× Lens Cube with 50 mm lens; 3× Lens Cube with 100 mm lens. |
| Sample Cubes | 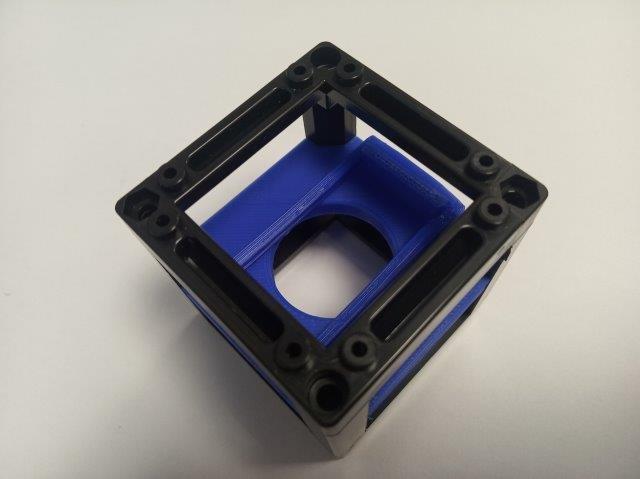 | 2× Sample Holder Cube |
| Flashlight Cube | 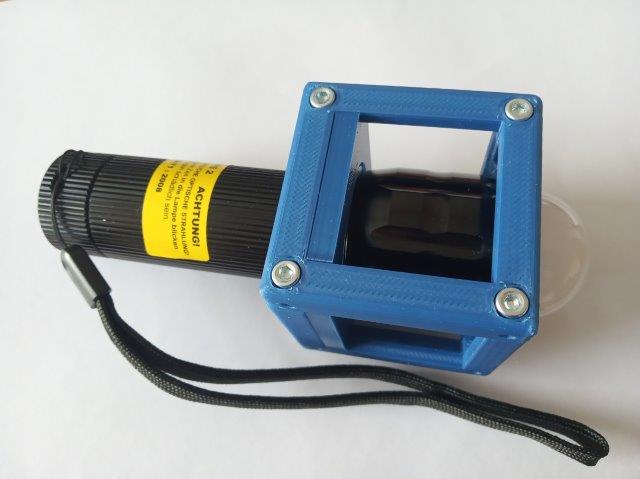 | 1× Flashlight Cube |
| Circular Aperture Cube | 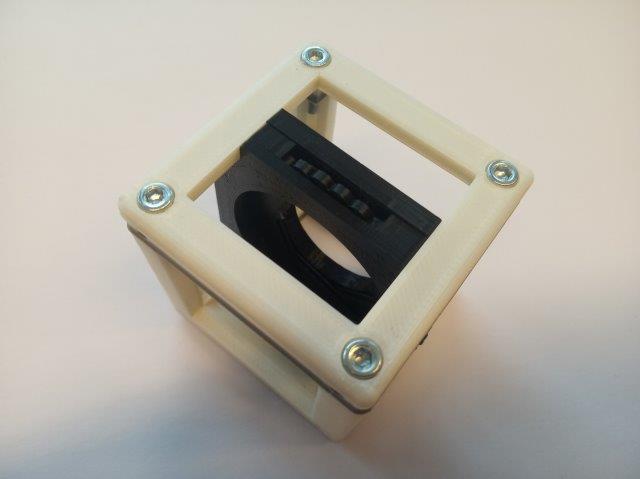 | 2× Circular Aperture Cube |
| Rectangular Aperture Cube | 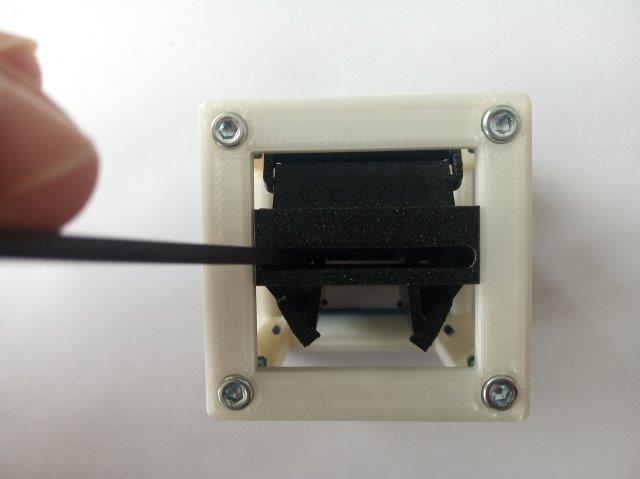 | 1× Rectangular Aperture Cube |
| Beamsplitter Cube | 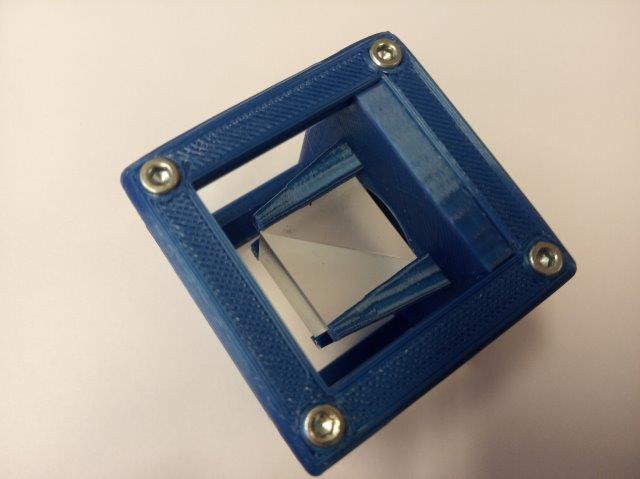 | 1× Beam Expander Cube |
| RasPi Camera Cube | 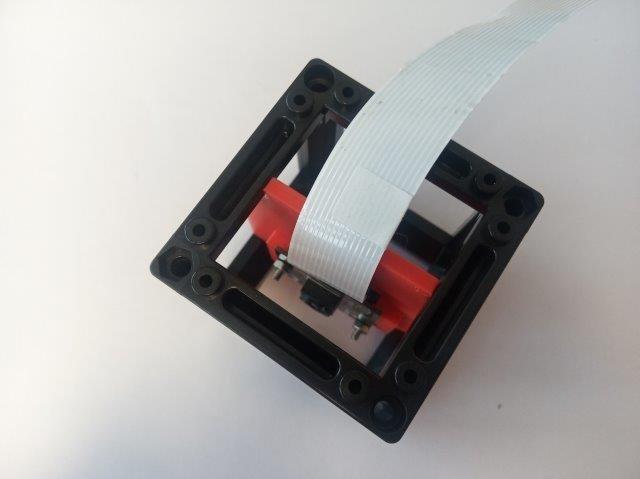 | 1× Camera Cube with Raspberry Pi camera with the lens removed |
| Laser Cube | 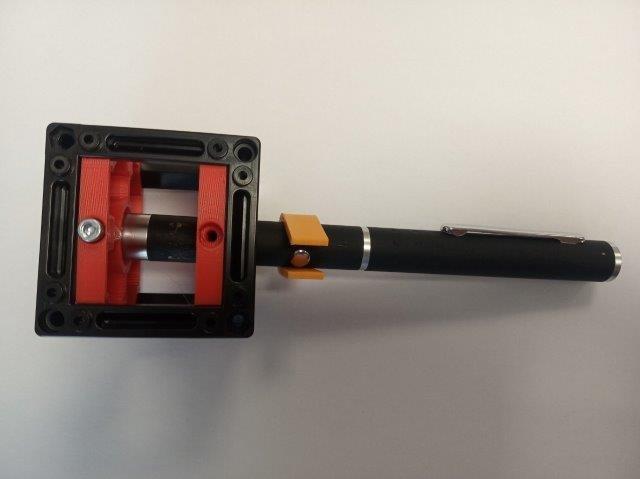 | 1× Laser Holder Cube and Laser Clamp with a cap for RasPi lens |
| Eye Cube |  | 1× Eyeball Cube |
Software
Prepare the Raspberry Pi following our tutorial in UC2-Software-GIT!
Done! Great job!
Finite-corrected Optics
- Printing time including preparation: 5 days
- Assembly time: 1 day
Shopping
What to buy
- Check out the RESOURCES for more information!
| Link - name of part | Amount | Comment | Price per amount used |
|---|---|---|---|
| 3D printing material | ~620 g | Choose material that works with your 3D printer. If unsure, have a look at the guide in 3D printing section | 20 € |
| Microscope objective 4× | 1 piece | 10 € | |
| Lens 35 mm | 1 piece | We did the alignment with lenses of these focal lengths, but other combination are also possible. The alignment principle stays the same, but the positions of the element will be different. | 22 € |
| Lens 40 mm | 2 pieces | 44 € | |
| Lens 50 mm | 1 piece | 21 € | |
| Lens 75 mm | 1 piece | 20 € | |
| Lens 100 mm | 1 piece | 20 € | |
| Flashlight | 1 piece | Light source for the projector and microscope. | 7 € |
| Magnets | 128 pieces | Ball magnets, diameter 5 mm. | 30 € |
| Screws | ~120 pieces | M3×12, galvanized steel - ~90 pieces; M3×8, galvanized steel - ~90 pieces; M3×18, galvanized steel - 2 pieces; M3×30, not magnetic - 1 piece; M3 nut | ~15 € |
| Chocolate | 1 bar | Use it as a reward when you're done. |
3D Printing:
Completely new to 3D printing? Have a look into this beginner's guide!
Our quick printing tutorial can be found here:
We have a good experience with this printer and settings:
- Prusa i3/MK3S
- PLA 1,75 mm, for one Box: 0,6 kg = 235 m = 85 hours = 20 €
- Profile Optimal 0,15 mm, infill 20%, no support, 215/60°C
Note: The design of the mechanical Z-stage has recently been changed. The files here are not yet up-to-date. Please check the Mechanical Z-stage for the latest version. Same applies to the Lens Holder available here
Housing
| Name of part - Link to STL file | Amount |
|---|---|
| (01) Basic Cube 2×1 | 1 piece |
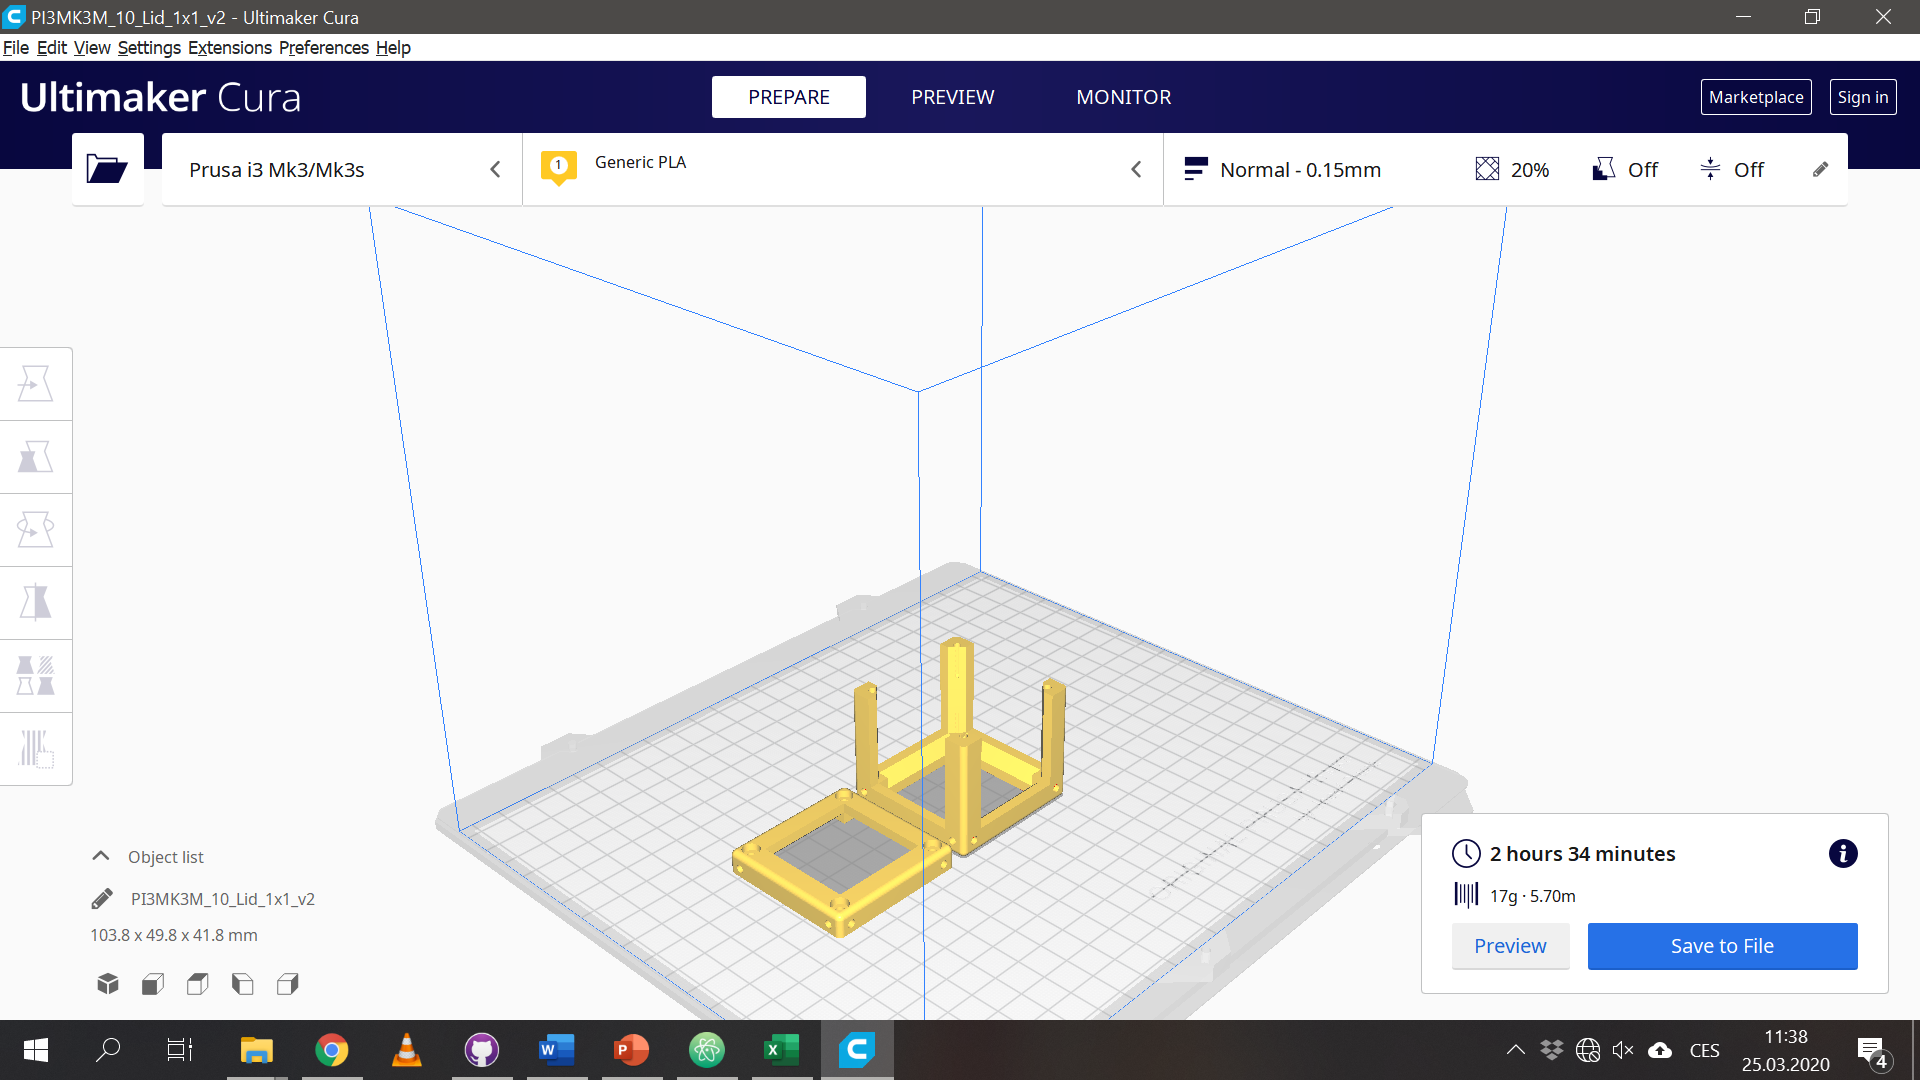
| (02) Basic Lid 2×1 | 1 piece |
| (03) Basic Cube 1×1 | 20 pieces |
| (04) Basic Lid 1×1 | 20 pieces |
| (05) Baseplate 4×1 | 4 pieces |
| (06) Baseplate 4×2 | 1 piece |
| (07) Baseplate 1×1 | 1 piece |
| (08) Baseplate Connector 1×1 | 1 piece |
Inserts
| Name of part - Link to STL file | Amount | Comment |
|---|---|---|
| (09) Z-Stage Focusing Insert | 1 piece | Rotate the part in your slicer before printing. Always print it laying on the flat side. |
| (10) Z-Stage Objective Mount | 1 piece | For mounting the objective lens (RMS thread). |
| (11a) Z-Stage Bottom Plate | 1 piece | The plate holds the gear and screw in position, allowing the only to rotate but not to wobble. |
| (11b) Z-Stage Top Plate | 1 piece | The plate holds the gear and screw in position, allowing the only to rotate but not to wobble. |
| (12) Z-Stage Gear | 1 piece | Kindly borrowed from openflexure. |
| (13) Lens Holder | 6 pieces | Diameter fits for the listed lenses (25 mm). |
| (14) Lens Holder Clamp | 6 pieces | Diameter fits for the listed lenses (25 mm). |
| (15) Cylindrical Lens Holder | 1 piece | Diameter fits for the listed lenses (25 mm). |
| (16) Generic Sample Holder | 5 pieces | In the SimpleBOX, it is used to hold the object in the projector setup. |
| (17) Generic Sample Holder Clamp | 5 pieces | To fix the sample. |
| (18) Mirror Holder 45° 30×30mm² | 1 piece | Size fits for the listed mirrors. |
| (19) Flashlight Holder | 2 pieces | |
| (20) Circular Aperture Guide | 2 pieces | |
| (21) Circular Aperture Wheel | 2 pieces | |
| (22) Circular Aperture Lid | 2 pieces | |
| (23) Circular Aperture Leaf | 14 pieces | |
| (24) Laser Holder | 2 pieces | |
| (25) Laser Clamp | 1 piece | |
| (26) Beam Expander Insert | 1 piece | |
| (27) Beam Expander Lens Adapter | 1 piece | |
| (28) Beamsplitter Insert | 1 piece |
Which tools to use
| Tool | Image | Comment |
|---|---|---|
| Electric screw driver with 2,5 mm hex bit | | For putting the cubes together using M3×12 and M3×8 screws. |
| 2,5 mm hex key | | For fine adjustment of all the M3 screws if needed. |
| 1,5 mm hex key | ↑↑ | For mounting worm screws. |
| Needle-nose Pliers | | Might come handy |
Assembly
| Part - link | Result | Comment |
|---|---|---|
| Baseplates | | 1× "big" baseplate (4×2), 4× "small" baseplate (4×1), 1× "unit" baseplate (1×1), 1× "unit" baseplate connector (1×1) |
| Z-Stage Cube | 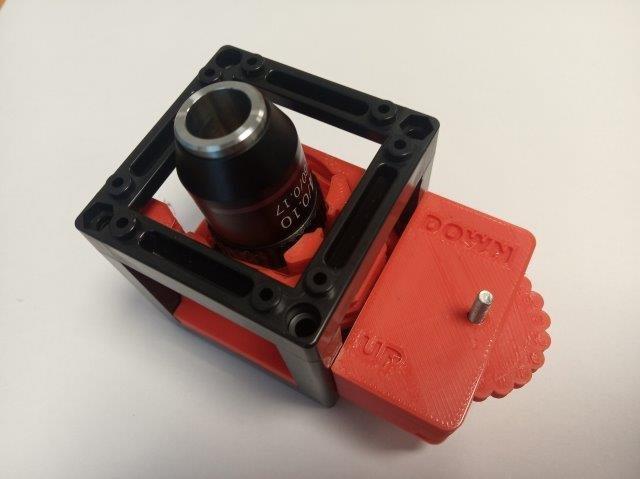 | 1× mechanical Z-Stage, Sample Clamp not necessary |
| Lens Cubes | | 6× Lens Cube; Write the focal lengths of the lenses on the holders, so you can always easily find the right one when building the setups. |
| Cylindrical Lens Cube | 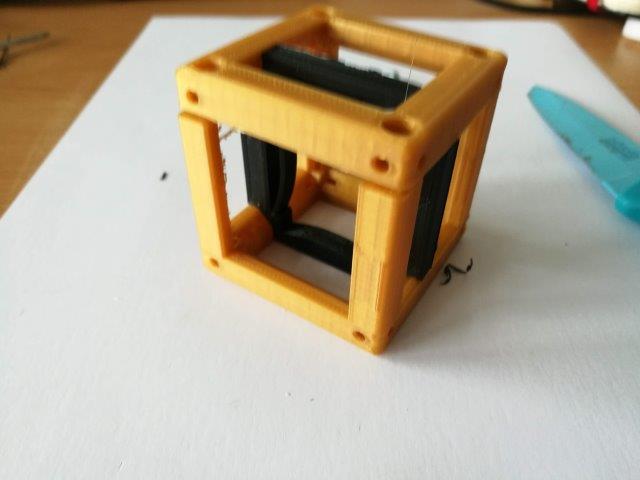 | 1× Cylindrical Lens Cube |
| Sample Cubes | | 5× Sample Holder Cube |
| Mirror Cube | 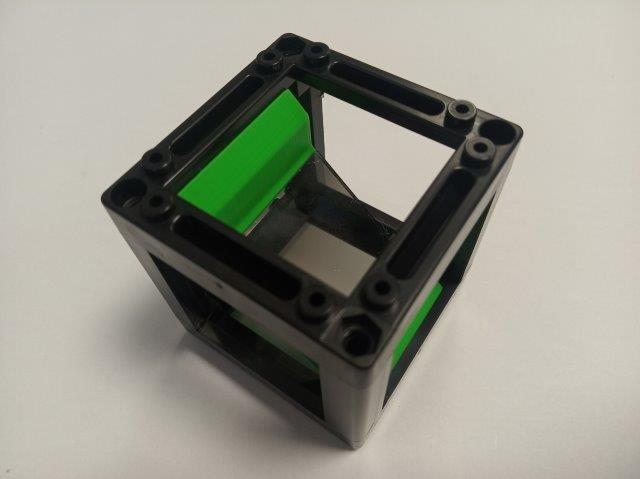 | 1× Mirror Cube |
| Flashlight Cube | | 1× Flashlight Cube |
| Circular Aperture Cube | | 2× Circular Aperture Cube |
| Laser Cube | | 1× Laser Holder Cube and Laser Clamp |
| Beam Expander Cube | 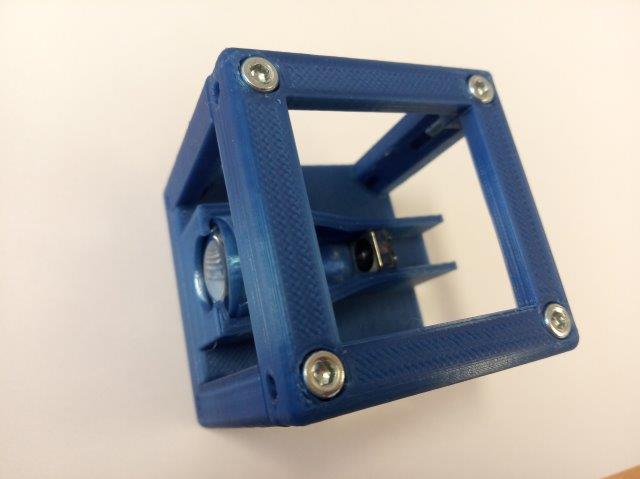 | 1× Beam Expander Cube |
| Beamsplitter Cube | | 1× Beam Expander Cube |